2006 CHEVROLET IMPALA radiator
[x] Cancel search: radiatorPage 274 of 394

Engine Coolant
The cooling system in your vehicle is �lled with
DEX-COOL®engine coolant. This coolant is designed
to remain in your vehicle for �ve years or 150,000 miles
(240 000 km), whichever occurs �rst, if you add only
DEX-COOL
®extended life coolant.
The following explains your cooling system and how
to add coolant when it is low. If you have a problem
with engine overheating or if you need to add coolant
to the radiator, seeEngine Overheating on page 5-29.
A 50/50 mixture of clean, drinkable water and
DEX-COOL
®coolant will:
Give freezing protection down to−34°F (−37°C).
Give boiling protection up to 265°F (129°C).
Protect against rust and corrosion.
Help keep the proper engine temperature.
Let the warning lights and gages work as they
should.
Notice:Using coolant other than DEX-COOL
®
may cause premature engine, heater core, or
radiator corrosion. In addition, the engine coolant
may require changing sooner, at the �rst
maintenance service after each 30,000 miles
(50 000 km) or 24 months, whichever occurs �rst.Any repairs would not be covered by your warranty.
Always use DEX-COOL
®(silicate-free) coolant in
your vehicle.
What to Use
Use a mixture of one-half clean, drinkable water and
one-half DEX-COOL®coolant which will not damage
aluminum parts. If you use this coolant mixture, you do
not need to add anything else.
{CAUTION:
Adding only plain water to your cooling
system can be dangerous. Plain water, or
some other liquid such as alcohol, can boil
before the proper coolant mixture will. Your
vehicle’s coolant warning system is set for the
proper coolant mixture. With plain water or the
wrong mixture, your engine could get too hot
but you would not get the overheat warning.
Your engine could catch �re and you or others
could be burned. Use a 50/50 mixture of clean,
drinkable water and DEX-COOL
®coolant.
5-26
Page 275 of 394

Notice:If you use an improper coolant mixture,
your engine could overheat and be badly damaged.
The repair cost would not be covered by your
warranty. Too much water in the mixture can freeze
and crack the engine, radiator, heater core, and
other parts.
If coolant needs to be added more than four times a
year, have your dealer check the cooling system.
Notice:If you use extra inhibitors and/or additives
in your vehicle’s cooling system, you could
damage your vehicle. Use only the proper mixture
of the engine coolant listed in this manual for
the cooling system. SeeRecommended Fluids and
Lubricants on page 6-12for more information.Checking Coolant
The coolant recovery tank
cap has this symbol on it.
SeeEngine Compartment Overview on page 5-12
for more information on the location of the coolant
recovery tank.
The vehicle must be on a level surface when checking
the coolant level.
When the engine is cold, the coolant level should be
at the cold �ll line or a little higher. The cold �ll line
is marked with the same symbol as the coolant recovery
tank cap.
5-27
Page 276 of 394

Adding Coolant
If more coolant is needed, add the proper DEX-COOL®
coolant mixture at the coolant recovery tank, but be
careful not to spill it.
If the coolant recovery tank is completely empty, add
coolant to the radiator. SeeEngine Overheating
on page 5-29.
{CAUTION:
Turning the radiator pressure cap when the
engine and radiator are hot can allow steam
and scalding liquids to blow out and burn
you badly. With the coolant recovery tank, you
will almost never have to add coolant at the
radiator. Never turn the radiator pressure
cap — even a little — when the engine and
radiator are hot.
{CAUTION:
You can be burned if you spill coolant on hot
engine parts. Coolant contains ethylene glycol,
and it will burn if the engine parts are hot
enough. Do not spill coolant on a hot engine.
Occasionally check the coolant level in the radiator.
For information on how to add coolant to the radiator,
seeCooling System on page 5-31.
Pressure Cap
Notice:If the pressure cap is not tightly installed,
coolant loss and possible engine damage may
occur. Be sure the cap is properly and tightly
secured.
SeeEngine Compartment Overview on page 5-12for
more information on location.
5-28
Page 281 of 394

When the engine is cold, the coolant level should be
at or above the cold �ll line on the coolant recovery tank.
To check the coolant level, look for the cold �ll line on
the side of the coolant recovery tank that faces the
engine. If the level is not correct, there may be a leak
at the pressure cap or in the radiator hoses, heater
hoses, radiator, water pump, or somewhere else in
the cooling system.
{CAUTION:
Heater and radiator hoses, and other engine
parts, can be very hot. Do not touch them.
If you do, you can be burned.
Do not run the engine if there is a leak. If you
run the engine, it could lose all coolant. That
could cause an engine �re, and you could be
burned. Get any leak �xed before you drive
the vehicle.If there seems to be no leak, with the engine on, check
to see if the electric engine cooling fans are running.
If the engine is overheating, the fans should be running.
If the fans are not running, your vehicle needs service.
Notice:Engine damage from running your
engine without coolant is not covered by your
warranty. SeeOverheated Engine Protection
Operating Mode on page 5-31for information on
driving to a safe place in an emergency.
Notice:Using coolant other than DEX-COOL
®may
cause premature engine, heater core, or radiator
corrosion. In addition, the engine coolant could
require changing sooner, at 30,000 miles (50 000 km)
or 24 months, whichever occurs �rst. Any repairs
would not be covered by your warranty. Always use
DEX-COOL
®(silicate-free) coolant in your vehicle.
5-33
Page 282 of 394

How to Add Coolant to the Coolant
Recovery Tank
{CAUTION:
Adding only plain water to your cooling
system can be dangerous. Plain water, or
some other liquid such as alcohol, can boil
before the proper coolant mixture will. Your
vehicle’s coolant warning system is set for the
proper coolant mixture. With plain water or the
wrong mixture, your engine could get too hot
but you would not get the overheat warning.
Your engine could catch �re and you or others
could be burned. Use a 50/50 mixture of clean,
drinkable water and DEX-COOL
®coolant.
If you have not found a problem yet, but the coolant
level is not at the cold �ll line, add a 50/50 mixture
of clean, drinkable water and DEX-COOL
®engine
coolant at the coolant recovery tank. SeeEngine
Coolant on page 5-26for more information.Notice:In cold weather, water can freeze and crack
the engine, radiator, heater core and other parts.
Use the recommended coolant and the proper
coolant mixture.
{CAUTION:
You can be burned if you spill coolant on hot
engine parts. Coolant contains ethylene glycol
and it will burn if the engine parts are hot
enough. Do not spill coolant on a hot engine.
When the coolant level in the coolant recovery tank is at
the cold �ll line, start the vehicle.
If the overheat warning continues, there is one more
thing you can try. You can add the proper coolant
mixture directly to the radiator, but be sure the system
is cool before you do it.
5-34
Page 283 of 394

{CAUTION:
Steam and scalding liquids from a hot cooling
system can blow out and burn you badly. They
are under pressure, and if you turn the radiator
pressure cap — even a little — they can come
out at high speed. Never turn the cap when the
cooling system, including the radiator pressure
cap, is hot. Wait for the cooling system and
radiator pressure cap to cool if you ever have
to turn the pressure cap.
How to Add Coolant to the Cooling
System (V6 Engines)
Notice:Your engine has a speci�c radiator �ll
procedure. Failure to follow this procedure could
cause your engine to overheat and be severely
damaged.
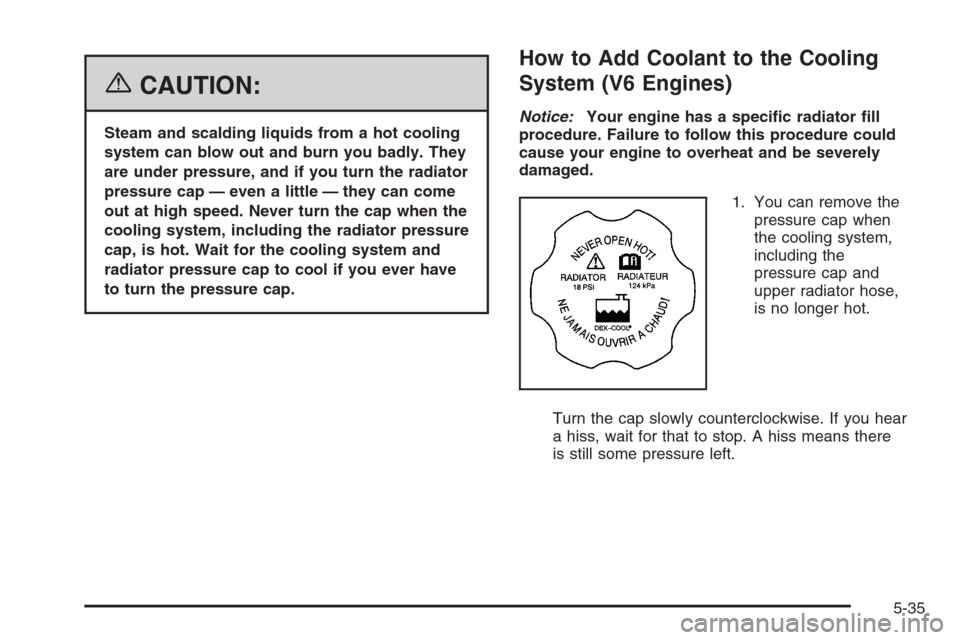
1. You can remove the
pressure cap when
the cooling system,
including the
pressure cap and
upper radiator hose,
is no longer hot.
Turn the cap slowly counterclockwise. If you hear
a hiss, wait for that to stop. A hiss means there
is still some pressure left.
5-35
Page 284 of 394

2. Then keep turning the pressure cap and remove it.
{CAUTION:
You can be burned if you spill coolant on hot
engine parts. Coolant contains ethylene glycol
and it will burn if the engine parts are hot
enough. Do not spill coolant on a hot engine.
3. Fill the radiator with the proper DEX-COOL
®
coolant mixture, up to the base of the �ller
neck. SeeEngine Coolant on page 5-26for more
information about the proper coolant mixture.
4. Rinse or wipe any spilled coolant from the engine
and the compartment.5. Then �ll the coolant recovery tank to the cold �ll line.
6. Put the cap back on the coolant recovery tank, but
leave the pressure cap off.
7. Start the engine and let it run until you can feel the
upper radiator hose getting hot. Watch out for the
engine cooling fans.
8. By this time, the coolant level inside the radiator
�ller neck may be lower. If the level is lower, add
more of the proper DEX-COOL
®coolant mixture
through the �ller neck until the level reaches
the base of the �ller neck. 3.9L V6 Engine shown, 3.5L V6 Engine similar
5-36
Page 285 of 394

9. Then replace the pressure cap. At any time during
this procedure if coolant begins to �ow out of the
�ller neck, reinstall the pressure cap. Be sure
the cap is hand-tight and fully seated.
10. Check the coolant in the recovery tank. The level in
the coolant recovery tank should be at the cold �ll
line when the engine is cold.
How to Add Coolant to the Cooling
System (5.3L V8 Engine)
Notice:Your engine has a speci�c cooling system
drain and �ll procedure. Failure to follow this
procedure could cause your engine to overheat
and be severely damaged. If your engine’s cooling
system needs to be drained and re-�lled, please
see your dealer.
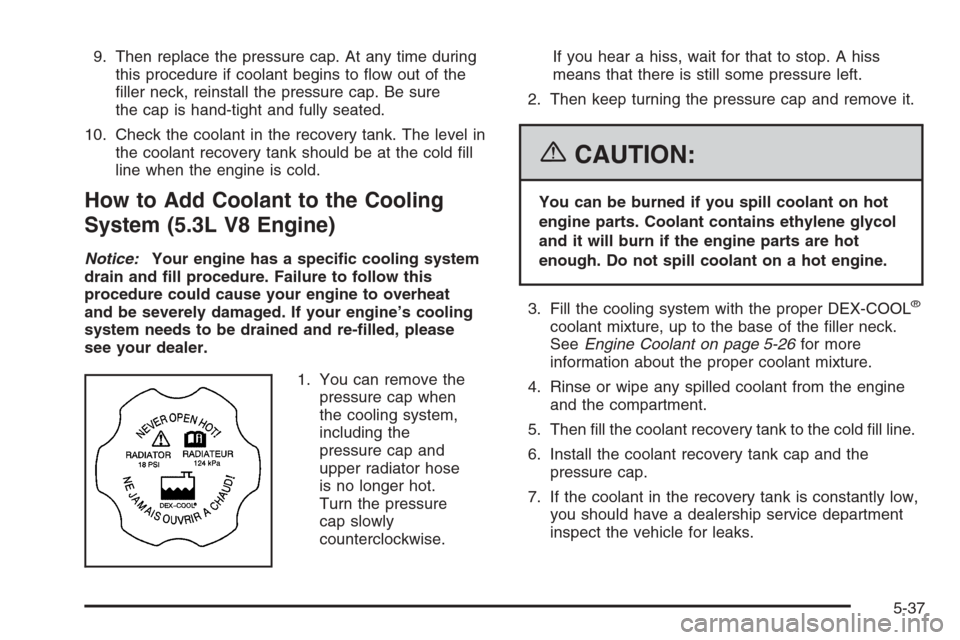
1. You can remove the
pressure cap when
the cooling system,
including the
pressure cap and
upper radiator hose
is no longer hot.
Turn the pressure
cap slowly
counterclockwise.If you hear a hiss, wait for that to stop. A hiss
means that there is still some pressure left.
2. Then keep turning the pressure cap and remove it.
{CAUTION:
You can be burned if you spill coolant on hot
engine parts. Coolant contains ethylene glycol
and it will burn if the engine parts are hot
enough. Do not spill coolant on a hot engine.
3. Fill the cooling system with the proper DEX-COOL
®
coolant mixture, up to the base of the �ller neck.
SeeEngine Coolant on page 5-26for more
information about the proper coolant mixture.
4. Rinse or wipe any spilled coolant from the engine
and the compartment.
5. Then �ll the coolant recovery tank to the cold �ll line.
6. Install the coolant recovery tank cap and the
pressure cap.
7. If the coolant in the recovery tank is constantly low,
you should have a dealership service department
inspect the vehicle for leaks.
5-37