2006 CHEVROLET IMPALA ignition
[x] Cancel search: ignitionPage 125 of 394

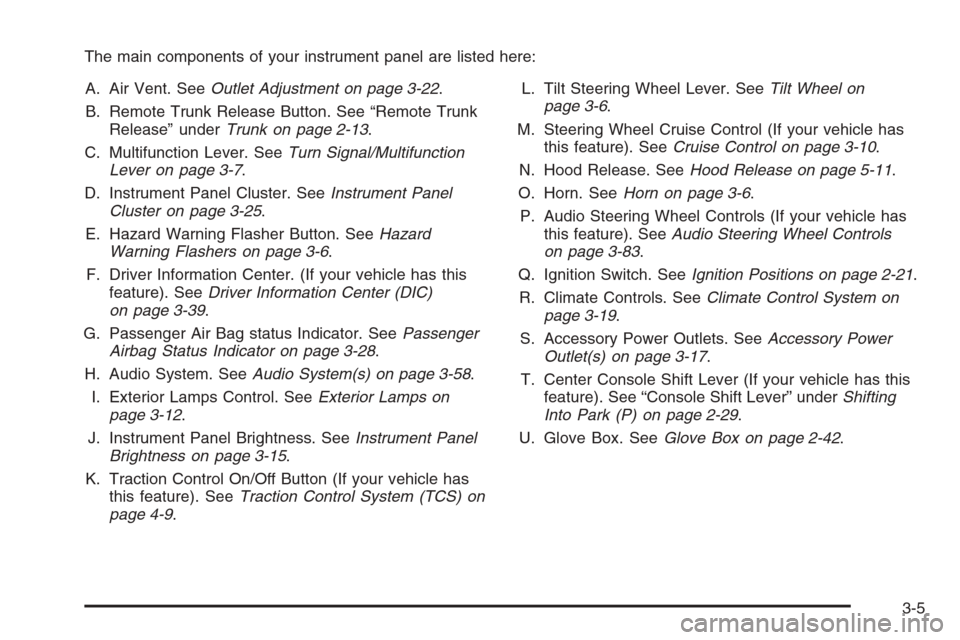
The main components of your instrument panel are listed here:
A. Air Vent. SeeOutlet Adjustment on page 3-22.
B. Remote Trunk Release Button. See “Remote Trunk
Release” underTrunk on page 2-13.
C. Multifunction Lever. SeeTurn Signal/Multifunction
Lever on page 3-7.
D. Instrument Panel Cluster. SeeInstrument Panel
Cluster on page 3-25.
E. Hazard Warning Flasher Button. SeeHazard
Warning Flashers on page 3-6.
F. Driver Information Center. (If your vehicle has this
feature). SeeDriver Information Center (DIC)
on page 3-39.
G. Passenger Air Bag status Indicator. SeePassenger
Airbag Status Indicator on page 3-28.
H. Audio System. SeeAudio System(s) on page 3-58.
I. Exterior Lamps Control. SeeExterior Lamps on
page 3-12.
J. Instrument Panel Brightness. SeeInstrument Panel
Brightness on page 3-15.
K. Traction Control On/Off Button (If your vehicle has
this feature). SeeTraction Control System (TCS) on
page 4-9.L. Tilt Steering Wheel Lever. SeeTilt Wheel on
page 3-6.
M. Steering Wheel Cruise Control (If your vehicle has
this feature). SeeCruise Control on page 3-10.
N. Hood Release. SeeHood Release on page 5-11.
O. Horn. SeeHorn on page 3-6.
P. Audio Steering Wheel Controls (If your vehicle has
this feature). SeeAudio Steering Wheel Controls
on page 3-83.
Q. Ignition Switch. SeeIgnition Positions on page 2-21.
R. Climate Controls. SeeClimate Control System on
page 3-19.
S. Accessory Power Outlets. SeeAccessory Power
Outlet(s) on page 3-17.
T. Center Console Shift Lever (If your vehicle has this
feature). See “Console Shift Lever” underShifting
Into Park (P) on page 2-29.
U. Glove Box. SeeGlove Box on page 2-42.
3-5
Page 128 of 394

Turn Signal On Chime
If you leave either one of your turn signals on and drive
more than 3/4 mile (1.2 km), a chime will sound to
alert you.
Headlamp High/Low-Beam Changer
To change the headlamps from low beam to high beam,
push the turn signal/multifunction lever away from you.
When the high beams are
on, a light on the
instrument panel cluster
also will be on if the
ignition is on.
To change the headlamps from high beam to low beam,
pull the turn signal lever toward you.
Flash-to-Pass
With the turn signal lever in the low-beam position, pull
the lever toward you momentarily to switch to
high-beams (to signal that you are going to pass).
If you have the headlamps on, they will return to
low-beams when you release the lever.
This feature operates even when the headlamps are off.
Windshield Wipers
Be sure to clear ice and snow from the wiper blades
before using them. If they are frozen to the windshield,
gently loosen or thaw them. Damaged wiper blades may
not clear the windshield well, making it harder to see and
drive safely. If the blades do become damaged, install
new blades or blade inserts. For more information, see
Windshield Wiper Blade Replacement on page 5-52.
Heavy snow or ice can overload the wiper motor. A
circuit breaker will stop the motor until it cools down.
Clear away snow or ice to prevent an overload.
You control the windshield wipers by turning the band
with the wiper symbol on it.
8(Mist):For a single wiping cycle, turn the band to
mist. Hold it there until the wipers start. Then let go.
The wipers will stop after one wipe. If you want
more wipe cycles, hold the band on mist longer.
3-8
Page 129 of 394

6(Delay):You can set the wiper speed for a long or
short delay between wiping cycles. This can be
very useful in light rain or snow. Turn the band to
choose the delay time. The closer to the top of the lever,
the shorter the delay.
6(Low Speed):For steady wiping at low speed,
turn the band away from you to the �rst solid band
past the delay settings.
1(High Speed):For high-speed wiping, turn the
band further, to the second solid band past the
delay settings.
9(Off):To stop the wipers, move the band to off.
Windshield Washer
At the top of the multifunction lever, there’s a paddle
with the windshield washer symbol on it. To spray
washer �uid on the windshield, push the paddle.
The wipers will run for several sweeps and then
either stop or return to your preset speed. The ignition
key must be in ACCESSORY or RUN for this to
work. SeeWindshield Washer Fluid on page 5-39.
{CAUTION:
In freezing weather, do not use your washer
until the windshield is warmed. Otherwise the
washer �uid can form ice on the windshield,
blocking your vision.
When you are low on washer �uid, the LOW WASHER
FLUID message will be illuminated in the message
center for 60 seconds. When the ignition is turned off,
this message will appear again for three seconds
to remind you that the �uid level is low.
Until the �uid tank is re�lled, every time you start your
vehicle, the LOW WASHER FLUID message will be
illuminated in the message center for 60 seconds.
Be sure to re�ll the tank right away.United States
Canada
3-9
Page 132 of 394

Reducing Speed While Using
Cruise Control
To reduce your speed while using cruise control:
Press and hold the SET– button on the steering
wheel until you reach the lower speed you want,
then release it.
To slow down in very small amounts, press
the SET– button on the steering wheel brie�y.
Each time you do this, you will go about
1 mph (1.6 km/h) slower.
Passing Another Vehicle While Using
Cruise Control
Use the accelerator pedal to increase vehicle speed.
When you take your foot off the pedal, your vehicle will
slow down to the cruise speed you set earlier.
Using Cruise Control on Hills
How well your cruise control will work on hills depends
upon your speed, load and the steepness of the
hills. When going up steep hills, you may have to step
on the accelerator pedal to maintain your speed.
When going downhill, you may have to brake or shift to
a lower gear to keep your speed down. Of course,
applying the brake takes you out of cruise control. Many
drivers �nd this to be too much trouble and do not
use cruise control on steep hills.
Ending Cruise Control
There are three ways to end cruise control:
Step lightly on the brake pedal.
Press the[(cancel) button on the steering wheel.
Press theT(on/off) button on the steering wheel.
Erasing Speed Memory
The cruise control set speed memory is erased by
turning off the cruise control or the ignition, or by
pressing the cancel button.
Exterior Lamps
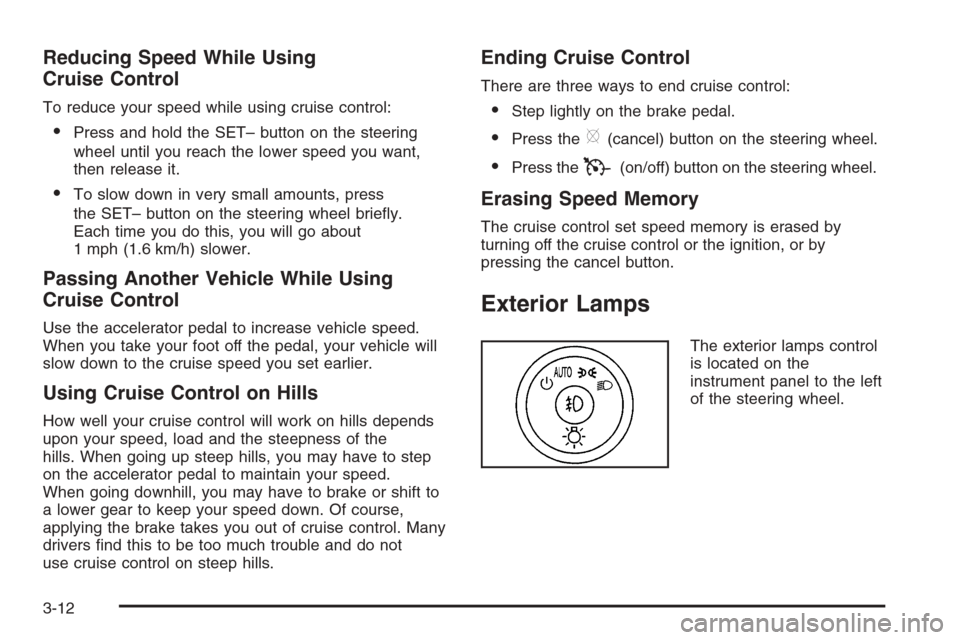
The exterior lamps control
is located on the
instrument panel to the left
of the steering wheel.
3-12
Page 133 of 394

It controls the following systems:
Headlamps
Taillamps
Parking Lamps
License Plate Lamps
Instrument Panel Lights
Fog Lamps (if equipped)
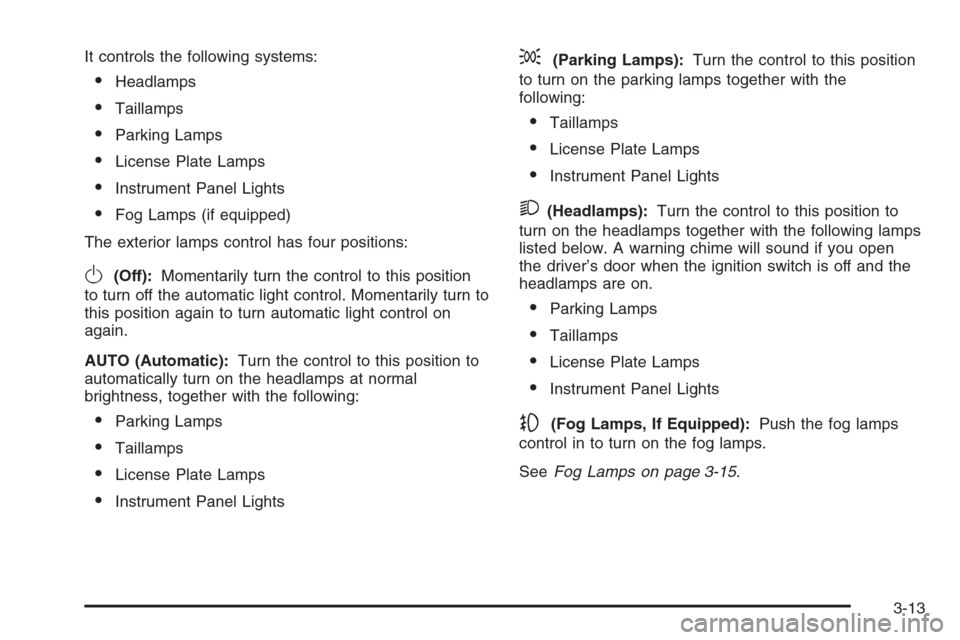
The exterior lamps control has four positions:
O(Off):Momentarily turn the control to this position
to turn off the automatic light control. Momentarily turn to
this position again to turn automatic light control on
again.
AUTO (Automatic):Turn the control to this position to
automatically turn on the headlamps at normal
brightness, together with the following:
Parking Lamps
Taillamps
License Plate Lamps
Instrument Panel Lights
;(Parking Lamps):Turn the control to this position
to turn on the parking lamps together with the
following:
Taillamps
License Plate Lamps
Instrument Panel Lights
2(Headlamps):Turn the control to this position to
turn on the headlamps together with the following lamps
listed below. A warning chime will sound if you open
the driver’s door when the ignition switch is off and the
headlamps are on.
Parking Lamps
Taillamps
License Plate Lamps
Instrument Panel Lights
-(Fog Lamps, If Equipped):Push the fog lamps
control in to turn on the fog lamps.
SeeFog Lamps on page 3-15.
3-13
Page 134 of 394

Delayed Headlamps
The delayed headlamps feature provides a period of
exterior lighting as you leave the area around your
vehicle. The feature is activated when the headlamps
are on due to the automatic headlamps control
feature described previously in this section, and when
the ignition is turned off. Your headlamps will then
remain on until the exterior lamps control is moved to
the parking lamps position or until the pre-selected
delayed headlamp lighting period has ended.
If you turn off the ignition with the headlamps switch in
the parking lamps or headlamps position, the delayed
headlamps cycle will not occur.
To disable the delayed headlamps feature or change
the time of delay, seeDIC Vehicle Customization
on page 3-52.
Daytime Running Lamps (DRL)/
Automatic Headlamp System
Daytime Running Lamps (DRL) can make it easier for
others to see the front of your vehicle during the
day. DRL can be helpful in many different driving
conditions, but they can be especially helpful in the short
periods after dawn and before sunset. Fully functional
daytime running lamps are required on all vehicles
�rst sold in Canada.A light sensor on top of the instrument panel makes the
DRL work, so be sure it is not covered.
The DRL system’s automatic headlamp control will
make the low-beam headlamps come on at a reduced
brightness when the following conditions are met:
The ignition is in RUN.
The exterior lamps control is in AUTO.
The engine is running.
When the DRL are on, only the low-beam headlamps,
at a reduced level of brightness, will be on. The
headlamps, taillamps, sidemarker, and other lamps will
not be on. The instrument panel and cluster will also
not be lit.
When it is dark enough outside, your low-beam
headlamps will turn off and the headlamps and parking
lamps will turn on. The other lamps that come on
with the headlamps will also come on.
When it is bright enough outside, the headlamps will go
off and the DRL will come on.
As with any vehicle, you should turn on the regular
headlamp system when you need it.
3-14
Page 135 of 394

Fog Lamps
-(Fog Lamps):If your vehicle has fog lamps, the
control is located on the exterior lamps control. The
exterior lamps control is located on the instrument panel
to the left of the steering column.
Your ignition must be in the RUN position for the fog
lamps to come on.
To turn the fog lamps on, press the exterior lamps button.
A light will come on in the instrument panel cluster to let
you know that the fog lamps are on. Press the exterior
lamps button again to turn the fog lamps off.
When the headlamps are changed to high-beam, the
fog lamps also go off.
Some localities have laws that require the headlamps to
be on along with the fog lamps.
Instrument Panel Brightness
D(Instrument Panel Brightness):The knob with this
symbol on it is located next to the exterior lamps
control. Press the knob until it pops out and then turn
the knob clockwise to brighten or counterclockwise
to dim the lights.
Courtesy Lamps
When a door is opened, the courtesy lamps
automatically come on. They make it easy for you to
enter and leave your vehicle. You can also manually turn
these lamps on by turning the instrument panel
brightness control clockwise all the way.
The reading lamps, located on the rearview mirror, can
be turned on or off independent of the automatic
courtesy lamps, when the doors are closed.
Dome Lamp
The dome lamp will come on when you open a door.
You can also turn this lamp on by turning the instrument
panel brightness control clockwise.
3-15
Page 136 of 394

Entry Lighting
Your vehicle may have courtesy lamps that will come on
and stay on for a set time whenever UNLOCK is
pressed on the remote keyless entry transmitter, if you
have one.
If a door is opened, the lamps will stay on while it is
open and then turn off automatically about 25 seconds
after the door is closed. If UNLOCK is pressed and
you do not open a door, the lamps will turn off
after about 40 seconds.
Entry lighting includes a feature called theater dimming.
With theater dimming, the lamps do not turn off at the end
of the delay time. Instead, they slowly dim after the delay
time until they go out. The delay time is canceled if you
turn the ignition key to ON or press the power door lock
switch. The lamps will dim right away.
When the ignition is on, illuminated entry is inactive,
which means the courtesy lamps will not come on unless
a door is opened.
Delayed Entry Lighting
Delayed entry lighting illuminates the interior for a
period of time after all the doors have been closed.The ignition must be off for delayed entry lighting to
work. Immediately after all the doors have been closed,
the delayed entry lighting feature will continue to
work until one of the following occurs:
The ignition is in RUN.
The doors are locked.
An illumination period of 25 seconds has elapsed.
If during the illumination period a door is opened,
the timed illumination period will be canceled and the
interior lamps will remain on because a door is open.
Delayed Exit Lighting
This feature illuminates the interior for a period of time
after the key is removed from the ignition.
The ignition must be off for delayed exit lighting to work.
When the key is removed, interior illumination will
activate and remain on until one of the following occurs:
The ignition is in RUN.
The power door locks are activated.
An illumination period of 20 seconds has elapsed.
If during the illumination period a door is opened,
the timed illumination period will be canceled and the
interior lamps will remain on because a door is open.
3-16