2006 CHEVROLET IMPALA door lock
[x] Cancel search: door lockPage 94 of 394

Arming with the Power Lock Switch
The alarm system will arm when you use either power
lock switch to lock the doors while any door or the trunk
is open and the key is removed from the ignition.
Arming with the Remote Keyless
Entry Transmitter
The alarm system will arm when you use your remote
keyless entry transmitter to lock the doors, if the
key is not in the ignition.
Disarming with the Remote Keyless
Entry Transmitter
The alarm system will disarm when you use your
remote keyless entry transmitter to unlock the doors.
The �rst time a remote unlock command is received,
three �ashes will be seen and three horn chirps heard
to indicate an alarm condition has occurred since
last arming.
Disarming with Your Key
The alarm system will disarm when you use your key to
unlock the doors or insert your key in ignition and
turn it from the OFF position.
PASS-Key®III+
The PASS-Key®III+ system operates on a radio
frequency subject to Federal Communications
Commission (FCC) Rules and with Industry Canada.
This device complies with Part 15 of the FCC Rules.
Operation is subject to the following two conditions:
1. This device may not cause harmful interference.
2. This device must accept any interference received,
including interference that may cause undesired
operation.
This device complies with RSS-210 of Industry Canada.
Operation is subject to the following two conditions:
1. This device may not cause interference.
2. This device must accept any interference received,
including interference that may cause undesired
operation of the device.
Changes or modi�cations to this system by other than
an authorized service facility could void authorization to
use this equipment.
PASS-Key
®III+ uses a radio frequency transponder in
the key that matches a decoder in your vehicle.
2-18
Page 97 of 394

Ignition Positions
With the ignition key in the ignition, the key can be
turned to four different positions:
Notice:Using a tool to force the key from the
ignition switch could cause damage or break the
key. Use the correct key and turn the key only with
your hand. Make sure the key is in all the way. If
none of this works, then your vehicle needs service.A (OFF):This is the only position in which the ignition
key can be inserted or removed. This position locks
the ignition and transaxle. It is a theft-deterrent feature.
B (ACCESSORY):This position lets the radio and
windshield wipers operate while the engine is off. To use
ACCESSORY, turn the key clockwise.
C (RUN):This position is where the key returns to after
the vehicle is started. This position displays some of
the warning and indicator lights.
The battery could be drained if you leave the key in the
ACCESSORY or RUN position with the engine off.
You may not be able to start your vehicle if the battery
is allowed to drain for an extended period of time.
D (START):This position starts the engine.
A warning chime will sound and the Driver Information
Center (DIC) will display DRIVER’S DOOR OPEN when
the driver’s door is opened if the ignition is in OFF,
ACCESSORY and the key is in the ignition. SeeDIC
Warnings and Messages on page 3-45for more
information.
2-21
Page 98 of 394

Key In the Ignition
Never leave your vehicle with the keys inside, as it is an
easy target for joy riders or thieves. If you leave the
key in the ignition and park your vehicle, a chime
will sound, when you open the driver’s door. Always
remember to remove your key from the ignition and take
it with you. This will lock your ignition and transaxle.
Also, always remember to lock the doors.
The battery could be drained if you leave the key in the
ignition while your vehicle is parked. You may not be
able to start your vehicle after it has been parked for an
extended period of time.
Retained Accessory Power (RAP)
The vehicle has Retained Accessory Power (RAP),
which will allow your vehicle’s radio to work when the
ignition key is in RUN or ACCESSORY. Once the key is
turned from RUN to OFF the radio will continue to
work 10 minutes or until the driver’s door is opened.
Also, the power windows will continue to work for up to
10 minutes or until any door is opened.
Starting the Engine
Place the transaxle in the proper gear.
Move your shift lever to PARK (P) or NEUTRAL (N).
Your engine will not start in any other position -- this is
a safety feature. To restart when you are already
moving, use NEUTRAL (N) only.
Notice:Shifting into PARK (P) with the vehicle
moving could damage the transaxle. Shift into
PARK (P) only when your vehicle is stopped.
2-22
Page 112 of 394

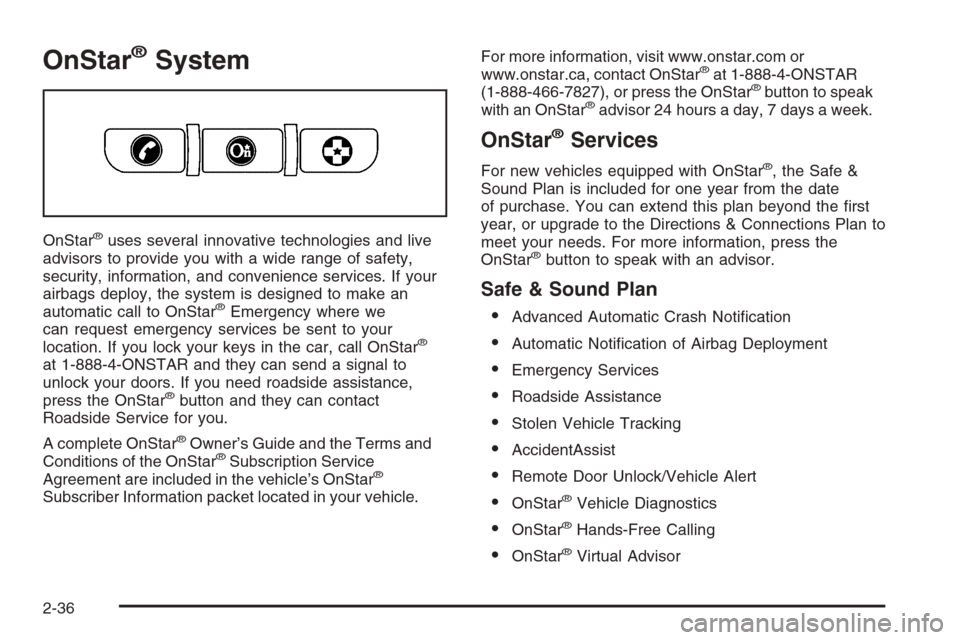
OnStar®System
OnStar®uses several innovative technologies and live
advisors to provide you with a wide range of safety,
security, information, and convenience services. If your
airbags deploy, the system is designed to make an
automatic call to OnStar
®Emergency where we
can request emergency services be sent to your
location. If you lock your keys in the car, call OnStar
®
at 1-888-4-ONSTAR and they can send a signal to
unlock your doors. If you need roadside assistance,
press the OnStar
®button and they can contact
Roadside Service for you.
A complete OnStar
®Owner’s Guide and the Terms and
Conditions of the OnStar®Subscription Service
Agreement are included in the vehicle’s OnStar®
Subscriber Information packet located in your vehicle.For more information, visit www.onstar.com or
www.onstar.ca, contact OnStar
®at 1-888-4-ONSTAR
(1-888-466-7827), or press the OnStar®button to speak
with an OnStar®advisor 24 hours a day, 7 days a week.
OnStar®Services
For new vehicles equipped with OnStar®, the Safe &
Sound Plan is included for one year from the date
of purchase. You can extend this plan beyond the �rst
year, or upgrade to the Directions & Connections Plan to
meet your needs. For more information, press the
OnStar
®button to speak with an advisor.
Safe & Sound Plan
Advanced Automatic Crash Noti�cation
Automatic Noti�cation of Airbag Deployment
Emergency Services
Roadside Assistance
Stolen Vehicle Tracking
AccidentAssist
Remote Door Unlock/Vehicle Alert
OnStar®Vehicle Diagnostics
OnStar®Hands-Free Calling
OnStar®Virtual Advisor
2-36
Page 114 of 394

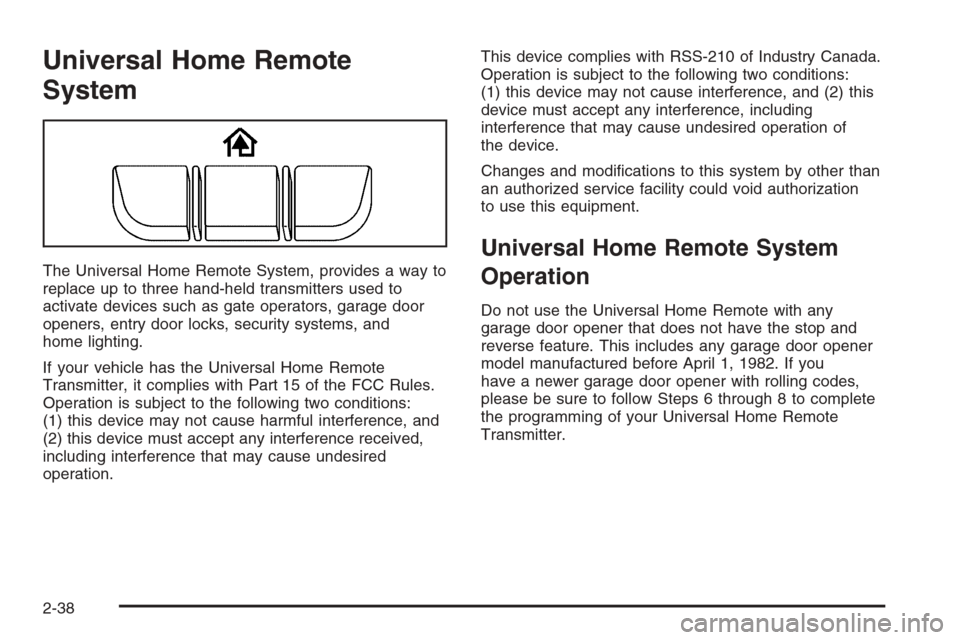
Universal Home Remote
System
The Universal Home Remote System, provides a way to
replace up to three hand-held transmitters used to
activate devices such as gate operators, garage door
openers, entry door locks, security systems, and
home lighting.
If your vehicle has the Universal Home Remote
Transmitter, it complies with Part 15 of the FCC Rules.
Operation is subject to the following two conditions:
(1) this device may not cause harmful interference, and
(2) this device must accept any interference received,
including interference that may cause undesired
operation.This device complies with RSS-210 of Industry Canada.
Operation is subject to the following two conditions:
(1) this device may not cause interference, and (2) this
device must accept any interference, including
interference that may cause undesired operation of
the device.
Changes and modi�cations to this system by other than
an authorized service facility could void authorization
to use this equipment.
Universal Home Remote System
Operation
Do not use the Universal Home Remote with any
garage door opener that does not have the stop and
reverse feature. This includes any garage door opener
model manufactured before April 1, 1982. If you
have a newer garage door opener with rolling codes,
please be sure to follow Steps 6 through 8 to complete
the programming of your Universal Home Remote
Transmitter.
2-38
Page 135 of 394

Fog Lamps
-(Fog Lamps):If your vehicle has fog lamps, the
control is located on the exterior lamps control. The
exterior lamps control is located on the instrument panel
to the left of the steering column.
Your ignition must be in the RUN position for the fog
lamps to come on.
To turn the fog lamps on, press the exterior lamps button.
A light will come on in the instrument panel cluster to let
you know that the fog lamps are on. Press the exterior
lamps button again to turn the fog lamps off.
When the headlamps are changed to high-beam, the
fog lamps also go off.
Some localities have laws that require the headlamps to
be on along with the fog lamps.
Instrument Panel Brightness
D(Instrument Panel Brightness):The knob with this
symbol on it is located next to the exterior lamps
control. Press the knob until it pops out and then turn
the knob clockwise to brighten or counterclockwise
to dim the lights.
Courtesy Lamps
When a door is opened, the courtesy lamps
automatically come on. They make it easy for you to
enter and leave your vehicle. You can also manually turn
these lamps on by turning the instrument panel
brightness control clockwise all the way.
The reading lamps, located on the rearview mirror, can
be turned on or off independent of the automatic
courtesy lamps, when the doors are closed.
Dome Lamp
The dome lamp will come on when you open a door.
You can also turn this lamp on by turning the instrument
panel brightness control clockwise.
3-15
Page 136 of 394

Entry Lighting
Your vehicle may have courtesy lamps that will come on
and stay on for a set time whenever UNLOCK is
pressed on the remote keyless entry transmitter, if you
have one.
If a door is opened, the lamps will stay on while it is
open and then turn off automatically about 25 seconds
after the door is closed. If UNLOCK is pressed and
you do not open a door, the lamps will turn off
after about 40 seconds.
Entry lighting includes a feature called theater dimming.
With theater dimming, the lamps do not turn off at the end
of the delay time. Instead, they slowly dim after the delay
time until they go out. The delay time is canceled if you
turn the ignition key to ON or press the power door lock
switch. The lamps will dim right away.
When the ignition is on, illuminated entry is inactive,
which means the courtesy lamps will not come on unless
a door is opened.
Delayed Entry Lighting
Delayed entry lighting illuminates the interior for a
period of time after all the doors have been closed.The ignition must be off for delayed entry lighting to
work. Immediately after all the doors have been closed,
the delayed entry lighting feature will continue to
work until one of the following occurs:
The ignition is in RUN.
The doors are locked.
An illumination period of 25 seconds has elapsed.
If during the illumination period a door is opened,
the timed illumination period will be canceled and the
interior lamps will remain on because a door is open.
Delayed Exit Lighting
This feature illuminates the interior for a period of time
after the key is removed from the ignition.
The ignition must be off for delayed exit lighting to work.
When the key is removed, interior illumination will
activate and remain on until one of the following occurs:
The ignition is in RUN.
The power door locks are activated.
An illumination period of 20 seconds has elapsed.
If during the illumination period a door is opened,
the timed illumination period will be canceled and the
interior lamps will remain on because a door is open.
3-16
Page 174 of 394

AUTO DOOR UNLOCK
This feature allows you to select whether or not to turn
off the automatic door unlocking feature. It also
allows you to select which doors and when the doors
will automatically unlock. SeeProgrammable Automatic
Door Unlock on page 2-11for more information.
Press the customization button until AUTO DOOR
UNLOCK appears on the DIC display. Press the
set/reset button to access the settings for this feature.
Then press the customization button to scroll through
the following choices:
OFF:None of the doors will automatically unlock.
DRIVER AT KEY OUT:Only the driver’s door will
unlock when the key is taken out of the ignition.
DRIVER IN PARK:Only the driver’s door will unlock
when the vehicle is shifted into PARK (P).
ALL AT KEY OUT:All of the doors will unlock when
the key is taken out of the ignition.
ALL IN PARK (default):All of the doors will unlock
when the vehicle is shifted into PARK (P).NO CHANGE:No change will be made to this feature.
The current setting will remain.
Select one of the available choices and press the set/
reset button while it is displayed on the DIC to select it.
REMOTE DOOR LOCK
This feature allows you to select the type of feedback
you will receive when locking the vehicle with the
Remote Keyless Entry (RKE) transmitter. You will not
receive feedback when locking the vehicle with the RKE
transmitter if any of the doors are open. SeeRemote
Keyless Entry System Operation on page 2-4for
more information.
Press the customization button until REMOTE DOOR
LOCK appears on the DIC display. Press the set/reset
button to access the settings for this feature. Then
press the customization button to scroll through
the following choices:
HORN & LIGHTS OFF:There will be no feedback
when you press the lock button on the RKE transmitter.
3-54