2006 CHEVROLET EXPRESS CARGO VAN turn signal
[x] Cancel search: turn signalPage 94 of 406
At times you may notice a decrease in range. This is
normal for any remote keyless entry system. If the
transmitter does not work or if you have to stand closer
to your vehicle for the transmitter to work, try this:
•Check the distance. You may be too far from your
vehicle. You may need to stand closer during
rainy or snowy weather.
•Check the location. Other vehicles or objects
may be blocking the signal. Take a few steps to
the left or right, hold the transmitter higher, and
try again.
•Check to determine if battery replacement or
resynchronization is necessary. See “Battery
Replacement” and “Resynchronization” under
Remote Keyless Entry System Operation on
page 2-4.
•If you are still having trouble, see your dealer or a
qualified technician for service.
Remote Keyless Entry System
Operation
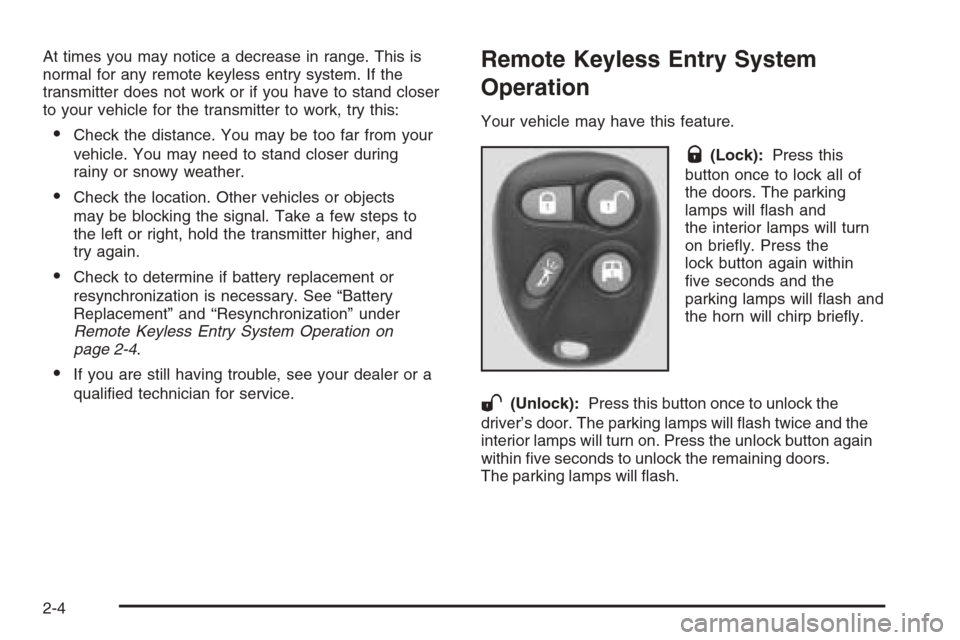
Your vehicle may have this feature.
Q(Lock):Press this
button once to lock all of
the doors. The parking
lamps will flash and
the interior lamps will turn
on briefly. Press the
lock button again within
five seconds and the
parking lamps will flash and
the horn will chirp briefly.
W(Unlock):Press this button once to unlock the
driver’s door. The parking lamps will flash twice and the
interior lamps will turn on. Press the unlock button again
within five seconds to unlock the remaining doors.
The parking lamps will flash.
2-4
Page 95 of 406
L(Panic Alarm):The remote keyless entry transmitter
comes equipped with an instant panic alarm. To use the
alarm, press the horn symbol while the ignition is turned
off. The horn will sound and both the interior and exterior
lamps will flash for up to thirty seconds. To stop the
instant panic alarm, press the panic button again, wait
for thirty seconds, or start the vehicle.
j(Cargo Door):Press this button to unlock the
cargo doors only.
Matching Transmitter(s) to
Your Vehicle
Each remote keyless entry transmitter is coded to
prevent another transmitter from unlocking your vehicle.
If a transmitter is lost or stolen, a replacement can
be purchased through your dealer. Remember to bring
any remaining transmitters with you when you go to
your dealer. When the dealer matches the replacement
transmitter to your vehicle, any remaining transmitters
must also be matched. Once your dealer has coded the
new transmitter, the lost transmitter will not unlock
your vehicle. Each vehicle can have a maximum of
four transmitters matched to it.
Resynchronization
Resynchronization may be necessary due to the
security method used by this system. The transmitter
does not send the same signal twice to the receiver.
The receiver will not respond to a signal that has been
sent previously. This prevents anyone from recording
and playing back the signal from the transmitter.
To resynchronize your transmitter, stand close to your
vehicle and press and hold the lock and unlock buttons
on the transmitter at the same time for seven seconds.
The door locks should cycle to confirm synchronization.
If the locks do not cycle, see your dealer for service.
2-5
Page 125 of 406
Instrument Panel Overview...............................3-4
Hazard Warning Flashers................................3-6
Other Warning Devices...................................3-6
Horn .............................................................3-6
Tilt Wheel.....................................................3-6
Turn Signal/Multifunction Lever.........................3-7
Turn and Lane-Change Signals........................3-8
Headlamp High/Low-Beam Changer..................3-8
Flash-to-Pass.................................................3-9
Windshield Wipers..........................................3-9
Windshield Washer.......................................3-10
Cruise Control..............................................3-10
Exterior Lamps.............................................3-13
Headlamps on Reminder................................3-14
Daytime Running Lamps (DRL).......................3-14
Instrument Panel Brightness...........................3-15
Dome Lamps ...............................................3-15
Dome Lamp Override....................................3-15
Entry Lighting...............................................3-16
Exit Lighting.................................................3-16
Reading Lamps............................................3-16
Battery Run-Down Protection..........................3-16
Accessory Power Outlet(s).............................3-16
Ashtray(s) and Cigarette Lighter......................3-17Climate Controls............................................3-18
Climate Control System.................................3-18
Outlet Adjustment.........................................3-20
Rear Heating System....................................3-21
Rear Air Conditioning and Heating System.......3-21
Warning Lights, Gages, and Indicators............3-23
Instrument Panel Cluster................................3-24
Speedometer and Odometer...........................3-25
Trip Odometer..............................................3-25
Safety Belt Reminder Light.............................3-26
Passenger Safety Belt Reminder Light.............3-26
Airbag Readiness Light..................................3-27
Airbag Off Light............................................3-28
Passenger Airbag Status Indicator...................3-29
Charging System Light..................................3-32
Voltmeter Gage............................................3-32
Brake System Warning Light..........................3-33
Anti-Lock Brake System Warning Light.............3-34
StabiliTrak
®Not Ready Light..........................3-35
StabiliTrak®Indicator Light..............................3-35
Engine Coolant Temperature Gage..................3-36
Malfunction Indicator Lamp.............................3-36
Section 3 Instrument Panel
3-1
Page 129 of 406
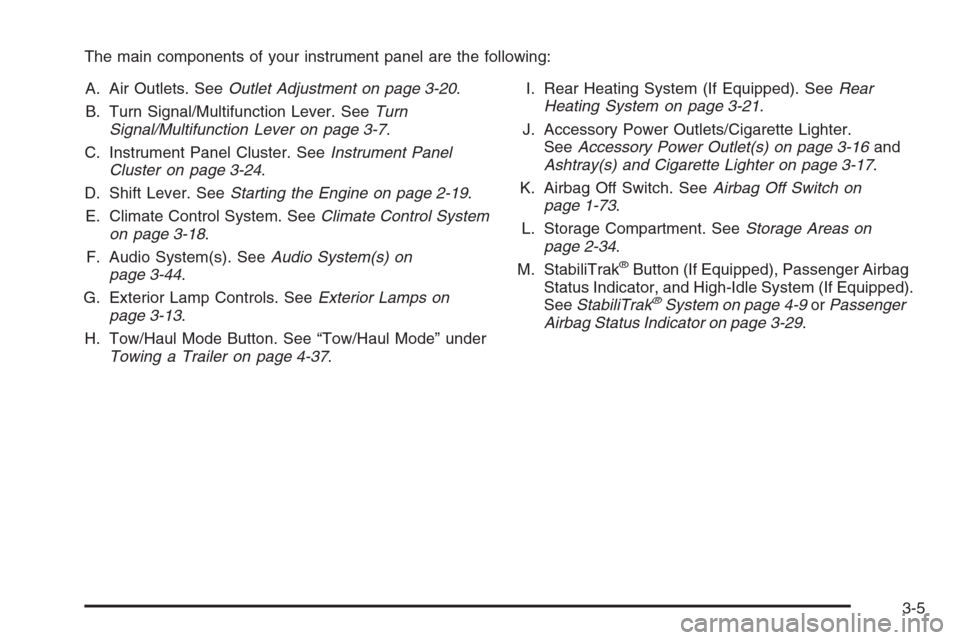
The main components of your instrument panel are the following:
A. Air Outlets. SeeOutlet Adjustment on page 3-20.
B. Turn Signal/Multifunction Lever. SeeTurn
Signal/Multifunction Lever on page 3-7.
C. Instrument Panel Cluster. SeeInstrument Panel
Cluster on page 3-24.
D. Shift Lever. SeeStarting the Engine on page 2-19.
E. Climate Control System. SeeClimate Control System
on page 3-18.
F. Audio System(s). SeeAudio System(s) on
page 3-44.
G. Exterior Lamp Controls. SeeExterior Lamps on
page 3-13.
H. Tow/Haul Mode Button. See “Tow/Haul Mode” under
Towing a Trailer on page 4-37.I. Rear Heating System (If Equipped). SeeRear
Heating System on page 3-21.
J. Accessory Power Outlets/Cigarette Lighter.
SeeAccessory Power Outlet(s) on page 3-16and
Ashtray(s) and Cigarette Lighter on page 3-17.
K. Airbag Off Switch. SeeAirbag Off Switch on
page 1-73.
L. Storage Compartment. SeeStorage Areas on
page 2-34.
M. StabiliTrak
®Button (If Equipped), Passenger Airbag
Status Indicator, and High-Idle System (If Equipped).
SeeStabiliTrak
®System on page 4-9orPassenger
Airbag Status Indicator on page 3-29.
3-5
Page 130 of 406
Hazard Warning Flashers
The hazard warning flashers warn others. They also let
police know you have a problem. Your front and rear
turn signal lamps will flash on and off.
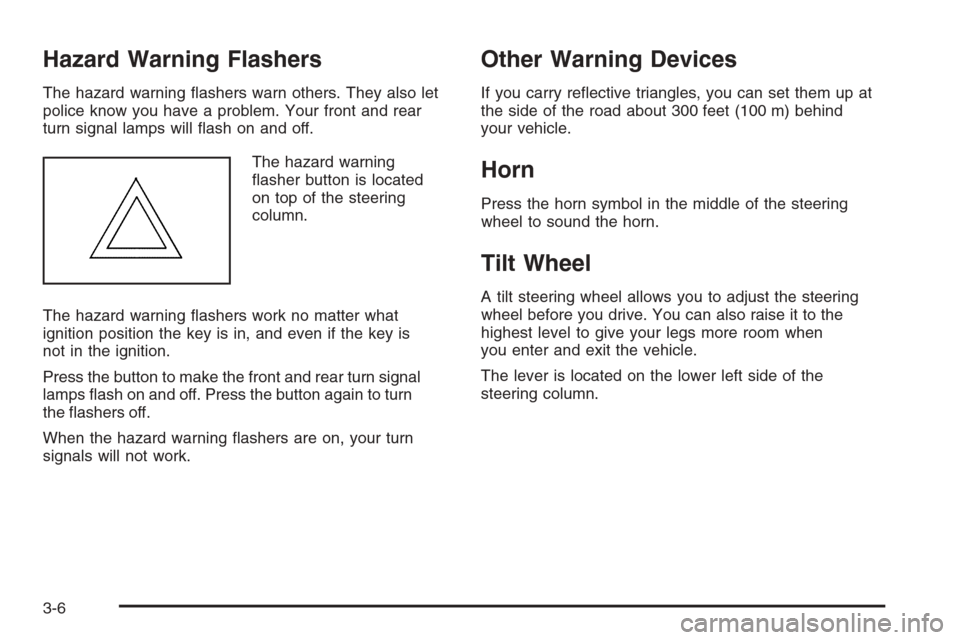
The hazard warning
flasher button is located
on top of the steering
column.
The hazard warning flashers work no matter what
ignition position the key is in, and even if the key is
not in the ignition.
Press the button to make the front and rear turn signal
lamps flash on and off. Press the button again to turn
the flashers off.
When the hazard warning flashers are on, your turn
signals will not work.
Other Warning Devices
If you carry reflective triangles, you can set them up at
the side of the road about 300 feet (100 m) behind
your vehicle.
Horn
Press the horn symbol in the middle of the steering
wheel to sound the horn.
Tilt Wheel
A tilt steering wheel allows you to adjust the steering
wheel before you drive. You can also raise it to the
highest level to give your legs more room when
you enter and exit the vehicle.
The lever is located on the lower left side of the
steering column.
3-6
Page 131 of 406
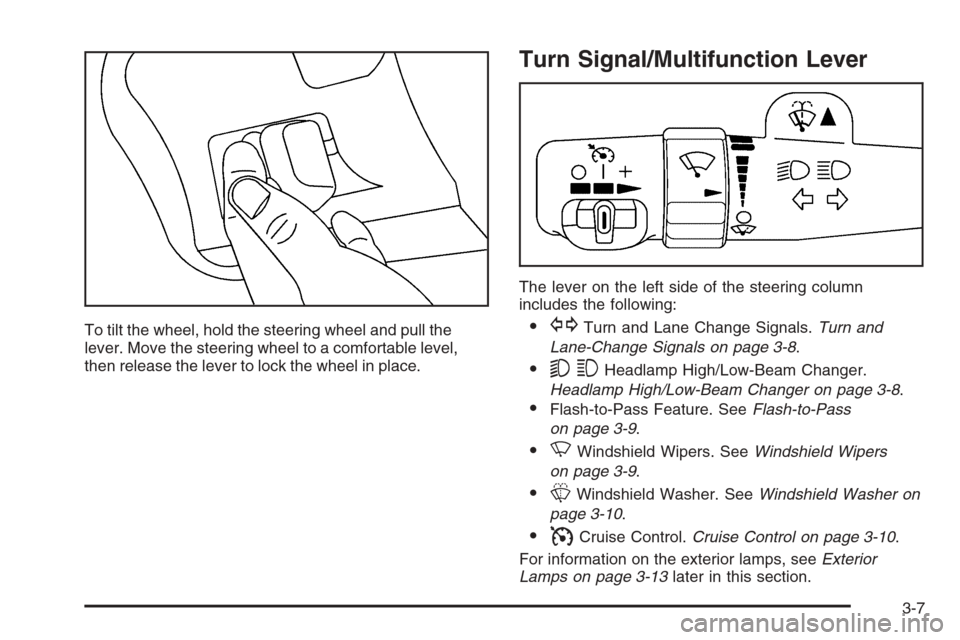
To tilt the wheel, hold the steering wheel and pull the
lever. Move the steering wheel to a comfortable level,
then release the lever to lock the wheel in place.
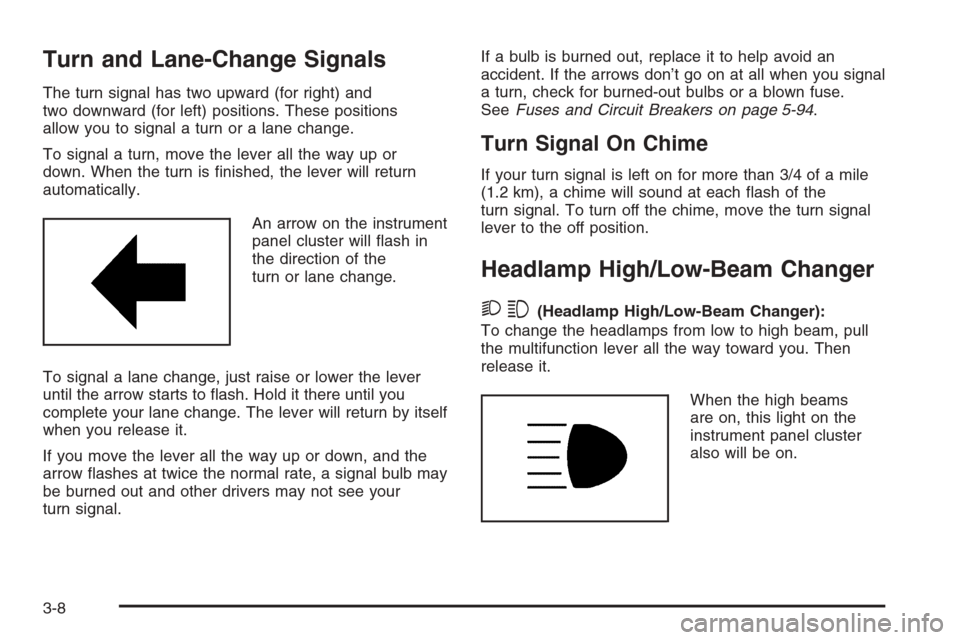
Turn Signal/Multifunction Lever
The lever on the left side of the steering column
includes the following:
•GTurn and Lane Change Signals.Turn and
Lane-Change Signals on page 3-8.
•53Headlamp High/Low-Beam Changer.
Headlamp High/Low-Beam Changer on page 3-8.
•Flash-to-Pass Feature. SeeFlash-to-Pass
on page 3-9.
•NWindshield Wipers. SeeWindshield Wipers
on page 3-9.
•LWindshield Washer. SeeWindshield Washer on
page 3-10.
•ICruise Control.Cruise Control on page 3-10.
For information on the exterior lamps, seeExterior
Lamps on page 3-13later in this section.
3-7
Page 132 of 406
Turn and Lane-Change Signals
The turn signal has two upward (for right) and
two downward (for left) positions. These positions
allow you to signal a turn or a lane change.
To signal a turn, move the lever all the way up or
down. When the turn is finished, the lever will return
automatically.
An arrow on the instrument
panel cluster will flash in
the direction of the
turn or lane change.
To signal a lane change, just raise or lower the lever
until the arrow starts to flash. Hold it there until you
complete your lane change. The lever will return by itself
when you release it.
If you move the lever all the way up or down, and the
arrow flashes at twice the normal rate, a signal bulb may
be burned out and other drivers may not see your
turn signal.If a bulb is burned out, replace it to help avoid an
accident. If the arrows don’t go on at all when you signal
a turn, check for burned-out bulbs or a blown fuse.
SeeFuses and Circuit Breakers on page 5-94.
Turn Signal On Chime
If your turn signal is left on for more than 3/4 of a mile
(1.2 km), a chime will sound at each flash of the
turn signal. To turn off the chime, move the turn signal
lever to the off position.
Headlamp High/Low-Beam Changer
23(Headlamp High/Low-Beam Changer):
To change the headlamps from low to high beam, pull
the multifunction lever all the way toward you. Then
release it.
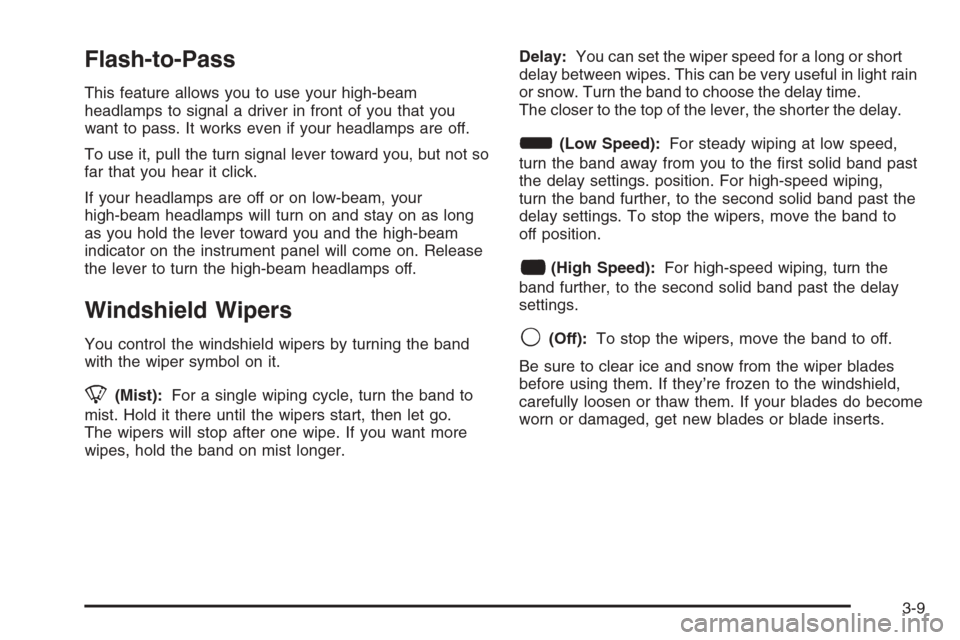
When the high beams
are on, this light on the
instrument panel cluster
also will be on.
3-8
Page 133 of 406
Flash-to-Pass
This feature allows you to use your high-beam
headlamps to signal a driver in front of you that you
want to pass. It works even if your headlamps are off.
To use it, pull the turn signal lever toward you, but not so
far that you hear it click.
If your headlamps are off or on low-beam, your
high-beam headlamps will turn on and stay on as long
as you hold the lever toward you and the high-beam
indicator on the instrument panel will come on. Release
the lever to turn the high-beam headlamps off.
Windshield Wipers
You control the windshield wipers by turning the band
with the wiper symbol on it.
8(Mist):For a single wiping cycle, turn the band to
mist. Hold it there until the wipers start, then let go.
The wipers will stop after one wipe. If you want more
wipes, hold the band on mist longer.Delay:You can set the wiper speed for a long or short
delay between wipes. This can be very useful in light rain
or snow. Turn the band to choose the delay time.
The closer to the top of the lever, the shorter the delay.
d(Low Speed):For steady wiping at low speed,
turn the band away from you to the first solid band past
the delay settings. position. For high-speed wiping,
turn the band further, to the second solid band past the
delay settings. To stop the wipers, move the band to
off position.
a(High Speed):For high-speed wiping, turn the
band further, to the second solid band past the delay
settings.
9(Off):To stop the wipers, move the band to off.
Be sure to clear ice and snow from the wiper blades
before using them. If they’re frozen to the windshield,
carefully loosen or thaw them. If your blades do become
worn or damaged, get new blades or blade inserts.
3-9