2006 CHEVROLET EXPRESS CARGO VAN clock
[x] Cancel search: clockPage 123 of 406
Outside Power Mirrors
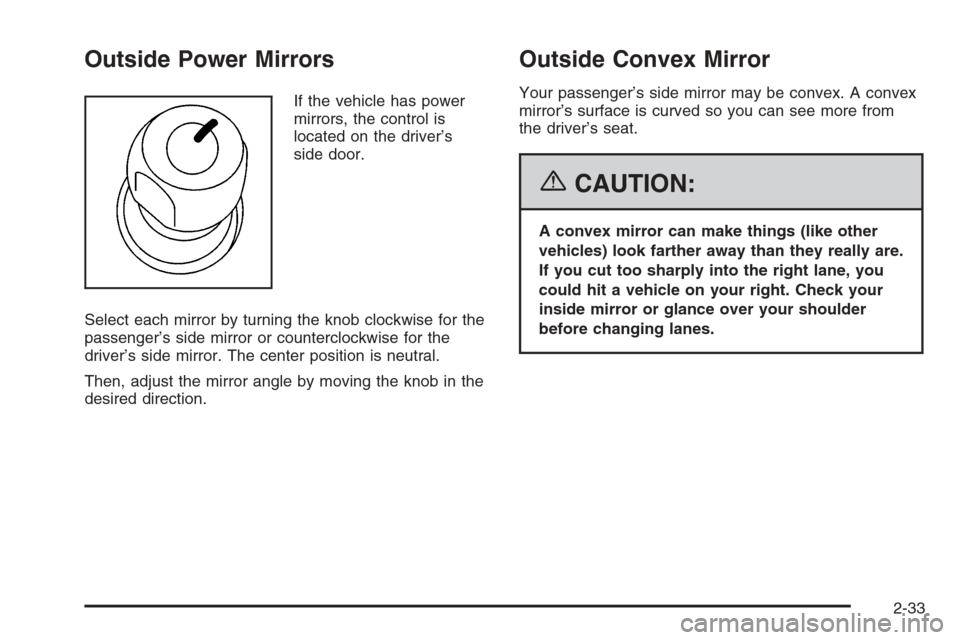
If the vehicle has power
mirrors, the control is
located on the driver’s
side door.
Select each mirror by turning the knob clockwise for the
passenger’s side mirror or counterclockwise for the
driver’s side mirror. The center position is neutral.
Then, adjust the mirror angle by moving the knob in the
desired direction.
Outside Convex Mirror
Your passenger’s side mirror may be convex. A convex
mirror’s surface is curved so you can see more from
the driver’s seat.
{CAUTION:
A convex mirror can make things (like other
vehicles) look farther away than they really are.
If you cut too sharply into the right lane, you
could hit a vehicle on your right. Check your
inside mirror or glance over your shoulder
before changing lanes.
2-33
Page 139 of 406
When you turn the headlamp switch off, the headlamps
will go off, and your DRL lamps (parking lamps) will
illuminate.
To turn off the DRL, turn the exterior lamp control to the
off position or shift into PARK (P). The DRL will stay
off until the control is toggled again or the vehicle
is shifted out of PARK (P).
This procedure applies only to vehicles first sold in the
United States.
Instrument Panel Brightness
Press this knob located
next to the exterior lamps
knob to extend it, and
then turn it to adjust the
instrument panel
brightness.
Turn the knob all the way clockwise to turn on the
interior lamps. Press the knob back into its stored
position when not in use.
Dome Lamps
The dome lamps will automatically come on when a
door is opened and turn off shortly after all doors
are closed.
Dome Lamp Override
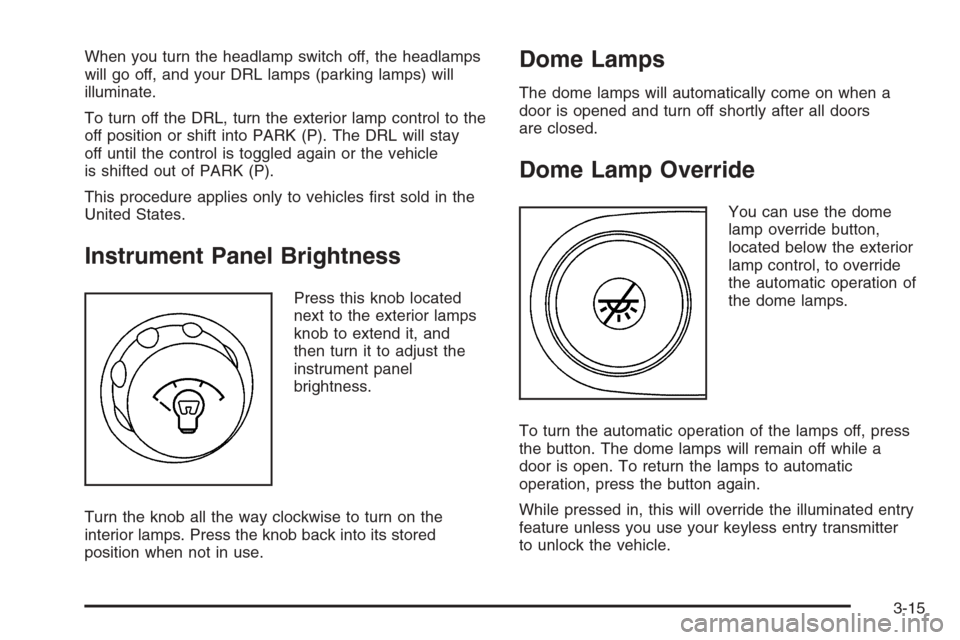
You can use the dome
lamp override button,
located below the exterior
lamp control, to override
the automatic operation of
the dome lamps.
To turn the automatic operation of the lamps off, press
the button. The dome lamps will remain off while a
door is open. To return the lamps to automatic
operation, press the button again.
While pressed in, this will override the illuminated entry
feature unless you use your keyless entry transmitter
to unlock the vehicle.
3-15
Page 142 of 406
Climate Controls
Climate Control System
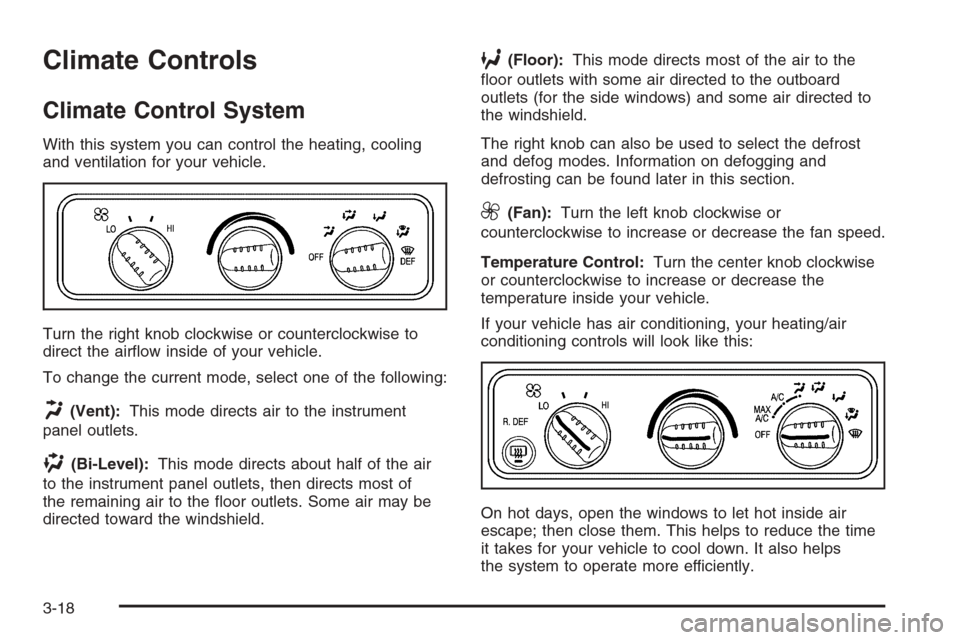
With this system you can control the heating, cooling
and ventilation for your vehicle.
Turn the right knob clockwise or counterclockwise to
direct the airflow inside of your vehicle.
To change the current mode, select one of the following:
H(Vent):This mode directs air to the instrument
panel outlets.
)(Bi-Level):This mode directs about half of the air
to the instrument panel outlets, then directs most of
the remaining air to the floor outlets. Some air may be
directed toward the windshield.
6(Floor):This mode directs most of the air to the
floor outlets with some air directed to the outboard
outlets (for the side windows) and some air directed to
the windshield.
The right knob can also be used to select the defrost
and defog modes. Information on defogging and
defrosting can be found later in this section.
9(Fan):Turn the left knob clockwise or
counterclockwise to increase or decrease the fan speed.
Temperature Control:Turn the center knob clockwise
or counterclockwise to increase or decrease the
temperature inside your vehicle.
If your vehicle has air conditioning, your heating/air
conditioning controls will look like this:
On hot days, open the windows to let hot inside air
escape; then close them. This helps to reduce the time
it takes for your vehicle to cool down. It also helps
the system to operate more efficiently.
3-18
Page 146 of 406
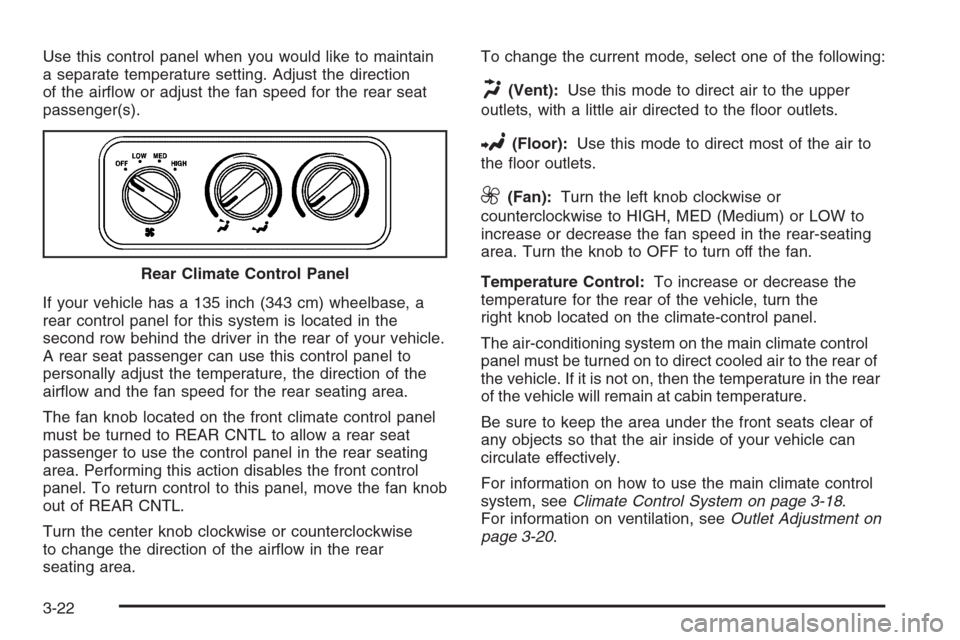
Use this control panel when you would like to maintain
a separate temperature setting. Adjust the direction
of the airflow or adjust the fan speed for the rear seat
passenger(s).
If your vehicle has a 135 inch (343 cm) wheelbase, a
rear control panel for this system is located in the
second row behind the driver in the rear of your vehicle.
A rear seat passenger can use this control panel to
personally adjust the temperature, the direction of the
airflow and the fan speed for the rear seating area.
The fan knob located on the front climate control panel
must be turned to REAR CNTL to allow a rear seat
passenger to use the control panel in the rear seating
area. Performing this action disables the front control
panel. To return control to this panel, move the fan knob
out of REAR CNTL.
Turn the center knob clockwise or counterclockwise
to change the direction of the airflow in the rear
seating area.To change the current mode, select one of the following:
H(Vent):Use this mode to direct air to the upper
outlets, with a little air directed to the floor outlets.
2(Floor):Use this mode to direct most of the air to
the floor outlets.
9(Fan):Turn the left knob clockwise or
counterclockwise to HIGH, MED (Medium) or LOW to
increase or decrease the fan speed in the rear-seating
area. Turn the knob to OFF to turn off the fan.
Temperature Control:To increase or decrease the
temperature for the rear of the vehicle, turn the
right knob located on the climate-control panel.
The air-conditioning system on the main climate control
panel must be turned on to direct cooled air to the rear of
the vehicle. If it is not on, then the temperature in the rear
of the vehicle will remain at cabin temperature.
Be sure to keep the area under the front seats clear of
any objects so that the air inside of your vehicle can
circulate effectively.
For information on how to use the main climate control
system, seeClimate Control System on page 3-18.
For information on ventilation, seeOutlet Adjustment on
page 3-20. Rear Climate Control Panel
3-22
Page 185 of 406
Cassette Tape Messages
CHK TAPE (Check Tape):If this message appears on
the display, the tape will not play due to one of the
following errors:
•The tape is tight and the player cannot turn the
tape hubs. Remove the tape. Hold the tape with
the open end down and try to turn the right
hub counterclockwise with a pencil. Turn the tape
over and repeat. If the hubs do not turn easily,
the tape may be damaged and should not be used
in the player. Try a new tape to make sure your
player is working properly.
•The tape is broken. Try a new tape.
•The tape is wrapped around the tape head.
Attempt to get the cassette out. Try a new tape.
CLEAN:If this message appears on the display, the
cassette tape player needs to be cleaned. It will still play
tapes, but it should be cleaned as soon as possible to
prevent damage to the tapes and player. SeeCare
of the Cassette Tape Player on page 3-77.
If the cassette tape is not playing correctly, for any other
reason, try a known good cassette.If any error occurs repeatedly or if an error cannot be
corrected, contact your GM dealer. If the radio displays
an error message, write it down and provide it to
your GM dealer when reporting the problem.
CD Adapter Kits
It is possible to use a portable CD player with the
cassette tape player after activating the bypass feature
on your tape player.
To activate the bypass feature, perform the
following steps:
1. Turn the ignition on.
2. Turn the radio off.
3. Press and hold the TAPE DISC button for
five seconds. READY will appear on the display
and the tape symbol on the display will flash,
indicating the feature is active.
4. Insert the adapter into the cassette tape slot.
It will power up the radio and begin playing.
The override feature will remain active until the eject
button is pressed.
3-61
Page 217 of 406
Steering in Emergencies
There are times when steering can be more effective
than braking. For example, you come over a hill and find
a truck stopped in your lane, or a car suddenly pulls
out from nowhere, or a child darts out from between
parked cars and stops right in front of you. You can
avoid these problems by braking — if you can stop in
time. But sometimes you cannot; there is not room. That
is the time for evasive action — steering around the
problem.
Your vehicle can perform very well in emergencies like
these. First apply your brakes.
SeeBraking on page 4-6. It is better to remove as much
speed as you can from a possible collision. Then steer
around the problem, to the left or right depending on the
space available.An emergency like this requires close attention and a
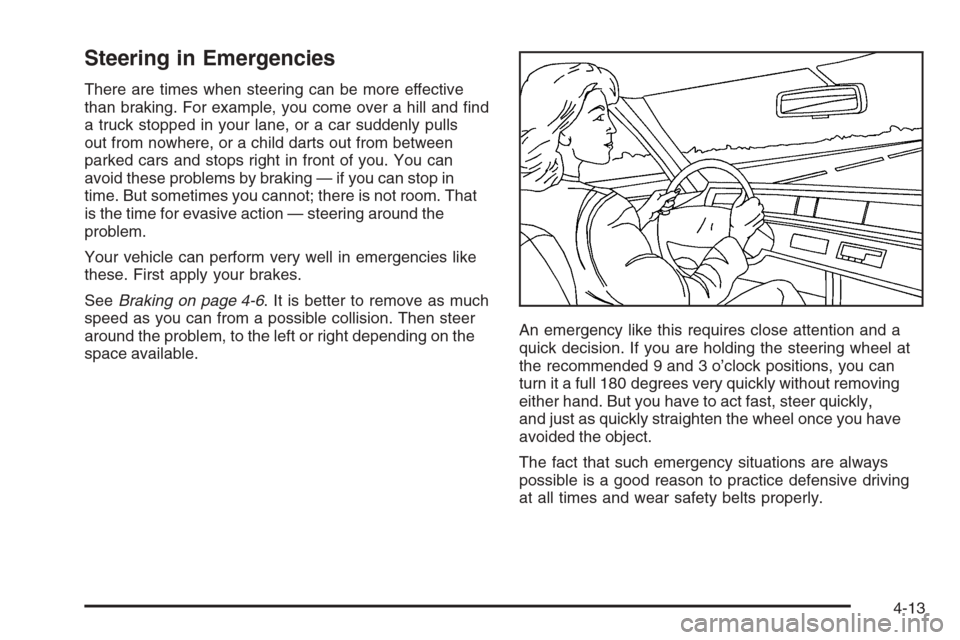
quick decision. If you are holding the steering wheel at
the recommended 9 and 3 o’clock positions, you can
turn it a full 180 degrees very quickly without removing
either hand. But you have to act fast, steer quickly,
and just as quickly straighten the wheel once you have
avoided the object.
The fact that such emergency situations are always
possible is a good reason to practice defensive driving
at all times and wear safety belts properly.
4-13
Page 264 of 406
Filling the Tank
{CAUTION:
Fuel vapor burns violently and a fuel �re can
cause bad injuries. To help avoid injuries to you
and others, read and follow all the instructions
on the pump island. Turn off your engine when
you are refueling. Do not smoke if you are near
fuel or refueling your vehicle. Keep sparks,
�ames, and smoking materials away from fuel.
Do not leave the fuel pump unattended when
refueling your vehicle — this is against the law
in some places. Keep children away from the
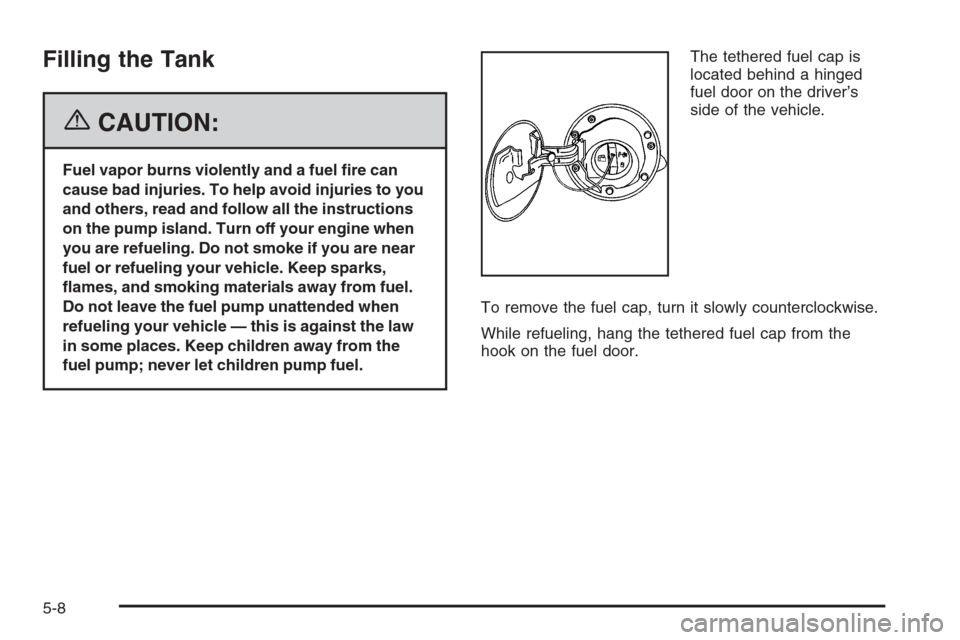
fuel pump; never let children pump fuel.The tethered fuel cap is
located behind a hinged
fuel door on the driver’s
side of the vehicle.
To remove the fuel cap, turn it slowly counterclockwise.
While refueling, hang the tethered fuel cap from the
hook on the fuel door.
5-8
Page 265 of 406
{CAUTION:
If you spill fuel and then something ignites it,
you could be badly burned. Fuel can spray out
on you if you open the fuel cap too quickly.
This spray can happen if your tank is nearly
full, and is more likely in hot weather. Open
the fuel cap slowly and wait for any hiss noise
to stop. Then unscrew the cap all the way.
Be careful not to spill fuel. Do not top off or overfill the
tank and wait a few seconds after you have finished
pumping before removing the nozzle. Clean fuel from
painted surfaces as soon as possible. SeeWashing
Your Vehicle on page 5-88.
When replacing the fuel cap, turn it clockwise
until it clicks. Make sure the cap is fully installed.
The diagnostic system can determine if the fuel cap has
been left off or improperly installed. This would allow
fuel to evaporate into the atmosphere. SeeMalfunction
Indicator Lamp on page 3-36.
{CAUTION:
If a �re starts while you are refueling, do not
remove the nozzle. Shut off the �ow of fuel by
shutting off the pump or by notifying the
station attendant. Leave the area immediately.
Notice:If you need a new fuel cap, be sure to get
the right type. Your dealer can get one for you.
If you get the wrong type, it may not �t properly.
This may cause your malfunction indicator lamp to
light and may damage your fuel tank and emissions
system. SeeMalfunction Indicator Lamp on
page 3-36.
5-9