2006 CHEVROLET EQUINOX start stop button
[x] Cancel search: start stop buttonPage 80 of 382
Resynchronization
This is used to keep the transmitter of the vehicle
communicating with the receiver of the vehicle.
Resynchronization may be required due to the security
method used by this system.
Your vehicle has an automatic resynchronization
function built into the system. If your transmitter is
not working properly and you have to manually
resynchronize, press the lock and unlock buttons at the
same time for seven seconds while you are near
your vehicle. The doors will lock or unlock, depending
on their starting position. If they do not, contact
your dealer for service.
Doors and Locks
Door Locks
{CAUTION:
Unlocked doors can be dangerous.
Passengers, especially children, can
easily open the doors and fall out of a
moving vehicle. When a door is locked,
the handle will not open it. You increase
the chance of being thrown out of the
vehicle in a crash if the doors are not
locked. So, wear safety belts properly and
lock the doors whenever you drive.
Young children who get into unlocked
vehicles may be unable to get out. A child
can be overcome by extreme heat and can
suffer permanent injuries or even death
from heat stroke. Always lock your vehicle
whenever you leave it.
Outsiders can easily enter through an
unlocked door when you slow down or
stop your vehicle. Locking your doors can
help prevent this from happening.
2-6
Page 145 of 382
Anti-Lock Brake System
Warning Light
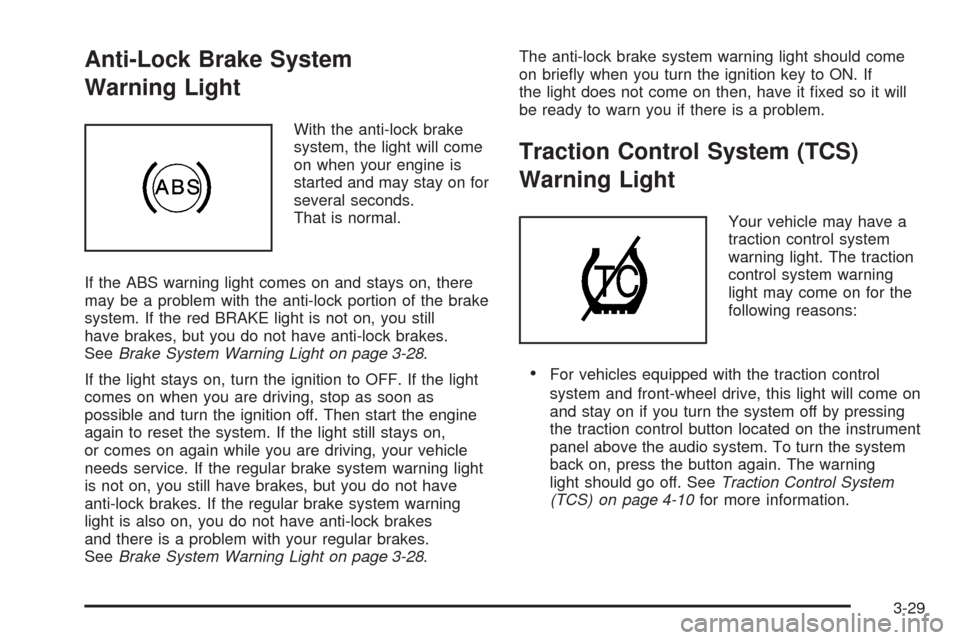
With the anti-lock brake
system, the light will come
on when your engine is
started and may stay on for
several seconds.
That is normal.
If the ABS warning light comes on and stays on, there
may be a problem with the anti-lock portion of the brake
system. If the red BRAKE light is not on, you still
have brakes, but you do not have anti-lock brakes.
SeeBrake System Warning Light on page 3-28.
If the light stays on, turn the ignition to OFF. If the light
comes on when you are driving, stop as soon as
possible and turn the ignition off. Then start the engine
again to reset the system. If the light still stays on,
or comes on again while you are driving, your vehicle
needs service. If the regular brake system warning light
is not on, you still have brakes, but you do not have
anti-lock brakes. If the regular brake system warning
light is also on, you do not have anti-lock brakes
and there is a problem with your regular brakes.
SeeBrake System Warning Light on page 3-28.The anti-lock brake system warning light should come
on brie�y when you turn the ignition key to ON. If
the light does not come on then, have it �xed so it will
be ready to warn you if there is a problem.
Traction Control System (TCS)
Warning Light
Your vehicle may have a
traction control system
warning light. The traction
control system warning
light may come on for the
following reasons:
For vehicles equipped with the traction control
system and front-wheel drive, this light will come on
and stay on if you turn the system off by pressing
the traction control button located on the instrument
panel above the audio system. To turn the system
back on, press the button again. The warning
light should go off. SeeTraction Control System
(TCS) on page 4-10for more information.
3-29
Page 165 of 382
s(Reverse):Press and hold this pushbutton to
reverse quickly within a track. You will hear sound at a
reduced volume. Release the button to play the
passage. The elapsed time of the track will appear on
the display.
\(Fast Forward):Press and hold this button to
advance quickly within a track. You will hear sound at a
reduced volume. Release the button to play the passage.
The elapsed time of the track will appear on the display.
9RPT (Repeat):Press this button once to hear a
track over again. RPT ON will appear on the display.
The current track will continue to repeat. Press
RPT again to turn off repeat play. RPT OFF will appear
on the display and RPT will disappear from the
display.
9RDM (Random):Press this button to hear the
tracks in random, rather than sequential, order. TRACK,
TRK#, and the RDM icon will appear on the display.
TRACK and the track number will appear on the display
when each track starts to play. Press RDM again to turn
off random play. RDM OFF will appear on the display and
the RDM icon will disappear from the display.
oSEEKp:Press the left arrow to go to the start of
the current track. If this button is pressed more than
once, the player will continue moving backward through
the CD.
Press the right arrow to go to the start of the next track.
If this button is pressed more than once, the player
will continue moving forward through the CD.
©SCAN¨:To scan the CD, press either SCAN
arrow. Use this feature to listen to ten seconds of each
track of the CD. Press either SCAN arrow again, to
stop scanning.
DISP (Display):Press the DISP knob to see how long
the current track has been playing. The track number,
and the elapsed time of the track will appear on the
display. To change the default on the display, track or
elapsed time, press the knob until you see the display you
want, then hold the knob for two seconds. The radio will
produce one beep and the selected display will now be
the default. Pressing this knob will also display text on
commercially recorded CDs (if available).
3-49
Page 176 of 382
s(Reverse):Press and hold this pushbutton to
reverse quickly within a track. You will hear sound at
a reduced volume. Release the button to play the
passage. The elapsed time of the track will appear on
the display.
\(Fast Forward):Press and hold this pushbutton to
advance quickly within a track. You will hear sound at a
reduced volume. Release the button to play the passage.
The elapsed time of the track will appear on the display.
9RDM (Random):Press this button to hear the
tracks in random, rather than sequential, order. TRACK,
TRK #, and the RDM icon will appear on the display.
TRACK and the track number will appear on the display
when each track starts to play. Press RDM again to
turn off random play. RDM OFF will appear on the
display and the RDM icon will disappear from
the display.
©SEEK¨:Press and release the left arrow to go to
the start of the current track. If this button is pressed
more than once, the player will continue moving
backward through the CD.Press and release the right arrow to go to the start of
the next track. If this button is pressed more than
once, the player will continue moving forward through
the CD.
To scan the CD, press and hold either SEEK arrow for
more than two seconds. Use this feature to listen to
ten seconds of each track of the CD. Press either SEEK
arrow again, to stop scanning.
DISP (Display):Press the DISP knob to see how long
the current track has been playing. The track number,
and the elapsed time of the track will appear on
the display. To change the default on the display, track
or elapsed time, press the knob until you see the
display you want, then hold the knob for two seconds.
The radio will produce one beep and the selected
display will now be the default. Pressing this knob will
also display text on commercially recorded CDs (if
available).
EQ (Equalizer):Press this button to select the desired
equalization setting while playing a CD. The equalization
will be automatically recalled whenever a CD is played.
For more information, see “EQ” listed previously in
this section.
3-60
Page 179 of 382
File System and Naming
The song name that will be displayed will be the song
name that is contained in the ID3 tag. If the song name is
not present in the ID3 tag, then the radio will display the
�le name without the extension (such as .mp3) as the
track name.
Track names longer than 32 characters or 2 pages will
be shortened.
Preprogrammed Playlists
You can access preprogrammed playlists which were
created by WinAmp™, MusicMatch™, or Real
Jukebox™ software, however, you will not have editing
capability. These playlists will be treated as special
folders containing compressed audio song �les.
Playing an MP3
Insert a CD partway into the slot, label side up.
The player will pull it in and the CD will begin to play
after the player has read the table of contents, has read
the �le structure, and has determined where the �rst
playable track is located. READING DISC will appear on
the display. After the MP3 has been read, the number
of folders and tracks will appear on the display.The radio will go back to the default display and the
CD icon will appear. If you want to insert an MP3 with
the ignition off, �rst press the EJECT button or push the
RCL knob. If you insert a CD with the radio off and
the ignition on, it will start to play.
If the ignition or radio is turned off with a CD in the
player, it will stay in the player. When the ignition
or radio is turned on, the CD will start playing where it
stopped, if it was the last selected audio source.
The track number will appear on the display, as each
new track starts to play.
The CD player can play the smaller 3 inch (8 cm) single
CDs with an adapter ring. Full-size CDs and the
smaller CDs are loaded in the same manner.
If playing a CD-R, the sound quality may be reduced due
to CD-R quality, the method of recording, the quality of
the music that has been recorded, and the way the CD-R
has been handled. There may be an increase in skipping,
difficulty in �nding tracks, and/or difficulty in loading and
ejecting. If these problems occur, check the bottom
surface of the CD. If the surface of the CD is damaged,
such as cracked, broken, or scratched, the CD will not
play properly. If the surface of the CD is soiled, seeCare
of Your CDs on page 3-83for more information.
3-63
Page 181 of 382
9RDM (Random):To random the tracks in the
current folder or playlist, press and release this button.
FLDR RDM ON will appear on the display. Once all
of the tracks in the current folder or playlist have been
played the system will move on to the next folder or
playlist and play all of the tracks in random order.
To random all the tracks on the CD, press and hold this
button for two seconds. You will hear a beep and
DISC RDM ON will appear on the display. This feature
will not work with playlists.
When in random, pressing and releasing either SEEK
arrow will take you to the next or previous random track.
Press and release this button again to turn off random
play. RDM OFF will appear on the display.
©SEEK¨:Press the left arrow to go to the start of
the previous track. Press the right arrow to go to the
start of the next track. Pressing either arrow for
more than two seconds will search the previous or next
tracks at two tracks per second. Release the button
to stop searching and to play the track.ADJ (Adjust):Turning this knob will fast track reverse
or advance through the tracks in all folders or playlists.
The track number and �le name will appear on the
display for each track. Turning this knob while in random
will fast track reverse or advance the tracks in
sequential order.
DISP (Display):Press the DISP knob to switch
between track mode, folder/playlist mode, and time of
day mode. The display will show sixteen characters, but
there can be two pages of text. If there are more
than eight characters in the song, folder, or playlist
name, pressing this knob within two seconds will take
you to the next page of text. If there are no other pages
to be shown, pressing this knob within two seconds
will take you to the next display mode.Track mode will display the current track number
and the ID3 tag song name.
Folder/playlist mode will display the current folder or
playlist number and the folder/playlist name.
To change the default on the display, press the DISP
knob until you see the display you want, then hold
this knob for two seconds. The radio will produce
one beep and the selected display will now be the
default.
3-65
Page 194 of 382
oSEEKp:Press the left arrow to go to the start of
the current track if more than eight seconds have
played. Press the right arrow to go to the beginning of
the next track. If either arrow is held or pressed
more than once, the player will continue moving
backward or forward through the CD.
SCAN:Press and release this button to scan the
current CD. The CD will go to the next track, play the
�rst 10 seconds, then go on to the next track. Press the
SCAN button again to stop scanning.
To scan all of the CDs loaded, press and hold the
SCAN button for more than two seconds. The CD will
go to the next CD, play the �rst 10 seconds of each
track, then go on to the next CD. Press the SCAN button
again to stop scanning.
DISP (Display):Press the DISP button to switch
between time and the elapsed time of the track. To
change the default on the display (CD#/Track#/Time,
CD#/Track#, or Track#/Elapsed Time), press the button
until you see the display you want, then hold the
button for two seconds. The radio will produce one beep
and the selected display will now be the default.EQ (Equalizer):Press this button to select the desired
equalization setting while playing a CD. The equalization
will be automatically set whenever a CD is played.
For more information on equalization, see “EQ” listed
previously in this section.
AM/FM:Press this button to play the radio when a CD
is playing. The inactive CD(s) will remain safely
inside the radio for future listening.
XM/AUX:Press this button to listen to XM™
(if equipped) when a CD is playing. The inactive CD will
remain safely inside the radio for future listening.
9CD:Press this button to play a CD when listening
to the radio.
3-78
Page 280 of 382
Replacing Brake System Parts
The braking system on a vehicle is complex. Its many
parts have to be of top quality and work well together
if the vehicle is to have really good braking. Your
vehicle was designed and tested with top-quality GM
brake parts. When you replace parts of your braking
system — for example, when your brake linings
wear down and you need new ones put in — be sure
you get new approved GM replacement parts. If you do
not, your brakes may no longer work properly. For
example, if someone puts in brake linings that are wrong
for your vehicle, the balance between your front and
rear brakes can change — for the worse. The braking
performance you have come to expect can change
in many other ways if someone puts in the wrong
replacement brake parts.
Battery
Your vehicle has a maintenance free battery. When it is
time for a new battery, get one that has the replacement
number shown on the original battery’s label. We
recommend an ACDelco
®replacement battery.
For battery replacement, see your dealer or the service
manual. To purchase a service manual, seeService
and Owner PublicationsinService Publications Ordering
Information on page 7-14.Warning:Battery posts, terminals, and related
accessories contain lead and lead compounds,
chemicals known to the State of California to cause
cancer and reproductive harm. Wash hands after
handling.
Vehicle Storage
If you are not going to drive your vehicle for 25 days
or more, remove the black, negative (-) cable from
the battery. This will help keep your battery from
running down.
{CAUTION:
Batteries have acid that can burn you and gas
that can explode. You can be badly hurt if you
are not careful. SeeJump Starting on page 5-35
for tips on working around a battery without
getting hurt.
You must close all doors and the liftgate before
reconnecting the battery. After reconnecting the battery,
you must press the unlock button on the remote keyless
entry transmitter. Failure to follow this procedure may
result in a sounding alarm. Pressing unlock on the remote
keyless entry transmitter would stop the sounding alarm.
5-34