2006 CHEVROLET EQUINOX buttons
[x] Cancel search: buttonsPage 30 of 382
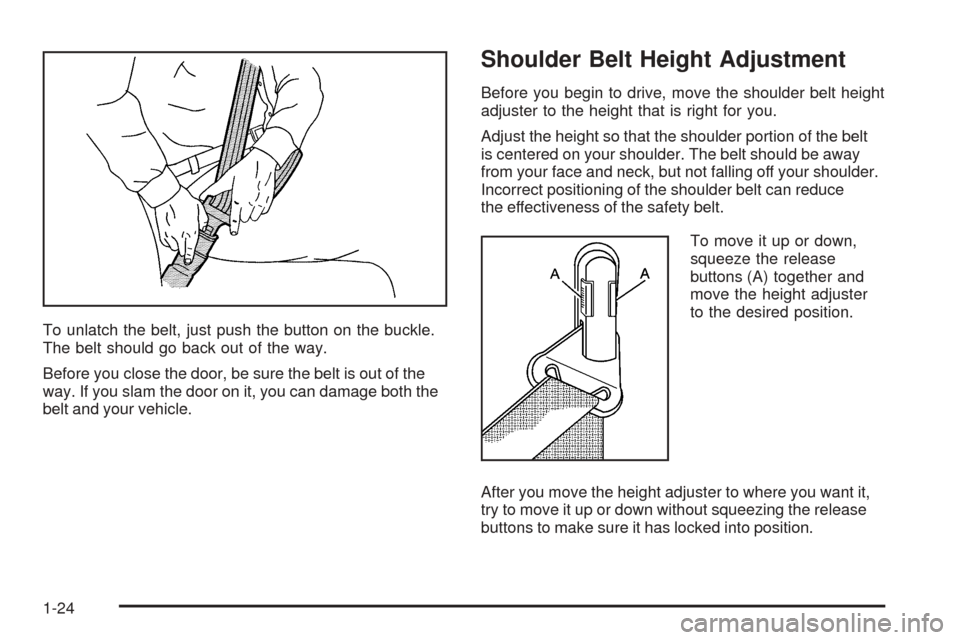
To unlatch the belt, just push the button on the buckle.
The belt should go back out of the way.
Before you close the door, be sure the belt is out of the
way. If you slam the door on it, you can damage both the
belt and your vehicle.
Shoulder Belt Height Adjustment
Before you begin to drive, move the shoulder belt height
adjuster to the height that is right for you.
Adjust the height so that the shoulder portion of the belt
is centered on your shoulder. The belt should be away
from your face and neck, but not falling off your shoulder.
Incorrect positioning of the shoulder belt can reduce
the effectiveness of the safety belt.
To move it up or down,
squeeze the release
buttons (A) together and
move the height adjuster
to the desired position.
After you move the height adjuster to where you want it,
try to move it up or down without squeezing the release
buttons to make sure it has locked into position.
1-24
Page 80 of 382
Resynchronization
This is used to keep the transmitter of the vehicle
communicating with the receiver of the vehicle.
Resynchronization may be required due to the security
method used by this system.
Your vehicle has an automatic resynchronization
function built into the system. If your transmitter is
not working properly and you have to manually
resynchronize, press the lock and unlock buttons at the
same time for seven seconds while you are near
your vehicle. The doors will lock or unlock, depending
on their starting position. If they do not, contact
your dealer for service.
Doors and Locks
Door Locks
{CAUTION:
Unlocked doors can be dangerous.
Passengers, especially children, can
easily open the doors and fall out of a
moving vehicle. When a door is locked,
the handle will not open it. You increase
the chance of being thrown out of the
vehicle in a crash if the doors are not
locked. So, wear safety belts properly and
lock the doors whenever you drive.
Young children who get into unlocked
vehicles may be unable to get out. A child
can be overcome by extreme heat and can
suffer permanent injuries or even death
from heat stroke. Always lock your vehicle
whenever you leave it.
Outsiders can easily enter through an
unlocked door when you slow down or
stop your vehicle. Locking your doors can
help prevent this from happening.
2-6
Page 88 of 382
Content Theft-Deterrent Personalization
To change the mode that your vehicle is programmed to,
do the following:
1. Turn the ignition to RUN or ACC (Accessory).
2. Press the panic alarm button on the transmitter
slowly four times within �ve seconds.
3. You must complete one of the following within
three seconds to change the mode.
To select the active arming mode, press the
lock button on the transmitter once within
three seconds. A chime will sound two times to
acknowledge that the active arming mode
has been selected.
To select the passive arming mode, press the
lock button on the transmitter twice within
three seconds. A chime will sound three times to
acknowledge that the passive arming mode
has been selected.
To select the security system disable mode,
press the unlock button on the transmitter
once within three seconds. A chime will sound
one time to acknowledge that the security system
disabled mode has been selected.If you accidentally set off the alarm when entering or
exiting the vehicle, you can shut it off by pressing either
the lock or unlock button once on the remote keyless
entry transmitter. The panic alarm button needs to
be pressed twice to turn off the alarm. There is
a ten second pre-alarm grace period indicated by a
rapid beeping. By pressing the transmitter buttons as
indicated above, you can disarm the system before
the horn begins to sound and the exterior lights begin
to �ash.
If you hear three horn chirps when you press the unlock
button on the transmitter, that means the vehicle’s
alarm was triggered while you were away.
2-14
Page 121 of 382
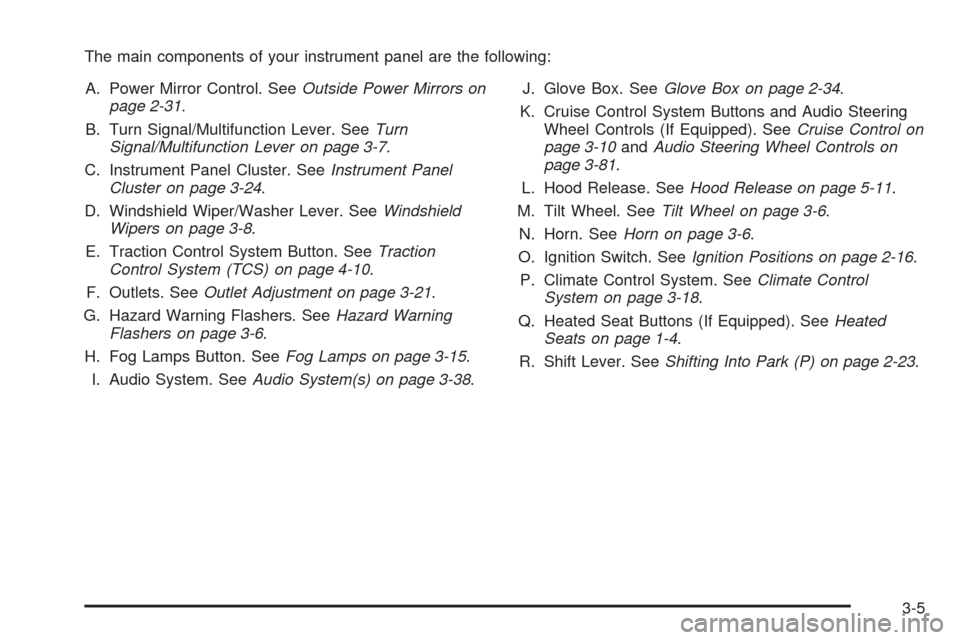
The main components of your instrument panel are the following:
A. Power Mirror Control. SeeOutside Power Mirrors on
page 2-31.
B. Turn Signal/Multifunction Lever. SeeTurn
Signal/Multifunction Lever on page 3-7.
C. Instrument Panel Cluster. SeeInstrument Panel
Cluster on page 3-24.
D. Windshield Wiper/Washer Lever. SeeWindshield
Wipers on page 3-8.
E. Traction Control System Button. SeeTraction
Control System (TCS) on page 4-10.
F. Outlets. SeeOutlet Adjustment on page 3-21.
G. Hazard Warning Flashers. SeeHazard Warning
Flashers on page 3-6.
H. Fog Lamps Button. SeeFog Lamps on page 3-15.
I. Audio System. SeeAudio System(s) on page 3-38.J. Glove Box. SeeGlove Box on page 2-34.
K. Cruise Control System Buttons and Audio Steering
Wheel Controls (If Equipped). SeeCruise Control on
page 3-10andAudio Steering Wheel Controls on
page 3-81.
L. Hood Release. SeeHood Release on page 5-11.
M. Tilt Wheel. SeeTilt Wheel on page 3-6.
N. Horn. SeeHorn on page 3-6.
O. Ignition Switch. SeeIgnition Positions on page 2-16.
P. Climate Control System. SeeClimate Control
System on page 3-18.
Q. Heated Seat Buttons (If Equipped). SeeHeated
Seats on page 1-4.
R. Shift Lever. SeeShifting Into Park (P) on page 2-23.
3-5
Page 126 of 382
Rear Window Wiper/Washer
The band on the wiper lever with the smaller arrow
operates the rear wiper/washer.
9(Off):Turn the band to this position to turn off the
rear wiper.
Z(Rear Wiper):Turn the band with the smaller arrow
to this position to turn on the rear wiper. To set for a
shorter or longer delay between wipes, turn the
other band with the larger arrow pointing to the
numbers (1, 2, or 3). Select 3 for the most frequent
movement; select 1 for the least frequent. The band
with the arrow pointing to the numbers (1, 2, or 3) will
affect both the front and rear wipers if they are on at the
same time.
Y(Wash):Turn and hold the band in this position to
spray washer �uid on the rear window. The rear wiper will
also come on. Release the band when enough �uid has
been sprayed on the window. The rear wiper will run a
few additional times after you release it.
The rear window washer uses the same �uid bottle as the
windshield washer. However, the rear window washer will
run out of �uid before the windshield washer. If you can
wash your windshield but not your rear window, check the
�uid level.
Cruise Control
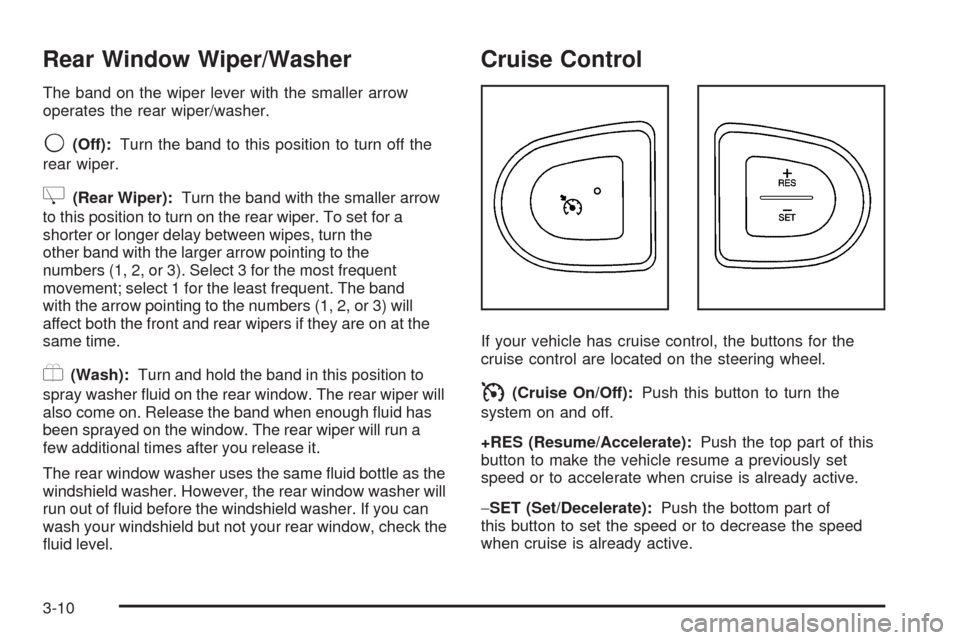
If your vehicle has cruise control, the buttons for the
cruise control are located on the steering wheel.
I(Cruise On/Off):Push this button to turn the
system on and off.
+RES (Resume/Accelerate):Push the top part of this
button to make the vehicle resume a previously set
speed or to accelerate when cruise is already active.
−SET (Set/Decelerate):Push the bottom part of
this button to set the speed or to decrease the speed
when cruise is already active.
3-10
Page 135 of 382
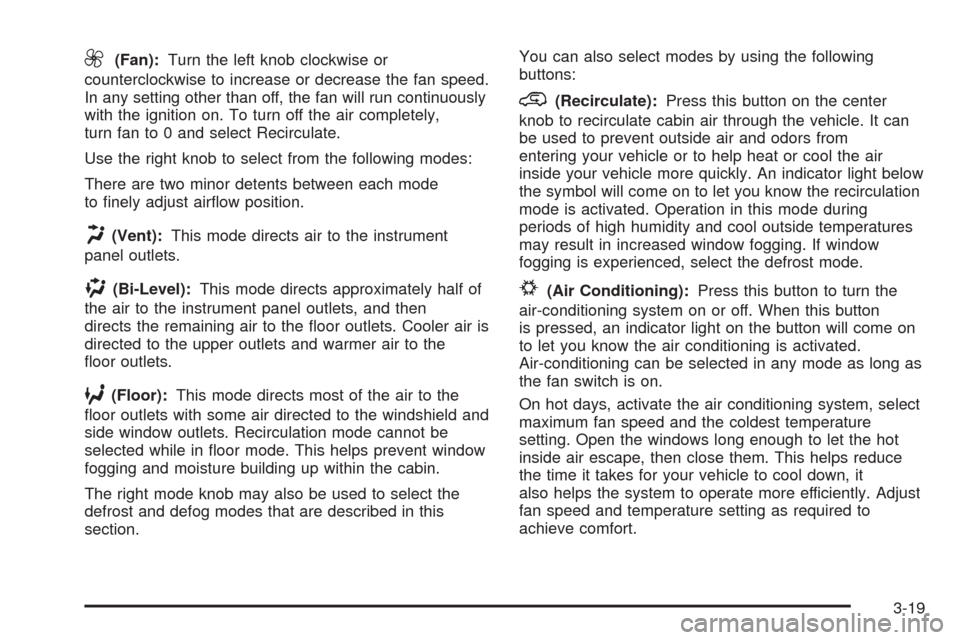
9(Fan):Turn the left knob clockwise or
counterclockwise to increase or decrease the fan speed.
In any setting other than off, the fan will run continuously
with the ignition on. To turn off the air completely,
turn fan to 0 and select Recirculate.
Use the right knob to select from the following modes:
There are two minor detents between each mode
to �nely adjust air�ow position.
H(Vent):This mode directs air to the instrument
panel outlets.
)(Bi-Level):This mode directs approximately half of
the air to the instrument panel outlets, and then
directs the remaining air to the �oor outlets. Cooler air is
directed to the upper outlets and warmer air to the
�oor outlets.
6(Floor):This mode directs most of the air to the
�oor outlets with some air directed to the windshield and
side window outlets. Recirculation mode cannot be
selected while in �oor mode. This helps prevent window
fogging and moisture building up within the cabin.
The right mode knob may also be used to select the
defrost and defog modes that are described in this
section.You can also select modes by using the following
buttons:
@(Recirculate):Press this button on the center
knob to recirculate cabin air through the vehicle. It can
be used to prevent outside air and odors from
entering your vehicle or to help heat or cool the air
inside your vehicle more quickly. An indicator light below
the symbol will come on to let you know the recirculation
mode is activated. Operation in this mode during
periods of high humidity and cool outside temperatures
may result in increased window fogging. If window
fogging is experienced, select the defrost mode.
#(Air Conditioning):Press this button to turn the
air-conditioning system on or off. When this button
is pressed, an indicator light on the button will come on
to let you know the air conditioning is activated.
Air-conditioning can be selected in any mode as long as
the fan switch is on.
On hot days, activate the air conditioning system, select
maximum fan speed and the coldest temperature
setting. Open the windows long enough to let the hot
inside air escape, then close them. This helps reduce
the time it takes for your vehicle to cool down, it
also helps the system to operate more efficiently. Adjust
fan speed and temperature setting as required to
achieve comfort.
3-19
Page 158 of 382
Finding a Station
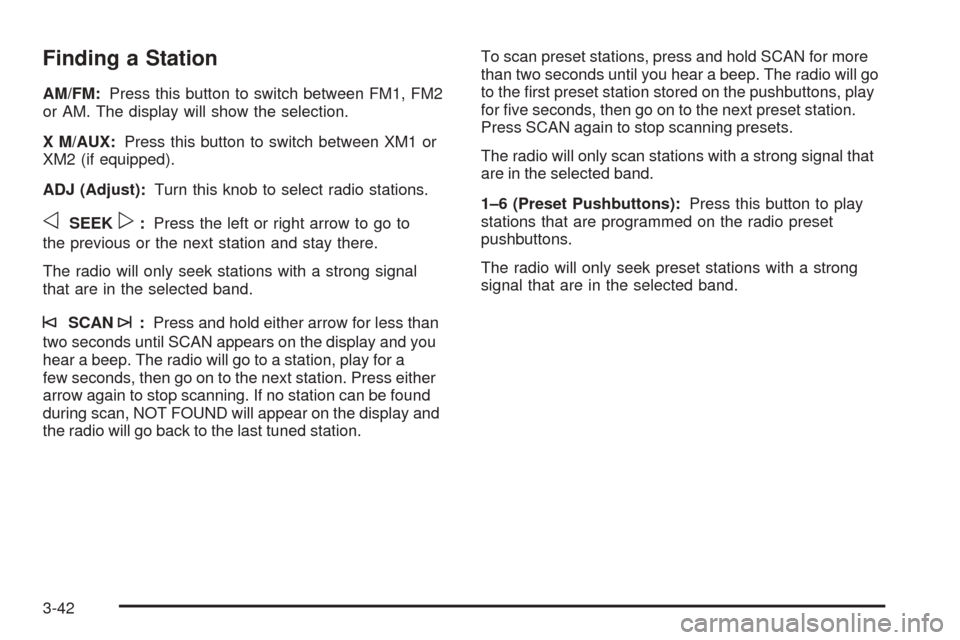
AM/FM:Press this button to switch between FM1, FM2
or AM. The display will show the selection.
X M/AUX:Press this button to switch between XM1 or
XM2 (if equipped).
ADJ (Adjust):Turn this knob to select radio stations.
oSEEKp:Press the left or right arrow to go to
the previous or the next station and stay there.
The radio will only seek stations with a strong signal
that are in the selected band.
©SCAN¨:Press and hold either arrow for less than
two seconds until SCAN appears on the display and you
hear a beep. The radio will go to a station, play for a
few seconds, then go on to the next station. Press either
arrow again to stop scanning. If no station can be found
during scan, NOT FOUND will appear on the display and
the radio will go back to the last tuned station.To scan preset stations, press and hold SCAN for more
than two seconds until you hear a beep. The radio will go
to the �rst preset station stored on the pushbuttons, play
for �ve seconds, then go on to the next preset station.
Press SCAN again to stop scanning presets.
The radio will only scan stations with a strong signal that
are in the selected band.
1–6 (Preset Pushbuttons):Press this button to play
stations that are programmed on the radio preset
pushbuttons.
The radio will only seek preset stations with a strong
signal that are in the selected band.
3-42
Page 159 of 382
Setting Preset Stations
Up to 30 stations (six FM1, six FM2, and six AM,
six XM1 and six XM2 (if equipped)), can be programmed
on the six numbered pushbuttons, by performing the
following steps:
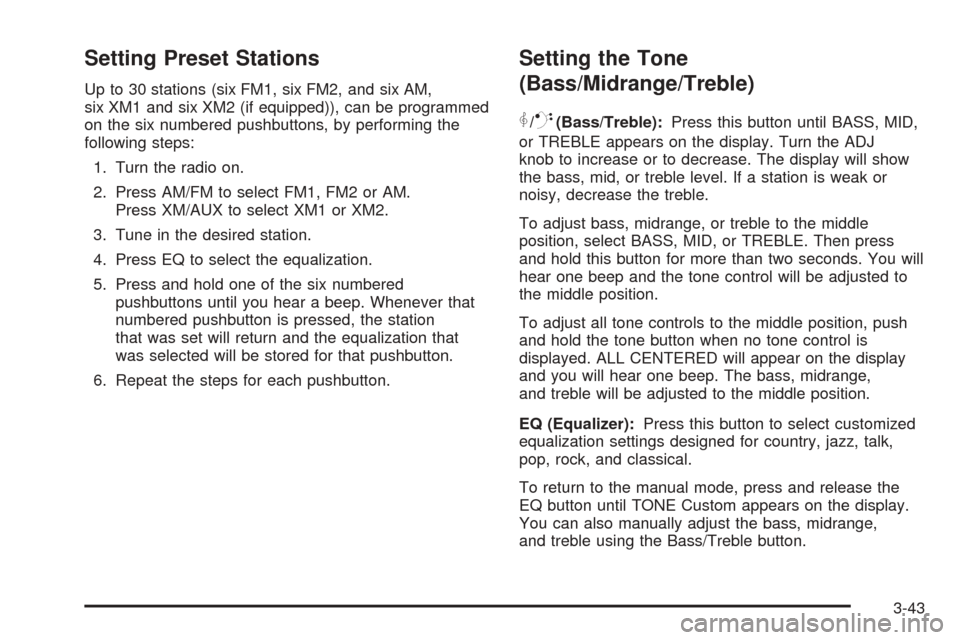
1. Turn the radio on.
2. Press AM/FM to select FM1, FM2 or AM.
Press XM/AUX to select XM1 or XM2.
3. Tune in the desired station.
4. Press EQ to select the equalization.
5. Press and hold one of the six numbered
pushbuttons until you hear a beep. Whenever that
numbered pushbutton is pressed, the station
that was set will return and the equalization that
was selected will be stored for that pushbutton.
6. Repeat the steps for each pushbutton.
Setting the Tone
(Bass/Midrange/Treble)
P
/Q(Bass/Treble):Press this button until BASS, MID,
or TREBLE appears on the display. Turn the ADJ
knob to increase or to decrease. The display will show
the bass, mid, or treble level. If a station is weak or
noisy, decrease the treble.
To adjust bass, midrange, or treble to the middle
position, select BASS, MID, or TREBLE. Then press
and hold this button for more than two seconds. You will
hear one beep and the tone control will be adjusted to
the middle position.
To adjust all tone controls to the middle position, push
and hold the tone button when no tone control is
displayed. ALL CENTERED will appear on the display
and you will hear one beep. The bass, midrange,
and treble will be adjusted to the middle position.
EQ (Equalizer):Press this button to select customized
equalization settings designed for country, jazz, talk,
pop, rock, and classical.
To return to the manual mode, press and release the
EQ button until TONE Custom appears on the display.
You can also manually adjust the bass, midrange,
and treble using the Bass/Treble button.
3-43