Page 88 of 382
Content Theft-Deterrent Personalization
To change the mode that your vehicle is programmed to,
do the following:
1. Turn the ignition to RUN or ACC (Accessory).
2. Press the panic alarm button on the transmitter
slowly four times within �ve seconds.
3. You must complete one of the following within
three seconds to change the mode.
To select the active arming mode, press the
lock button on the transmitter once within
three seconds. A chime will sound two times to
acknowledge that the active arming mode
has been selected.
To select the passive arming mode, press the
lock button on the transmitter twice within
three seconds. A chime will sound three times to
acknowledge that the passive arming mode
has been selected.
To select the security system disable mode,
press the unlock button on the transmitter
once within three seconds. A chime will sound
one time to acknowledge that the security system
disabled mode has been selected.If you accidentally set off the alarm when entering or
exiting the vehicle, you can shut it off by pressing either
the lock or unlock button once on the remote keyless
entry transmitter. The panic alarm button needs to
be pressed twice to turn off the alarm. There is
a ten second pre-alarm grace period indicated by a
rapid beeping. By pressing the transmitter buttons as
indicated above, you can disarm the system before
the horn begins to sound and the exterior lights begin
to �ash.
If you hear three horn chirps when you press the unlock
button on the transmitter, that means the vehicle’s
alarm was triggered while you were away.
2-14
Page 89 of 382
Passlock®
Your vehicle has the Passlock®theft-deterrent system.
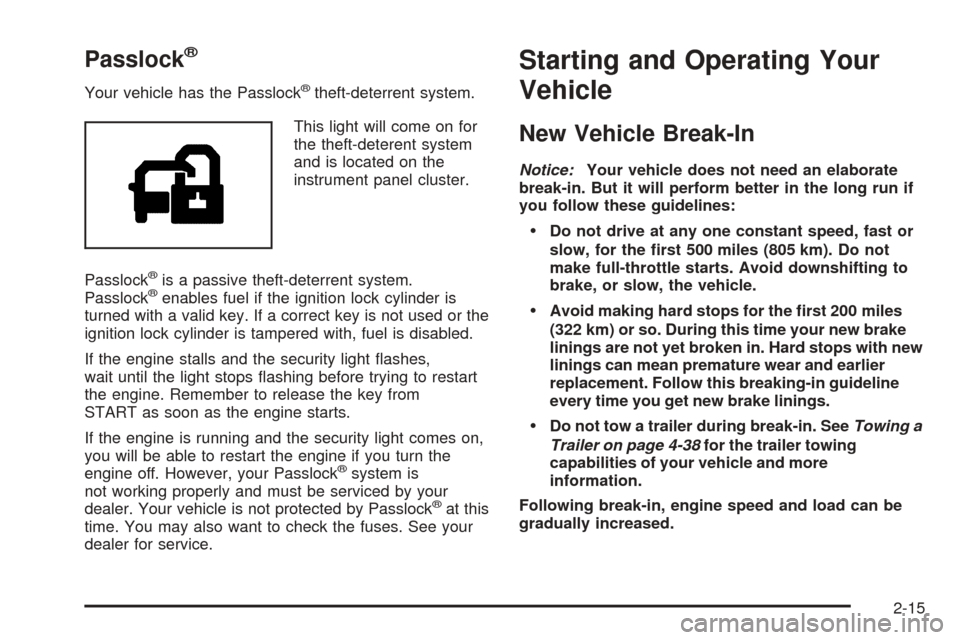
This light will come on for
the theft-deterent system
and is located on the
instrument panel cluster.
Passlock
®is a passive theft-deterrent system.
Passlock®enables fuel if the ignition lock cylinder is
turned with a valid key. If a correct key is not used or the
ignition lock cylinder is tampered with, fuel is disabled.
If the engine stalls and the security light �ashes,
wait until the light stops �ashing before trying to restart
the engine. Remember to release the key from
START as soon as the engine starts.
If the engine is running and the security light comes on,
you will be able to restart the engine if you turn the
engine off. However, your Passlock
®system is
not working properly and must be serviced by your
dealer. Your vehicle is not protected by Passlock
®at this
time. You may also want to check the fuses. See your
dealer for service.
Starting and Operating Your
Vehicle
New Vehicle Break-In
Notice:Your vehicle does not need an elaborate
break-in. But it will perform better in the long run if
you follow these guidelines:
Do not drive at any one constant speed, fast or
slow, for the �rst 500 miles (805 km). Do not
make full-throttle starts. Avoid downshifting to
brake, or slow, the vehicle.
Avoid making hard stops for the �rst 200 miles
(322 km) or so. During this time your new brake
linings are not yet broken in. Hard stops with new
linings can mean premature wear and earlier
replacement. Follow this breaking-in guideline
every time you get new brake linings.
Do not tow a trailer during break-in. SeeTowing a
Trailer on page 4-38for the trailer towing
capabilities of your vehicle and more
information.
Following break-in, engine speed and load can be
gradually increased.
2-15
Page 106 of 382
Outside Convex Mirrors
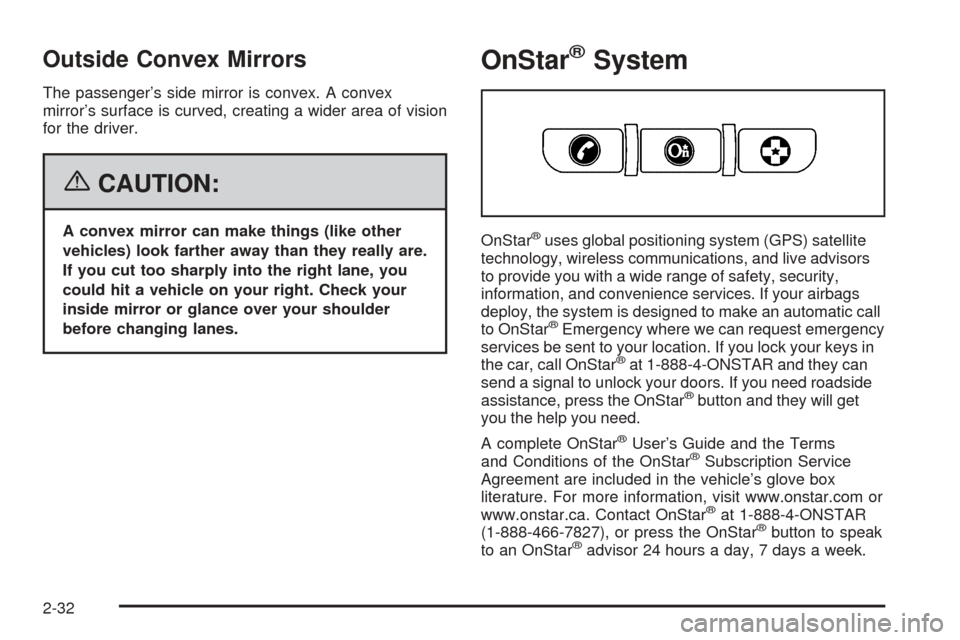
The passenger’s side mirror is convex. A convex
mirror’s surface is curved, creating a wider area of vision
for the driver.
{CAUTION:
A convex mirror can make things (like other
vehicles) look farther away than they really are.
If you cut too sharply into the right lane, you
could hit a vehicle on your right. Check your
inside mirror or glance over your shoulder
before changing lanes.
OnStar®System
OnStar®uses global positioning system (GPS) satellite
technology, wireless communications, and live advisors
to provide you with a wide range of safety, security,
information, and convenience services. If your airbags
deploy, the system is designed to make an automatic call
to OnStar
®Emergency where we can request emergency
services be sent to your location. If you lock your keys in
the car, call OnStar
®at 1-888-4-ONSTAR and they can
send a signal to unlock your doors. If you need roadside
assistance, press the OnStar
®button and they will get
you the help you need.
A complete OnStar
®User’s Guide and the Terms
and Conditions of the OnStar®Subscription Service
Agreement are included in the vehicle’s glove box
literature. For more information, visit www.onstar.com or
www.onstar.ca. Contact OnStar
®at 1-888-4-ONSTAR
(1-888-466-7827), or press the OnStar®button to speak
to an OnStar®advisor 24 hours a day, 7 days a week.
2-32
Page 111 of 382
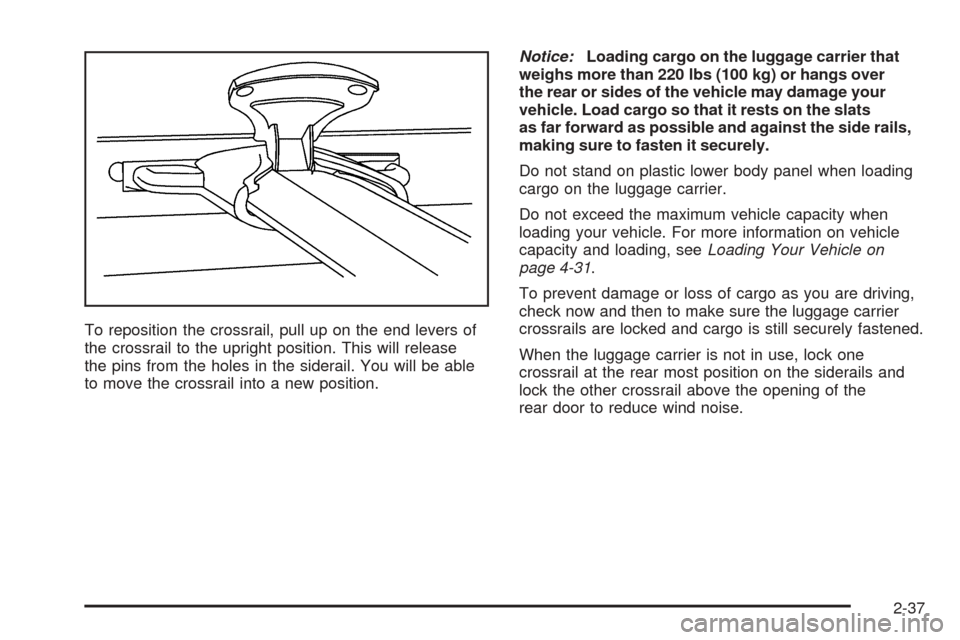
To reposition the crossrail, pull up on the end levers of
the crossrail to the upright position. This will release
the pins from the holes in the siderail. You will be able
to move the crossrail into a new position.Notice:Loading cargo on the luggage carrier that
weighs more than 220 lbs (100 kg) or hangs over
the rear or sides of the vehicle may damage your
vehicle. Load cargo so that it rests on the slats
as far forward as possible and against the side rails,
making sure to fasten it securely.
Do not stand on plastic lower body panel when loading
cargo on the luggage carrier.
Do not exceed the maximum vehicle capacity when
loading your vehicle. For more information on vehicle
capacity and loading, seeLoading Your Vehicle on
page 4-31.
To prevent damage or loss of cargo as you are driving,
check now and then to make sure the luggage carrier
crossrails are locked and cargo is still securely fastened.
When the luggage carrier is not in use, lock one
crossrail at the rear most position on the siderails and
lock the other crossrail above the opening of the
rear door to reduce wind noise.
2-37
Page 113 of 382
{CAUTION:
If you were to carry things on the adjustable
panel when it is in the upper (cargo cover) or
center positions, during a sudden vehicle
movement or a crash, those things could be
thrown around in the vehicle. You or others
could be injured. When it is in the upper or
center position, always secure any cargo on
the �oor beneath the panel/cover.
To use the panel in the center position, do the following:
1. Insert the front corners of the panel into the
middle guides.
2. Slide the panel forward.
3. Press down and pull rearward on the back of the
panel to lock it in place.The panel can be used in this position when you have
to place a �at or spare tire in the rear cargo area.
To use the panel in the upper position, do the following:
1. Insert the front corners of the panel into the top
guides.
2. Slide the panel forward.
3. Press down and pull rearward on the back of the
panel to lock it in place.
This can be used as a cargo cover for the rear area.
The panel may be installed either carpet or plastic side
up. The panel may also be used as a table in this
position. See “Table” following for more information.
2-39
Page 114 of 382
Table
Your vehicle has an adjustable panel that also functions
as a table. The maximum load for the table is 100 lbs.
distributed (45 kg).To set up the table, do the following:
1. With the adjustable panel in the upper position pull
rearward to position it for use as a table. The plastic
side should be up.
2. Rotate the knob to release the leg from the plastic
side of the table and rotate the leg outward.
3. Set the table leg onto the liftgate lock striker at the
rear edge of the vehicle.
Make sure to place the table leg securely onto the
liftgate lock striker.
Notice:Driving with the panel extended into
the table position could damage your vehicle.
Always have the panel in the stored position while
you are driving.
Notice:Placing hot items on the surface of the
table could damage it. Always be sure that the items
that are placed on the surface of the table are of
moderate temperature.
There are four hooks located on the table that can be
used for grocery bags.
2-40
Page 118 of 382
Engine Coolant Temperature Warning Light......3-30
Engine Coolant Temperature Gage..................3-31
Malfunction Indicator Lamp.............................3-31
Oil Pressure Light.........................................3-34
Change Engine Oil Light................................3-35
Security Light...............................................3-35
Reduced Engine Power Light.........................3-35
Highbeam On Light.......................................3-36
Daytime Running Lamps (DRL)
Indicator Light...........................................3-36
Gate Ajar Light.............................................3-36
Fuel Gage...................................................3-36
Low Fuel Warning Light.................................3-37Audio System(s).............................................3-38
Setting the Time...........................................3-39
Radio with CD (Base Level)...........................3-40
Radio with CD (MP3)....................................3-51
Radio with Six-Disc CD.................................3-67
Theft-Deterrent Feature..................................3-81
Audio Steering Wheel Controls.......................3-81
Radio Reception...........................................3-82
Care of Your CDs.........................................3-83
Care of the CD Player...................................3-83
Fixed Mast Antenna......................................3-83
XM™ Satellite Radio Antenna System.............3-84
Chime Level Adjustment................................3-84
Section 3 Instrument Panel
3-2
Page 151 of 382
Change Engine Oil Light
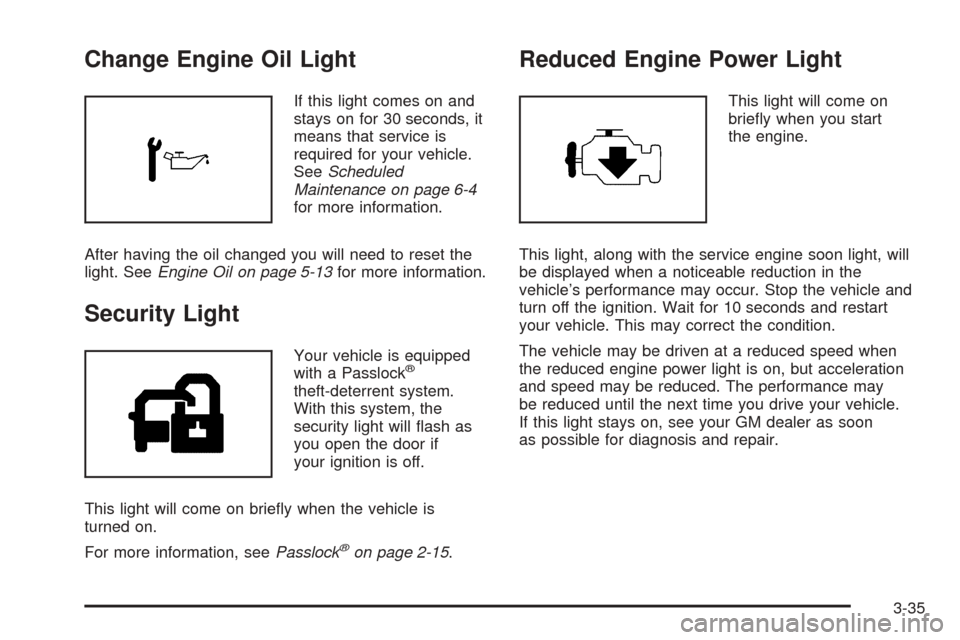
If this light comes on and
stays on for 30 seconds, it
means that service is
required for your vehicle.
SeeScheduled
Maintenance on page 6-4
for more information.
After having the oil changed you will need to reset the
light. SeeEngine Oil on page 5-13for more information.
Security Light
Your vehicle is equipped
with a Passlock®
theft-deterrent system.
With this system, the
security light will �ash as
you open the door if
your ignition is off.
This light will come on brie�y when the vehicle is
turned on.
For more information, seePasslock
®on page 2-15.
Reduced Engine Power Light
This light will come on
brie�y when you start
the engine.
This light, along with the service engine soon light, will
be displayed when a noticeable reduction in the
vehicle’s performance may occur. Stop the vehicle and
turn off the ignition. Wait for 10 seconds and restart
your vehicle. This may correct the condition.
The vehicle may be driven at a reduced speed when
the reduced engine power light is on, but acceleration
and speed may be reduced. The performance may
be reduced until the next time you drive your vehicle.
If this light stays on, see your GM dealer as soon
as possible for diagnosis and repair.
3-35