2006 CHEVROLET COLORADO brake
[x] Cancel search: brakePage 145 of 434

Cruise Control
Your vehicle may be equipped with cruise control.
9(Off):This position
turns the system off.
R(On):This position activates the system.
+ (Resume/Accelerate):Move the lever to this symbol
to make the vehicle accelerate or resume to a
previously set speed.
rT(Set):Press this button to set the speed.
With cruise control, you can maintain a speed of
about 25 mph (40 km/h) or more without keeping your
foot on the accelerator. This can really help on long trips.
Cruise control does not work at speeds below about
25 mph (40 km/h).Cruise control will not work if your parking brake is set,
or if the master cylinder brake �uid level is low.
If you apply your brakes, the cruise control will shut off.
{CAUTION:
Cruise control can be dangerous where you
cannot drive safely at a steady speed. So, do
not use your cruise control on winding roads
or in heavy traffic.
Cruise control can be dangerous on slippery
roads. On such roads, fast changes in tire
traction can cause excessive wheel slip, and
you could lose control. Do not use cruise
control on slippery roads.
If your vehicle is in cruise control when the traction
control system (if equipped) begins to limit wheel spin,
the cruise control will automatically disengage. See
Traction Control System (TCS) on page 4-9. When road
conditions allow you to safely use it again, you may
turn cruise control back on.
3-11
Page 146 of 434

Setting Cruise Control
{CAUTION:
If you leave your cruise control on when you
are not using cruise, you might hit a button
and go into cruise when you do not want to.
You could be startled and even lose control.
Keep the cruise control switch off until you
want to use cruise control.
1. Move the cruise control switch to on.
2. Get up to the speed you want.
3. Press in the set button at the end of the lever
and release it.
4. Take your foot off the accelerator pedal.The cruise symbol on
the instrument panel will
illuminate when the
cruise control is engaged.
Resuming a Set Speed
Suppose you set your cruise control at a desired
speed and then you apply the brake. This, of course,
disengages the cruise control. But you don’t need
to reset it.
Once you’re going about 25 mph (40 km/h) or more,
you can move the cruise control switch brie�y from
on to resume/accelerate.
You’ll go right back up to your chosen speed and
stay there.
If you hold the switch at resume/accelerate the vehicle
will keep going faster until you release the switch or
apply the brake. So unless you want to go faster,
don’t hold the switch at resume/accelerate.
3-12
Page 147 of 434

Increasing Speed While Using
Cruise Control
There are two ways to go to a higher speed:
Use the accelerator pedal to get to the higher
speed. Press the set button at the end of the
lever, then release the button and the accelerator
pedal. You’ll now cruise at the higher speed.
If the accelerator pedal is held longer than
60 seconds, cruise control will turn off.
Move the cruise switch from on to resume/
accelerate. Hold it there until you get up to the
speed you want, and then release the switch.
To increase your speed in very small amounts,
move the switch brie�y to resume/accelerate.
Reducing Speed While Using
Cruise Control
Press and hold the set button until you reach the
lower speed you want, then release it.
To slow down in very small amounts, brie�y press
the set button.
Passing Another Vehicle While Using
Cruise Control
Use the accelerator pedal to increase your speed.
When you take your foot off the pedal, your vehicle will
slow down to the cruise control speed you set earlier.
Using Cruise Control on Hills
How well your cruise control will work on hills depends
upon your speed, load and the steepness of the
hills. When going up steep hills, you may want to
step on the accelerator pedal to maintain your speed.
When going downhill, you may have to brake or shift
to a lower gear to keep your speed down. Of course,
applying the brake takes you out of cruise control.
Many drivers �nd this to be too much trouble and don’t
use cruise control on steep hills.
Ending Cruise Control
To turn off the cruise control, do one of the following:
Step lightly on the brake pedal.
Move the cruise control switch to off.
Lightly tap or press the clutch, if you have a
manual transmission.
Erasing Speed Memory
When you turn off the cruise control or the ignition,
your cruise control set speed memory is erased.
3-13
Page 164 of 434

Up-Shift Light
(Manual Transmission)
This light appears when
you need to shift to the
next higher gear on
a manual transmission
vehicle.
Shifting when the indicator light is on will help you
get the best fuel economy. See “Up-Shift Light”
underManual Transmission Operation on page 2-24
for more information.
Brake System Warning Light
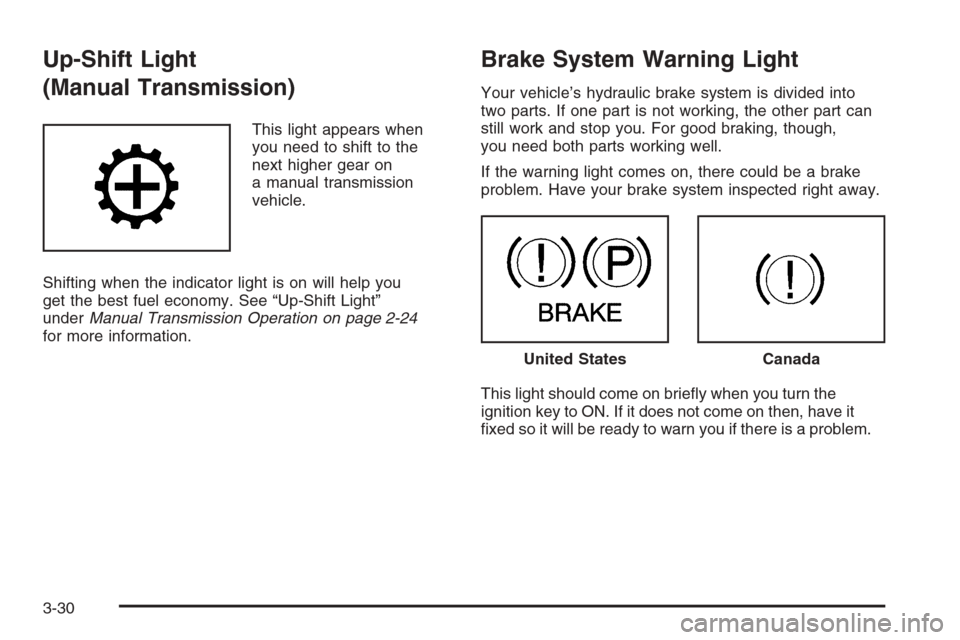
Your vehicle’s hydraulic brake system is divided into
two parts. If one part is not working, the other part can
still work and stop you. For good braking, though,
you need both parts working well.
If the warning light comes on, there could be a brake
problem. Have your brake system inspected right away.
This light should come on brie�y when you turn the
ignition key to ON. If it does not come on then, have it
�xed so it will be ready to warn you if there is a problem.
United StatesCanada
3-30
Page 165 of 434

When the ignition is on, the brake system warning light
will also come on when you set your parking brake.
SeeParking Brake on page 2-30for more information.
The light will stay on if your parking brake does not
release fully. If it stays on after your parking brake is
fully released, it means you have a brake problem.
If the light comes on while you are driving, pull off the
road and stop carefully. You may notice that the pedal
is harder to push, or the pedal may go closer to the
�oor. It may take longer to stop. If the light is still
on, have the vehicle towed for service. SeeTowing
Your Vehicle on page 4-50.
{CAUTION:
Your brake system may not be working properly
if the brake system warning light is on. Driving
with the brake system warning light on can lead
to an accident. If the light is still on after you
have pulled off the road and stopped carefully,
have the vehicle towed for service.
Anti-Lock Brake System
Warning Light
With the anti-lock brake
system, this light will
come on brie�y when
you start your engine
to show it is working.
Then it will turn off.
This is normal.
If the light stays on, or comes on when you’re driving,
your vehicle needs service. If the regular brake
system warning light isn’t on, you still have brakes,
but you don’t have anti-lock brakes. If the regular
brake system warning light is also on, you don’t have
anti-lock brakes and there’s a problem with your regular
brakes. SeeBrake System Warning Light on page 3-30.
The anti-lock brake system warning light should
come on brie�y when you turn the ignition key to ON.
If the light doesn’t come on then, have it �xed so it
will be ready to warn you if there is a problem.
3-31
Page 176 of 434

AC (Air Conditioning) OFF
This message will be displayed when the engine
coolant temperature is too high and the air conditioning
in your vehicle needs to be turned off. SeeEngine
Overheating on page 5-27andClimate Control System
on page 3-19for more information. It will be displayed
along with the ENG HOT message.
ABS (Anti-Lock Brake System)
This message will be displayed if there is a problem
with your anti-lock brake system. Check your anti-lock
brake system as soon as possible and have your
vehicle serviced by your GM dealer. SeeBrakes on
page 5-35andAnti-Lock Brake System Warning Light
on page 3-31for more information. Press and release
the reset stem to acknowledge the message and clear
it from the DIC display.
BATTERY
This message will be displayed when there is a problem
with your vehicle’s battery. SeeBattery on page 5-39
andBattery Warning Light on page 3-29for more
information.
BRAKES
This message will be displayed if there is a problem
with your brakes. Check your brakes as soon as
possible and have your vehicle serviced by your
GM dealer. SeeBrakes on page 5-35andBrake System
Warning Light on page 3-30for more information.
Press and release the reset stem to acknowledge the
message and clear it from the DIC display.
CHANGE OIL
This message will be displayed when the oil needs to
be changed. Check the oil in your vehicle as soon
as possible and have your vehicle serviced by your
GM dealer. SeeEngine Oil on page 5-13andScheduled
Maintenance on page 6-4for more information. Press
the reset stem to acknowledge the message and clear it
from the display.
DOORS
This message will be displayed on your DIC when
one or more of your doors is ajar. You should check
all the doors on your vehicle to make sure they
are closed. The message will clear from the display
after all of the doors are closed.
3-42
Page 177 of 434

ENG (Engine) HOT
This message will be displayed when your engine
coolant temperature is hot. Check your engine coolant
temperature gage. SeeEngine Coolant Temperature
Gage on page 3-32for more information. You should
have your vehicle serviced by your GM dealer as soon
as possible if you suspect your engine is overheating.
SeeEngine Overheating on page 5-27for more
information.
FLUID
This message will be displayed if your brake �uid is low.
Check the brake �uid as soon as possible and have
your vehicle serviced by your GM dealer. SeeBrakes
on page 5-35for more information. Press the reset stem
to acknowledge the message and clear it from the
DIC display.
FUEL CAP
This message will be displayed if your vehicle’s fuel cap
is either off or loose. You should pull over and check
to see if your vehicle’s fuel cap is secure as soon
as possible. You may also see the check engine light
on the instrument panel cluster. SeeMalfunction
Indicator Lamp on page 3-32for more information.
Press the reset stem to acknowledge the message
and clear it from the display.
LOW FUEL
This message will be displayed if the level of fuel in
your vehicle is low. You should also check your
fuel gage. SeeFuel Gage on page 3-37for more
information. You should �ll your vehicle’s tank as
soon as possible.
LOW TRAC (Traction)
If you have the Traction Control System (TCS), you
will see this message when a low traction condition
is detected. SeeTraction Control System (TCS)
on page 4-9for more information. Press and release
the reset stem to acknowledge the message and clear
it from the DIC display.
OIL
This message will be displayed when your oil pressure
is low. SeeOil Pressure Light on page 3-35and
Engine Oil on page 5-13for more information.
PARK BRK (Brake)
This message will be displayed when the parking
brake is set. SeeParking Brake on page 2-30and
Brake System Warning Light on page 3-30for more
information. The message will clear from the display
after the parking brake is released or by pressing
and releasing the reset stem.
3-43
Page 180 of 434

Here are some ways in which you can help avoid
distraction while driving.
While your vehicle is parked:
Familiarize yourself with all of its controls.
Familiarize yourself with its operation.
Set up your audio system by presetting your
favorite radio stations, setting the tone, and
adjusting the speakers. Then, when driving
conditions permit, you can tune to your favorite
radio stations using the presets and steering
wheel controls if the vehicle has them.
Notice:Before adding any sound equipment to
your vehicle, such as an audio system, CD player,
CB radio, mobile telephone, or two-way radio,
make sure that it can be added by checking with
your dealer. Also, check federal rules covering
mobile radio and telephone units. If sound
equipment can be added, it is very important to
do it properly. Added sound equipment may
interfere with the operation of your vehicle’s engine,
radio, or other systems, and even damage them.
Your vehicle’s systems may interfere with the
operation of sound equipment that has been added.Notice:The chime signals related to safety belts,
parking brake, and other functions of your vehicle
operate through the radio/entertainment system.
If that equipment is replaced or additional equipment
is added to your vehicle, the chimes may not
work. Make sure that replacement or additional
equipment is compatible with your vehicle before
installing it. SeeAccessories and Modifications
on page 5-3.
Setting the Time for Radios without
Radio Data Systems (RDS)
Press and hold HR until the correct hour appears on
the display. Press and hold MIN until the correct minute
appears on the display. There is an initial two-second
delay before the clock goes into time-set mode.
Display the time with the ignition off, by pressing RCL,
HR, or MIN.
3-46