Page 196 of 362

Try to adjust your speed so you can “drive” through the
curve. Maintain a reasonable, steady speed. Wait to
accelerate until you are out of the curve, and then
accelerate gently into the straightaway.
Adding non-GM accessories can affect your vehicle’s
performance. SeeAccessories and Modifications
on page 5-3.
Steering in Emergencies
There are times when steering can be more effective
than braking. For example, you come over a hill and find
a truck stopped in your lane, or a car suddenly pulls
out from nowhere, or a child darts out from between
parked cars and stops right in front of you. You
can avoid these problems by braking — if you can stop
in time. But sometimes you cannot; there is not room.
That is the time for evasive action — steering around the
problem.
Your vehicle can perform very well in emergencies like
these. First apply your brakes — but, unless you
have anti-lock brakes, not enough to lock your wheels.
SeeBraking on page 4-6. It is better to remove as
much speed as you can from a possible collision. Then
steer around the problem, to the left or right depending
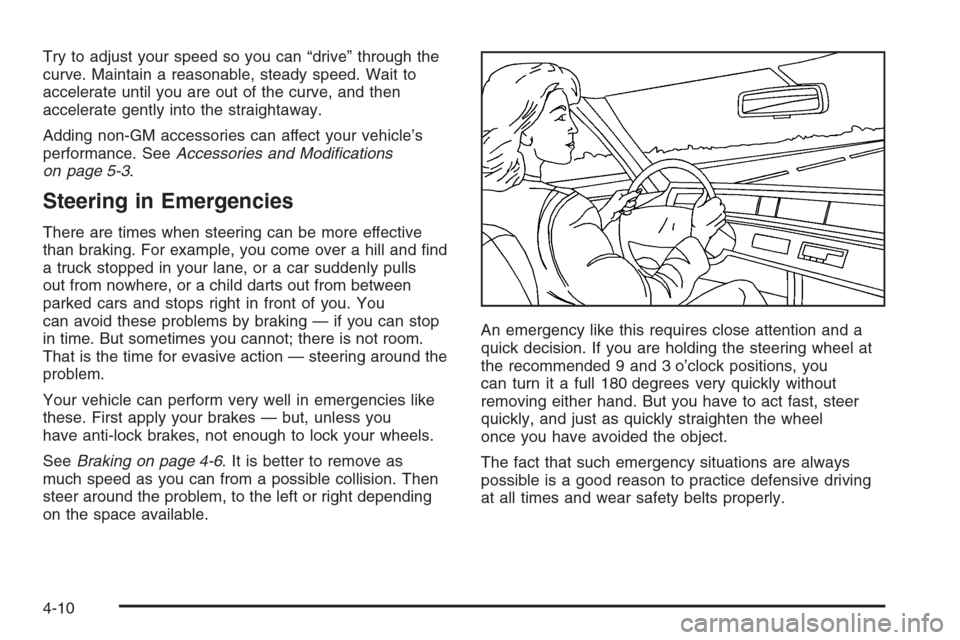
on the space available.An emergency like this requires close attention and a
quick decision. If you are holding the steering wheel at
the recommended 9 and 3 o’clock positions, you
can turn it a full 180 degrees very quickly without
removing either hand. But you have to act fast, steer
quickly, and just as quickly straighten the wheel
once you have avoided the object.
The fact that such emergency situations are always
possible is a good reason to practice defensive driving
at all times and wear safety belts properly.
4-10
Page 230 of 362

The tethered fuel cap is located behind a hinged fuel
door on the passenger’s side of the vehicle.
To remove the fuel cap, turn it slowly counterclockwise.
The fuel cap has a spring in it; if the cap is released
too soon, it will spring back to the right.
{CAUTION:
If you spill fuel and then something ignites it,
you could be badly burned. Fuel can spray out
on you if you open the fuel cap too quickly.
This spray can happen if your tank is nearly
full, and is more likely in hot weather. Open
the fuel cap slowly and wait for any hiss noise
to stop. Then unscrew the cap all the way.
Be careful not to spill fuel. Do not top off or overfill the
tank and wait a few seconds after you have finished
pumping before removing the nozzle. Clean fuel
from painted surfaces as soon as possible. See
Washing Your Vehicle on page 5-69.
When replacing the fuel cap, turn it clockwise until it
clicks. Make sure the cap is fully installed. The
diagnostic system can determine if the fuel cap has
been left off or improperly installed. This would allow fuel
to evaporate into the atmosphere. SeeMalfunction
Indicator Lamp on page 3-34.
5-8
Page 251 of 362
{CAUTION:
You can be burned if you spill coolant on hot
engine parts. Coolant contains ethylene glycol
and it will burn if the engine parts are hot
enough. Do not spill coolant on a hot engine.
1. You can remove the coolant surge tank pressure
cap when the cooling system, including the coolant
surge tank pressure cap and upper radiator
hose, is no longer hot. Turn the pressure cap
slowly counterclockwise about two or two and
one-half turns.
If you hear a hiss, wait for that to stop. This will
allow any pressure still left to be vented out
the discharge hose.2. Then keep turning the pressure cap slowly, and
remove it.
5-29
Page 264 of 362

Front Turn Signal and Parking
Lamps
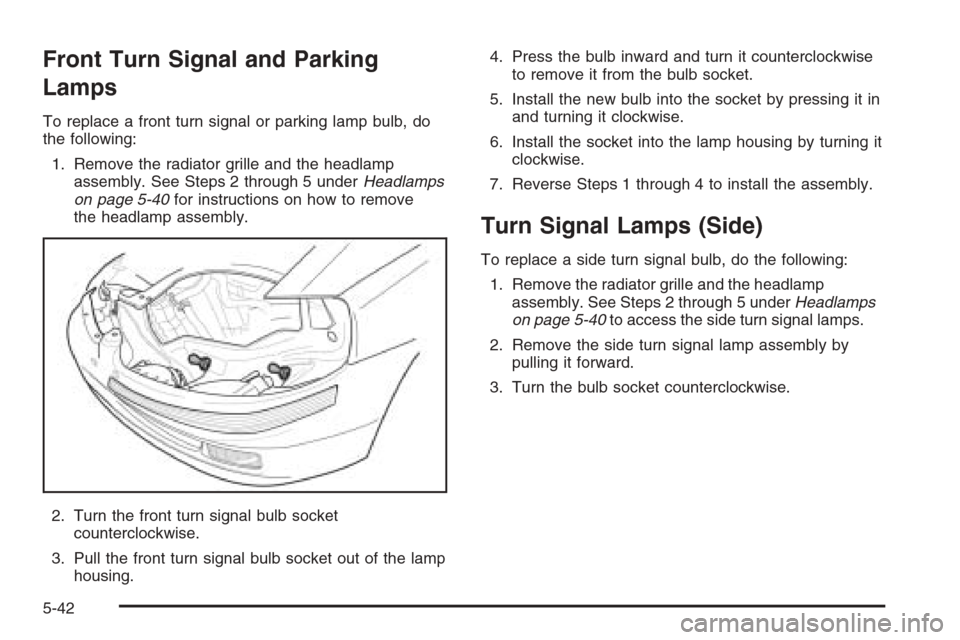
To replace a front turn signal or parking lamp bulb, do
the following:
1. Remove the radiator grille and the headlamp
assembly. See Steps 2 through 5 underHeadlamps
on page 5-40for instructions on how to remove
the headlamp assembly.
2. Turn the front turn signal bulb socket
counterclockwise.
3. Pull the front turn signal bulb socket out of the lamp
housing.4. Press the bulb inward and turn it counterclockwise
to remove it from the bulb socket.
5. Install the new bulb into the socket by pressing it in
and turning it clockwise.
6. Install the socket into the lamp housing by turning it
clockwise.
7. Reverse Steps 1 through 4 to install the assembly.
Turn Signal Lamps (Side)
To replace a side turn signal bulb, do the following:
1. Remove the radiator grille and the headlamp
assembly. See Steps 2 through 5 underHeadlamps
on page 5-40to access the side turn signal lamps.
2. Remove the side turn signal lamp assembly by
pulling it forward.
3. Turn the bulb socket counterclockwise.
5-42
Page 265 of 362
4. Remove the bulb from the lamp housing by pulling
the bulb straight out of the socket.
5. Install the new bulb into the bulb socket by pushing
it in and rotating the bulb socket clockwise.
6. Push the side turn signal lamp assembly back into
its original position.
Taillamps, Turn Signal, Stoplamps
and Back-up Lamps
To replace a taillamp, stoplamp or back-up bulb, do the
following:
1. Open the trunk or liftgate. SeeTrunk (Sedan) on
page 2-9orLiftgate (Hatchback) on page 2-11for
more information.
2. Remove the two screws and the lamp assembly.
3. Remove the bulb socket by turning it
counterclockwise.
4. Remove the bulb from the socket by pressing the
bulb and turning it counterclockwise.
5-43
Page 266 of 362

5. Install the appropriate bulb into the socket.
6. Replace the bulb socket into the lamp housing.
Twist the bulb socket clockwise to secure.
7. Reverse Step 2 to reinstall the lamp housing.
Replacement Bulbs
Exterior Lamp Bulb Number
Back-Up 94535571
Center High-Mounted Stoplamp
(CHMSL)94535587
Headlamps 94535548
Front Parking/Turn Signal 94535574
Side Turn Signal 94535587
Stoplamp/Taillamps 94535574
Turn Signal Lamps 94535572
For replacement bulbs not listed here, contact your
dealer.
Windshield Wiper Blade
Replacement
Windshield wiper blades should be inspected for wear or
cracking. See “Wiper Blade Check” underPart B: Owner
Checks and Services on page 6-18for more information.Replacement blades come in different types and are
removed in different ways.
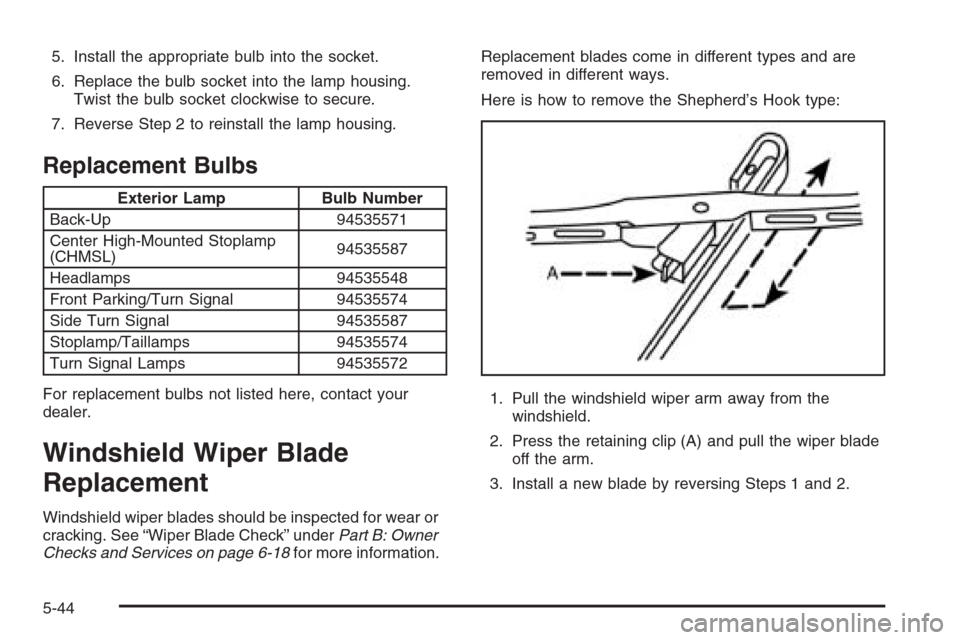
Here is how to remove the Shepherd’s Hook type:
1. Pull the windshield wiper arm away from the
windshield.
2. Press the retaining clip (A) and pull the wiper blade
off the arm.
3. Install a new blade by reversing Steps 1 and 2.
5-44
Page 283 of 362
5. Turn the retainer counterclockwise and remove it
from the compact spare.
6. Remove the compact spare tire. SeeCompact
Spare Tire on page 5-66for more information.
Removing the Flat Tire and
Installing the Spare Tire
1. If your vehicle has wheel covers, loosen the four
plastic caps by hand or by using the wheel wrench.
The plastic nuts do not come off of the cover.
2. Remove the wheel cover using the flat end of the
jack handle or the screwdriver. Pry along the edge
of the wheel cover until it comes off.
3. Use the wheel wrench to loosen all the wheel nuts.
Do not remove them yet.
5-61
Page 285 of 362

{CAUTION:
Raising your vehicle with the jack improperly
positioned can damage the vehicle and even
make the vehicle fall. To help avoid personal
injury and vehicle damage, be sure to �t the
jack lift head into the proper location before
raising the vehicle.
8. Raise the vehicle by turning the wheel wrench
clockwise. Raise the vehicle far enough off the
ground so there is enough room for the compact
spare tire to fit underneath the wheel well.
9. Remove all of the wheel nuts by turning them
counterclockwise.
10. Remove the flat tire.
{CAUTION:
Rust or dirt on the wheel, or on the parts to
which it is fastened, can make the wheel nuts
become loose after a time. The wheel could
come off and cause an accident. When you
change a wheel, remove any rust or dirt from
the places where the wheel attaches to the
vehicle. In an emergency, you can use a cloth
or a paper towel to do this; but be sure to use
a scraper or wire brush later, if needed, to get
all the rust or dirt off.
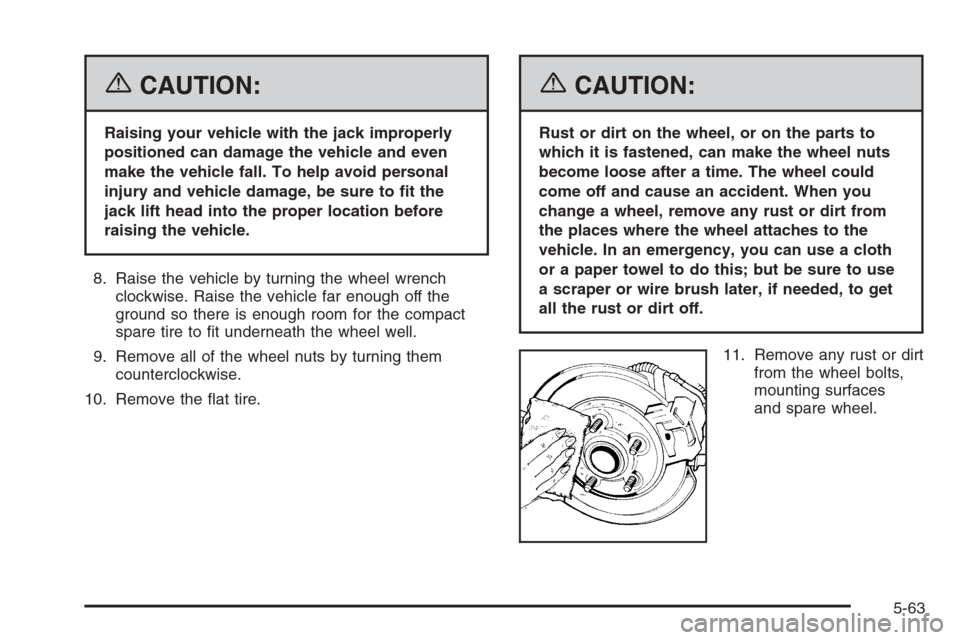
11. Remove any rust or dirt
from the wheel bolts,
mounting surfaces
and spare wheel.
5-63