2006 CHEVROLET AVEO oil
[x] Cancel search: oilPage 179 of 362

If playing a CD-R, the sound quality may be reduced
due to CD-R quality, the method of recording, the quality
of the music that has been recorded, and the way the
CD-R has been handled. There may be an increase
in skipping, difficulty in finding tracks, and/or difficulty in
loading and ejecting. If these problems occur, check
the bottom surface of the CD. If the surface of the CD is
damaged, such as cracked, broken, or scratched, the
CD will not play properly. If the surface of the CD
is soiled, seeCare of Your CDs on page 3-71for more
information.
If there is no apparent damage, try a known good CD.
Do not add any label to a CD, it could get caught in the
CD player. If a CD is recorded on a personal computer
and a description label is needed, try labeling the top of
the recorded CD with a marking pen instead.
Notice:If you add any label to a CD, insert more
than one CD into the slot at a time, or attempt
to play scratched or damaged CDs, you could
damage the CD player. When using the CD player,
use only CDs in good condition without any
label, load one CD at a time, and keep the CD player
and the loading slot free of foreign materials,
liquids, and debris.
If an error appears on the display, see “CD Messages”
later in this section.2 RPT (Repeat):Press this button to repeat the current
track. RPT will appear on the display. Press this
button again to turn off repeat play.
3 RDM (Random):Press this button to hear the tracks
in random, rather than sequential, order. RDM will
appear on the display.
To play tracks from all CDs loaded in a six-disc CD
player in random order, press this button until a
message that all discs are randomized is displayed.
Press the same button again to turn off random play.
4 INT (Scan):Press this button to listen to the first few
seconds of each track on each loaded CD. INTRO
will appear on the display. To stop scanning press this
button again. The current track will begin to play.
5 CDC−(Previous CDC):Press this button to go back
to the start of the previous CDC.
6 CDC + (Next CDC):Press this button to go forward
to the start of the next CDC.
()TUNE (Previous/Next Track):Press the down
arrows to go to the start of the current track or press
the up arrows to go to the next track. The track number
will appear on the display. The player will continue
moving backward or forward through the CD with each
press of the up or down arrows.
3-65
Page 182 of 362
Playing an MP3/WMA
With the ignition on, insert a CD partway into the slot,
label side up. The player will pull it in, Loading, then
Filecheck, and then MP3 or WMA will appear on
the display. The CD should begin playing. You cannot
insert a CD with the ACC off.
As each new track starts to play, the track number, and
the song name will appear on the display.
If the ignition or radio is turned off with a CD in the player,
it will stay in the player. When a CD is in the player and
the ignition is turned on, the radio must be turned on
before the CD will start playback. When the ignition and
radio are turned on, the CD will start playing where it
stopped, if it was the last selected audio source.
The CD player can play the smaller 3 inch (8 cm) single
CDs with an adapter ring. Full-size CDs and the
smaller CDs are loaded in the same manner.
If playing a CD-R, the sound quality may be reduced due
to CD-R quality, the method of recording, the quality of
the music that has been recorded, and the way the CD-R
has been handled. There may be an increase in skipping,
difficulty in finding tracks, and/or difficulty in loading and
ejecting. If these problems occur, check the bottom
surface of the CD. If the surface of the CD is damaged,
such as cracked, broken, or scratched, the CD will not
play properly. If the surface of the CD is soiled, seeCare
of Your CDs on page 3-71for more information.If there is no apparent damage, try a known good CD.
Do not add any label to a CD, it could get caught in the
CD player. If a CD is recorded on a personal computer
and a description label is needed, try labeling the top of
the recorded CD with a marking pen instead.
Notice:If you add any label to a CD, insert more
than one CD into the slot at a time, or attempt
to play scratched or damaged CDs, you could
damage the CD player. When using the CD player,
use only CDs in good condition without any
label, load one CD at a time, and keep the CD player
and the loading slot free of foreign materials,
liquids, and debris.
If an error appears on the display, see “CD Messages”
later in this section.
All of the CD functions work the same while playing an
MP3WMA, except for those listed here. See “Playing
a CD” earlier for more information.
SCROLL (MP3/WMA Mode Only):Press the SOUND
button for longer than two seconds. The song title
and other available information of the song will scroll
on/off. The offset is scroll on. The scroll mode can
be changed only when the SOUND button is pressed
for longer than two seconds.
3-68
Page 185 of 362

FM Stereo
FM stereo will give the best sound, but FM signals will
reach only about 10 to 40 miles (16 to 65 km). Tall
buildings or hills can interfere with FM signals, causing
the sound to fade in and out.
Care of Your CDs
Handle CDs carefully. Store them in their original cases
or other protective cases and away from direct
sunlight and dust. The CD player scans the bottom
surface of the disc. If the surface of a CD is damaged,
such as cracked, broken, or scratched, the CD will
not play properly or not at all. If the surface of a CD is
soiled, take a soft, lint free cloth or dampen a clean, soft
cloth in a mild, neutral detergent solution mixed with
water, and clean it. Make sure the wiping process starts
from the center to the edge.
Do not touch the bottom side of a CD while handling it;
this could damage the surface. Pick up CDs by
grasping the outer edges or the edge of the hole and
the outer edge.
Care of the CD Player
The use of CD lens cleaners for CD players is not
advised, due to the risk of contaminating the internal
lens of the CD optics with lubricants.
Fixed Mast Antenna
The fixed mast antenna can withstand most car washes
without being damaged. If the mast should ever
become slightly bent, straighten it out by hand. If the
mast is badly bent, replace it.
Check occasionally to make sure the mast is still
tightened to the antenna base located on the roof of the
vehicle. If tightening is required, tighten by hand.
3-71
Page 205 of 362
When you want to leave the freeway, move to the
proper lane well in advance. If you miss your exit, do
not, under any circumstances, stop and back up. Drive
on to the next exit.
The exit ramp can be curved, sometimes quite sharply.
The exit speed is usually posted. Reduce your speed
according to your speedometer, not to your sense
of motion. After driving for any distance at higher
speeds, you may tend to think you are going slower
than you actually are.
Before Leaving on a Long Trip
Make sure you are ready. Try to be well rested. If you
must start when you are not fresh — such as after
a day’s work — do not plan to make too many miles that
first part of the journey. Wear comfortable clothing
and shoes you can easily drive in.
Is your vehicle ready for a long trip? If you keep it
serviced and maintained, it is ready to go. If it needs
service, have it done before starting out. Of course, you
will find experienced and able service experts in GM
dealerships all across North America. They will be ready
and willing to help if you need it.Here are some things you can check before a trip:
•Windshield Washer Fluid:Is the reservoir full? Are
all windows clean inside and outside?
•Wiper Blades:Are they in good shape?
•Fuel, Engine Oil, Other Fluids:Have you checked
all levels?
•Lamps:Are they all working? Are the lenses clean?
•Tires:They are vitally important to a safe,
trouble-free trip. Is the tread good enough for
long-distance driving? Are the tires all inflated to the
recommended pressure?
•Weather Forecasts:What is the weather outlook
along your route? Should you delay your trip a
short time to avoid a major storm system?
•Maps:Do you have up-to-date maps?
4-19
Page 223 of 362
Service............................................................5-3
Accessories and Modifications..........................5-3
California Proposition 65 Warning.....................5-3
Doing Your Own Service Work.........................5-4
Adding Equipment to the Outside of Your
Vehicle......................................................5-4
Fuel................................................................5-5
Gasoline Octane............................................5-5
Gasoline Specifications....................................5-5
California Fuel...............................................5-5
Additives.......................................................5-6
Fuels in Foreign Countries...............................5-6
Filling the Tank..............................................5-7
Filling a Portable Fuel Container.......................5-9
Checking Things Under the Hood....................5-10
Hood Release..............................................5-10
Engine Compartment Overview.......................5-12
Engine Oil...................................................5-13
Engine Air Cleaner/Filter................................5-17
Automatic Transaxle Fluid..............................5-19
Manual Transaxle Fluid..................................5-21
Hydraulic Clutch...........................................5-21
Engine Coolant.............................................5-22
Coolant Surge Tank Pressure Cap..................5-24
Engine Overheating.......................................5-24
Cooling System............................................5-26Power Steering Fluid.....................................5-30
Windshield Washer Fluid................................5-31
Brakes........................................................5-32
Battery........................................................5-35
Jump Starting...............................................5-36
Headlamp Aiming...........................................5-39
Bulb Replacement..........................................5-40
Halogen Bulbs..............................................5-40
Headlamps..................................................5-40
Front Turn Signal and Parking Lamps..............5-42
Turn Signal Lamps (Side)..............................5-42
Taillamps, Turn Signal, Stoplamps and
Back-up Lamps.........................................5-43
Replacement Bulbs.......................................5-44
Windshield Wiper Blade Replacement..............5-44
Tires..............................................................5-45
Tire Sidewall Labeling...................................5-46
Tire Terminology and Definitions.....................5-48
Inflation - Tire Pressure.................................5-51
Tire Inspection and Rotation...........................5-52
When It Is Time for New Tires.......................5-53
Buying New Tires.........................................5-54
Different Size Tires and Wheels......................5-54
Uniform Tire Quality Grading..........................5-55
Wheel Alignment and Tire Balance..................5-56
Wheel Replacement......................................5-56
Section 5 Service and Appearance Care
5-1
Page 228 of 362

Additives
To provide cleaner air, all gasolines in the United States
are now required to contain additives that will help
prevent engine and fuel system deposits from forming,
allowing your emission control system to work
properly. In most cases, you should not have to add
anything to your fuel. However, some gasolines contain
only the minimum amount of additive required to
meet U.S. Environmental Protection Agency regulations.
To help keep fuel injectors and intake valves clean,
or if your vehicle experiences problems due to
dirty injectors or valves, look for gasoline that is
advertised as TOP TIER Detergent Gasoline. Also, your
GM dealer has additives that will help correct and
prevent most deposit-related problems.
Gasolines containing oxygenates, such as ethers and
ethanol, and reformulated gasolines may be available in
your area. General Motors recommends that you use
these gasolines if they comply with the specifications
described earlier. However, E85 (85% ethanol) and other
fuels containing more than 10% ethanol must not be used
in vehicles that were not designed for those fuels.
Notice:Your vehicle was not designed for fuel that
contains methanol. Do not use fuel containing
methanol. It can corrode metal parts in your fuel
system and also damage the plastic and rubber
parts. That damage would not be covered under
your warranty.Some gasolines that are not reformulated for low
emissions may contain an octane-enhancing additive
called methylcyclopentadienyl manganese tricarbonyl
(MMT); ask the attendant where you buy gasoline
whether the fuel contains MMT. General Motors
recommends against the use of such gasolines. Fuels
containing MMT can reduce the life of spark plugs
and the performance of the emission control system may
be affected. The malfunction indicator lamp may turn
on. If this occurs, return to your authorized GM dealer for
service.
Fuels in Foreign Countries
If you plan on driving in another country outside the
United States or Canada, the proper fuel may be hard
to find. Never use leaded gasoline or any other fuel
not recommended in the previous text on fuel. Costly
repairs caused by use of improper fuel would not
be covered by your warranty.
To check the fuel availability, ask an auto club, or
contact a major oil company that does business in the
country where you will be driving.
5-6
Page 232 of 362
Checking Things Under
the Hood
{CAUTION:
An electric fan under the hood can start up
and injure you even when the engine is not
running. Keep hands, clothing, and tools away
from any underhood electric fan.
{CAUTION:
Things that burn can get on hot engine parts
and start a �re. These include liquids like fuel,
oil, coolant, brake �uid, windshield washer and
other �uids, and plastic or rubber. You or
others could be burned. Be careful not to drop
or spill things that will burn onto a hot engine.
Hood Release
To open the hood, do the following:
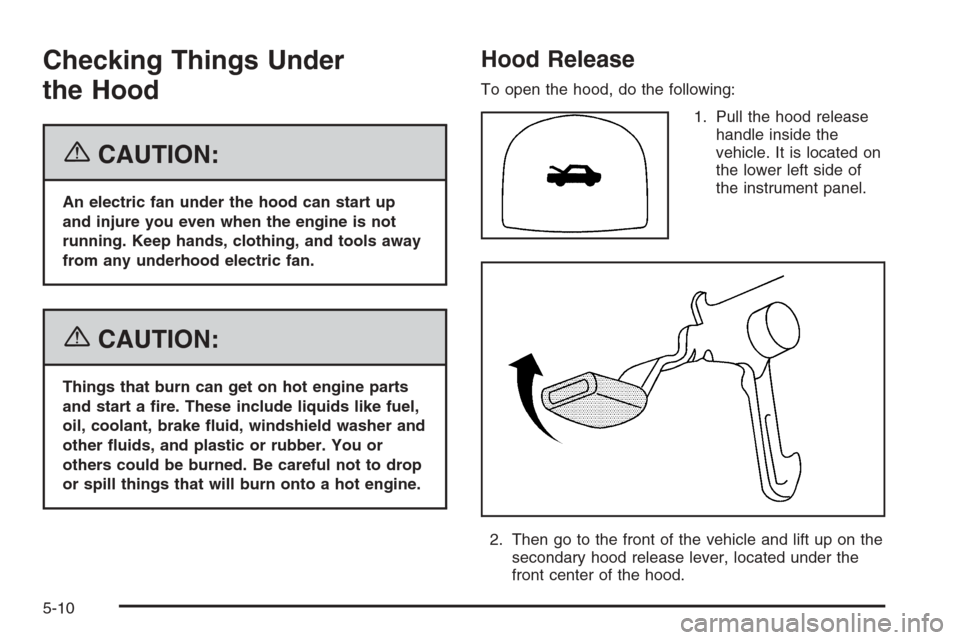
1. Pull the hood release
handle inside the
vehicle. It is located on
the lower left side of
the instrument panel.
2. Then go to the front of the vehicle and lift up on the
secondary hood release lever, located under the
front center of the hood.
5-10
Page 235 of 362
A. Engine Air Cleaner/Filter. SeeEngine Air
Cleaner/Filter on page 5-17.
B. Engine Oil Fill Cap. See “When to Add Engine Oil”
underEngine Oil on page 5-13.
C. Engine Oil Dipstick. See “Checking Engine Oil”
underEngine Oil on page 5-13.
D. Brake Fluid Reservoir. See “Brake Fluid” under
Brakes on page 5-32.
E. Automatic Transaxle Dipstick. SeeAutomatic
Transaxle Fluid on page 5-19.
F. Engine Coolant Surge Tank. SeeCooling System on
page 5-26.
G. Engine Compartment Fuse Block. SeeEngine
Compartment Fuse Block on page 5-77.
H. Power Steering Fluid Reservoir. SeePower Steering
Fluid on page 5-30.
I. Battery. SeeBattery on page 5-35.
J. Windshield Washer Fluid Reservoir. See “Adding
Washer Fluid” underWindshield Washer Fluid
on page 5-31.Engine Oil
If the oil pressure light
appears on the instrument
cluster, it means you
need to check your engine
oil level right away.
For more information, seeOil Pressure Light on
page 3-37.
You should check your engine oil level regularly; this is
an added reminder.
5-13