Page 412 of 484
4. Insert the hoist end (F)
through the hole (G)
in the rear bumper and
into the hoist shaft.
5. Turn the wheel wrench clockwise to raise the tire.
After raising the tire halfway upward, check to
make sure the retainer is still seated properly across
the wheel opening and that the tire is level with
the underside of the vehicle.
6. Continue raising the tire until it is fully against the
underside of the vehicle and you hear two clicks
or feel it skip twice. You cannot overtighten
the cable.7. Make sure the tire is stored securely. Push, pull (A),
and then try to turn (B) the tire. If the tire moves,
use the wheel wrench to tighten the cable.
8. Reinstall the spare tire lock (if equipped).
5-94
Page 413 of 484
A. Retaining Bracket
and Wing Nut
B. Jack Tools
C. Wing Nut Retaining
Wheel BlocksD. Wheel Blocks
E. Jack
F. Knob1. Put the jack tools (B), in the tool bag and place
in the retaining clip above the jack (E).
2. Tighten down with the wing nut (A).
3. Assemble the wheel blocks (D) and jack (E)
together with the wing nut (D) and knob (F).
4. Position the jack storage cover in the left rear side
panel and tighten, adjusting clockwise until the jack
is secured tight in the mounting bracket. Be sure
to position the holes in the base of the jack onto the
pin in the mounting bracket.
Regular Models - Rear Access Panel
5-95
Page 414 of 484
A. Knob
B. Removable
Storage Tray
C. Retaining Hook
D. Retaining Bracket
and Wing NutE. Jack Tools
F. Mounting Bracket
G. Wing Nut Retaining
Wheel Blocks
H. Wheel Blocks
I. Jack1. Return the jack tools (E), to the tool bag.
2. Assemble wheel blocks (H) and jack (I) together
with the wing nut (G) and retaining hook (C).
3. Position under the jack storage tray (B) in the left
rear side panel below the wheelbase and tighten,
adjusting clockwise until the jack is secured tight in
the mounting bracket. Be sure to position the
holes in the base of the jack onto the pin in the
mounting bracket.
4. Use the retaining clip to fasten the tool kit on the
stud in the storage compartment in the rear left
trim panel and turn the wing nut clockwise to
secure.
5. Return the storage tray (B) to its original location.
Extended Models
5-96
Page 471 of 484

A
Accessories and Modi�cations............................ 5-3
Accessory Power Outlet(s)...............................3-22
Adding Equipment to Your Airbag-Equipped
Vehicle.......................................................1-88
Additives, Fuel................................................. 5-5
Add-On Electrical Equipment...........................5-106
Adjustable Throttle and Brake Pedal..................2-19
Air Cleaner/Filter, Engine.................................5-16
Air Conditioning..............................................3-24
Airbag
Passenger Status Indicator...........................3-36
Readiness Light..........................................3-35
Airbag Sensing and Diagnostic Module (SDM)...... 7-9
Airbag System................................................1-76
Adding Equipment to Your Airbag-Equipped
Vehicle...................................................1-88
How Does an Airbag Restrain?......................1-82
Passenger Sensing System...........................1-84
Servicing Your Airbag-Equipped Vehicle..........1-88
What Makes an Airbag In�ate?......................1-81
What Will You See After an Airbag In�ates?....1-82
When Should an Airbag In�ate?....................1-80
Where Are the Airbags?...............................1-78
All-Wheel Drive...............................................5-43
All-Wheel-Drive (AWD) System.........................4-12
Analog Clock..................................................3-23
Antenna, Diversity Antenna System..................3-106
Antenna, XM™ Satellite Radio Antenna System . . . 3-106Anti-Lock Brake System (ABS)........................... 4-7
Anti-Lock Brake, System Warning Light..............3-40
Appearance Care
Aluminum or Chrome-Plated Wheels.............5-102
Care of Safety Belts...................................5-100
Chemical Paint Spotting..............................5-104
Cleaning Exterior Lamps/Lenses..................5-101
Cleaning the Inside of Your Vehicle................5-97
Fabric/Carpet..............................................5-99
Finish Care...............................................5-101
Finish Damage..........................................5-103
Instrument Panel, Vinyl, and Other Plastic
Surfaces...............................................5-100
Leather......................................................5-99
Sheet Metal Damage..................................5-103
Speaker Covers.........................................5-100
Tires........................................................5-103
Underbody Maintenance.............................5-104
Vehicle Care/Appearance Materials...............5-104
Washing Your Vehicle.................................5-101
Weatherstrips............................................5-100
Windshield, Backglass, and Wiper Blades......5-102
Wood Panels............................................5-100
Ashtray(s)......................................................3-23
Audio System(s).............................................3-69
Audio Steering Wheel Controls....................3-103
Care of Your Cassette Tape Player...............3-104
Care of Your CD and DVD Player................3-105
Care of Your CDs and DVDs .......................3-105
CD Changer...............................................3-99
1
Page 473 of 484

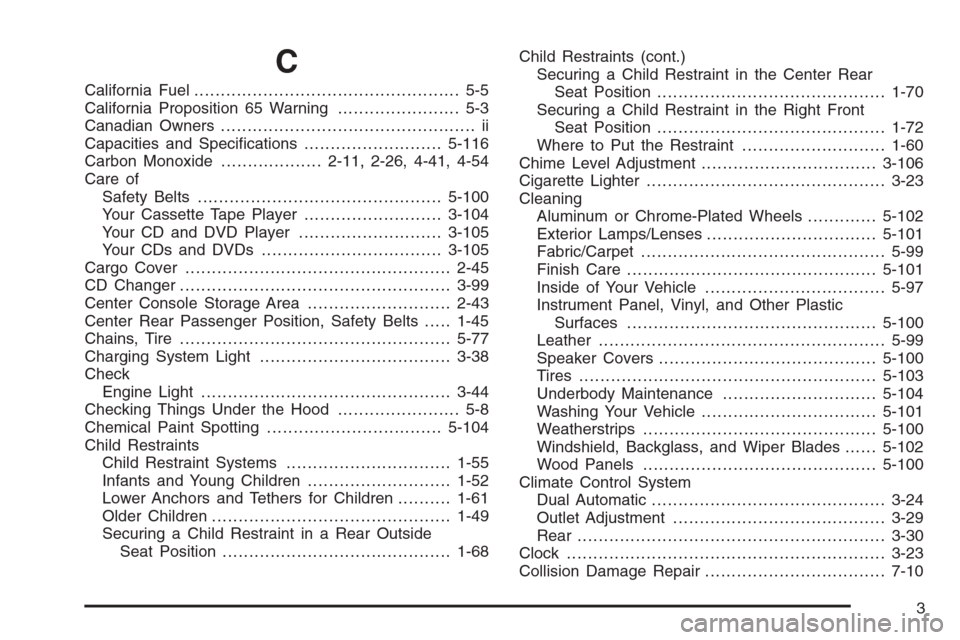
C
California Fuel.................................................. 5-5
California Proposition 65 Warning....................... 5-3
Canadian Owners................................................ ii
Capacities and Speci�cations..........................5-116
Carbon Monoxide...................2-11, 2-26, 4-41, 4-54
Care of
Safety Belts..............................................5-100
Your Cassette Tape Player..........................3-104
Your CD and DVD Player...........................3-105
Your CDs and DVDs ..................................3-105
Cargo Cover..................................................2-45
CD Changer...................................................3-99
Center Console Storage Area...........................2-43
Center Rear Passenger Position, Safety Belts.....1-45
Chains, Tire...................................................5-77
Charging System Light....................................3-38
Check
Engine Light...............................................3-44
Checking Things Under the Hood....................... 5-8
Chemical Paint Spotting.................................5-104
Child Restraints
Child Restraint Systems...............................1-55
Infants and Young Children...........................1-52
Lower Anchors and Tethers for Children..........1-61
Older Children.............................................1-49
Securing a Child Restraint in a Rear Outside
Seat Position...........................................1-68Child Restraints (cont.)
Securing a Child Restraint in the Center Rear
Seat Position...........................................1-70
Securing a Child Restraint in the Right Front
Seat Position...........................................1-72
Where to Put the Restraint...........................1-60
Chime Level Adjustment.................................3-106
Cigarette Lighter.............................................3-23
Cleaning
Aluminum or Chrome-Plated Wheels.............5-102
Exterior Lamps/Lenses................................5-101
Fabric/Carpet..............................................5-99
Finish Care...............................................5-101
Inside of Your Vehicle..................................5-97
Instrument Panel, Vinyl, and Other Plastic
Surfaces...............................................5-100
Leather......................................................5-99
Speaker Covers.........................................5-100
Tires........................................................5-103
Underbody Maintenance.............................5-104
Washing Your Vehicle.................................5-101
Weatherstrips............................................5-100
Windshield, Backglass, and Wiper Blades......5-102
Wood Panels............................................5-100
Climate Control System
Dual Automatic............................................3-24
Outlet Adjustment........................................3-29
Rear ..........................................................3-30
Clock............................................................3-23
Collision Damage Repair..................................7-10
3