2006 BMW Z4 3.0I ROADSTER handbrake
[x] Cancel search: handbrakePage 40 of 128

Driving
38
Driving
Ignition lock
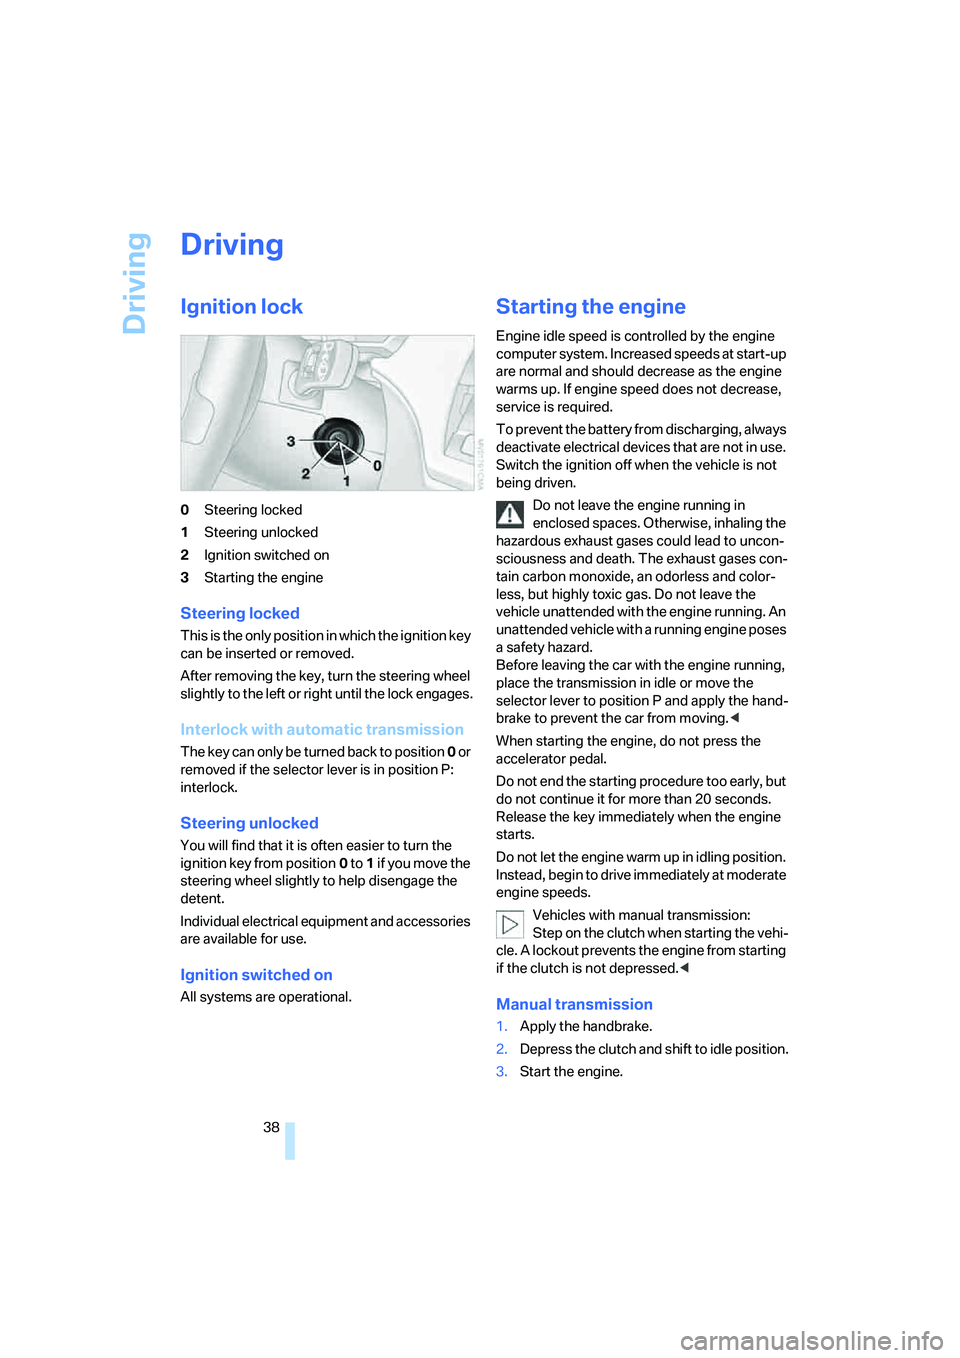
0Steering locked
1Steering unlocked
2Ignition switched on
3Starting the engine
Steering locked
This is the only position in which the ignition key
can be inserted or removed.
After removing the key, turn the steering wheel
slightly to the left or right until the lock engages.
Interlock with automatic transmission
The key can only be turned back to position 0 or
removed if the selector lever is in position P:
interlock.
Steering unlocked
You will find that it is often easier to turn the
ignition key from position0 to 1 if yo u m ove the
steering wheel slightly to help disengage the
detent.
Individual electrical equipment and accessories
are available for use.
Ignition switched on
All systems are operational.
Starting the engine
Engine idle speed is controlled by the engine
computer system. Increased speeds at start-up
are normal and should decrease as the engine
warms up. If engine speed does not decrease,
service is required.
To prevent the battery from discharging, always
deactivate electrical devices that are not in use.
Switch the ignition off when the vehicle is not
being driven.
Do not leave the engine running in
enclosed spaces. Otherwise, inhaling the
hazardous exhaust gases could lead to uncon-
sciousness and death. The exhaust gases con-
tain carbon monoxide, an odorless and color-
less, but highly toxic gas. Do not leave the
vehicle unattended with the engine running. An
unattended vehicle with a running engine poses
a safety hazard.
Before leaving the car with the engine running,
place the transmission in idle or move the
selector lever to position P and apply the hand-
brake to prevent the car from moving.<
When starting the engine, do not press the
accelerator pedal.
Do not end the starting procedure too early, but
do not continue it for more than 20 seconds.
Release the key immediately when the engine
starts.
Do not let the engine warm up in idling position.
Instead, begin to drive immediately at moderate
engine speeds.
Vehicles with manual transmission:
Step on the clutch when starting the vehi-
cle. A lockout prevents the engine from starting
if the clutch is not depressed.<
Manual transmission
1.Apply the handbrake.
2.Depress the clutch and shift to idle position.
3.Start the engine.
Page 41 of 128

Reference
At a glance
Controls
Driving tips
Mobility
39
Automatic transmission
1.Depress the brake.
2.Start the engine.
Special starting conditions
In the following situations, press the accelerator
pedal halfway down when starting the engine:
>If the engine does not start on the first
attempt, for instance when it is extremely
hot or cold.
>If the engine is started at very low tempera-
tures, below approx. +57/–156, at high
altitudes above approx. 3,300 ft/1,000 m.
Avoid frequent starting attempts in quick
succession or repeated starting attempts
during which the engine does not start. Other-
wise, the fuel is not burned or inadequately
burned; there is a danger of overheating and
damaging the catalytic converter.<
Switching off the engine
Do not remove the key while the vehicle is
still moving. Otherwise, the steering lock
would engage when the steering wheel is
turned.
When you leave the vehicle, always remove the
key and engage the steering lock.
Apply the parking brake when parking on steep
gradients, otherwise the vehicle could start to
roll.<
You can have an acoustic signal set as a
reminder that the key is still in the ignition
switch after the driver's door has been
opened.<
Manual transmission
1.Turn the key to position 1 or 0.
2.Engage first gear or reverse gear.
3.Apply the handbrake.
Automatic transmission
1.With the car at a standstill, move the selec-
tor lever to position P.
2.Turn the key to position 1 or 0.
Parking brake
The parking brake is designed primarily to pre-
vent the vehicle from rolling when parked. It
operates against the rear wheels.
Indicator lamp
The indicator lamp is lit, and when you
drive off a signal sounds in addition.
The handbrake is still applied.
Indicator lamp for Canadian models.
Applying
The lever locks in position automatically.
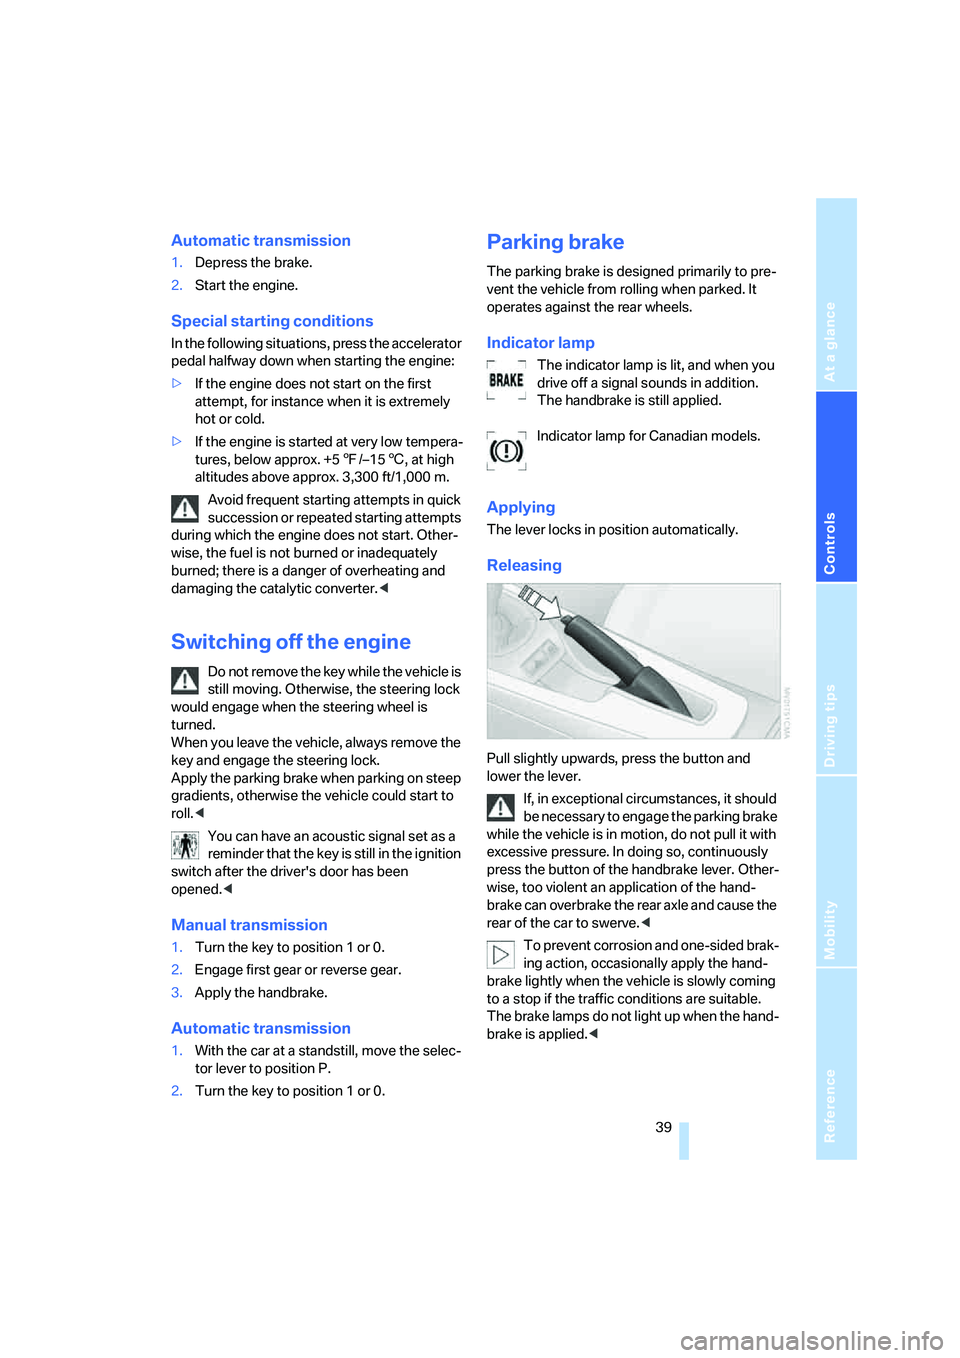
Releasing
Pull slightly upwards, press the button and
lower the lever.
If, in exceptional circumstances, it should
be necessary to engage the parking brake
while the vehicle is in motion, do not pull it with
excessive pressure. In doing so, continuously
press the button of the handbrake lever. Other-
wise, too violent an application of the hand-
brake can overbrake the rear axle and cause the
rear of the car to swerve.<
To prevent corrosion and one-sided brak-
ing action, occasionally apply the hand-
brake lightly when the vehicle is slowly coming
to a stop if the traffic conditions are suitable.
The brake lamps do not light up when the hand-
brake is applied.<
Page 52 of 128

Technology for driving comfort and safety
50 In the following exceptional circumstances, it
may be effective to activate the DTC for a short
period:
>When driving on snow-covered grades, in
slush or on uncleared, snow-covered roads
>When rocking the vehicle or starting off in
deep snow or on loose surfaces
>When driving with snow chains
Activating DTC
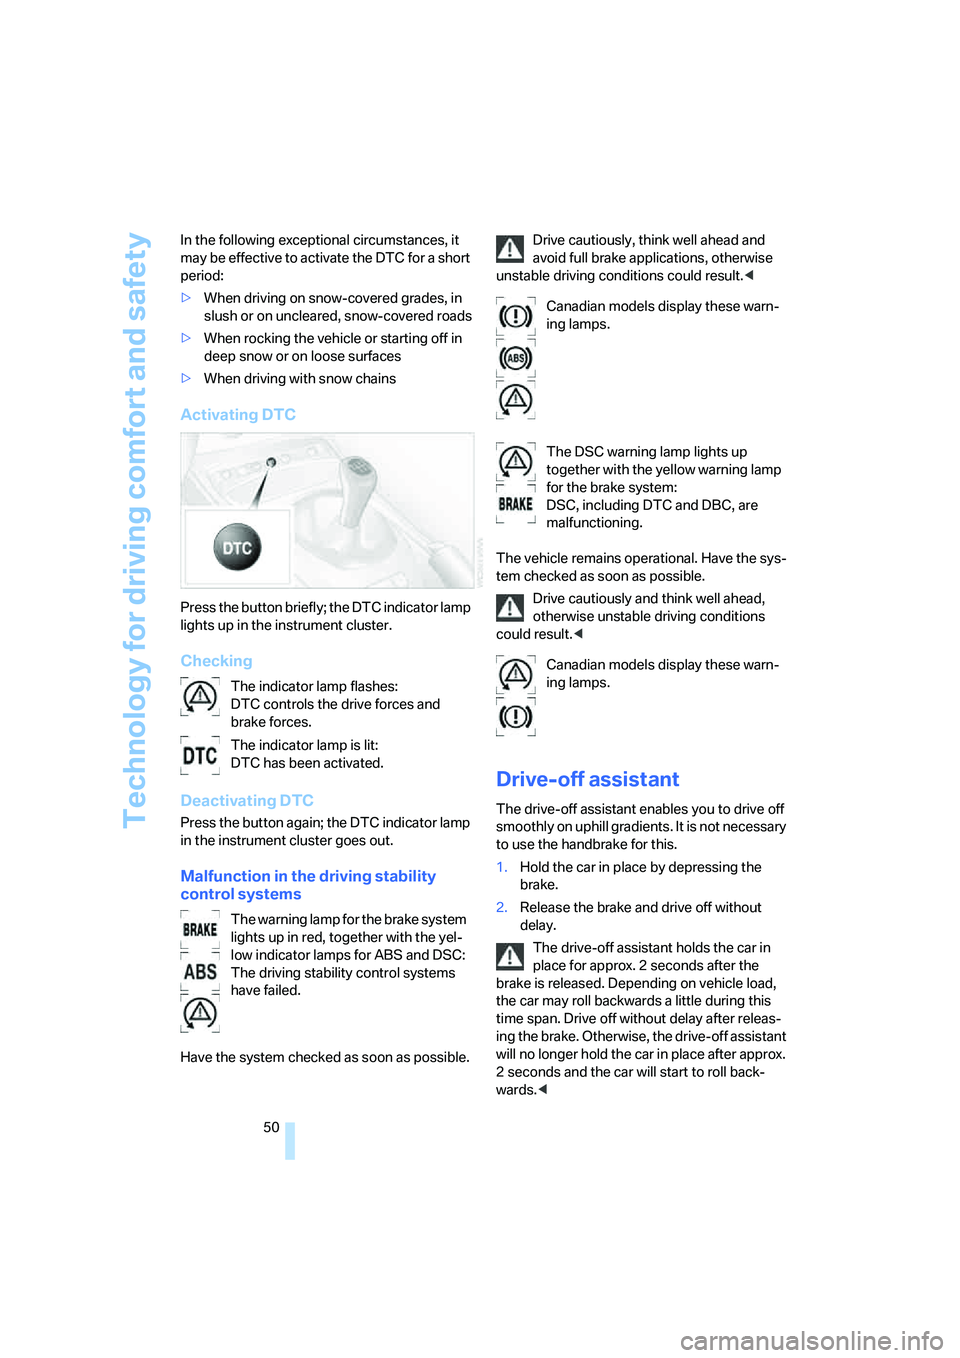
Press the button briefly; the DTC indicator lamp
lights up in the instrument cluster.
Checking
Deactivating DTC
Press the button again; the DTC indicator lamp
in the instrument cluster goes out.
Malfunction in the driving stability
control systems
Have the system checked as soon as possible.Drive cautiously, think well ahead and
avoid full brake applications, otherwise
unstable driving conditions could result.<
The vehicle remains operational. Have the sys-
tem checked as soon as possible.
Drive cautiously and think well ahead,
otherwise unstable driving conditions
could result.<
Drive-off assistant
The drive-off assistant enables you to drive off
smoothly on uphill gradients. It is not necessary
to use the handbrake for this.
1.Hold the car in place by depressing the
brake.
2.Release the brake and drive off without
delay.
The drive-off assistant holds the car in
place for approx. 2 seconds after the
brake is released. Depending on vehicle load,
the car may roll backwards a little during this
time span. Drive off without delay after releas-
ing the brake. Otherwise, the drive-off assistant
will no longer hold the car in place after approx.
2 seconds and the car will start to roll back-
wards.< The indicator lamp flashes:
DTC controls the drive forces and
brake forces.
The indicator lamp is lit:
DTC has been activated.
The warning lamp for the brake system
lights up in red, together with the yel-
low indicator lamps for ABS and DSC:
The driving stability control systems
have failed.
Canadian models display these warn-
ing lamps.
The DSC warning lamp lights up
together with the yellow warning lamp
for the brake system:
DSC, including DTC and DBC, are
malfunctioning.
Canadian models display these warn-
ing lamps.
Page 118 of 128

Everything from A to Z
116 Exterior mirrors34
– adjusting34
– automatic dimming
feature71
– automatic heating34
– folding in and out34
Eyeglasses compartment65
Eyes, tow-starting and towing
away100
F
False alarm
– refer to Avoiding
unintentional alarms24
– refer to Switching off an
alarm24
Fasten safety belts, refer to
Safety belts33
Filter
– refer to Microfilter60
– refer to Microfilter/activated-
charcoal filter63
Fine wood, refer to the Caring
for your vehicle brochure
First aid, refer to First-aid
kit99
First-aid kit99
Flat
– Run-Flat Tires84
Flat tire51
– Flat Tire Monitor51
– indicator/warning lamp13
– refer to Changing a wheel96
– refer to Tire condition83
– Run-Flat Tires84
Flat Tire Monitor FTM51
– indicator/warning lamp51
– initializing the system51
– snow chains85
– system limits51
Flat tire service, refer to
Roadside Assistance98
Floods, refer to Driving
through water71
Floor covers, carpets, refer to
the Caring for your vehicle
brochureFloor mats, refer to the Caring
for your vehicle brochure
Fog lamps56
– indicator lamp13
Footbrake, refer to Braking
safely71
For your own safety5
Front airbags52
FTM, refer to Flat Tire
Monitor51
Fuel
– average consumption48
– capacity, refer to
Capacities110
– display46
– quality79
– tank capacity79
Fuel display, refer to Fuel
gauge46
Fuel filler flap, refer to Gas
cap78
Fuel level
– refer to Fuel tank capacity79
Fuel tank capacity, refer to
Capacities110
Fully automatic convertible
top27
Fuses97
G
Gas cap78
Gasoline, refer to Fuel
specifications79
Gasoline gauge, refer to Fuel
gauge46
Gear indicator, automatic
transmission with
Steptronic40
Gear lever
– automatic transmission with
Steptronic40
– manual transmission40
Gearshifts
– automatic transmission with
Steptronic40
– manual transmission40
Glove compartment64Gross weight, refer to
Weights109
H
Halogen lamps
– replacing bulbs94
Handbrake, refer to Parking
brake39
Hands-free microphone67
Hardtop, refer to the separate
Owner's Manual
Hardtop preparation73
Hazard warning flashers14
Headlamp control,
automatic55
Headlamp flasher42
– indicator lamp12
Headlamps
– bulb replacement94
– care, refer to the Caring for
your vehicle brochure
– cleaning43
– cleaning system, washer
fluid44
– cover94
– glass, care, refer to the
Caring for your vehicle
brochure
– washer reservoir, refer to
Washer fluid reservoir44
– washer reservoir volume,
refer to Capacities110
Head restraints32
– safe seating position30
Heated
– rear window59,63
– seats33
Heated mirrors34
Heating
– mirrors34
– rear window59,63
– seats33
Heavy loads, refer to Cargo
loading72
Height, refer to
Dimensions107,108