2006 BMW Z4 3.0I ROADSTER battery charge
[x] Cancel search: battery chargePage 14 of 128

Cockpit
12
Instrument cluster
1Speedometer
2Indicator lamps for turn signals
3Indicator and warning lamps12
4Tachometer46
with indicator and warning lamps12
5Engine coolant temperature gauge47
6Fuel gauge46
7Button for
>Displaying the clock47
>Service interval display47
>Checking the oil level88
8Position of automatic transmission
*40
9Button for
>Resetting trip odometer46
>Setting the clock47
10Display for
>Trip odometer/Odometer46
>Clock47
>Service interval47
>Computer
*48
>Checking the oil level88
Indicator and warning lamps
Technology that monitors itself
Indicator and warning lamps that are identified
by
+ are tested for proper functioning whenever
the key is turned. They each light up once for
different periods of time.
If a malfunction occurs in one of the monitored
systems, the corresponding lamp does not go
out after the engine has started, or it lights up
again while the vehicle is in motion. You can find
more information about each system on the
specified pages.
Turn signal indicators42
Battery charge current
+97
Headlamp flasher/High beams42, 56
Engine oil pressure/
Engine oil level
+87
Antilock Brake System ABS/Driving
stability control systems
+49
Page 22 of 128
Opening and closing
20 The luggage compartment lid/tailgate opens a
short distance, regardless of whether it was
locked or unlocked.
A previously locked luggage compart-
ment lid/tailgate is locked again after
closing.
Before and after each trip, check that the lug-
gage compartment lid/tailgate has not been
inadvertently unlocked.<
Panic mode*
You can also trigger the alarm system* if you
find yourself in a dangerous situation:
Press the button for at least 3 seconds.
To switch off the alarm: press any button.
Malfunctions
The remote control may malfunction due to
local radio waves. If this occurs, unlock and lock
the car at the door lock or luggage compart-
ment lid/tailgate lock with the key.
If the car can no longer be locked with a remote
control, the battery in the remote control is dis-
charged. Use this remote control key while driv-
ing for an extended period in order to recharge
the battery, refer to page18.
For US owners only
The transmitter and receiver units comply with
part 15 of the FCC/Federal Communications
Commission regulations. Operation is gov-
erned by the following:
FCC ID:
LX8EWS
LX8FZVS
LX8FZVE
Compliance statement:
This device complies with part 15 of the FCC
Rules. Operation is subject to the following two
conditions:
>This device may not cause harmful interfer-
ence, and
>this device must accept any interference
received, including interference that may
cause undesired operation.Any unauthorized modifications or
changes to these devices could void the
user’s authority to operate this equipment.<
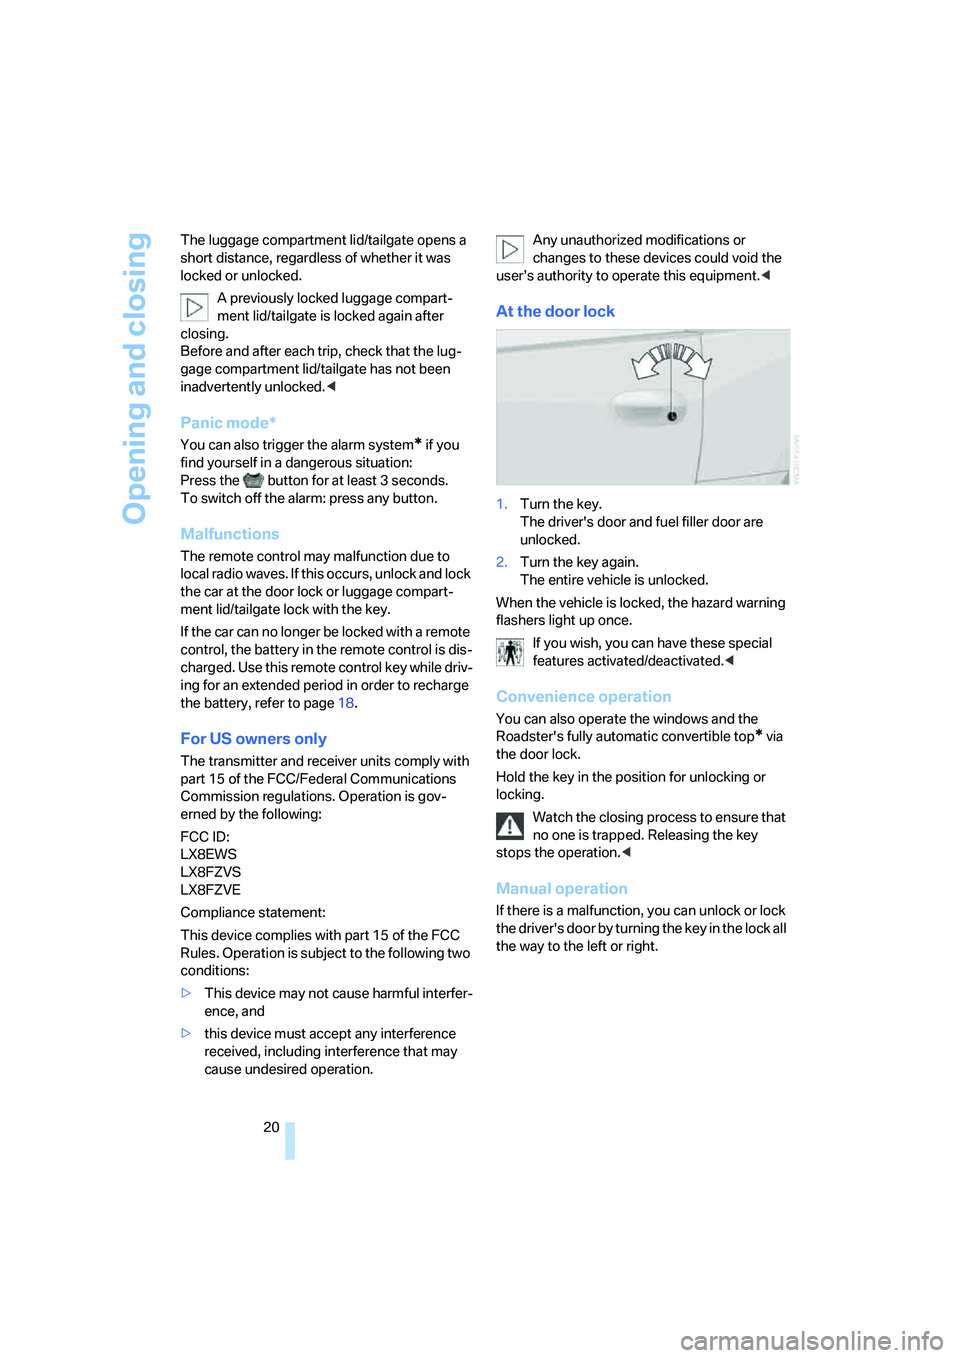
At the door lock
1.Turn the key.
The driver's door and fuel filler door are
unlocked.
2.Turn the key again.
The entire vehicle is unlocked.
When the vehicle is locked, the hazard warning
flashers light up once.
If you wish, you can have these special
features activated/deactivated.<
Convenience operation
You can also operate the windows and the
Roadster's fully automatic convertible top
* via
the door lock.
Hold the key in the position for unlocking or
locking.
Watch the closing process to ensure that
no one is trapped. Releasing the key
stops the operation.<
Manual operation
If there is a malfunction, you can unlock or lock
the driver's door by turning the key in the lock all
the way to the left or right.
Page 58 of 128
Lamps
56 You can have daytime running light acti-
vated/deactivated on your vehicle.<
Pathway lighting
If you activate the headlamp flasher after park-
ing the car, with the lights switched off, the low
beams come on and remain on for a certain
time.
You can have this function activated/
deactivated as well as the duration of the
pathway lighting set.<
LIGHTS ON warning
Whenever you open the driver's door after hav-
ing turned the key to position 0, you will hear an
acoustic signal for a few seconds to remind you
that the lamps have not been switched off.
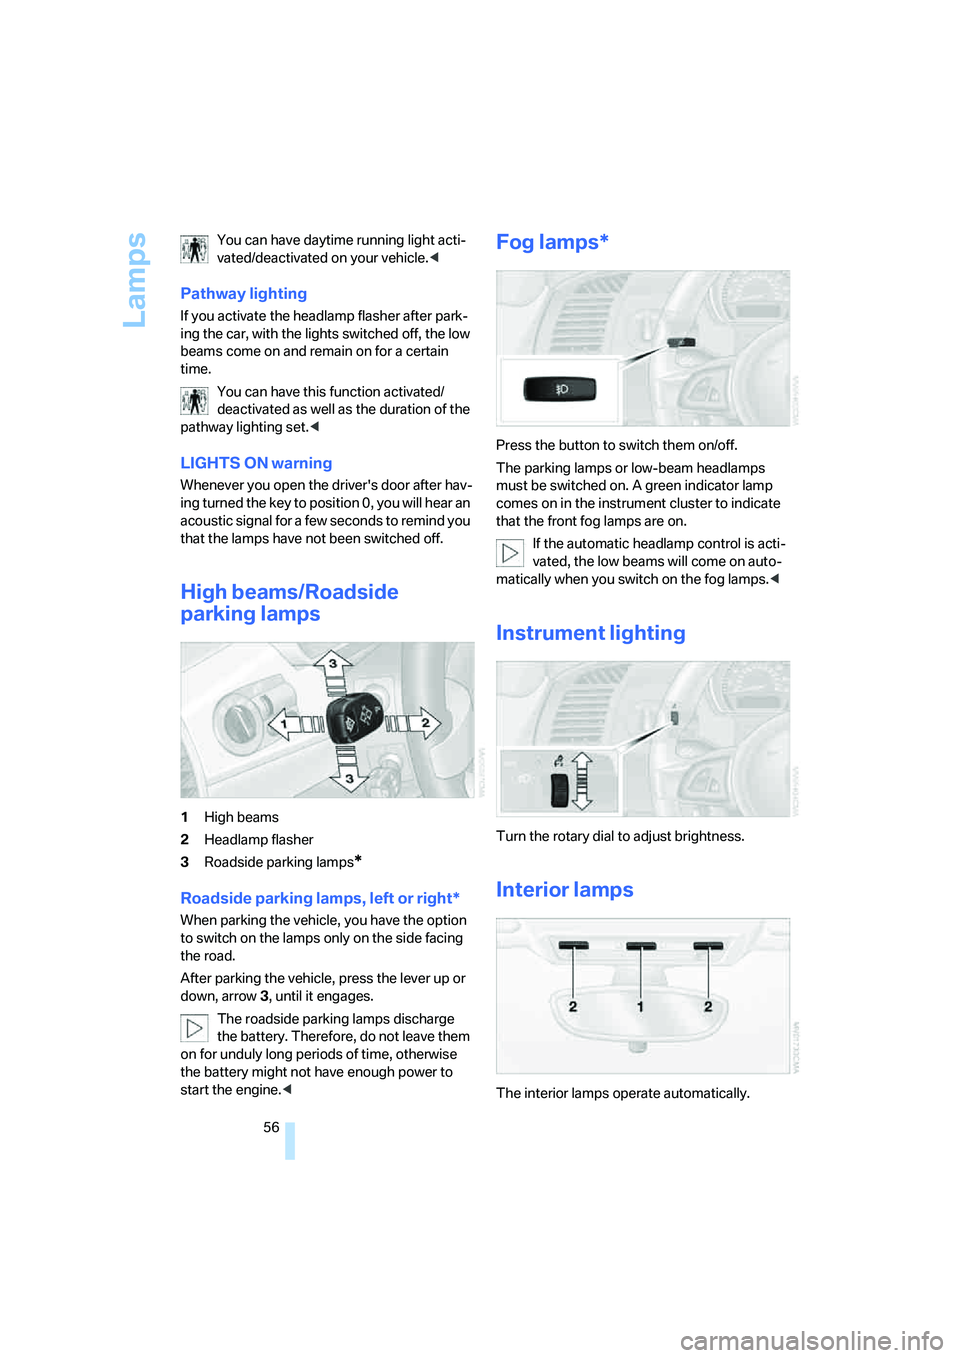
High beams/Roadside
parking lamps
1High beams
2Headlamp flasher
3Roadside parking lamps
*
Roadside parking lamps, left or right*
When parking the vehicle, you have the option
to switch on the lamps only on the side facing
the road.
After parking the vehicle, press the lever up or
down, arrow 3, until it engages.
The roadside parking lamps discharge
the battery. Therefore, do not leave them
on for unduly long periods of time, otherwise
the battery might not have enough power to
start the engine.<
Fog lamps*
Press the button to switch them on/off.
The parking lamps or low-beam headlamps
must be switched on. A green indicator lamp
comes on in the instrument cluster to indicate
that the front fog lamps are on.
If the automatic headlamp control is acti-
vated, the low beams will come on auto-
matically when you switch on the fog lamps.<
Instrument lighting
Turn the rotary dial to adjust brightness.
Interior lamps
The interior lamps operate automatically.
Page 99 of 128
Reference
At a glance
Controls
Driving tips
Mobility
97
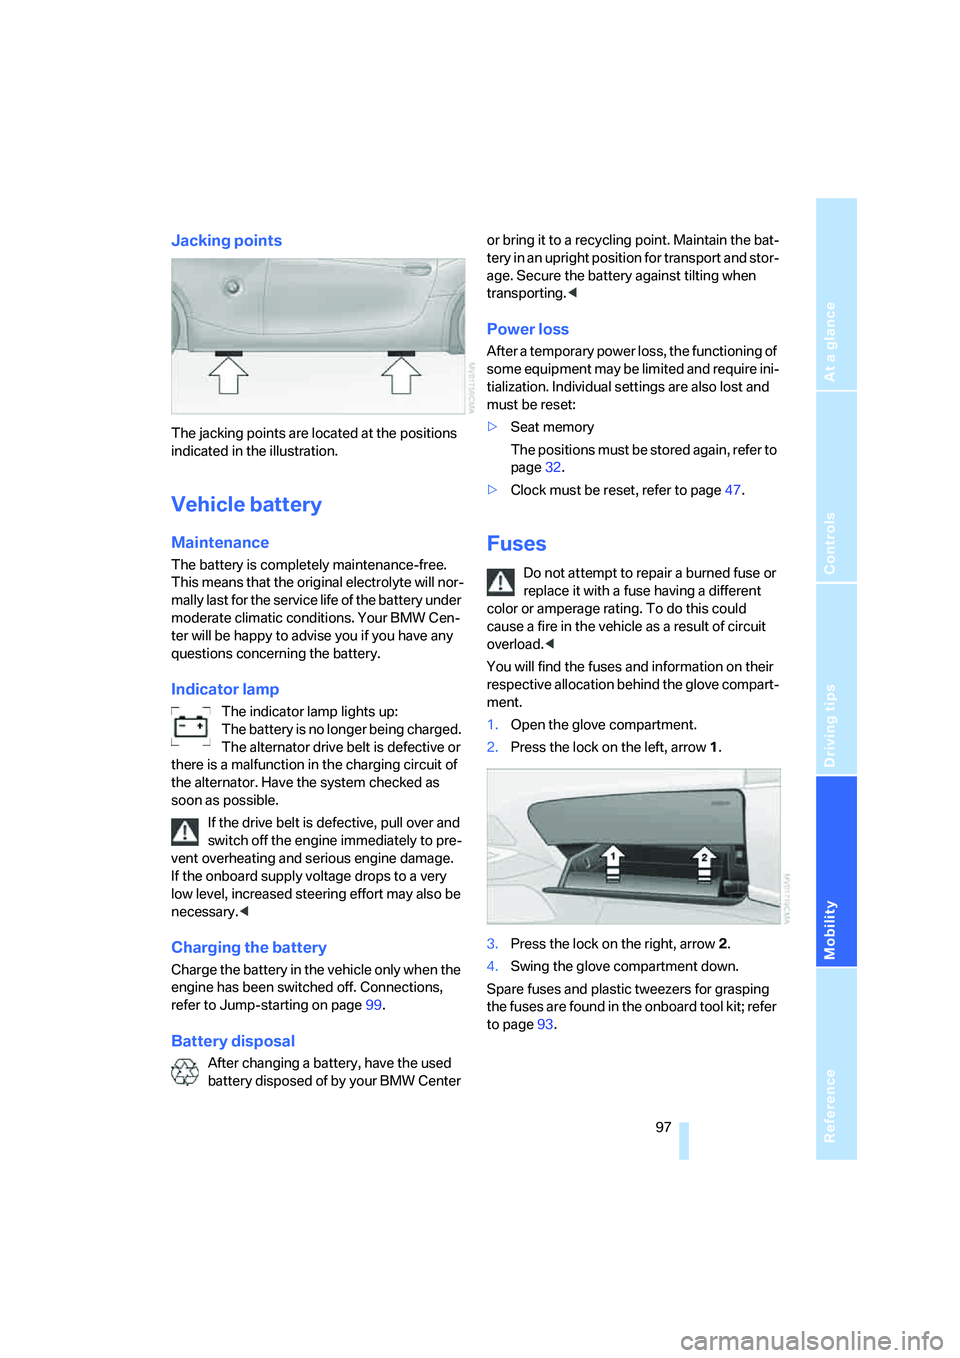
Jacking points
The jacking points are located at the positions
indicated in the illustration.
Vehicle battery
Maintenance
The battery is completely maintenance-free.
This means that the original electrolyte will nor-
mally last for the service life of the battery under
moderate climatic conditions. Your BMW Cen-
ter will be happy to advise you if you have any
questions concerning the battery.
Indicator lamp
The indicator lamp lights up:
The battery is no longer being charged.
The alternator drive belt is defective or
there is a malfunction in the charging circuit of
the alternator. Have the system checked as
soon as possible.
If the drive belt is defective, pull over and
switch off the engine immediately to pre-
vent overheating and serious engine damage.
If the onboard supply voltage drops to a very
low level, increased steering effort may also be
necessary.<
Charging the battery
Charge the battery in the vehicle only when the
engine has been switched off. Connections,
refer to Jump-starting on page99.
Battery disposal
After changing a battery, have the used
battery disposed of by your BMW Center or bring it to a recycling point. Maintain the bat-
tery in an upright position for transport and stor-
age. Secure the battery against tilting when
transporting.<
Power loss
After a temporary power loss, the functioning of
some equipment may be limited and require ini-
tialization. Individual settings are also lost and
must be reset:
>Seat memory
The positions must be stored again, refer to
page32.
>Clock must be reset, refer to page47.
Fuses
Do not attempt to repair a burned fuse or
replace it with a fuse having a different
color or amperage rating. To do this could
cause a fire in the vehicle as a result of circuit
overload.<
You will find the fuses and information on their
respective allocation behind the glove compart-
ment.
1.Open the glove compartment.
2.Press the lock on the left, arrow1.
3.Press the lock on the right, arrow2.
4.Swing the glove compartment down.
Spare fuses and plastic tweezers for grasping
the fuses are found in the onboard tool kit; refer
to page93.
Page 102 of 128
Giving and receiving assistance
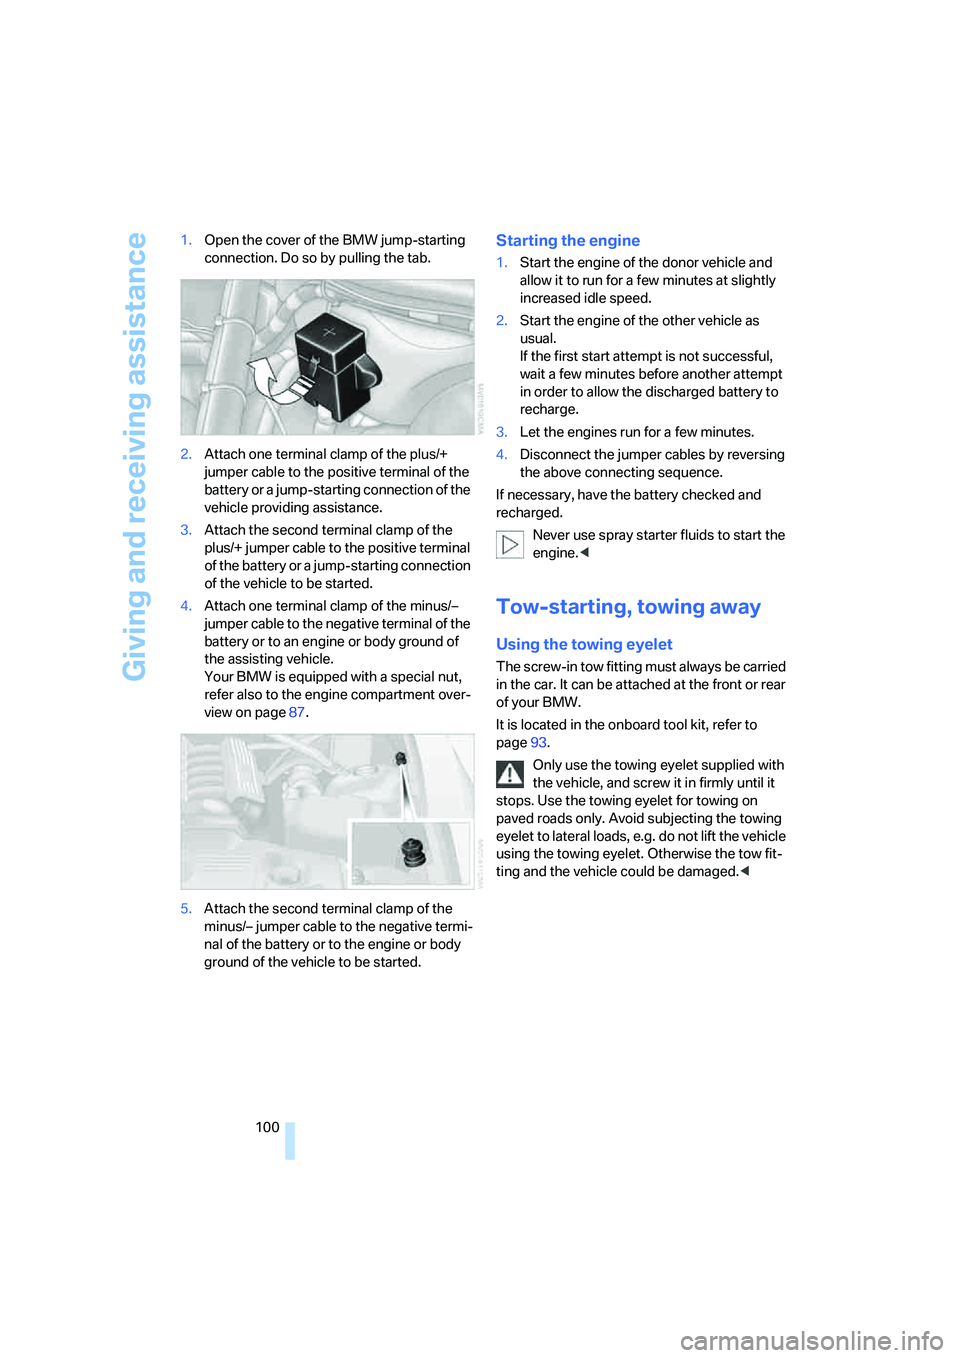
100 1.Open the cover of the BMW jump-starting
connection. Do so by pulling the tab.
2.Attach one terminal clamp of the plus/+
jumper cable to the positive terminal of the
battery or a jump-starting connection of the
vehicle providing assistance.
3.Attach the second terminal clamp of the
plus/+ jumper cable to the positive terminal
of the battery or a jump-starting connection
of the vehicle to be started.
4.Attach one terminal clamp of the minus/–
jumper cable to the negative terminal of the
battery or to an engine or body ground of
the assisting vehicle.
Your BMW is equipped with a special nut,
refer also to the engine compartment over-
view on page87.
5.Attach the second terminal clamp of the
minus/– jumper cable to the negative termi-
nal of the battery or to the engine or body
ground of the vehicle to be started.
Starting the engine
1.Start the engine of the donor vehicle and
allow it to run for a few minutes at slightly
increased idle speed.
2.Start the engine of the other vehicle as
usual.
If the first start attempt is not successful,
wait a few minutes before another attempt
in order to allow the discharged battery to
recharge.
3.Let the engines run for a few minutes.
4.Disconnect the jumper cables by reversing
the above connecting sequence.
If necessary, have the battery checked and
recharged.
Never use spray starter fluids to start the
engine.<
Tow-starting, towing away
Using the towing eyelet
The screw-in tow fitting must always be carried
in the car. It can be attached at the front or rear
of your BMW.
It is located in the onboard tool kit, refer to
page93.
Only use the towing eyelet supplied with
the vehicle, and screw it in firmly until it
stops. Use the towing eyelet for towing on
paved roads only. Avoid subjecting the towing
eyelet to lateral loads, e.g. do not lift the vehicle
using the towing eyelet. Otherwise the tow fit-
ting and the vehicle could be damaged.<