Page 55 of 172
consult your authorised BMW
Motorrad dealer.Cruise-control
system
OE
Switch on cruise controlMove switch1to ON.
Telltale light 2in the switch
lights up red.
Set road speedBriefly push button 3in the
SET direction
Cruise control telltale
light shows.
The motorcycle maintains
your current cruising speed
and the setting is saved.
Step-by-step
accelerationBriefly push button 3in the
SET direction
Speed is increased by ap-
prox. 2 km/h each time you
push the button, and the
new setting is saved.
453zOperation
Page 62 of 172
LightsSwitching on the side
lightsThe side lights switch on
automatically when the
ignition is switched on.The side lights place a
strain on the battery.
Do not switch the ignition
on for longer than absolutely
necessary.Switching on the low-
beam headlightThe low-beam headlight
switches on automatically
when you start the engine.
When the engine is not
running you can switch
on the lights by switching on
the ignition and either switch-
ing on the high-beam head-
light or operating the head-
light flasher.
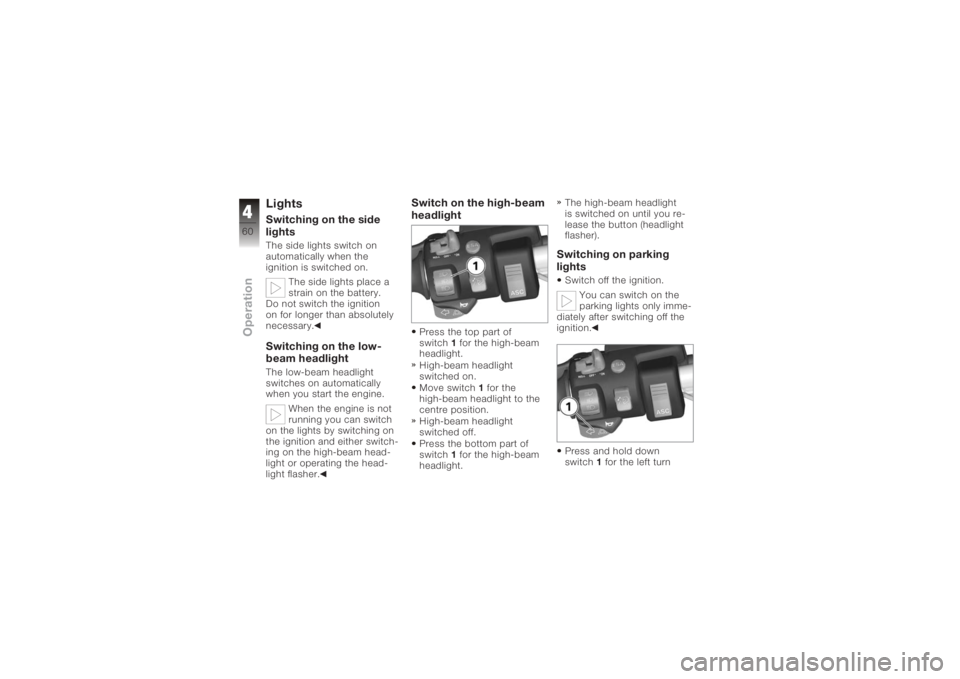
Switch on the high-beam
headlightPress the top part of
switch 1for the high-beam
headlight.
High-beam headlight
switched on.
Move switch 1for the
high-beam headlight to the
centre position.
High-beam headlight
switched off.
Press the bottom part of
switch 1for the high-beam
headlight. The high-beam headlight
is switched on until you re-
lease the button (headlight
flasher).
Switching on parking
lightsSwitch off the ignition.
You can switch on the
parking lights only imme-
diately after switching off the
ignition.
Press and hold down
switch 1for the left turn
460zOperation
Page 63 of 172
indicators until the parking
lights are ON.Switching off parking
lightsSwitch the ignition on and
then off again.
Parking lights switched off.HeadlightAdjusting headlight for
driving on left/driving on
right
Commercially available
adhesive tape will dam-
age the plastic lens of the
light.
Consult a specialist work-
shop, preferably an author-
ised BMW Motorrad dealer, in
order to avoid damaging the
plastic lens of the light.
If the motorcycle is ridden in
a country where the oppos-
ite rule of the road applies, its asymmetric low-beam head-
light will tend to dazzle on-
coming traffic.
Have the headlight set
accordingly by a specialist
workshop, preferably an
authorised BMW Motorrad
dealer.
Headlight beam throw
and spring preloadHeadlight beam throw is gen-
erally kept constant when
spring preload is adjusted to
suit load.
Spring preload adjustment
might not suffice only if
the motorcycle is very
heavily loaded. Under these
circumstances, headlight
beam throw has to be
adjusted to suit the weight
carried by the motorcycle.
Consult a specialist
workshop, preferably an
authorised BMW Motorrad
dealer, if you are unsure
whether the headlight basic
setting is correct.
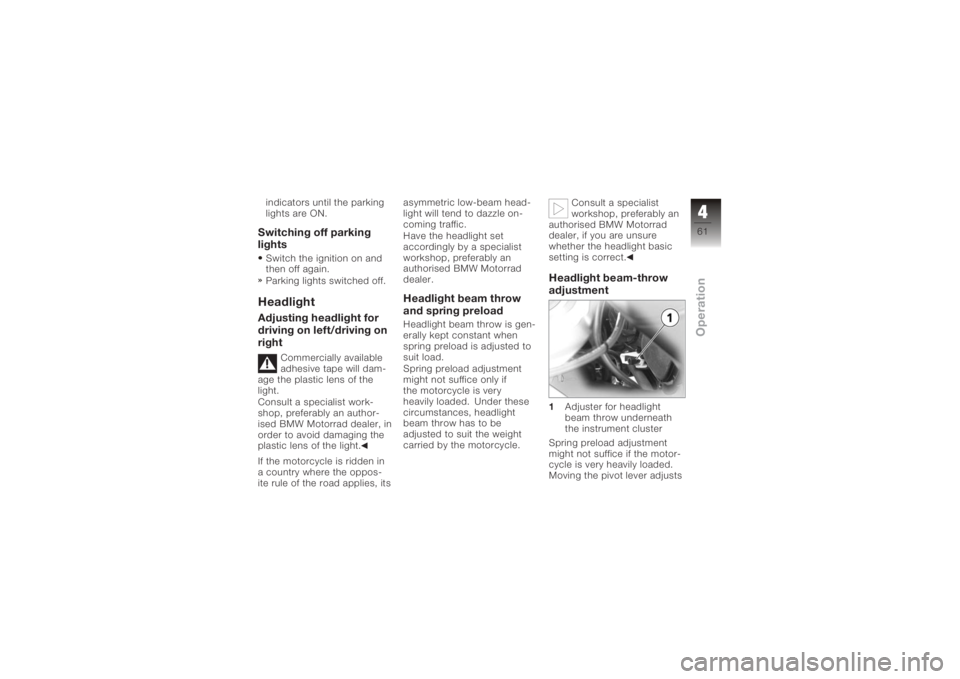
Headlight beam-throw
adjustment1 Adjuster for headlight
beam throw underneath
the instrument cluster
Spring preload adjustment
might not suffice if the motor-
cycle is very heavily loaded.
Moving the pivot lever adjusts
461zOperation
Page 81 of 172
with OE ASC:Switch on the ignition.
Pre-ride check is
performed. ( 79)
ABS self-diagnosis is per-
formed. ( 80)
ASC self-diagnosis is per-
formed. ( 80)
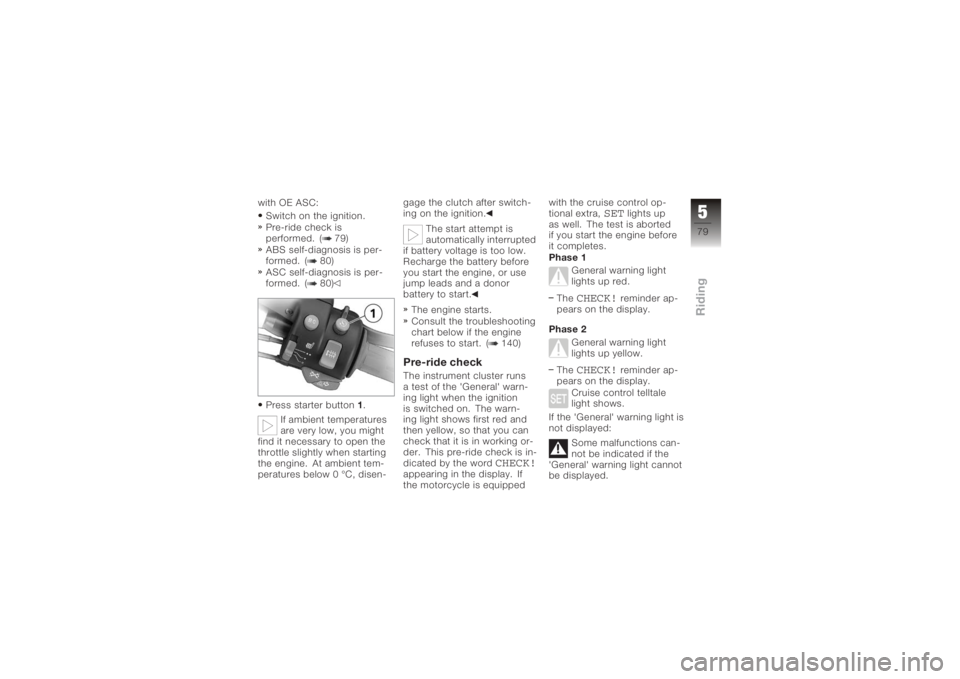
Press starter button 1.
If ambient temperatures
are very low, you might
find it necessary to open the
throttle slightly when starting
the engine. At ambient tem-
peratures below 0 °C, disen- gage the clutch after switch-
ing on the ignition.
The start attempt is
automatically interrupted
if battery voltage is too low.
Recharge the battery before
you start the engine, or use
jump leads and a donor
battery to start.
The engine starts.
Consult the troubleshooting
chart below if the engine
refuses to start. ( 140)
Pre-ride checkThe instrument cluster runs
a test of the 'General' warn-
ing light when the ignition
is switched on. The warn-
ing light shows first red and
then yellow, so that you can
check that it is in working or-
der. This pre-ride check is in-
dicated by the word
CHECK!
appearing in the display. If
the motorcycle is equipped with the cruise control op-
tional extra,
SET
lights up
as well. The test is aborted
if you start the engine before
it completes.
Phase 1
General warning light
lights up red.
The
CHECK!
reminder ap-
pears on the display.
Phase 2 General warning light
lights up yellow.
The
CHECK!
reminder ap-
pears on the display.
Cruise control telltale
light shows.
If the 'General' warning light is
not displayed:
Some malfunctions can-
not be indicated if the
'General' warning light cannot
be displayed.
579zRiding
Page 82 of 172

Check that the 'General'
warning light comes on, and
that it lights up yellow and
then red.Have the fault rectified as
quickly as possible by a
specialist workshop, prefer-
ably an authorised BMW
Motorrad dealer.ABS self-diagnosisBMW Motorrad Integral ABS
performs self-diagnosis to
ensure its operability. Self-
diagnosis is performed auto-
matically when you switch
on the ignition. The motor-
cycle has to move forward at
a speed above 5 km/h for the
wheel sensors to be tested.
Phase 1Test of the diagnosis-
compatible system
components with the
motorcycle at a standstill. ABS warning light
flashes.
Possible national variant
of the ABS warning light.
Phase 2 Test of the wheel sensors
as the motorcycle pulls
away from rest. ABS warning light
flashes.
Possible national variant
of the ABS warning light.
ABS self-diagnosis
completed The ABS warning light goes
out.
If an indicator showing an
ABS fault appears when ABS
self-diagnosis completes:
You can continue to ride.
Bear in mind that neither
the ABS function nor the integral braking function is
available.
Have the fault rectified as
quickly as possible by a
specialist workshop, prefer-
ably an authorised BMW
Motorrad dealer.
ASC self-diagnosis
OE
BMW Motorrad ASC performs
self-diagnosis to ensure its
operability. Self-diagnosis
is performed automatically
when you switch on the igni-
tion. The engine must be run-
ning and the motorcycle must
reach a speed of at least 5
km/h in order for ASC self-
diagnosis to complete.
Phase 1
Test of the diagnosis-
compatible system
components with the
motorcycle at a standstill.
580zRiding
Page 121 of 172
BulbsGeneral instructionsThe failure of a bulb is sig-
nalled in the display by the
defective lamp symbol. The
bulbs for brake light and rear
light are the same; the bright-
ness of the light is regulated
in accordance with the applic-
ation.A defective bulb places
your safety at risk be-
cause it is easier for other
users to oversee you and
your motorcycle.
Replace defective bulbs as
soon as possible; always
carry a complete set of spare
bulbs if possible.
The bulb is pressurised
and can cause injury if
damaged.
Wear protective goggles
and gloves when changing
bulbs. The types of bulb fitted
to your motorcycle are
listed in the section entitled
"Technical data".
Do not touch the glass
of new bulbs with your
fingers. Use a clean, dry cloth
to hold the bulbs when hand-
ling them. Dirt deposits, in
particular oil and grease, in-
terfere with heat radiation
from the bulb. This leads to
overheating and shortens the
bulb's operating life.
Replacing low-beam and
high-beam headlight
bulb
If it is not standing firmly,
the motorcycle could
topple in the course of the
operations described below.
Always make sure that the
motorcycle is stable and
firmly supported. with OE Xenon lights:
Xenon lights operate
with high voltage; incor-
rect working procedures can
result in fatalities.
Have all work on the xenon
light system, including the
work involved in replacing
bulbs, performed by a spe-
cialist workshop, preferably
by an authorised BMW Motor-
rad dealer.
For the time being, ride with
the high-beam headlight
switched on.
In order not to dazzle on-
coming traffic, set the head-
light beam throw adjuster to
the position for riding with
maximum payload.
Have the bulb replaced as
soon as possible by a spe-
cialist workshop, preferably
an authorised BMW Motor-
rad dealer.
7119zMaintenance
Page 123 of 172
Remove bulb6.
Replace the defective bulb.
High-beam headlight
bulb
H7/12V/55W Low-beam headlight
bulb
H7/12V/55W with OE Xenon lights:
D2R / 35 W
Use a clean, dry cloth to
hold the new bulb. Install bulb
6.
Close and lock spring
clips 5. Connect plug
4.
Install cover 1(low-beam
headlight) or covers 2(high-
beam headlight).
7121zMaintenance
Page 131 of 172
Charging battery when
connected
Charging the connec-
ted battery directly at the
battery terminals can damage
the vehicle electronics.
Always disconnect the battery
from the on-board circuits be-
fore recharging it with a char-
ger connected directly to the
battery posts.
If you switch on the ig-
nition and the multifunc-
tion display and telltale lights
fail to light up, the battery is
completely flat. Attempting to
charge a completely flat bat-
tery via the on-board socket
can cause damage to the mo-
torcycle's electronics.
If a battery has discharged to
the extent that it is completely
flat, it has to be disconnec-
ted from the on-board circuits
and charged with the char- ger connected directly to the
battery posts.
Only chargers suitable
for this mode of charging
can be used to recharge the
battery via the on-board sock-
et. Unsuitable chargers could
cause damage to the motor-
cycle's on-board electrics.
Use BMW chargers with
the part numbers 71 60
7 688 864 (220 V) or, as
applicable, 71 60 7 688 865
(110 V). If you are in doubt,
disconnect the battery from
the on-board systems and
connect the charger directly
to the battery.
Charge via the power sock-
et, with the battery connec-
ted to the motorcycle's on-
board electrical system. The motorcycle's
on-board electronics
know when the battery is fully charged. The on-board
socket is switched off when
this happens.
Comply with the operating
instructions of the charger. If you are unable to
charge the battery
through the power socket,
you may be using a charger
that is not compatible with
your motorcycle's electronics.
If this happens, disconnect
the battery from the on-board
systems and connect the
charger directly to the
battery.
Charging battery when
disconnectedCharge the battery using a
suitable charger.
Comply with the operating
instructions of the charger.
Once the battery is fully
charged, disconnect the
7129zMaintenance