Page 138 of 172

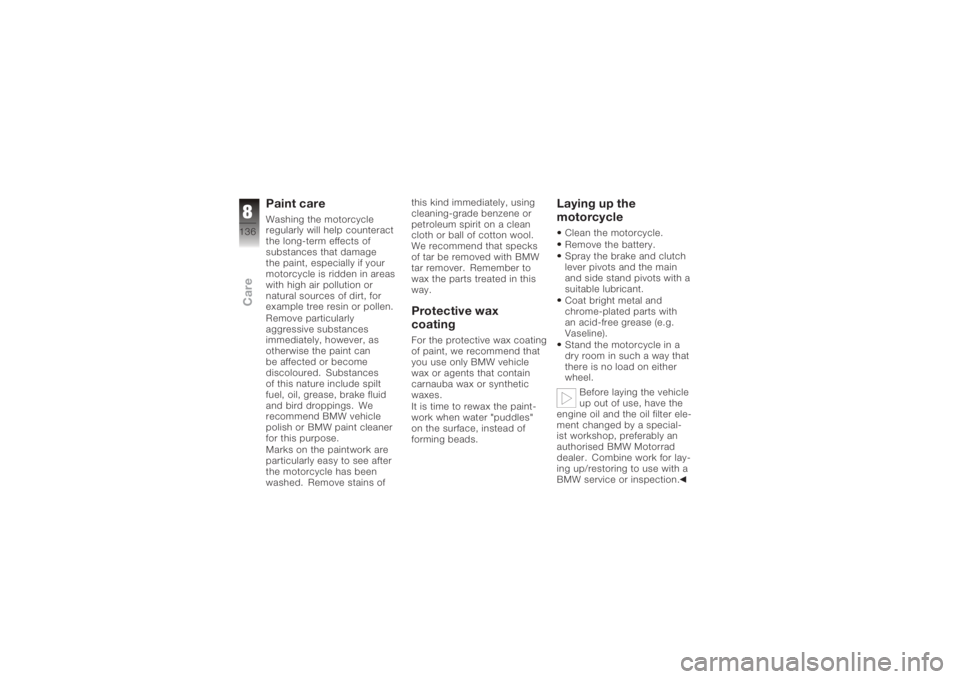
Paint careWashing the motorcycle
regularly will help counteract
the long-term effects of
substances that damage
the paint, especially if your
motorcycle is ridden in areas
with high air pollution or
natural sources of dirt, for
example tree resin or pollen.
Remove particularly
aggressive substances
immediately, however, as
otherwise the paint can
be affected or become
discoloured. Substances
of this nature include spilt
fuel, oil, grease, brake fluid
and bird droppings. We
recommend BMW vehicle
polish or BMW paint cleaner
for this purpose.
Marks on the paintwork are
particularly easy to see after
the motorcycle has been
washed. Remove stains ofthis kind immediately, using
cleaning-grade benzene or
petroleum spirit on a clean
cloth or ball of cotton wool.
We recommend that specks
of tar be removed with BMW
tar remover. Remember to
wax the parts treated in this
way.
Protective wax
coatingFor the protective wax coating
of paint, we recommend that
you use only BMW vehicle
wax or agents that contain
carnauba wax or synthetic
waxes.
It is time to rewax the paint-
work when water "puddles"
on the surface, instead of
forming beads.
Laying up the
motorcycleClean the motorcycle.
Remove the battery.
Spray the brake and clutch
lever pivots and the main
and side stand pivots with a
suitable lubricant.
Coat bright metal and
chrome-plated parts with
an acid-free grease (e.g.
Vaseline).
Stand the motorcycle in a
dry room in such a way that
there is no load on either
wheel.
Before laying the vehicle
up out of use, have the
engine oil and the oil filter ele-
ment changed by a special-
ist workshop, preferably an
authorised BMW Motorrad
dealer. Combine work for lay-
ing up/restoring to use with a
BMW service or inspection.
8136zCare
Page 139 of 172
Restoring motorcycle
to useRemove the protective wax
coating.
Clean the motorcycle.
Install a charged battery.
Before starting: work
through the checklist.
8137zCare
Page 142 of 172
Troubleshooting chartEngine does not start at all or is difficult to start.Possible causeRemedyKill switch activated. Kill switch in operating position (run).
Side stand extended and gear engaged. Retract the side stand ( 78).
Gear engaged and clutch not disengaged Select neutral or pull clutch lever ( 78).
Clutch pulled when ignition was OFF Switch on the ignition, then pull the clutch
lever.
No fuel in tank. Refuelling ( 83)
Battery not adequately charged. Charging battery when connected ( 129)
9140zTechnical data
Page 151 of 172
Tyre pressures
Tyre pressure, front2.5 bar, One-up, tyre cold
2.5 bar, Two-up and/or with luggage, tyre
cold
Tyre pressure, rear 2.9 bar, One-up, tyre cold
2.9 bar, Two-up and/or with luggage, tyre
coldElectricsRating of on-board socket 8 A, One on-board socket
with OE (Additional) socket: 8 A, Total for all sockets
Fuses All circuits are electronically protected, so
plug-in fuses are no longer necessary. If an
electronic fuse trips and de-energises a cir-
cuit, the circuit is active as soon as the igni-
tion is switched on after the fault has been
rectified.
Type
Battery type Gel battery
9149zTechnical data
Page 152 of 172
Technical data
Battery rated voltage12 V
Battery rated capacity 19 Ah
Technical data
Spark plug manufacturer and designation NGK KR9CI
Spark plug electrode gap (When new) 0.8 mm
Spark plug electrode gap (Wear limit) Spark-plug replacement as per maintenance
schedule
Lighting
High-beam headlight bulb H7 / 12 V / 55 W
Low-beam headlight bulb H7 / 12 V / 55 W
with OE Xenon lights: D2R / 35 W
Parking-light bulb W5W / 12 V / 5 W
Bulb of tail light/brake light P21W / 12 V / 21 W
Front flashing turn indicator bulbs H21W / 12 V / 21 W
Rear flashing turn indicator bulbs P21W / 12 V / 21 W
9150zTechnical data
Page 166 of 172

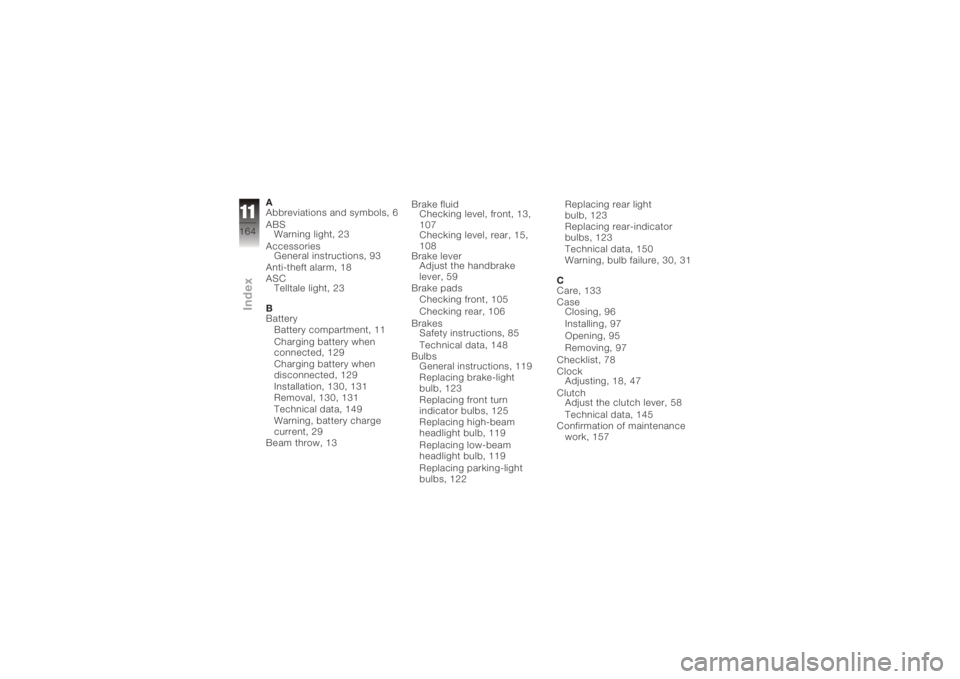
A
Abbreviations and symbols, 6
ABSWarning light, 23
Accessories General instructions, 93
Anti-theft alarm, 18
ASC Telltale light, 23
B
Battery Battery compartment, 11
Charging battery when
connected, 129
Charging battery when
disconnected, 129
Installation, 130, 131
Removal, 130, 131
Technical data, 149
Warning, battery charge
current, 29
Beam throw, 13 Brake fluid
Checking level, front, 13,
107
Checking level, rear, 15,
108
Brake lever Adjust the handbrake
lever, 59
Brake pads Checking front, 105
Checking rear, 106
Brakes Safety instructions, 85
Technical data, 148
Bulbs General instructions, 119
Replacing brake-light
bulb, 123
Replacing front turn
indicator bulbs, 125
Replacing high-beam
headlight bulb, 119
Replacing low-beam
headlight bulb, 119
Replacing parking-light
bulbs, 122 Replacing rear light
bulb, 123
Replacing rear-indicator
bulbs, 123
Technical data, 150
Warning, bulb failure, 30, 31
C
Care, 133
Case Closing, 96
Installing, 97
Opening, 95
Removing, 97
Checklist, 78
Clock Adjusting, 18, 47
Clutch Adjust the clutch lever, 58
Technical data, 145
Confirmation of maintenance work, 157
11164zIndex
Page 169 of 172
R
Range, 50
Rear seatHeating, 57
Installation, 67
Removal, 65
Refuelling, 83 Filler neck, 13
Reserve Warning, 27
Residual range, 49
Restoring to use, 137
Rev. counter, 18
Rider's Manual, 15
Rims Test, 110
Running gear Technical data, 147
Running in, 81 S
Safety instructions, 75
Brakes, 85
Seat, 15
Seat lock, 11
Service, 154
Service Card, 155
Side stand Starting the engine, 78
Spark plugs, 150
Speedometer, 18
Spring preload, rear Adjusting, 11, 69
Starter, 17
Starting, 78
Steering lock, 44
Stowage compartment, 13 Closing, 63
Opening, 63
Suspension damping, rear Adjusting, 11, 70 T
Technical data
Battery, 149
Brakes, 148
Bulbs, 150
Clutch, 145
Dimensions, 151
Electrics, 149
Engine, 142
Engine oil, 144
Final drive, 147
Frame, 151
Fuel, 143
Running gear, 147
Spark plugs, 150
Transmission, 145
Weights, 152
Wheels and tyres, 148
Telltale lights, 18 Overview, 23
Toolkit, 15 Service kit, 102
Standard kit, 102
11167zIndex