2006 BMW M5 SEDAN fold seats
[x] Cancel search: fold seatsPage 45 of 231

Controls
43Reference
At a glance
Driving tips
Communications
Navigation
Entertainment
Mobility
4.Select "Door locks" and press the control-
ler.
5.Select "Central locking" and press the con-
troller.
6.Select "Last seat pos." and press the con-
troller.
7.Select "After unlocking" or "After door
opened".
8.Press the controller.
To cancel the request:
Select "Deactivated" and press the controller.
When using this feature, always make
sure that the footwell behind the driver's
seat is empty and unobstructed. Failure to do
so could cause injury to persons or damage to
objects behind the seat as a result of a rearward
movement of the seat.<
Head restraints
A correctly adjusted head restraint reduces the
risk of spinal injury in the event of an accident.
Adjust the head restraint so that its center
is approx. at ear level. Otherwise there is
increased danger of injury in the event of an
accident.<
Front seats: height adjustment
You can adjust the height of the head restraints
electrically.
Front seats: angle adjustment
Swivel the head restraint.
The distance to the back of the head is adjusted
with the shoulder support
*.
Adjusting side extensions*
You can fold the side extensions on the head
restraint forward for increased lateral support in
the resting position.
Front head restraints, active*
Seats with a shoulder support* are equipped
with an active head restraint.
In the event of a rear-end collision of sufficient
severity, the active head restraint reduces the
distance to the head.
Do not use seat or head restraint covers
and do not hand objects, e.g. clothes
hangers, on the head restraints or attach any
accessories to the seat or head restraint. Other-
wise the protective function of the active head
restraints will be impaired and personal safety
endangered.<
Page 53 of 231

Controls
51Reference
At a glance
Driving tips
Communications
Navigation
Entertainment
Mobility
Locking safety belt
1.Secure the child restraint system with the
belt.
2.Pull out the belt webbing completely.
3.Allow the belt webbing to be pulled in and
pull taut against the child restraint system.
The safety belt is locked.
Unlocking safety belt
1.Open the belt buckle.
2.Remove the child restraint system.
3.Allow the belt webbing to be pulled in com-
pletely.
Child restraint system with tether strap
There are three additional mounting points for
child restraint systems with a tether strap, refer
to arrows. Fold the corresponding mounting
point upward before using.
Placement of tether strap
Outer seats:
1.Pull the head restraint upward.
2.Guide the tether strap through the bracket
of the head restraint.
3.Slide the head restraint into the bottom
position.4.Hook in the tether strap on the mounting
point.
Center seat:
1.Fold the center armrest somewhat toward
the front.
2.Guide the tether strap through the opening.
3.Fold back the center armrest.
4.Hook in the tether strap on the mounting
point.
LATCH child-restraint fixing system
LATCH: Lower Anchor and Tethers for CHil-
dren.
To attach a LATCH child's seat, follow the
operating and safety instructions of the
child's seat manufacturer.<
Rear seats
The mountings for the LATCH child's seat fix-
ing system are located at the points marked
with the arrows. They are not visible from the
outside.
Before attaching the LATCH child's seat, pull
the belt away from the region of the child-
restraint fixing system.
Page 98 of 231

Practical interior accessories
96
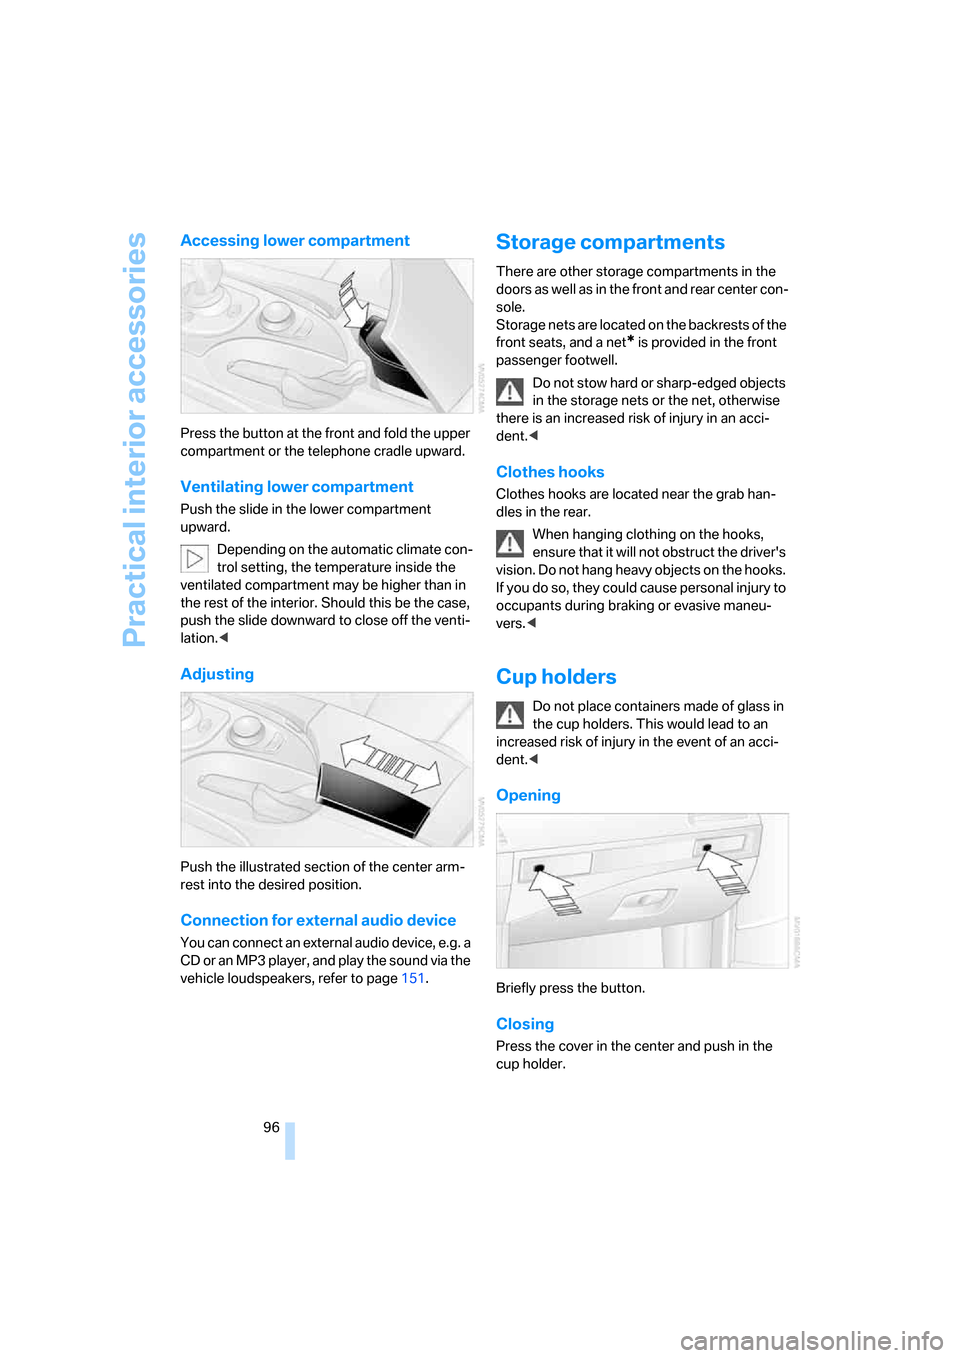
Accessing lower compartment
Press the button at the front and fold the upper
compartment or the telephone cradle upward.
Ventilating lower compartment
Push the slide in the lower compartment
upward.
Depending on the automatic climate con-
trol setting, the temperature inside the
ventilated compartment may be higher than in
the rest of the interior. Should this be the case,
push the slide downward to close off the venti-
lation.<
Adjusting
Push the illustrated section of the center arm-
rest into the desired position.
Connection for external audio device
You can connect an external audio device, e.g. a
CD or an MP3 player, and play the sound via the
vehicle loudspeakers, refer to page151.
Storage compartments
There are other storage compartments in the
doors as well as in the front and rear center con-
sole.
Storage nets are located on the backrests of the
front seats, and a net
* is provided in the front
passenger footwell.
Do not stow hard or sharp-edged objects
in the storage nets or the net, otherwise
there is an increased risk of injury in an acci-
dent.<
Clothes hooks
Clothes hooks are located near the grab han-
dles in the rear.
When hanging clothing on the hooks,
ensure that it will not obstruct the driver's
vision. Do not hang heavy objects on the hooks.
If you do so, they could cause personal injury to
occupants during braking or evasive maneu-
vers.<
Cup holders
Do not place containers made of glass in
the cup holders. This would lead to an
increased risk of injury in the event of an acci-
dent.<
Opening
Briefly press the button.
Closing
Press the cover in the center and push in the
cup holder.
Page 101 of 231

Controls
99Reference
At a glance
Driving tips
Communications
Navigation
Entertainment
Mobility
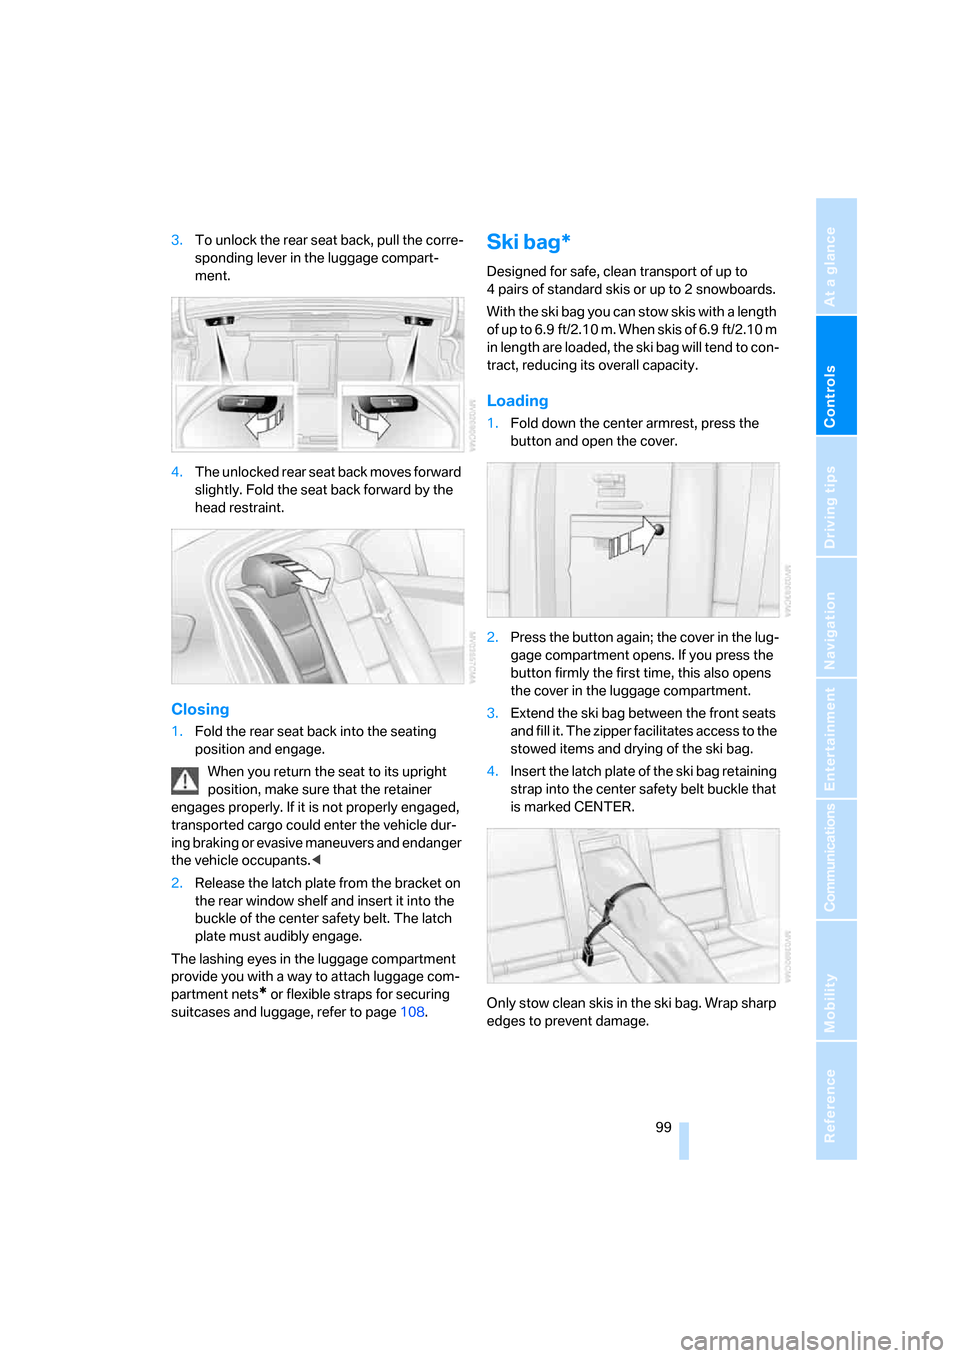
3.To unlock the rear seat back, pull the corre-
sponding lever in the luggage compart-
ment.
4.The unlocked rear seat back moves forward
slightly. Fold the seat back forward by the
head restraint.
Closing
1.Fold the rear seat back into the seating
position and engage.
When you return the seat to its upright
position, make sure that the retainer
engages properly. If it is not properly engaged,
transported cargo could enter the vehicle dur-
ing braking or evasive maneuvers and endanger
the vehicle occupants.<
2.Release the latch plate from the bracket on
the rear window shelf and insert it into the
buckle of the center safety belt. The latch
plate must audibly engage.
The lashing eyes in the luggage compartment
provide you with a way to attach luggage com-
partment nets
* or flexible straps for securing
suitcases and luggage, refer to page108.
Ski bag*
Designed for safe, clean transport of up to
4 pairs of standard skis or up to 2 snowboards.
With the ski bag you can stow skis with a length
o f u p t o 6 . 9 f t / 2 . 1 0 m . W h e n s k i s o f 6 . 9 f t / 2 . 1 0 m
in length are loaded, the ski bag will tend to con-
tract, reducing its overall capacity.
Loading
1.Fold down the center armrest, press the
button and open the cover.
2.Press the button again; the cover in the lug-
gage compartment opens. If you press the
button firmly the first time, this also opens
the cover in the luggage compartment.
3.Extend the ski bag between the front seats
and fill it. The zipper facilitates access to the
stowed items and drying of the ski bag.
4.Insert the latch plate of the ski bag retaining
strap into the center safety belt buckle that
is marked CENTER.
Only stow clean skis in the ski bag. Wrap sharp
edges to prevent damage.
Page 223 of 231

Reference 221
At a glance
Controls
Driving tips
Communications
Navigation
Entertainment
Mobility
Radio readiness53
– switched off53
– switched on53
– with comfort access37
Rain sensor60
"Random", random play
sequence148
"Random all" in audio
mode148
"Random directory" in audio
mode148
"RDS"139
Reading lamps86
Rear armrest, refer to Center
armrest, rear98
Rear lamps, refer to Tail
lamps189
– replacing bulbs189
Rear seat back, folding98
Rear seats
– adjusting head restraints44
– folding over backrest98
– heating45
Rear socket98
Rear ventilation91
Rearview mirror45
Rear window
– heating89
– roller sun blind, refer to Sun
blinds94
Rear window safety switch38
"Received calls"160
Reception
– quality139
– radio stations139
– regional station137
Reception level of mobile
phone, refer to Status
information20
Rechargeable flashlight95
Recirculated-air mode
– air recirculation90
– AUC Automatic recircu-
lated-air control90
Recording times, refer to
Stopwatch70
"Redial" for mobile phone160
Reflectors, refer to Tail
lamps189Refueling174
Releasing, hood181
"Relock door if not
opened"32
Remaining distance, refer to
Cruising range64
Remaining distance to desti-
nation, refer to Computer64
Remote control28
– battery replacement37
– comfort access36
– garage door opener93
– luggage compartment lid31
– malfunction31,37
Removing condensation on
the windows89
"Repeat directory" in audio
mode148
"Repeat" in audio mode148
"Repeat track" in audio
mode148
Replacement fuses195
Replacement of tires, refer to
Changing wheels192
Replacing bulbs, refer to
Lamps and bulbs188
Replacing tires179
Replacing wheels/tires, refer
to New wheels and tires179
Reporting an accident, refer
Initiating an emergency
call196
Reporting safety defects7
Reserve warning, refer to Fuel
gauge63
Reservoir for washer
systems60
"Reset"
– stopwatch70
– tone settings135
Reset, refer to Resetting tone
settings135
"Reset to default" with
MDrive48
Residual heat90
Restraint systems
– for children50
– refer to Safety belts44Retreaded tires179
Reverse, fast
– CD changer149
– CD player149
Reverse gear56
Road map126
"Roadside
Assistance"162,169
Roadside Assistance197
Roadside parking lamps84
Roller sun blind, refer to Sun
blinds94
Roof load capacity204
Roof-mounted luggage
rack108
Rope, refer to Tow-starting
and towing198
Rotary pushbutton, refer to
iDrive16
Route122
– bypassing sections128
– changing122,128
– displaying
125
– displaying arrow display125
– displaying map126
– displaying town126
– list126
– selecting122
– selecting criteria122
Route map, refer to Map
display126
"Route preference",
changing122
Route selection122
S
Safety5
Safety belts44
– damage44
– sitting safely40
– warning lamp44
Safety belt tensioners
– refer to Airbags78
– refer to Safety belts44