2006 BMW M5 SEDAN flat tire
[x] Cancel search: flat tirePage 17 of 231

At a glance
15Reference
Controls
Driving tips
Communications
Navigation
Entertainment
Mobility
1Microphone for handsfree mode for
telephone
*
and for voice command system*22
2Reading lamps86
3Initiating
an emergency call196
4Glass sunroof
*, electric38
5Interior lamps86
6Passenger airbag status lamp79
7Control Display16
8Hazard warning flashers
9Central locking system32
10Automatic climate control87
11Changing
>radio station132
>track132
12Ejecting
>navigation DVD
*132
>audio CD13213Drive for navigation system DVD with
Professional navigation system
*112
14Drive for audio CDs132
15Switching Entertainment sound output on/
off and adjusting volume132
17Controller16
Turn, press or move horizontally in four
directions
18Activating voice command system
*22
19Opening start menu on Control Display17
20Drivelogic of Sequential Manual
Transmission57
21EDC Electronic Damping Control76
22DSC Dynamic Stability Control75
23M Engine Dynamic Control POWER58 Temperature setting, left/right88
Automatic air distribution and
volume88
Cooling function89
AUC Automatic recirculated-air
control90
Recirculated-air mode90
Maximum cooling89
Residual heat mode90
Switching off automatic climate
control90
Air volume89
Defrosting windows and removing
condensation89
Rear window defroster87
16
Heated seats45
Active seat ventilation
*45
Adjusting active backrest
width
*41
Flat Tire Monitor76
PDC Park Distance Control
*73
Page 78 of 231

Technology for comfort, convenience and safety
76 To maintain vehicle stability, always drive
with the system switched on when possi-
ble.<
Reactivating DSC
Press the DSC button; the indicator lamp in the
instrument cluster goes out.
You can also activate and deactivate DSC with
the button on the steering wheel, refer to
MDrive on page48.
EDC Electronic Damping
Control
The concept
If the influencing variables such as road surface
quality or operating conditions such as steer-
ing, braking etc. change, the damping automat-
ically adjusts to the new conditions within a
fraction of a second.
You can choose from three programs.
"Comfort" program
Select the "Comfort" program if you want com-
fort-oriented coordination of shock absorbers
and steering.
"Normal" program
The "Normal" program offers a balanced mix-
ture of the comfort and the sport program.
"Sport" program
Select the "Sport" program if you want a con-
sistently sporty coordination of shock absorb-
ers and steering.
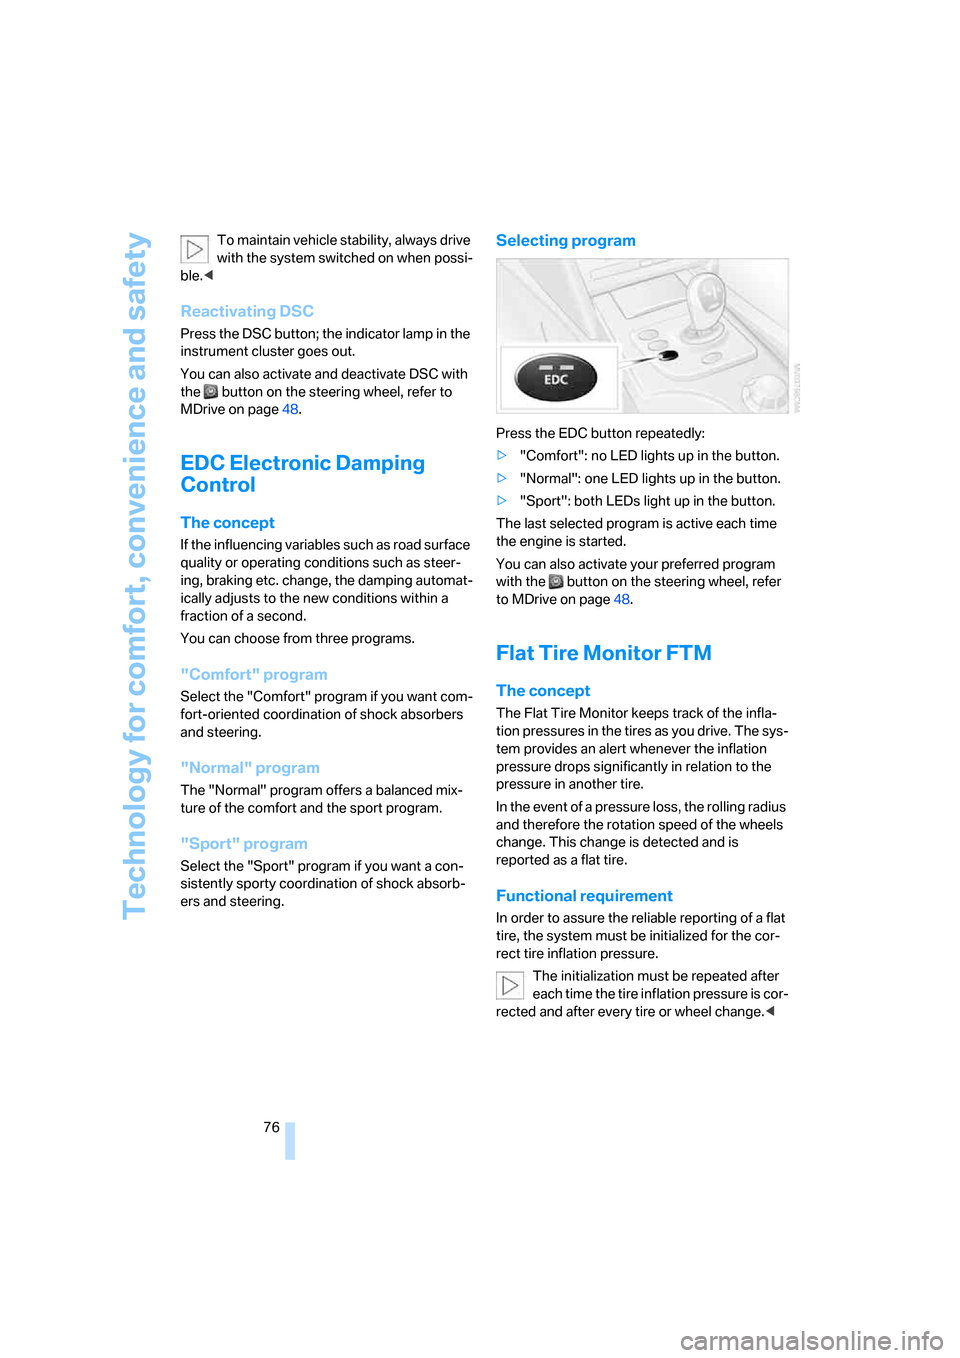
Selecting program
Press the EDC button repeatedly:
>"Comfort": no LED lights up in the button.
>"Normal": one LED lights up in the button.
>"Sport": both LEDs light up in the button.
The last selected program is active each time
the engine is started.
You can also activate your preferred program
with the button on the steering wheel, refer
to MDrive on page48.
Flat Tire Monitor FTM
The concept
The Flat Tire Monitor keeps track of the infla-
tion pressures in the tires as you drive. The sys-
tem provides an alert whenever the inflation
pressure drops significantly in relation to the
pressure in another tire.
In the event of a pressure loss, the rolling radius
and therefore the rotation speed of the wheels
change. This change is detected and is
reported as a flat tire.
Functional requirement
In order to assure the reliable reporting of a flat
tire, the system must be initialized for the cor-
rect tire inflation pressure.
The initialization must be repeated after
each time the tire inflation pressure is cor-
rected and after every tire or wheel change.<
Page 79 of 231

Controls
77Reference
At a glance
Driving tips
Communications
Navigation
Entertainment
Mobility
System limits
The Flat Tire Monitor cannot indicate
sudden severe tire damage caused by
outside factors and does not detect a natural,
even pressure drop in all four tires.<
In the following situations, the system could be
delayed or malfunction:
>System has not been initialized
>Driving on snowy or slippery road surface
>Sporty driving style: slip in the drive wheels,
high lateral acceleration
>Driving with snow chains
*
Initializing system
The initialization finishes during driving,
which can be interrupted at any time.
When driving resumes, the initialization is con-
tinued automatically. Do not initialize the sys-
tem when driving with snow chains.<
With the button in the center console:
1.Start the engine, but do not start driving.
2.Press the button at least 4 seconds, how-
ever not longer than 2 minutes. After
releasing the button, the warning lamp in
the instrument cluster lights up yellow for a
few seconds. Warning lamp, refer to Indica-
tion of a flat tire. The message "Initializing
FTM..." appears on the Control Display for a
few seconds.
3.Start to drive. The initialization finishes dur-
ing driving without feedback.Using iDrive, for explanation of principle, refer to
page16:
1.Press the button.
This opens the start menu.
2.Press the controller to open the menu.
3.Select "Vehicle settings" and press the
controller.
4.Select "FTM" and press the controller.
5.Start the engine, but do not start driving.
6.Select "Set tire pressure" and press the
controller.
7.Select "Yes" and press the controller.
The message "Initializing..." is displayed for
a few seconds. The warning lamp in the
instrument cluster lights up yellow for a few
seconds.
8.Start to drive.
The initialization finishes during driving
without feedback.
Indication of a flat tire
The warning lamp lights up red. A mes-
sage appears on the Control Display.
In addition, an acoustic signal sounds.
There is a flat tire or extensive inflation pressure
loss.
Page 80 of 231

Technology for comfort, convenience and safety
78 1.Reduce speed and stop the vehicle care-
fully. Avoid sudden braking and steering
maneuvers.
2.Identify damaged tire. To do this, check the
tire inflation pressure using the M Mobility
System, refer to Producing tire inflation
pressure on page192.
3.Repair flat tire with M Mobility System, refer
to page190, or replace the damaged wheel,
refer to Changing wheels on page192.
Brake force display
Left-hand picture: normal braking.
Right-hand picture: heavy braking.
Airbags
The following airbags are located under the
marked covers:
1Front airbags
2Head airbags
3Side airbags in front and rear
Protective action
To ensure that the safety systems con-
tinue to provide optimized protection,
please observe the adjustment instructions on
page40.<
The front airbags help protect the driver and
front passenger by responding to frontal
impacts in which safety belts alone cannot pro-
vide adequate restraint. When needed, the
head and side airbags help provide protection in
the event of side impact. The relevant side air-
bag supports the side upper body area. The
head air bag supports the head.The airbags are deliberately not triggered in
every impact situation, e. g. less severe acci-
dents or rear-end collisions.
Do not apply adhesive materials to the
cover panels of the airbags, cover them or
modify them in any other way. Do not attempt to
remove the airbag retention system from the
vehicle. Do not modify or tamper with either the
wiring or the individual components in the air-
bag system. This category includes the uphol-
stery in the center of the steering wheel, on the
instrument panel, the doors and the roof pillars
along with the sides of the headliner. Do not
attempt to remove or dismantle the steering
wheel. Do not touch the individual components
immediately after the system has been trig-
gered, because there is a danger of burns.
In the event of malfunctions, deactivation, or
triggering of the airbag restraint system, have
the testing, repair, removal, and disposal of air-
bag generators executed only by a BMW center
Page 178 of 231

Wheels and tires
176
Wheels and tires
Tire inflation pressure
Information for your safety
The condition of the tires and the maintenance
of the specified tire pressure are crucial not only
to the tire's service life, but also to driving com-
fort and most importantly, driving safety.
Checking pressure
Only check tire inflation pressure when the tires
are cold. This means after a maximum of
1.25 miles/2 km driving or when the vehicle has
been parked for at least 2 hours. When tires are
warm, the tire inflation pressure increases.
Check the tire inflation pressure regularly
and correct if necessary, including on the
spare wheel
*: at least twice a month and before
starting long trips. If you fail to observe this pre-
caution, you may be driving on tires with incor-
rect tire pressures, a condition that can not only
compromise your vehicle's driving stability, but
also lead to tire damage and the risk of an acci-
dent. Do not drive with a depressurized, i.e. flat,
tire. A flat tire will seriously impair your vehicle's
handling and braking response. Attempts to
drive on a flat tire can lead to a loss of control
over the vehicle.<
After correcting the inflation pressure(s),
always reinitialize the Flat Tire Monitor,
refer to page77.<
Pressure specifications
The tables below provide all the correct inflation
pressures for the specified tire sizes at ambient
temperature.
The inflation pressures apply to the tire
sizes and tire brands respectively
approved and recommended by BMW; a list of
these is available from your BMW center.
ing:
>Tire sizes of your vehicle
>Load conditions
>Maximum allowable driving speed
Tire inflation pressures for speeds
up to 100 mph/160 km/h
For normal driving up to 100 mph/160 km/h,
adjust pressures to the respective tire inflation
pressures listed on the following pages in the
column Traveling speeds up to max. 100 mph/
160 km/h to achieve optimum driving comfort.
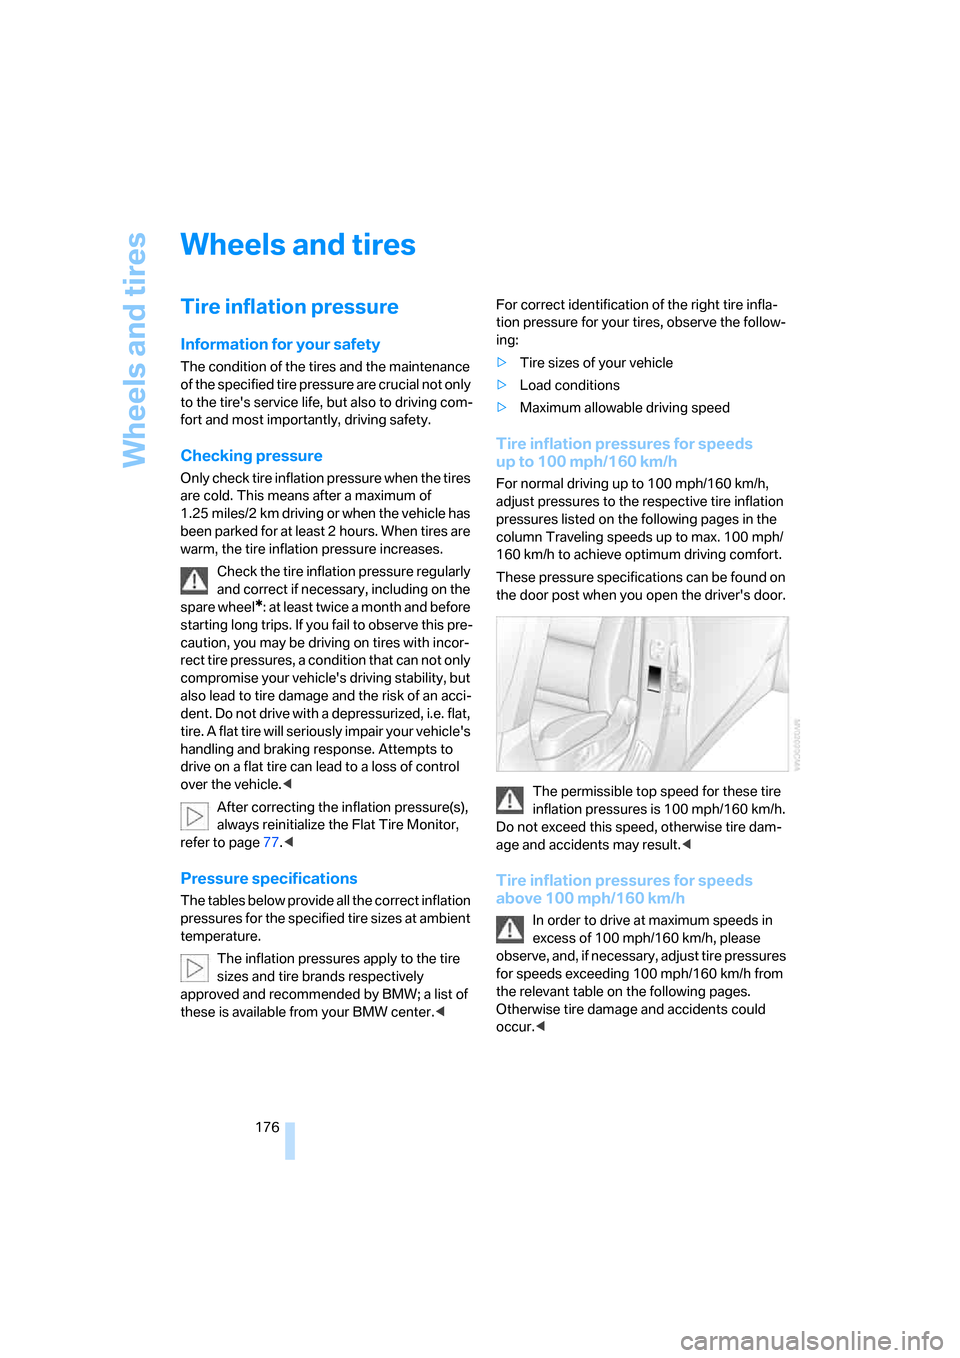
These pressure specifications can be found on
the door post when you open the driver's door.
The permissible top speed for these tire
inflation pressures is 100 mph/160 km/h.
Do not exceed this speed, otherwise tire dam-
age and accidents may result.<
Tire inflation pressures for speeds
above 100 mph/160 km/h
In order to drive at maximum speeds in
excess of 100 mph/160 km/h, please
observe, and, if necessary, adjust tire pressures
for speeds exceeding 100 mph/160 km/h from
the relevant table on the following pages.
Otherwise tire damage and accidents could
occur.<
Page 180 of 231

Wheels and tires
178
DOT Quality Grades
Tread wear
Traction AA A B C
Temperature A B C
All passenger car tires must conform to
Federal Safety Requirements in addition
to these grades.<
Tread wear
The tread wear grade is a comparative rating
based on the wear rate of the tire when tested
under controlled conditions on a specified gov-
ernment test course. For example, a tire graded
150 would wear one and one-half (1γ) times as
well on the government course as a tire graded
100. The relative performance of tires depends
upon the actual conditions of their use, how-
ever, and may depart significantly from the
norm due to variations in driving habits, service
practices and differences in road characteris-
tics and climate.
Traction
The traction grades, from highest to lowest, are
AA, A, B, and C.
Those grades represent the tire's ability to stop
on wet pavement as measured under controlled
conditions on specified government test sur-
faces of asphalt and concrete. A tire marked C
may have poor traction performance.
The traction grade assigned to this tire is
based on straight-ahead braking traction
tests, and does not include acceleration, cor-
nering, hydroplaning, or peak traction charac-
teristics.<
Temperature
The temperature grades are A, the highest, B,
and C, representing the tire's resistance to the
generation of heat and its ability to dissipate
heat when tested under controlled conditions
on a specified indoor laboratory test wheel.
Sustained high temperature can cause the
material of the tire to degenerate and reduce
tire life, and excessive temperature can lead to
sudden tire failure. The grade C corresponds to a level of performance which all passenger car
tires must meet under the Federal Motor Vehi-
cle Safety Standard No. 109. Grades B and A
represent higher levels of performance on the
laboratory test wheel than the minimum
required by law.
The temperature grade for this tire is
established for a tire that is properly
inflated and not overloaded. Excessive speed,
underinflation, or excessive loading, either sep-
arately or in combination, can cause heat
buildup and possible tire failure.<
M+S
Winter and all-season tires.
These have better winter properties than sum-
mer tires.
XL
Indicates specially reinforced tires.
Tire condition
Inspect your tires frequently for tread wear,
signs of damage and for foreign objects lodged
in the tread. Check the tread depth.
Minimum tread depth
The tread depth should not drop below 0.12 in/
3 mm, although, for example, European legisla-
tion only specifies a minimum tread depth of
0.063 in/1.6 mm. At tread depths below 0.12 in/
3 mm there is an increased risk of high-speed
hydroplaning, even when only small amounts of
water are present on the road surface.
When winter tires wear down past a tread depth
of 0.16 in/4 mm, they become perceptibly less
suitable for winter conditions. For the sake of
safety, new tires should be installed.
Page 182 of 231

Wheels and tires
180
Recommended tire brands
Certain tire makes are recommended by BMW
depending on the tire size. You can recognize
these from the clearly visible BMW marking on
the tire sidewall.
When used properly, these tires comply with
the most demanding standards for safety and
vehicle response.
Special characteristics of winter tires
BMW recommends winter tires for use in cold
winter driving conditions. Although all-season
M+S tires provide better winter traction than
summer tires, they generally fail to provide the
same levels of cold-weather performance as
winter tires.
Pay attention to speed
Always observe the maximum permissi-
ble speed for the winter tires, otherwise
tire damage may occur, which can result in acci-
dents.<
After changing wheels/tires
After changing tires or wheels, the slip detec-
tion of the Sequential Manual Transmission
must become familiar with the changed state.
Reinitialize the system for this purpose:
1.Move the selector lever into the idling
position N on a straight stretch of road at a
speed between 20 mph/30 km/h and
90 mph/150 km/h.
2.Pull both shift paddles for approx. 2 sec-
onds.If you do not carry out initialization, the system
will automatically learn the changed state grad-
ually during driving. This may be noticeable
from the clutch opening and closing briefly.
Storage
Always store wheels and tires in a cool, dry
place with as little exposure to light as possible.
Always protect tires against all contact with oil,
grease and fuels. Do not exceed the maximum
tire inflation pressure indicated on the side wall
of the tire.
Snow chains*
BMW only tests certain fine-link snow chains,
classifies them as road-safe and recommends
them. Consult your BMW center for more infor-
mation.
Use is only permitted in pairs, with winter tires
of the size 245/45 R 18 on the rear wheels.
Observe the manufacturer's instructions when
mounting snow chains. Do not exceed a speed
of 30 mph/50 km/h with the chains mounted.
Make sure that the snow chains are always suf-
ficiently tensioned. Retension in accordance
with the chain manufacturer's specifications if
necessary.
After mounting snow chains, do not ini-
tialize the Flat Tire Monitor, otherwise
incorrect displays can occur.
After mounting or removing snow chains, the
slip detection of the Sequential Manual Trans-
mission must become familiar with the altered
state. To do this, reinitialize the system, refer to
After changing wheels/tires.<
Page 192 of 231

Replacing components
190 3.Press together the two clips at the top and
bottom on the bulb fitting and remove the
bulb fitting.
4.Backup lamps:
Remove and replace the bulb.
Other lamps:
Apply gentle pressure to the bulb while
turning it to the left for removal and replace-
ment.
Lamps in luggage compartment lid
License plate lamp
Bulb 5 watts, C 5 W
1.Insert screwdriver into the slot and press to
the right, refer to arrows. This releases the
lamp.
2.Remove the lamp and replace the bulb.
Repairing flat tire with
M Mobility System
To repair a flat tire, an M Mobility System is pro-
vided in the BMW M5. Using this system you
can apply a sealant in the inside of the tire, seal
off the damaged area, restore the tire inflation
pressure and then continue driving.Safety measures in case of a breakdown:
park the vehicle as far as possible from
passing traffic and on solid ground. Switch on
the hazard warning flashers.
Lock the steering wheel in straight-ahead set-
ting of the wheels. Set the handbrake and
engage the first or reverse gear. Have all vehicle
occupants get out of the vehicle and ensure
that they remain outside the immediate area in a
safe place, such as behind a guardrail.
If a warning triangle or portable hazard warning
lamp is required, set it up on the roadside at an
appropriate distance from the rear of the vehi-
cle. Comply with all safety guidelines and regu-
lations.<
Preparation
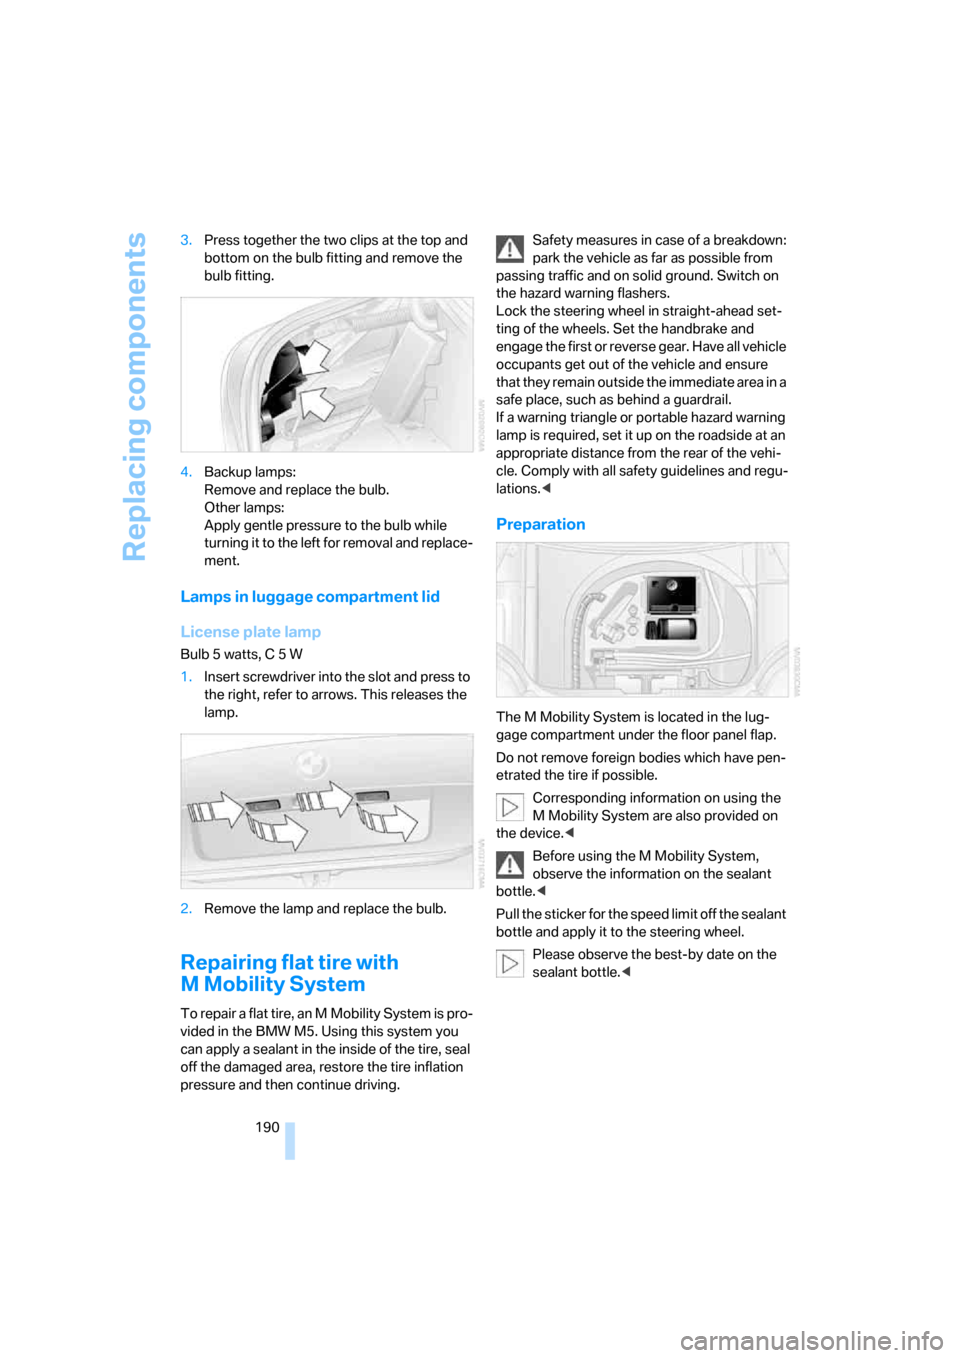
The M Mobility System is located in the lug-
gage compartment under the floor panel flap.
Do not remove foreign bodies which have pen-
etrated the tire if possible.
Corresponding information on using the
M Mobility System are also provided on
the device.<
Before using the M Mobility System,
observe the information on the sealant
bottle.<
Pull the sticker for the speed limit off the sealant
bottle and apply it to the steering wheel.
Please observe the best-by date on the
sealant bottle.<