2006 BMW M3 COUPE engine
[x] Cancel search: enginePage 125 of 170

125
Brake fluidIndicator lamp
The warning lamp comes on
even though the parking brake
is released:
The brake fluid level is too low, refer to
page 18. At the same time, there may
be significantly greater pedal travel.
Have the system checked immediately.
Warning lamp for Canadian
models.
If you continue driving, extended
pedal travel may be necessary
and braking distances may be signifi-
cantly longer. Be sure to adapt your
driving style accordingly.<
Adding brake fluidFor adding brake fluid or for determin-
ing and correcting the cause of brake
fluid loss, consult your BMW center.
Your BMW center is familiar with the
specifications for factory-approved
brake fluids – DOT 4.
Due to loss in brake fluid, pedal travel
can lengthen and braking efficiency
may be reduced.
Brake fluid is hygroscopic, that is,
it absorbs moisture from the air
over time.
In order to ensure the safety and reli-
ability of the brake system, have the
brake fluid changed every two years by
a BMW center. Refer also to the Service
and Warranty Information Booklet for
US models or the Warranty and Service
Guide Booklet for Canadian models.
Brake fluid is toxic and damages the
vehicle's paint. You should always store
it in its closed original container and in
a location inaccessible to children.
Do not spill the brake fluid and do not
fill the brake fluid reservoir beyond the
MAX mark. The brake fluid could ignite
upon contact with hot engine parts and
cause serious burns.<
Comply with the applicable envi-
ronmental laws regulating
the disposal of brake fluid.<
OverviewControlsMaintenanceRepairsDataIndex
Page 126 of 170

126Maintenance
BMW Maintenance SystemThe BMW Maintenance System helps
maintain your vehicle's road safety and
operational safety. Comfort-related
aspects, such as the timely change of
filters for the air inside the vehicle, are
taken into consideration. The goal is to
optimize maintenance with respect to
low total cost of ownership.
If you should sell your BMW one day,
consistent service and maintenance will
prove to your advantage.
Service interval displayThe service interval display shows you
when an oil service, an inspection –
always alternating between I and II – or
a brake fluid change is due. The special
feature is that the service intervals are
calculated according to your BMW's
individual driving conditions instead of
from fixed mileage increments.
The technology developed for this
takes your personal driving style into
account, as well as your BMW's driving
conditions. After all, short-distance
driving, i.e. frequent cold starts, or driv-
ing off at high engine speeds, affects
your BMW differently from long-dis-
tance driving with the engine at consis-
tent operating temperature.
Have a break-in inspection per-
formed at approx. 1,250 miles/
2,000 km regardless of the service
interval indicated on the display.<
Special feature regarding engine
oil changeThe calculation of the service intervals
covers practically every kind of operat-
ing situation. If you drive very rarely,
however, you should have the oil
changed at least every two years, since
engine oil deteriorates over time
regardless of use.Service and Warranty Information
Booklet for US models/Warranty
and Service Guide Booklet for
Canadian modelsFor additional information on required
maintenance intervals and procedures,
please refer to the Service and War-
ranty Information Booklet for US mod-
els, or the Warranty and Service Guide
Booklet for Canadian models.
As a precaution against corrosion, it is
advisable to have the body checked for
damage from rocks or gravel at the
same time, depending upon operating
conditions.
Page 128 of 170

128Laws and regulations
OBD interface socketThe Onboard Diagnostic (OBD) inter-
face socket is located on the left of the
driver's side under the instrument panel
and under a cover.
The cover has the letters OBD on it.
The purpose of the OBD system is to
ensure proper operation of the emis-
sion control system for the vehicle's
lifetime. The system monitors emission-
related components and systems for
deterioriation and malfunction.
An illuminated lamp informs you
of the need for service, not of
the need to stop the vehicle.
However, the systems should be
checked by your BMW center at the
earliest possible opportunity.
Display in Canadian models for
the malfunction described
above.
Under certain conditions, the indicator
will blink or flash. This indicates a rather
severe level of engine misfire. When
this occurs, you should reduce speed
and consult the nearest BMW center as
soon as possible. Severe engine misfire
over only a short period of time can
seriously damage emission control
components, especially the catalytic
converter.
When the fuel filler cap is not
properly tightened, the OBD sys-
tem can detect the vapor leak and the
indicator will light up. If the filler cap is
subsequently tightened, the indicator
should go out within a few days.<
Event data recordersYour vehicle may be equipped with one
or more sensing and diagnostic mod-
ules or a recording device capable of
recording or transmitting certain vehicle
data or information. In addition, if you
have a Subscription Service Agreement
for the BMW Assist system, certain
vehicle information may be transmitted
or recorded in order to provide such
services.
Page 132 of 170

132Replacement procedures
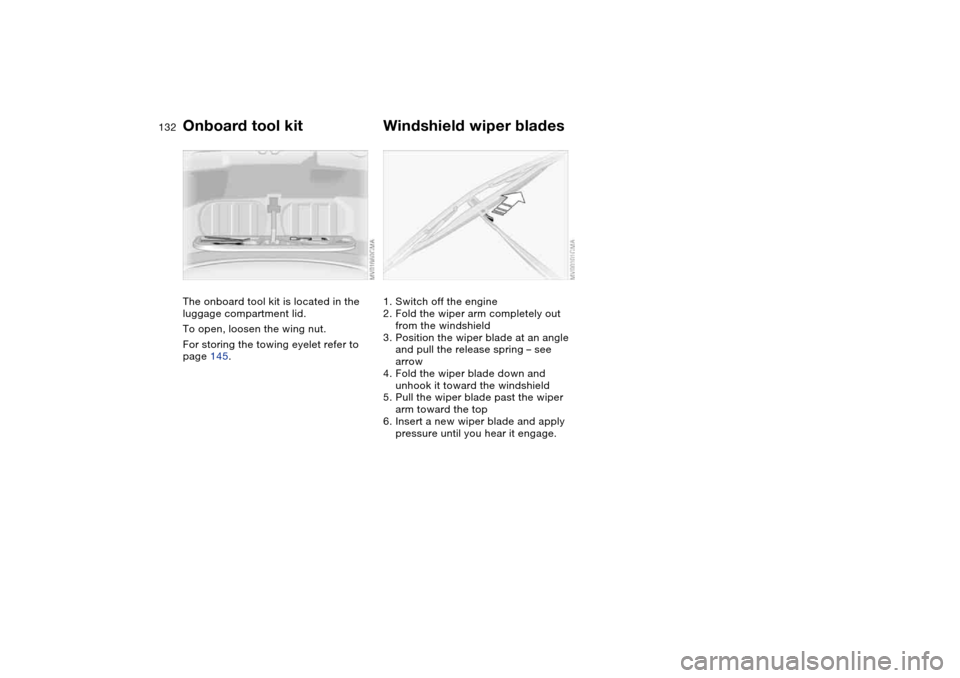
Onboard tool kitThe onboard tool kit is located in the
luggage compartment lid.
To open, loosen the wing nut.
For storing the towing eyelet refer to
page 145.
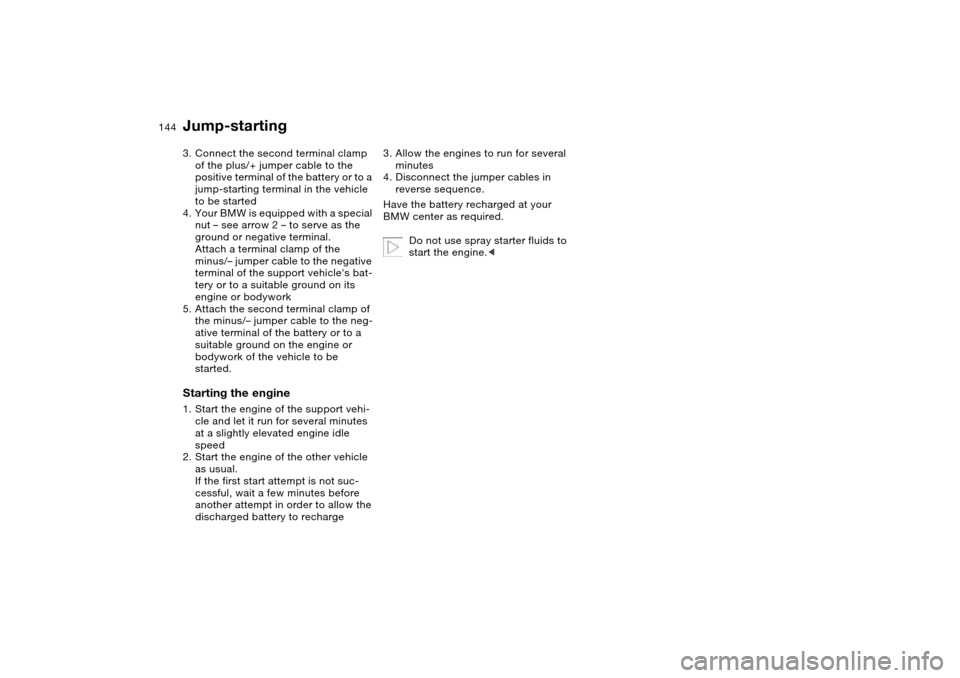
Windshield wiper blades1. Switch off the engine
2. Fold the wiper arm completely out
from the windshield
3. Position the wiper blade at an angle
and pull the release spring – see
arrow
4. Fold the wiper blade down and
unhook it toward the windshield
5. Pull the wiper blade past the wiper
arm toward the top
6. Insert a new wiper blade and apply
pressure until you hear it engage.
Page 140 of 170

140
4. Adjust the tire inflation pressure to
29 psi / 200 kilopascal. For this pur-
pose, with the ignition key in
position 2:
>Increase the tire pressure: switch
on the compressor, position I. To
check the current inflation pres-
sure, turn off the device briefly
>Reduce the tire pressure: press
button 8, or turn screw 8 on the
manometer.
Do not run the compressor for
longer than 10 minutes, otherwise
the unit may overheat and be dam-
aged.<
If the tire fails to hold the pres-
sure, drive the vehicle again, see
Distributing the sealant. Then repeat
Steps 1 through 4 once.
The use of the M Mobility system may
be ineffective if the damaged area in
the tire is larger than approx. 1/8 in /
4 mm. If the tire cannot be temporarily
repaired with the M Mobility system,
please consult the nearest BMW cen-
ter, or a workshop that has appropri-
ately trained personnel working in
accordance with BMW specifications,<
The tire pressure must be at least
29 psi / 200 kilopascal. Otherwise,
do not continue driving.<
Driving on
Do not exceed the maximum
speed limit of 45 mph / 80 km/h;
otherwise, accidents may occur.<
Have the damaged tire replaced
as soon as possible. Reinitialize
the Flat Tire Monitor, and refer to
page 84 for further information.
Have the sealant bottle of the M Mobil-
ity system replaced.<
Battery
Battery posts, terminals, and
related accessories contain lead
and lead compounds. Wash hands after
handling.<
MaintenanceThe battery is completely maintenance-
free. This means that the original bat-
tery acid will normally last for the ser-
vice life of the battery under moderate
climate conditions. Your BMW center
will be glad to advise you if you have
any questions concerning the battery.
Please consult your BMW center
whenever you have any questions
concerning the battery.
connections provided in the engine
compartment. Terminals, refer to Jump-
starting, page 143.
Tire repair with the M Mobility system
Page 143 of 170

143
Mobile Service*To establish contact with the BMW
Group's Mobile Service:
Press button 2 for at least 2 seconds.
The indicator lamp above the buttons
lights up. As soon as a telephone con-
nection has been set up with the Mobile
Service, the indicator lamp flashes.
Depending on the country you are in,
your vehicle's current location will also
be transmitted if your vehicle is
equipped with an activated BMW Assist
function.
Jump-startingWhen your battery is discharged, you
can use two jumper cables to start your
vehicle with power from the battery in a
second vehicle. You can also use the
same method to help start another
vehicle. Use only jumper cables with
fully insulated handles on the terminal
clamps.
Do not touch high-voltage wiring
and cables on a running engine.
Contact with components carrying high
voltage can be harmful or fatal.
Carefully observe the following instruc-
tions to avoid personal injury and/or
damage to one or both vehicles.
approximately the same capacity –
measured in Ah. This information is
provided on the battery
2. Stop the engine of the support vehi-
cle
3. Switch off all consumers in both
vehicles.
Make absolutely certain that there
is no contact between the body-
work of the two vehicles, otherwise
there is a short circuit hazard.<
Connecting the jumper cables
Be sure to connect the jumper
cables in the right order; other-
wise there is a risk of injury due to
sparks being created near the battery.<
The jump-starting terminal located in
your BMW's engine compartment
serves as the positive battery terminal;
refer also to the engine compartment
overview on page 120. The cover of this
auxiliary terminal is marked with a +.
1. Open the cover of the BMW jump-
starting terminal. Do so by pulling the
tab – see arrow 1
2. Connect one terminal clamp of the
plus/+ jumper cable to the positive
terminal of the battery or to a jump-
starting terminal in the donor vehicle
Receiving assistance
OverviewControlsMaintenanceRepairsDataIndex
Page 144 of 170

144
3. Connect the second terminal clamp
of the plus/+ jumper cable to the
positive terminal of the battery or to a
jump-starting terminal in the vehicle
to be started
4. Your BMW is equipped with a special
nut – see arrow 2 – to serve as the
ground or negative terminal.
Attach a terminal clamp of the
minus/– jumper cable to the negative
terminal of the support vehicle's bat-
tery or to a suitable ground on its
engine or bodywork
5. Attach the second terminal clamp of
the minus/– jumper cable to the neg-
ative terminal of the battery or to a
suitable ground on the engine or
bodywork of the vehicle to be
started.Starting the engine1. Start the engine of the support vehi-
cle and let it run for several minutes
at a slightly elevated engine idle
speed
2. Start the engine of the other vehicle
as usual.
If the first start attempt is not suc-
cessful, wait a few minutes before
another attempt in order to allow the
discharged battery to recharge3. Allow the engines to run for several
minutes
4. Disconnect the jumper cables in
reverse sequence.
Have the battery recharged at your
BMW center as required.
Do not use spray starter fluids to
start the engine.
Page 145 of 170

145
Towing and tow-starting the vehicle
Always observe all applicable
towing laws and regulations.<
Using the towing eyeletThe screw-in towing eyelet is stored in
the luggage compartment under the
floor panel and must remain with the
vehicle at all times. It can be attached
at the front or rear of your BMW.
Observe the following instruc-
tions in order to avoid damaging
the towing eyelet or the vehicle: use
only the towing eyelet supplied with the
vehicle, and screw it in firmly until it
stops. Use the towing eyelet for towing
on paved roads only. Avoid subjecting
the towing eyelet to lateral loads, e.g.
do not lift the vehicle using the towing
eyelet.<
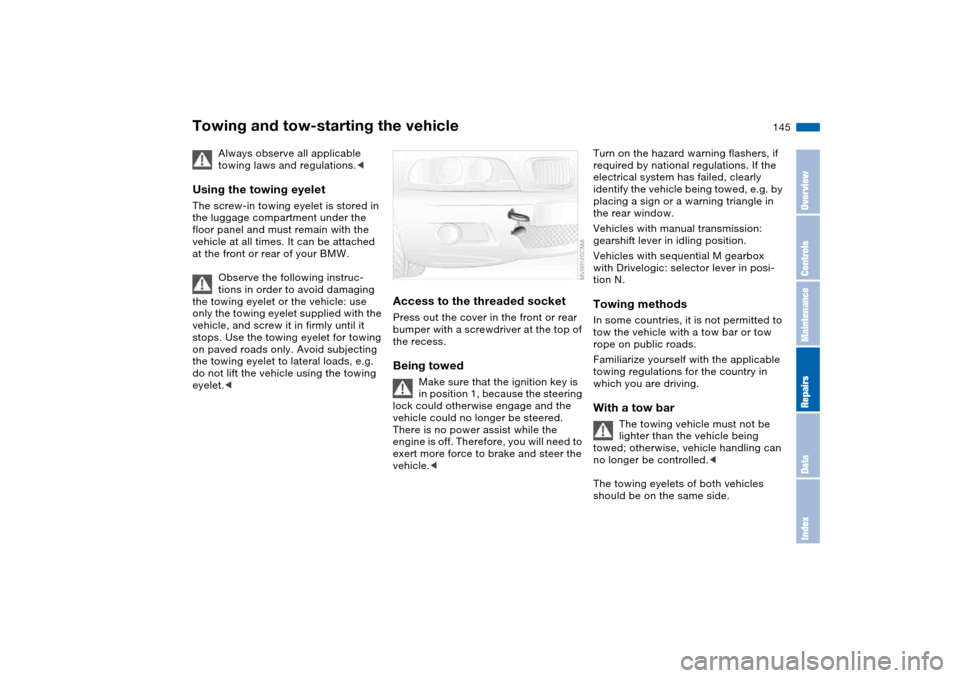
Access to the threaded socketPress out the cover in the front or rear
bumper with a screwdriver at the top of
the recess.Being towed
Make sure that the ignition key is
in position 1, because the steering
lock could otherwise engage and the
vehicle could no longer be steered.
There is no power assist while the
engine is off. Therefore, you will need to
exert more force to brake and steer the
vehicle.<
Turn on the hazard warning flashers, if
required by national regulations. If the
electrical system has failed, clearly
identify the vehicle being towed, e.g. by
placing a sign or a warning triangle in
the rear window.
Vehicles with manual transmission:
gearshift lever in idling position.
Vehicles with sequential M gearbox
with Drivelogic: selector lever in posi-
tion N.Towing methodsIn some countries, it is not permitted to
tow the vehicle with a tow bar or tow
rope on public roads.
Familiarize yourself with the applicable
towing regulations for the country in
which you are driving.With a tow bar
The towing vehicle must not be
lighter than the vehicle being
towed; otherwise, vehicle handling can
no longer be controlled.<
The towing eyelets of both vehicles
should be on the same side.
OverviewControlsMaintenanceRepairsDataIndex