2006 BMW 760LI SEDAN rear view mirror
[x] Cancel search: rear view mirrorPage 33 of 247
Controls
31Reference
At a glance
Driving tips
Communications
Navigation
Entertainment
Mobility
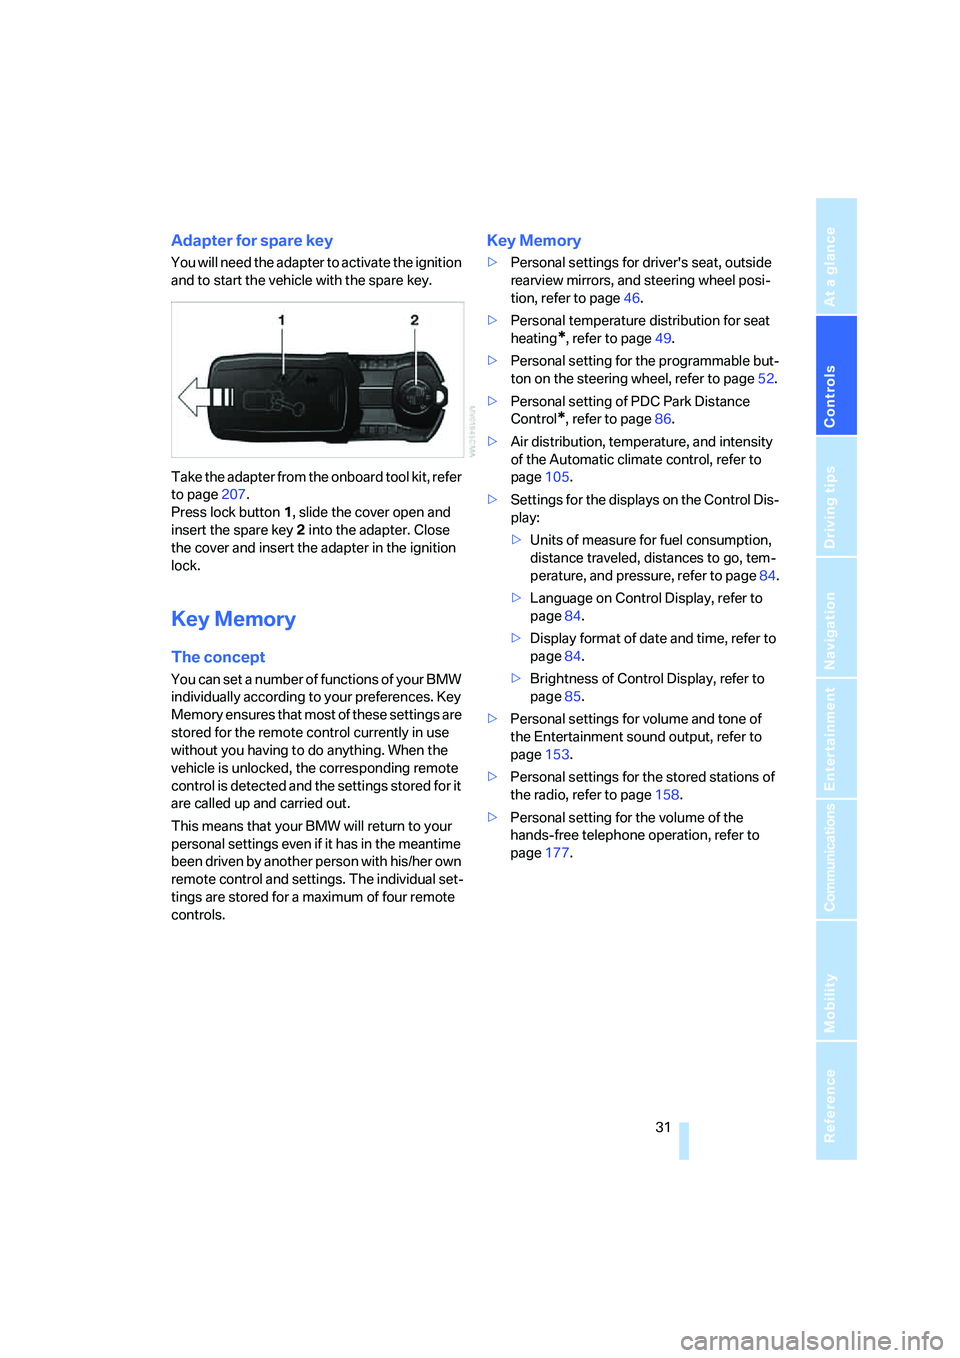
Adapter for spare key
You will need the adapter to activate the ignition
and to start the vehicle with the spare key.
Take the adapter from the onboard tool kit, refer
to page207.
Press lock button1, slide the cover open and
insert the spare key2 into the adapter. Close
the cover and insert the adapter in the ignition
lock.
Key Memory
The concept
You can set a number of functions of your BMW
individually according to your preferences. Key
Memory ensures that most of these settings are
stored for the remote control currently in use
without you having to do anything. When the
vehicle is unlocked, the corresponding remote
control is detected and the settings stored for it
are called up and carried out.
This means that your BMW will return to your
personal settings even if it has in the meantime
been driven by another person with his/her own
remote control and settings. The individual set-
tings are stored for a maximum of four remote
controls.
Key Memory
>Personal settings for driver's seat, outside
rearview mirrors, and steering wheel posi-
tion, refer to page46.
>Personal temperature distribution for seat
heating
*, refer to page49.
>Personal setting for the programmable but-
ton on the steering wheel, refer to page52.
>Personal setting of PDC Park Distance
Control
*, refer to page86.
>Air distribution, temperature, and intensity
of the Automatic climate control, refer to
page105.
>Settings for the displays on the Control Dis-
play:
>Units of measure for fuel consumption,
distance traveled, distances to go, tem-
perature, and pressure, refer to page84.
>Language on Control Display, refer to
page84.
>Display format of date and time, refer to
page84.
>Brightness of Control Display, refer to
page85.
>Personal settings for volume and tone of
the Entertainment sound output, refer to
page153.
>Personal settings for the stored stations of
the radio, refer to page158.
>Personal setting for the volume of the
hands-free telephone operation, refer to
page177.
Page 39 of 247
Controls
37Reference
At a glance
Driving tips
Communications
Navigation
Entertainment
Mobility
Manual operation
In the case of an electrical malfunction, you can
unlock the luggage compartment lid with the
key, refer to page35, and slowly open and close
it without sudden movements.
Emergency release
Pull lever in luggage compartment. This
unlocks the luggage compartment lid.
Alarm system
The concept
The vehicle alarm system responds to:
>opening of a door, the hood or the luggage
compartment lid
>movement in the vehicle interior: interior
motion sensor, refer to page38
>changes in the vehicle's tilt if someone
attempts to steal the wheels or tow the
vehicle
>interruptions in battery voltage
The alarm system briefly indicates unautho-
rized tampering:
>with an acoustic alarm
>by switching on
the hazard warning flashers
>by flashing the high beams
Arming and disarming alarm system
When you lock or unlock the vehicle, either with
the remote control or at the door lock, the alarm
system is armed or disarmed at the same time.
When the alarm system is armed, you can also
open the luggage compartment lid with the button on the remote control, refer to
page33. When the luggage compartment lid is
closed, it is relocked and monitored again.
Unlocking via the door lock will trigger the
alarm on some national-market versions.
Pressing the 'Panic mode' button for a longer
period also triggers the alarm, refer to
page33.<
Switching off alarm
>Unlock the vehicle using the remote control,
refer to page32.
>Insert the remote control into the ignition
lock
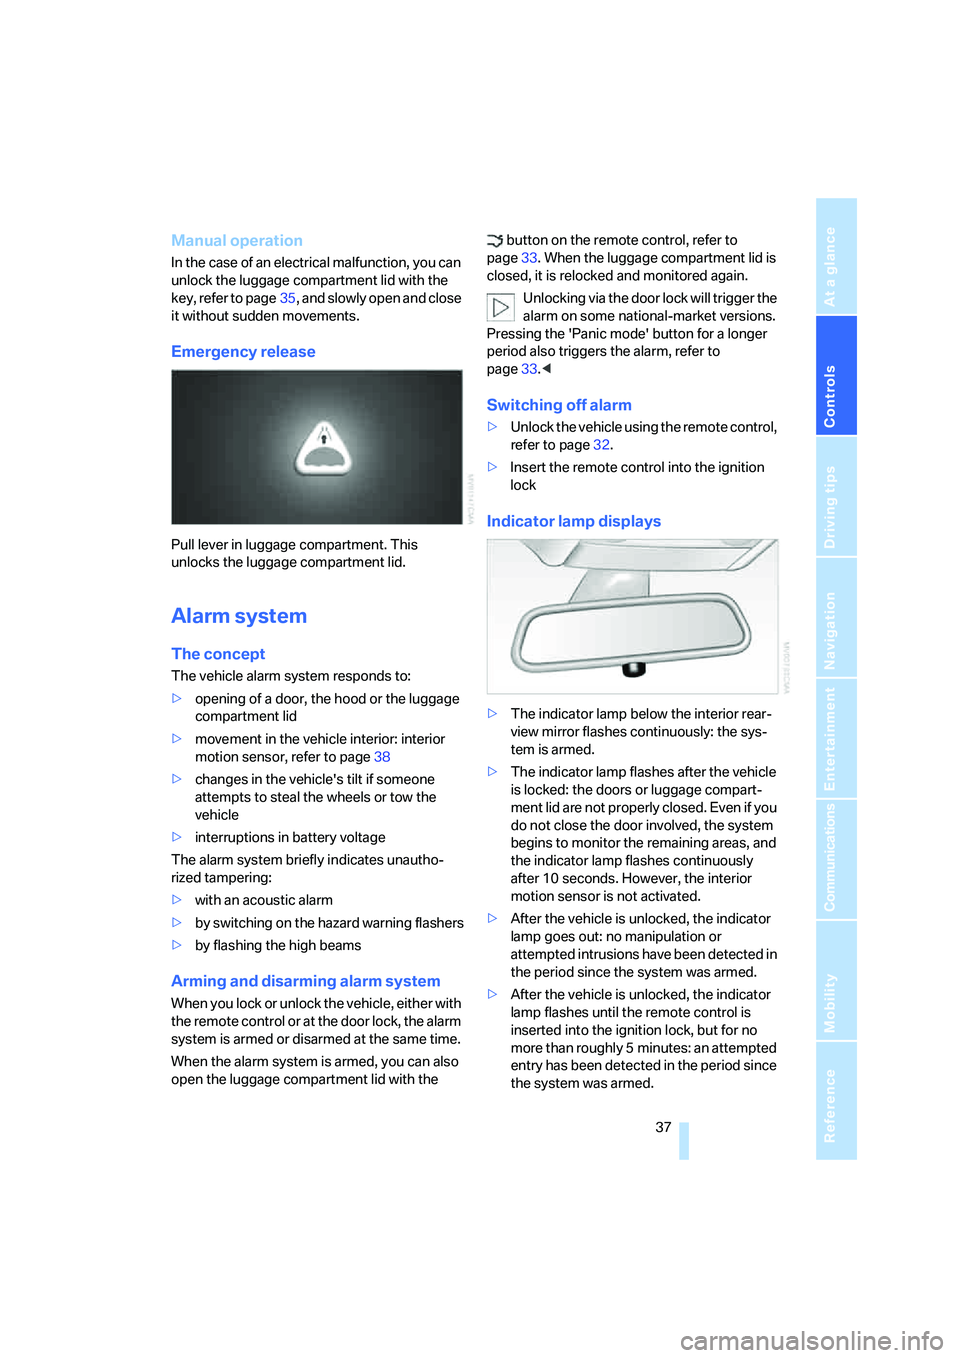
Indicator lamp displays
>The indicator lamp below the interior rear-
view mirror flashes continuously: the sys-
tem is armed.
>The indicator lamp flashes after the vehicle
is locked: the doors or luggage compart-
ment lid are not properly closed. Even if you
do not close the door involved, the system
begins to monitor the remaining areas, and
the indicator lamp flashes continuously
after 10 seconds. However, the interior
motion sensor is not activated.
>After the vehicle is unlocked, the indicator
lamp goes out: no manipulation or
attempted intrusions have been detected in
the period since the system was armed.
>After the vehicle is unlocked, the indicator
lamp flashes until the remote control is
inserted into the ignition lock, but for no
more than roughly 5 minutes: an attempted
entry has been detected in the period since
the system was armed.
Page 67 of 247
Controls
65Reference
At a glance
Driving tips
Communications
Navigation
Entertainment
Mobility
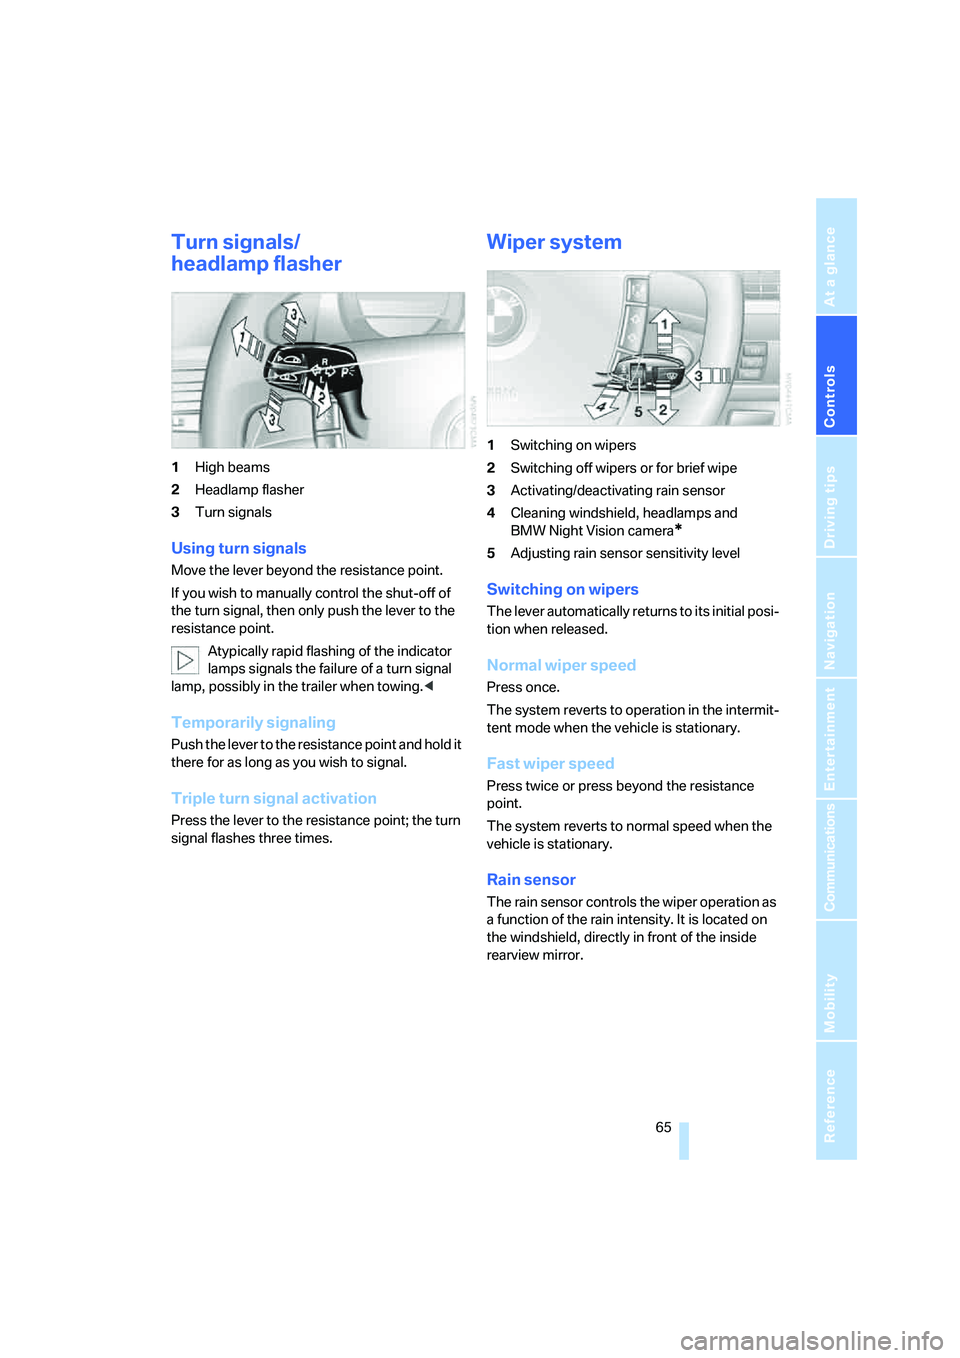
Turn signals/
headlamp flasher
1High beams
2Headlamp flasher
3Turn signals
Using turn signals
Move the lever beyond the resistance point.
If you wish to manually control the shut-off of
the turn signal, then only push the lever to the
resistance point.
Atypically rapid flashing of the indicator
lamps signals the failure of a turn signal
lamp, possibly in the trailer when towing.<
Temporarily signaling
Push the lever to the resistance point and hold it
there for as long as you wish to signal.
Triple turn signal activation
Press the lever to the resistance point; the turn
signal flashes three times.
Wiper system
1Switching on wipers
2Switching off wipers or for brief wipe
3Activating/deactivating rain sensor
4Cleaning windshield, headlamps and
BMW Night Vision camera
*
5Adjusting rain sensor sensitivity level
Switching on wipers
The lever automatically returns to its initial posi-
tion when released.
Normal wiper speed
Press once.
The system reverts to operation in the intermit-
tent mode when the vehicle is stationary.
Fast wiper speed
Press twice or press beyond the resistance
point.
The system reverts to normal speed when the
vehicle is stationary.
Rain sensor
The rain sensor controls the wiper operation as
a function of the rain intensity. It is located on
the windshield, directly in front of the inside
rearview mirror.
Page 97 of 247
Controls
95Reference
At a glance
Driving tips
Communications
Navigation
Entertainment
Mobility
the airbag restraint system, have the testing,
repair, removal, and disposal of airbag genera-
tors executed only by a BMW center or a work-
shop that works according to BMW repair pro-
cedures with correspondingly trained
personnel and has the required explosives
licenses. Unprofessional attempts to service
the system could lead to failure in an emer-
gency or undesired airbag activation, either of
which could result in personal injury.<
Warnings and information on the airbags is also
provided on the sun visors.
Automatic deactivation of front
passenger airbags
The occupation of the seat is detected by eval-
uating the impression on the occupied seat sur-
face of the front passenger seat. The system
appropriately activates or deactivates the front,
knee, and side airbag on the front passenger
side.
The current status of the front passenger
airbag, i.e. deactivated or activated, is
indicated by the indicator lamp over the interior
rearview mirror, refer to Operating state of front
passenger airbags in the following.<
Before transporting a child on the front
passenger seat, observe the safety infor-
mation and handling instructions under Trans-
porting children safely, refer to page54.
The front, knee and side airbag on the front pas-
senger side can be deactivated for teenagers
and adults in certain seat positions; then the
indicator lamp for the front passenger airbags
lights up. In these cases, change the seat posi-
tion so that the front passenger airbags are acti-
vated and the indicator lamp goes out. If the
desired status cannot be produced by changing
the seat position, have the person ride in the
back. Do not place slip covers, seat cushions,
beaded mats, or other objects on the passenger
seat that are not specifically recommended by
BMW. Do not lay objects under the seat which
could press against the seat from below. Other-
wise, a correct evaluation of the occupied seat
surface cannot be ensured.<
Operating state of front passenger
airbags
The indicator lamp for the front passenger air-
bags indicates the operational status of the
front, knee and side airbag on the front passen-
ger side depending on the seat occupation. The
indicator lamp shows whether the front passen-
ger airbags are activated or deactivated.
>The indicator lamp lights up when a child in
a child restraint system intended for the
purpose is properly detected on the seat.
Front, knee and side airbag on the front
passenger side are deactivated.
>The indicator lamp does not light up when,
for example, a correctly seated person of
sufficient height is detected on the seat.
Front, knee and side airbag on the front
passenger side are activated.
>The indicator lamp does not light up when
the seat is empty.
The front, knee, and side airbags on the
front passenger side are not activated in
this case, though.
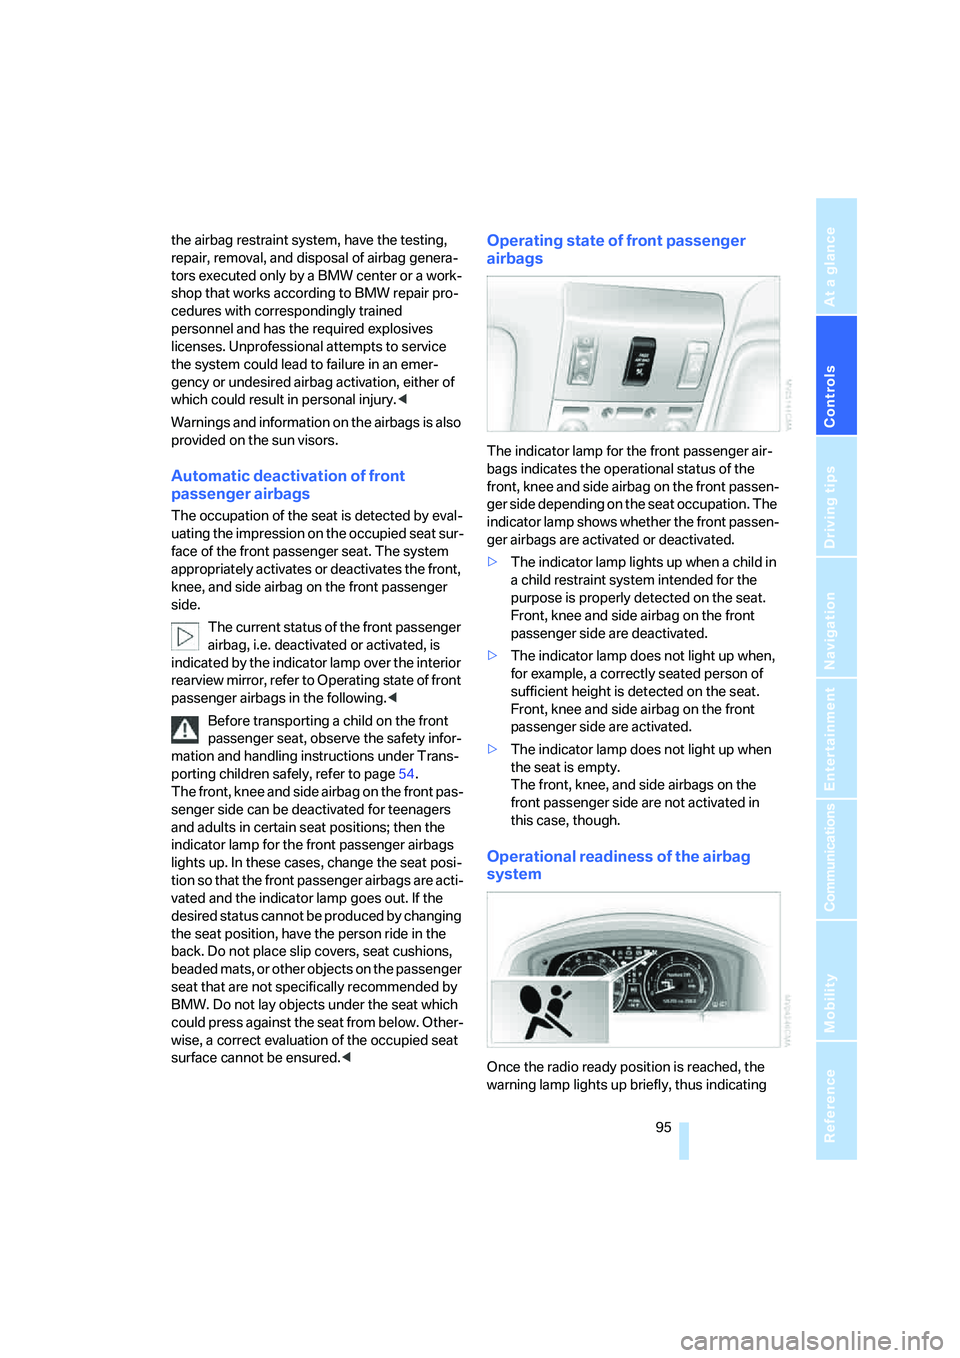
Operational readiness of the airbag
system
Once the radio ready position is reached, the
warning lamp lights up briefly, thus indicating
Page 98 of 247
Technology for comfort, convenience and safety
96 the operational readiness of the entire airbag
system and the safety belt tensioners.
Airbag system malfunction
>Warning lamp does not light up from radio
ready state.
>Warning lamp lights up continuously.
Have the airbag system checked immedi-
ately in case of a malfunction; otherwise,
there is a danger that the airbag system may not
respond in the expected manner in an accident
despite an impact of corresponding intensity.<
BMW Night Vision*
The concept
BMW Night Vision is a driver assistance system
that is designed to provide enhanced vision for
certain objects at night. This can be especially
helpful for detecting people and larger animals.
When objects are detected, the driver may be
able to take appropriate action sooner. For
example, the driver may identify and detect the
presence of persons or animals in the road
ahead or off to the sides and can be more alert,
slow down or stop, blow the horn, etc. The
driver can decide which actions are appropriate
and then react accordingly.
A certain area in front of the vehicle is viewed by
an infrared camera and a generated image is
shown on the Control Display. The resulting
thermal image shows the relative heat radiation
of the objects present in the camera's field of
view. Warmer objects appear brighter and
cooler objects appear darker. Contrast is
dependent on the temperature difference
between the objects and the background and
on the amount of heat radiation of the object
itself. As a result, it is quite possible that a per-
son is not continually recognizable as a person
in shape, since the thermal radiation can be
affected by different clothing which blocks heat
loss. Objects with little temperature difference
to the surrounding area, or little heat radiation
are less noticeable, for example in cold weather.Any improvement in detection depends on
many factors such as the object size and tem-
perature compared to the surroundings, or
other nearby objects, the visual recognition
skills of the driver, weather conditions, and
other factors.
Driving hints
With the system active, periodically but briefly,
glance at the thermal image on the Control Dis-
play to notice objects that could be people or
larger animals. The glance should be similar to
glancing at the rear view mirror. Do not stare at
the image for long periods while driving, as this
will take your attention away from the road. If
you notice an object of interest ahead, be pre-
pared to slow down or stop, blow the horn, or
take other appropriate action.
System limits
The system is designed to supplement but not
replace forward vision through the windshield.
The driver is responsible for safe driving at
night. BMW Night Vision is not designed to be
used as a continuous viewing window for driv-
ing at night.
No system, no matter how sophisticated, can
operate without limitations. BMW Night Vision
operation is subject to physical and environ-
mental limitations that will reduce the ability of
the system to detect and display a clear thermal
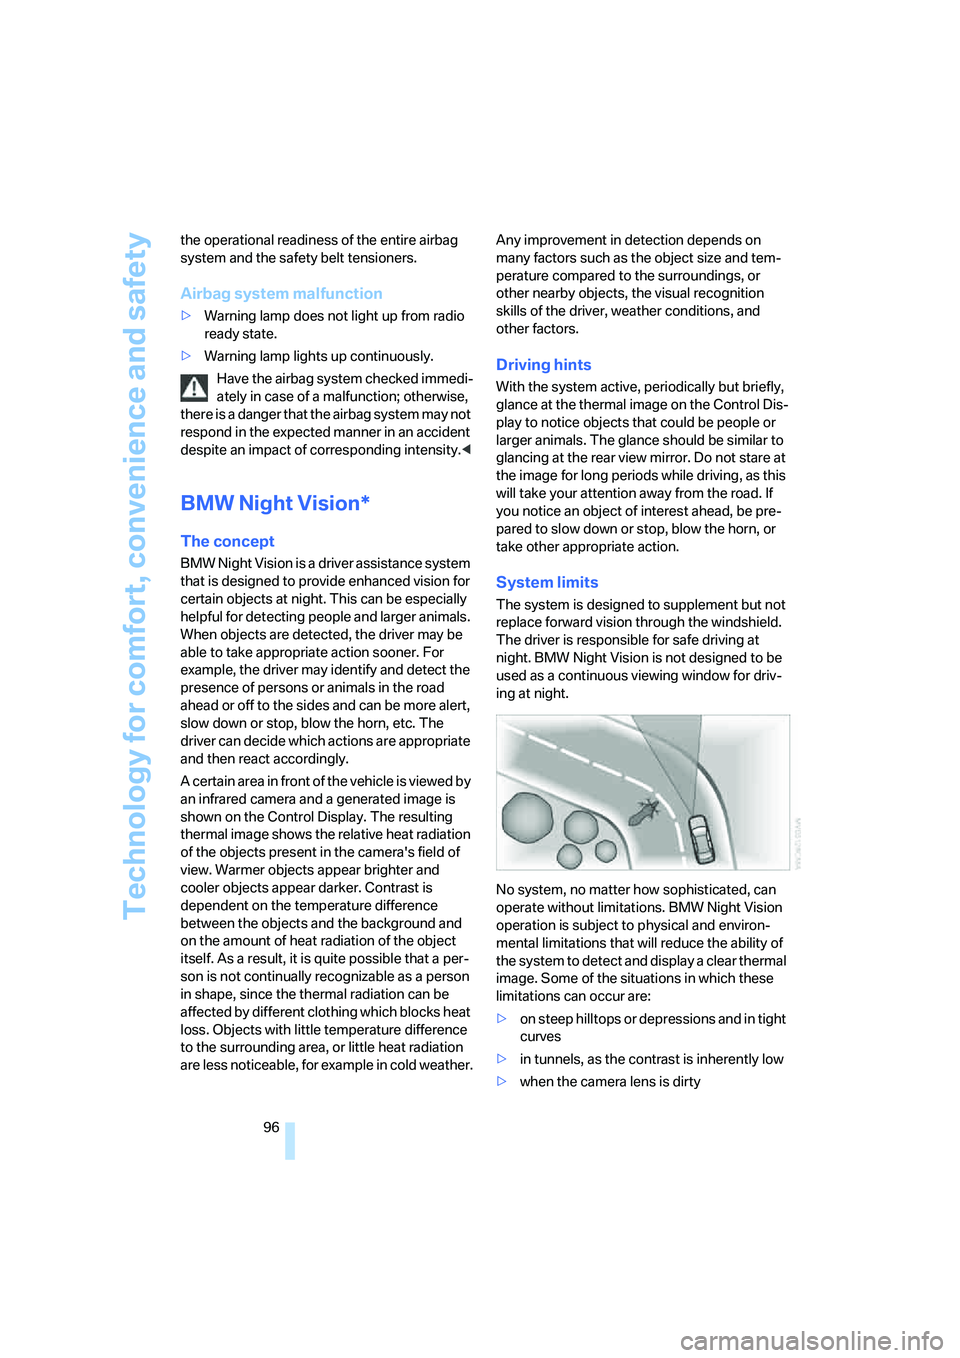
image. Some of the situations in which these
limitations can occur are:
>on steep hilltops or depressions and in tight
curves
>in tunnels, as the contrast is inherently low
>when the camera lens is dirty
Page 102 of 247
Lamps
100
Adaptive Head Light*
The concept
Adaptive Head Light is a variable headlamp
control system that enables dynamic illumina-
tion of the road surface. Depending on the
steering angle and other parameters, the light
from the headlamp follows the course of the
road.
Activating Adaptive Head Light
In switch position3, the Adaptive Head Light is
activated and Automatic headlamp control is
switched on.
In order not to blind oncoming traffic, the Adap-
tive Head Light is not active when driving in
reverse and only points toward the passenger
side when the vehicle is stationary.
Malfunction
The LED above the symbol for automatic head-
lamp control flashes. Adaptive Head Light is
malfunctioning or has failed. Have the system
checked as soon as possible.
High beams/
roadside parking lamps
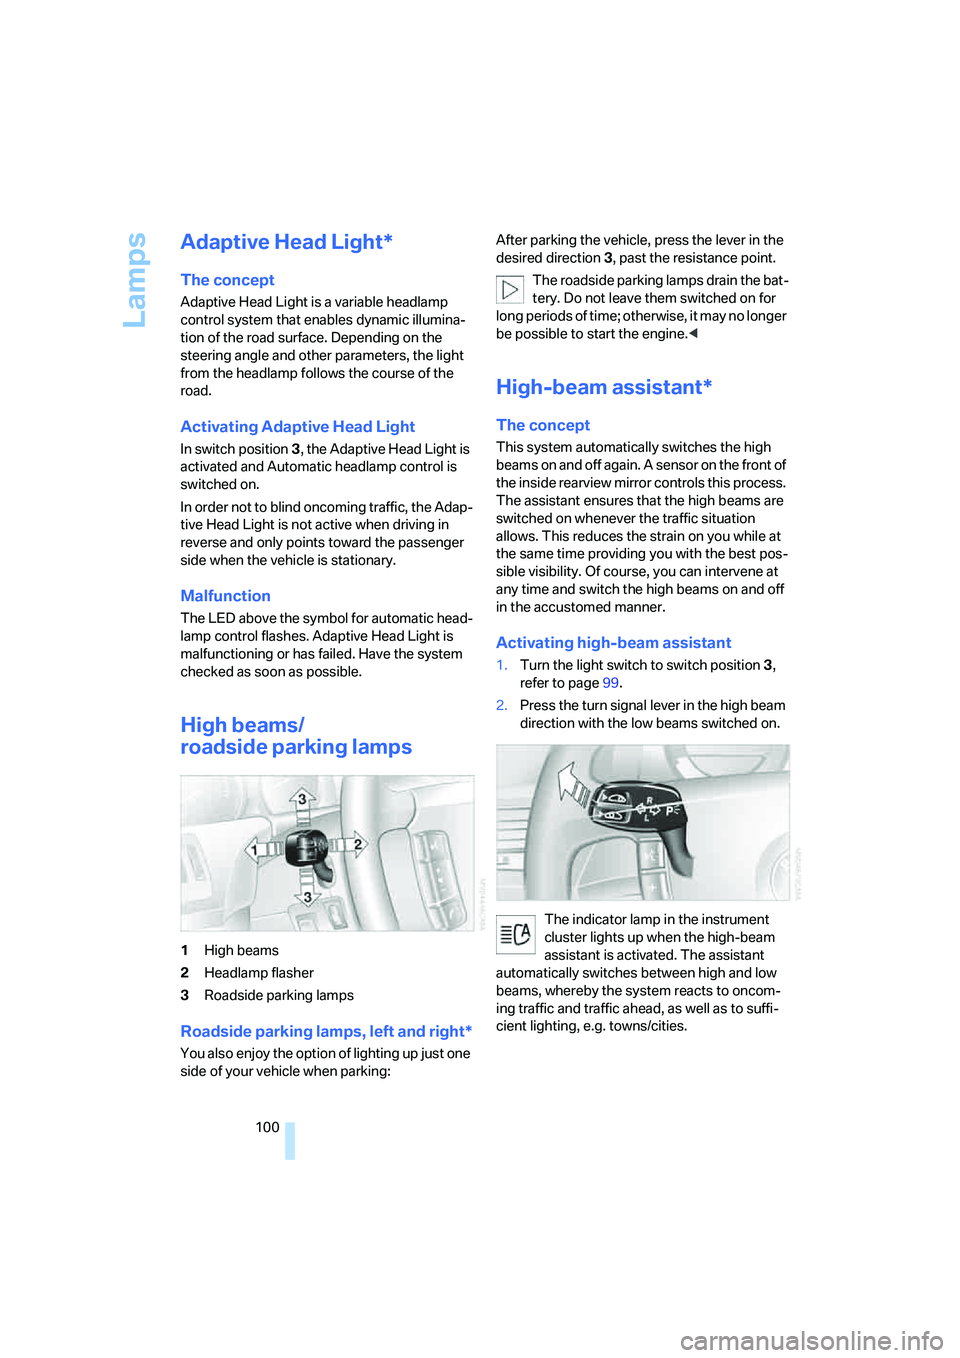
1High beams
2Headlamp flasher
3Roadside parking lamps
Roadside parking lamps, left and right*
You also enjoy the option of lighting up just one
side of your vehicle when parking:After parking the vehicle, press the lever in the
desired direction3, past the resistance point.
The roadside parking lamps drain the bat-
tery. Do not leave them switched on for
long periods of time; otherwise, it may no longer
be possible to start the engine.<
High-beam assistant*
The concept
This system automatically switches the high
beams on and off again. A sensor on the front of
the inside rearview mirror controls this process.
The assistant ensures that the high beams are
switched on whenever the traffic situation
allows. This reduces the strain on you while at
the same time providing you with the best pos-
sible visibility. Of course, you can intervene at
any time and switch the high beams on and off
in the accustomed manner.
Activating high-beam assistant
1.Turn the light switch to switch position3,
refer to page99.
2.Press the turn signal lever in the high beam
direction with the low beams switched on.
The indicator lamp in the instrument
cluster lights up when the high-beam
assistant is activated. The assistant
automatically switches between high and low
beams, whereby the system reacts to oncom-
ing traffic and traffic ahead, as well as to suffi-
cient lighting, e.g. towns/cities.
Page 103 of 247
Controls
101Reference
At a glance
Driving tips
Communications
Navigation
Entertainment
Mobility
Manually switching between high and
low beams
You can intervene at any time you wish or the
situation requires.
>If the high-beam assistant has switched on
the high beams, but you want to use the low
beams, simply switch to the low beams with
the turn signal lever. The high-beam assis-
tant is deactivated in the process.
To reactivate the system, briefly press the
turn signal lever in the high beam direction
again.
>If the high-beam assistant has switched on
the low beams, but you want to use the high
beams, switch to the high beams in the
accustomed manner. The system is deacti-
vated in the process and you must switch to
the low beams manually.
To reactivate the system, briefly press the
turn signal lever in the high beam direction
again.
>You use the headlamp flasher as usual with
low beams.
System limits
The high-beam assistant cannot replace
personal decisions on the benefits of
using the high beams. In situations which
require this, you should therefore switch to the
low beams manually to avoid a safety risk.<
In the following example situations, the system
either does not operate or only operates to a
limited degree and a personal reaction may be
required:
>Under extremely unfavorable weather con-
ditions, such as heavy fog or precipitation.
>For perceiving road users with poor lighting
of their own, e.g. pedestrians, cyclists, peo-
ple on horseback, horse-drawn vehicles,
with train or ship traffic close to the road and
wild animals crossing the road.
>In tight curves, on steep crowns or depres-
sions, with cross traffic or partially con-
cealed oncoming traffic on the freeway.
>In poorly lit places and with highly reflective
signs.>In the low speed range.
>When the windshield is dirty or covered with
stickers, decals etc. in the area of the inside
rearview mirror.
>When the sensor is dirty. Clean the sensor
on the front side of the inside rearview mir-
ror with a cloth moistened with a small
amount of glass cleaner.
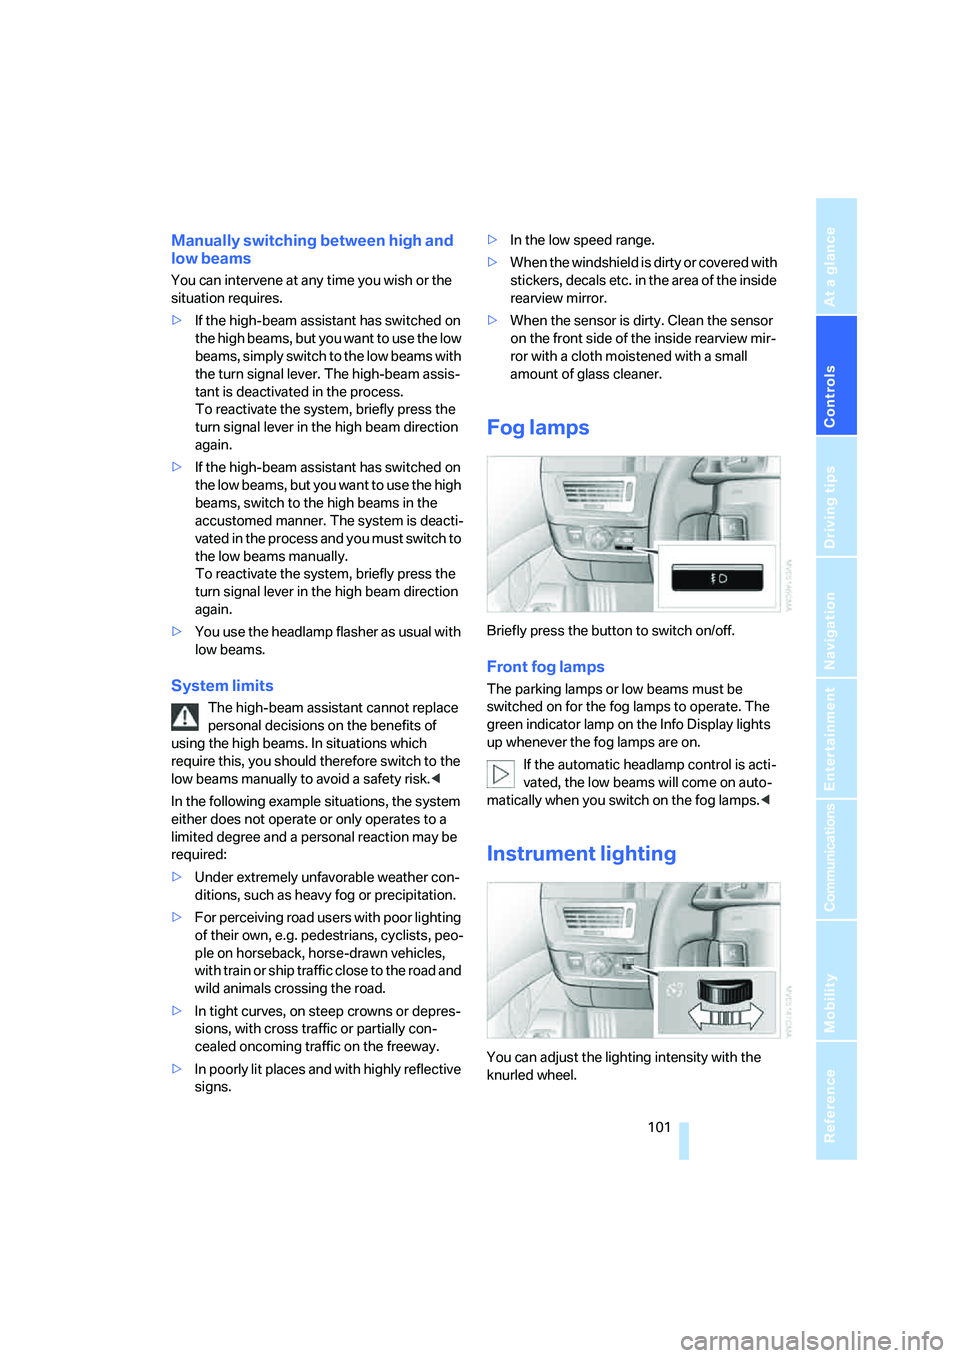
Fog lamps
Briefly press the button to switch on/off.
Front fog lamps
The parking lamps or low beams must be
switched on for the fog lamps to operate. The
green indicator lamp on the Info Display lights
up whenever the fog lamps are on.
If the automatic headlamp control is acti-
vated, the low beams will come on auto-
matically when you switch on the fog lamps.<
Instrument lighting
You can adjust the lighting intensity with the
knurled wheel.
Page 125 of 247
Driving tips
123Reference
At a glance
Controls
Communications
Navigation
Entertainment
Mobility
Interior and exterior mirrors,
automatic dimming feature*
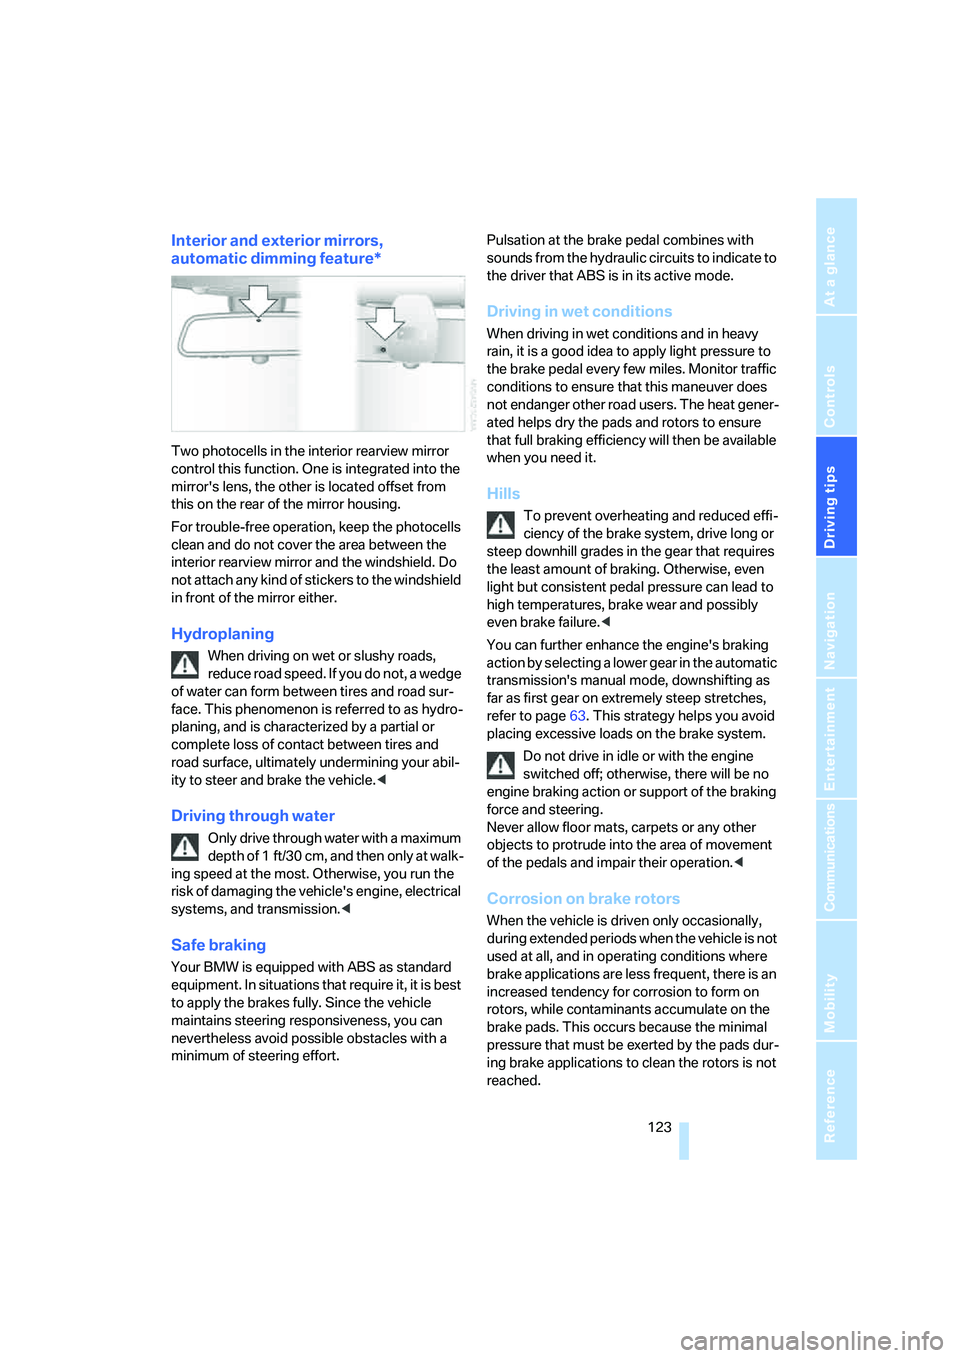
Two photocells in the interior rearview mirror
control this function. One is integrated into the
mirror's lens, the other is located offset from
this on the rear of the mirror housing.
For trouble-free operation, keep the photocells
clean and do not cover the area between the
interior rearview mirror and the windshield. Do
not attach any kind of stickers to the windshield
in front of the mirror either.
Hydroplaning
When driving on wet or slushy roads,
reduce road speed. If you do not, a wedge
of water can form between tires and road sur-
face. This phenomenon is referred to as hydro-
planing, and is characterized by a partial or
complete loss of contact between tires and
road surface, ultimately undermining your abil-
ity to steer and brake the vehicle.<
Driving through water
Only drive through water with a maximum
depth of 1 ft/30 cm, and then only at walk-
ing speed at the most. Otherwise, you run the
risk of damaging the vehicle's engine, electrical
systems, and transmission.<
Safe braking
Your BMW is equipped with ABS as standard
equipment. In situations that require it, it is best
to apply the brakes fully. Since the vehicle
maintains steering responsiveness, you can
nevertheless avoid possible obstacles with a
minimum of steering effort.Pulsation at the brake pedal combines with
sounds from the hydraulic circuits to indicate to
the driver that ABS is in its active mode.
Driving in wet conditions
When driving in wet conditions and in heavy
rain, it is a good idea to apply light pressure to
the brake pedal every few miles. Monitor traffic
conditions to ensure that this maneuver does
not endanger other road users. The heat gener-
ated helps dry the pads and rotors to ensure
that full braking efficiency will then be available
when you need it.
Hills
To prevent overheating and reduced effi-
ciency of the brake system, drive long or
steep downhill grades in the gear that requires
the least amount of braking. Otherwise, even
light but consistent pedal pressure can lead to
high temperatures, brake wear and possibly
even brake failure.<
You can further enhance the engine's braking
action by selecting a lower gear in the automatic
transmission's manual mode, downshifting as
far as first gear on extremely steep stretches,
refer to page63. This strategy helps you avoid
placing excessive loads on the brake system.
Do not drive in idle or with the engine
switched off; otherwise, there will be no
engine braking action or support of the braking
force and steering.
Never allow floor mats, carpets or any other
objects to protrude into the area of movement
of the pedals and impair their operation.<
Corrosion on brake rotors
When the vehicle is driven only occasionally,
during extended periods when the vehicle is not
used at all, and in operating conditions where
brake applications are less frequent, there is an
increased tendency for corrosion to form on
rotors, while contaminants accumulate on the
brake pads. This occurs because the minimal
pressure that must be exerted by the pads dur-
ing brake applications to clean the rotors is not
reached.