2006 BMW 760LI key
[x] Cancel search: keyPage 181 of 247

179
Entertainment
Reference
At a glance
Controls
Driving tips Communications
Navigation
Mobility
Getting started
Inserting mobile phone
If you insert or remove the mobile phone during
a call, the call may be interrupted depending on
the mobile phone model.
1.Remove the protective cap from the mobile
phone's antenna connector if necessary, so
that the mobile phone can engage in the
snap-in adapter.
2.Push the mobile phone downward toward
the electrical connections, arrow1, and
press forward, arrow2, until it engages.
The battery is charged starting from radio ready
state of the vehicle, refer to charge indicator on
mobile phone.
Removing mobile phone
To remove mobile phone, depending on model:
>Press the button.
>Push the button upward.
Logging on mobile phone in
vehicle
To log your mobile phone onto the vehicle, you
need a special Bluetooth passkey. This is
included in the information kit.
The following prerequisites must be met:
>The ignition is switched on.
>The mobile phone is ready for operation.
>The Bluetooth connections in the vehicle
and the mobile phone are activated.
>Depending on the mobile phone model,
certain presets are required on the mobile
phone, e.g. detecting, connecting or cou-
pling Bluetooth unit, refer to the operating
instructions of your mobile phone.
Only log on the mobile phone with the
vehicle stopped; otherwise, the passen-
gers and other road user can be endangered
due to a lack of attentiveness on the part of the
driver.<
Preparation with iDrive
iDrive, for principle details, refer to page16.
1.Press the button to open the start
menu.
2.Move the controller toward "Settings".
3.Select "Phone" and press the controller.
4.Select "PAIRING" and press the controller.
The three LEDs in the status line flash, refer
to page20.
Page 182 of 247

Getting started
180
Establishing connection between
mobile phone and vehicle
5.Additional operations must be carried out
on the mobile phone and differ depending
on the model, refer to the operating instruc-
tions of your mobile phone, e.g. under
searching for, connecting to, or coupling to
a Bluetooth device.
6.Enter and confirm Bluetooth passkey using
your mobile phone keypad.
Following successful logon, the name of
your mobile phone will appear on the Con-
trol Display.
The next time you use the mobile phone within
Bluetooth range of the vehicle, it will be
detected within a short time with the ignition
switched on.
As soon as the vehicle detects a mobile phone,
the phone book entries stored on the SIM card
or in your mobile phone are transmitted to your
vehicle. This transfer is dependent on your
mobile phone, refer to the operating instruc-
tions of your mobile phone if necessary, and
can take several minutes.
During each connection, the phone book
entries present in the vehicle are calibrated with
the phone book entries currently stored in the
mobile phone. The entries in the vehicle are
added to or deleted as needed in the process of
this.
Up to four mobile phones can be logged on one
after the other. If you want to log on a fifth
mobile phone, first the logon data of a mobile
phone must be deleted, refer to page180.
Logging off a mobile phone
from vehicle
If you no longer want to operate a mobile phone
via the vehicle, you can delete the logon data of
the mobile phone.
iDrive, for principle details, refer to page16.
1.Press the button to open the start
menu.
2.Move the controller toward "Settings".
3.Select "Phone" and press the controller.
4.Select the desired mobile phone and press
the controller.
5.Select "YES" and press the controller.
The logged-off mobile phone is deleted
from the list. The phone book entries stored
in the vehicle are also deleted in the pro-
cess.
Activating/deactivating
Bluetooth link
Bluetooth technology is not approved in
all countries. Observe the applicable local
regulations. Temporarily deactivate the Blue-
tooth link between the vehicle and the mobile
phone if necessary.<
1.Remove the mobile phone from the cradle
and switch off.
2.Press the button to open the start
menu.
3.Move the controller toward "Settings".
Page 184 of 247
Using the phone
182
Using the phone
You have the option of controlling the phone
using various parts of the vehicle equipment:
>The button on the steering wheel
>The retracting telephone keypad
>iDrive
>The voice command system
*
The phone number appears in the upper status
line, refer to page20.
With the ignition switched off, you can continue
an ongoing call for a maximum of 16 minutes via
the hands-free system.
Requirements
>The logon data of the mobile phone are
stored in the vehicle and the mobile phone
is ready to operate.
>The ignition is switched on.
>The mobile phone is detected by the vehi-
cle.
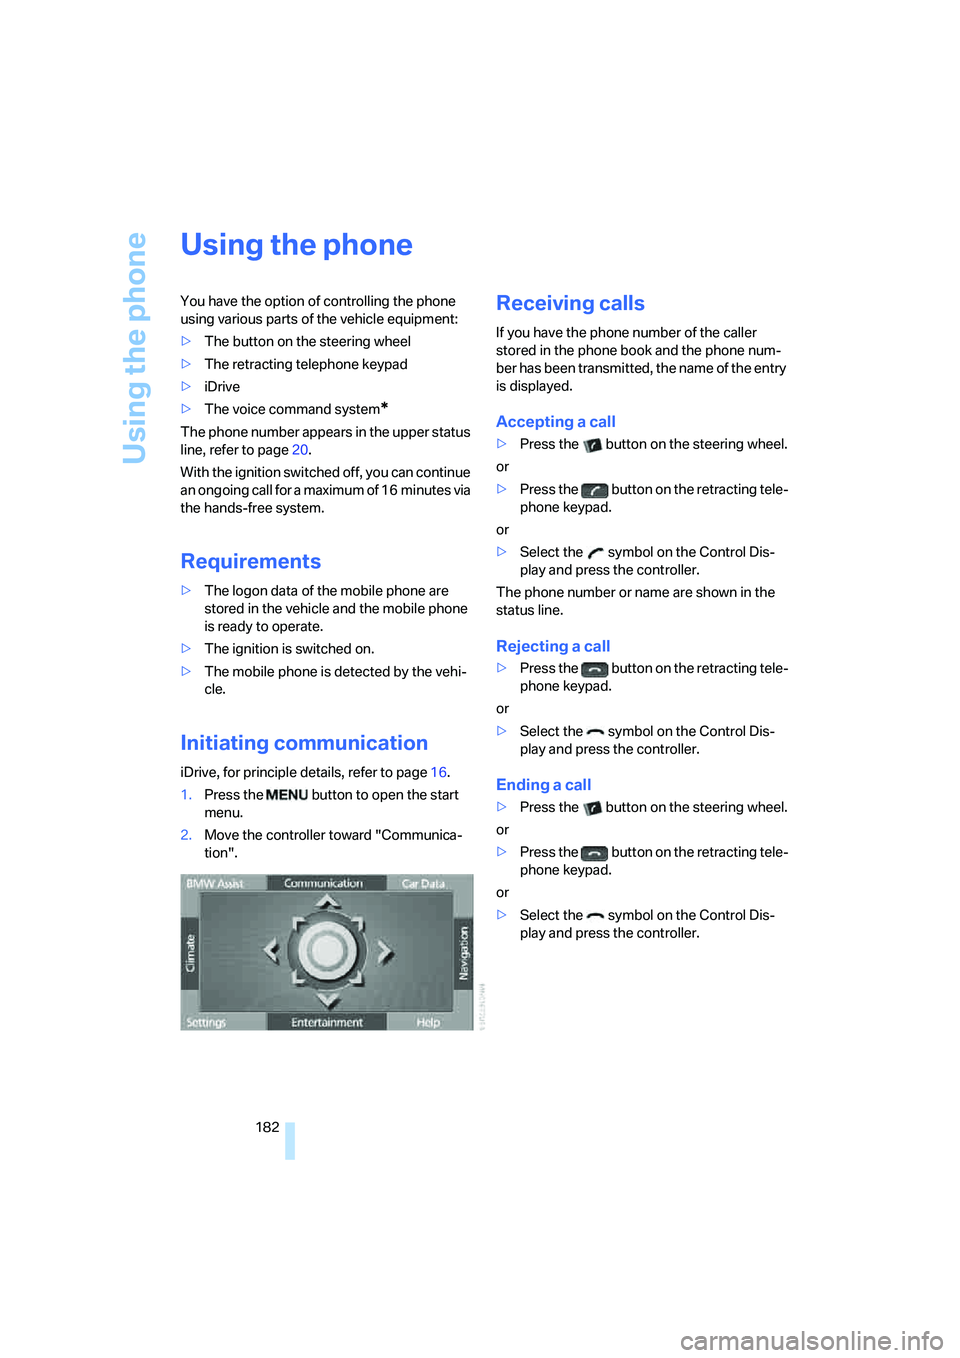
Initiating communication
iDrive, for principle details, refer to page16.
1.Press the button to open the start
menu.
2.Move the controller toward "Communica-
tion".
Receiving calls
If you have the phone number of the caller
stored in the phone book and the phone num-
ber has been transmitted, the name of the entry
is displayed.
Accepting a call
>Press the button on the steering wheel.
or
>Press the button on the retracting tele-
phone keypad.
or
>Select the symbol on the Control Dis-
play and press the controller.
The phone number or name are shown in the
status line.
Rejecting a call
>Press the button on the retracting tele-
phone keypad.
or
>Select the symbol on the Control Dis-
play and press the controller.
Ending a call
>Press the button on the steering wheel.
or
>Press the button on the retracting tele-
phone keypad.
or
>Select the symbol on the Control Dis-
play and press the controller.
Page 185 of 247

183
Entertainment
Reference
At a glance
Controls
Driving tips Communications
Navigation
Mobility
Making a call
Dialing a phone number and
establishing a connection
Retracting telephone keypad
1.Enter the phone number.
2.Press the button.
Voice command system*
T h e s ys t e m r ec o g n i z es d i g it s f r o m z e ro t o n i n e .
You can say each digit individually or group
them into a sequence to speed up the entry
process:
After the last spoken sequence of digits has
been repeated by the system, you can delete
this sequence of digits:
With {Delete number} all numbers previously
entered are deleted:
Redialing
You can recall the last phone number you
selected:
Dialing a phone number from phone
book or a phone number stored in a list
Phone numbers you have called, missed calls,
and the entries of the phone book are stored in
lists when the mobile phone is connected to the
vehicle via Bluetooth. If the caller is entered in
the phone book, the name of the entry is dis-
played instead of the phone number. The fol-
lowing lists are available:
>"TOP 8":
The eight phone numbers in the phone
book that are called most frequently are automatically stored in the Top 8 list. The
number called most often appears at the
top of the list.
>"Last":
The last eight phone numbers you have
dialed are automatically stored. The last
number dialed is at the top of the list.
>"A-Z":
The entries in the phone book of the SIM
card or of the mobile phone, including name
and phone number, are displayed in alpha-
betical order.
>"Missed":
The phone numbers of the last eight calls
not accepted are stored, provided that the
phone number of the caller was transmitted.
A missed call is indicated by an envelope
symbol in the top status line.
Dialing phone numbers from phone
book
The list "A-Z" is available for you phone book
entries. The Control Display shows the entries
in the phone book of the SIM card or mobile
phone in alphabetical order.
1.Select "A-Z" and press the controller.
An alphabetical listing of all the entries in
the phone book appears on the right side of
the Control Display.
2.Select the desired entry and press the con-
troller.
3.Select the symbol and press the control-
ler.
The system dials the number. The phone num-
ber is displayed in the top status line. 1.{Dial number}.
2.Say the phone number.
3.{Dial}.
1.{Correction}.
2.Correct the phone number.
1.{Delete number}.
2.Delete the phone number.
{Redial}.
Page 186 of 247
Using the phone
184 The connection can also be established
via the button on the steering wheel or the
telephone keypad.<
Dialing phone numbers stored in a list
To select an entry and establish a connection:
1.Select the list and press the controller.
>"TOP 8"
>"Last"
>"Missed"
2.Select the desired entry and press the con-
troller.
3.Select the symbol and press the control-
ler.
The system dials the number.
The phone number is displayed in the top sta-
tus line as this happens.
The connection can also be established
via the button on the steering wheel or the
telephone keypad.<
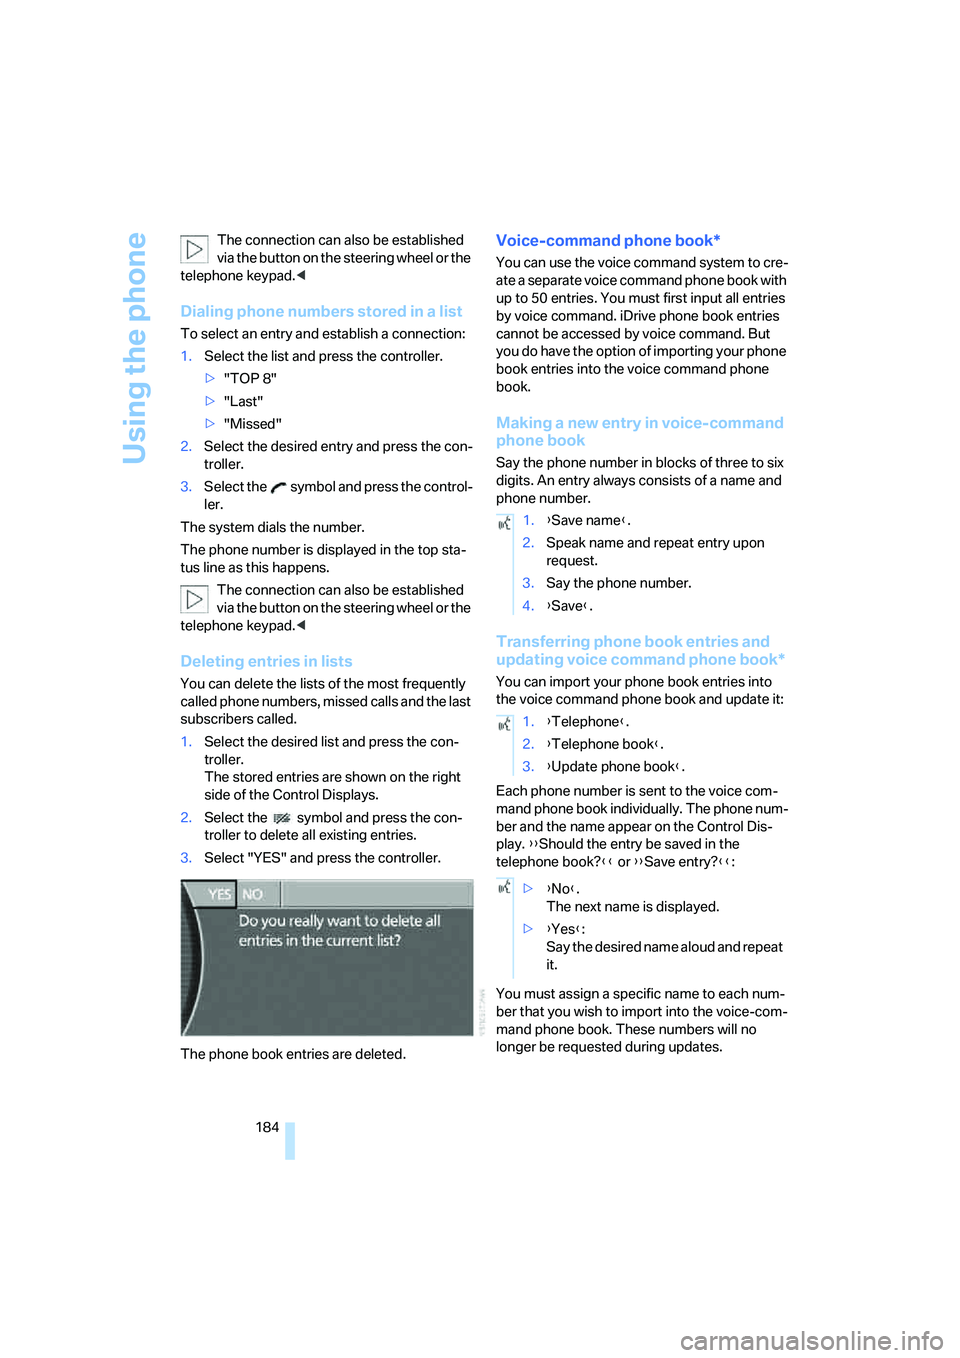
Deleting entries in lists
You can delete the lists of the most frequently
called phone numbers, missed calls and the last
subscribers called.
1.Select the desired list and press the con-
troller.
The stored entries are shown on the right
side of the Control Displays.
2.Select the symbol and press the con-
troller to delete all existing entries.
3.Select "YES" and press the controller.
The phone book entries are deleted.
Voice-command phone book*
You can use the voice command system to cre-
ate a separate voice command phone book with
up to 50 entries. You must first input all entries
by voice command. iDrive phone book entries
cannot be accessed by voice command. But
you do have the option of importing your phone
book entries into the voice command phone
book.
Making a new entry in voice-command
phone book
Say the phone number in blocks of three to six
digits. An entry always consists of a name and
phone number.
Transferring phone book entries and
updating voice command phone book*
You can import your phone book entries into
the voice command phone book and update it:
Each phone number is sent to the voice com-
mand phone book individually. The phone num-
ber and the name appear on the Control Dis-
play. {{Should the entry be saved in the
telephone book?}} or {{Save entry?}}:
You must assign a specific name to each num-
ber that you wish to import into the voice-com-
mand phone book. These numbers will no
longer be requested during updates.
1.{Save name}.
2.Speak name and repeat entry upon
request.
3.Say the phone number.
4.{Save}.
1.{Telephone}.
2.{Telephone book}.
3.{Update phone book}.
>{No}.
The next name is displayed.
>{Yes}:
Say the desired name aloud and repeat
it.
Page 207 of 247
Mobility
205Reference
At a glance
Controls
Driving tips
Communications
Navigation
Entertainment
Maintenance
The BMW Maintenance
System
The BMW Maintenance System serves to
retain the operating and road safety of your
BMW. The service schedule also includes oper-
ations related to the vehicle's comfort and con-
venience features, such as replacement of the
filters for the inside air. The aim is to optimize
maintenance procedures with a view to reduc-
ing the cost of running the vehicle.
Should the day come when you decide to sell
your BMW, you will find that a complete dealer
service history is an asset of inestimable value.
CBS Condition Based Service
Sensors and special algorithms take the differ-
ent driving conditions of your BMW into
account. As a result, Condition Based Service
determines the current and future maintenance
requirements. By letting you define a service
and maintenance regimen that reflects your
own individual requirements, the system forms
the basis for trouble-free driving.
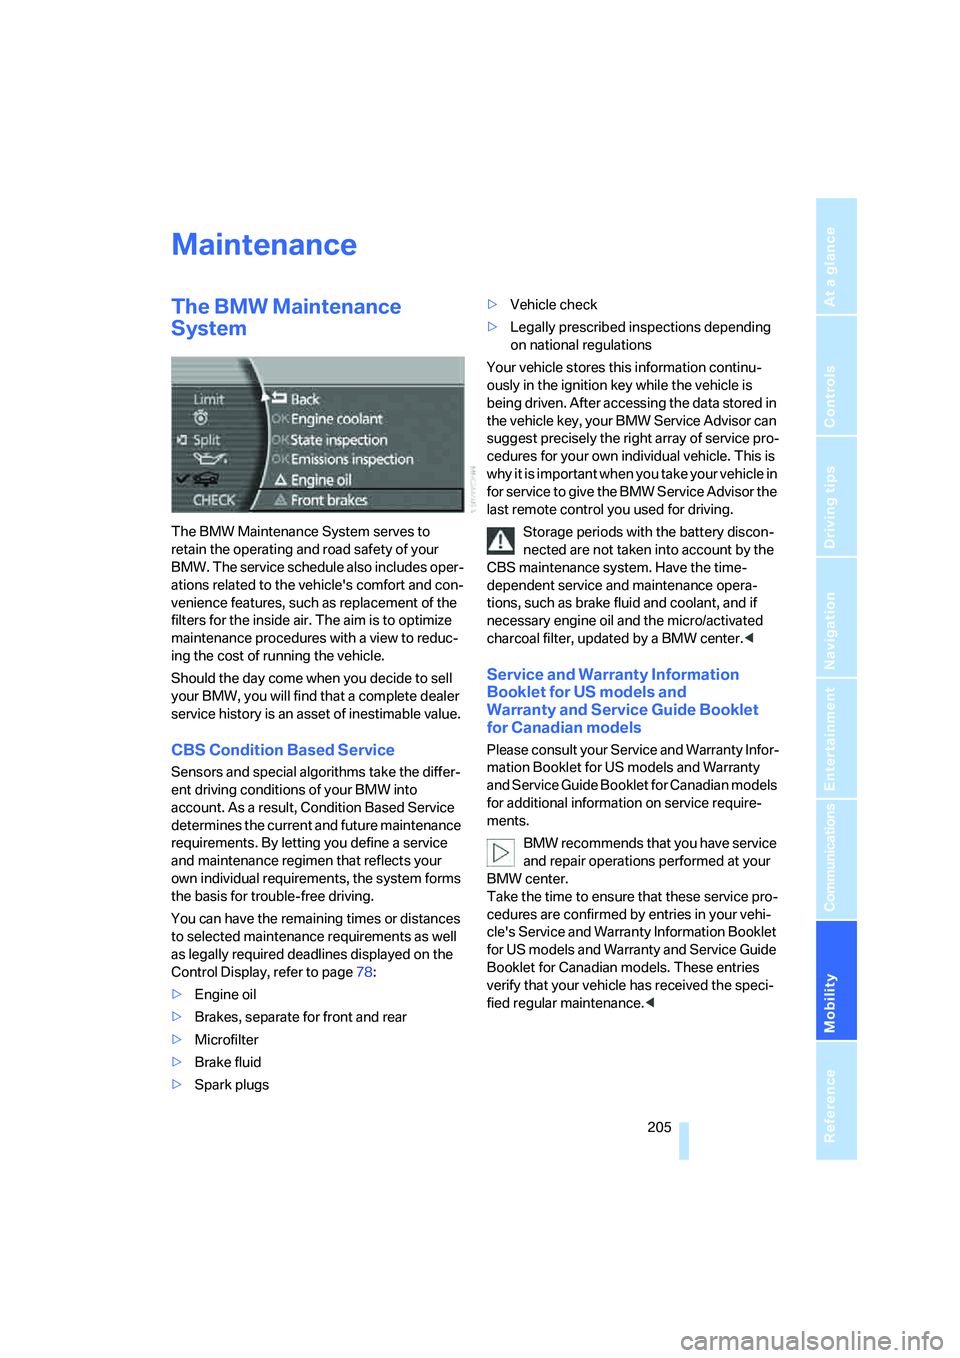
You can have the remaining times or distances
to selected maintenance requirements as well
as legally required deadlines displayed on the
Control Display, refer to page78:
>Engine oil
>Brakes, separate for front and rear
>Microfilter
>Brake fluid
>Spark plugs>Vehicle check
>Legally prescribed inspections depending
on national regulations
Your vehicle stores this information continu-
ously in the ignition key while the vehicle is
being driven. After accessing the data stored in
the vehicle key, your BMW Service Advisor can
suggest precisely the right array of service pro-
cedures for your own individual vehicle. This is
why it is important when you take your vehicle in
for service to give the BMW Service Advisor the
last remote control you used for driving.
Storage periods with the battery discon-
nected are not taken into account by the
CBS maintenance system. Have the time-
dependent service and maintenance opera-
tions, such as brake fluid and coolant, and if
necessary engine oil and the micro/activated
charcoal filter, updated by a BMW center.<
Service and Warranty Information
Booklet for US models and
Warranty and Service Guide Booklet
for Canadian models
Please consult your Service and Warranty Infor-
mation Booklet for US models and Warranty
and Service Guide Booklet for Canadian models
for additional information on service require-
ments.
BMW recommends that you have service
and repair operations performed at your
BMW center.
Take the time to ensure that these service pro-
cedures are confirmed by entries in your vehi-
cle's Service and Warranty Information Booklet
for US models and Warranty and Service Guide
Booklet for Canadian models. These entries
verify that your vehicle has received the speci-
fied regular maintenance.<
Page 209 of 247
Mobility
207Reference
At a glance
Controls
Driving tips
Communications
Navigation
Entertainment
Replacing components
Onboard tool kit
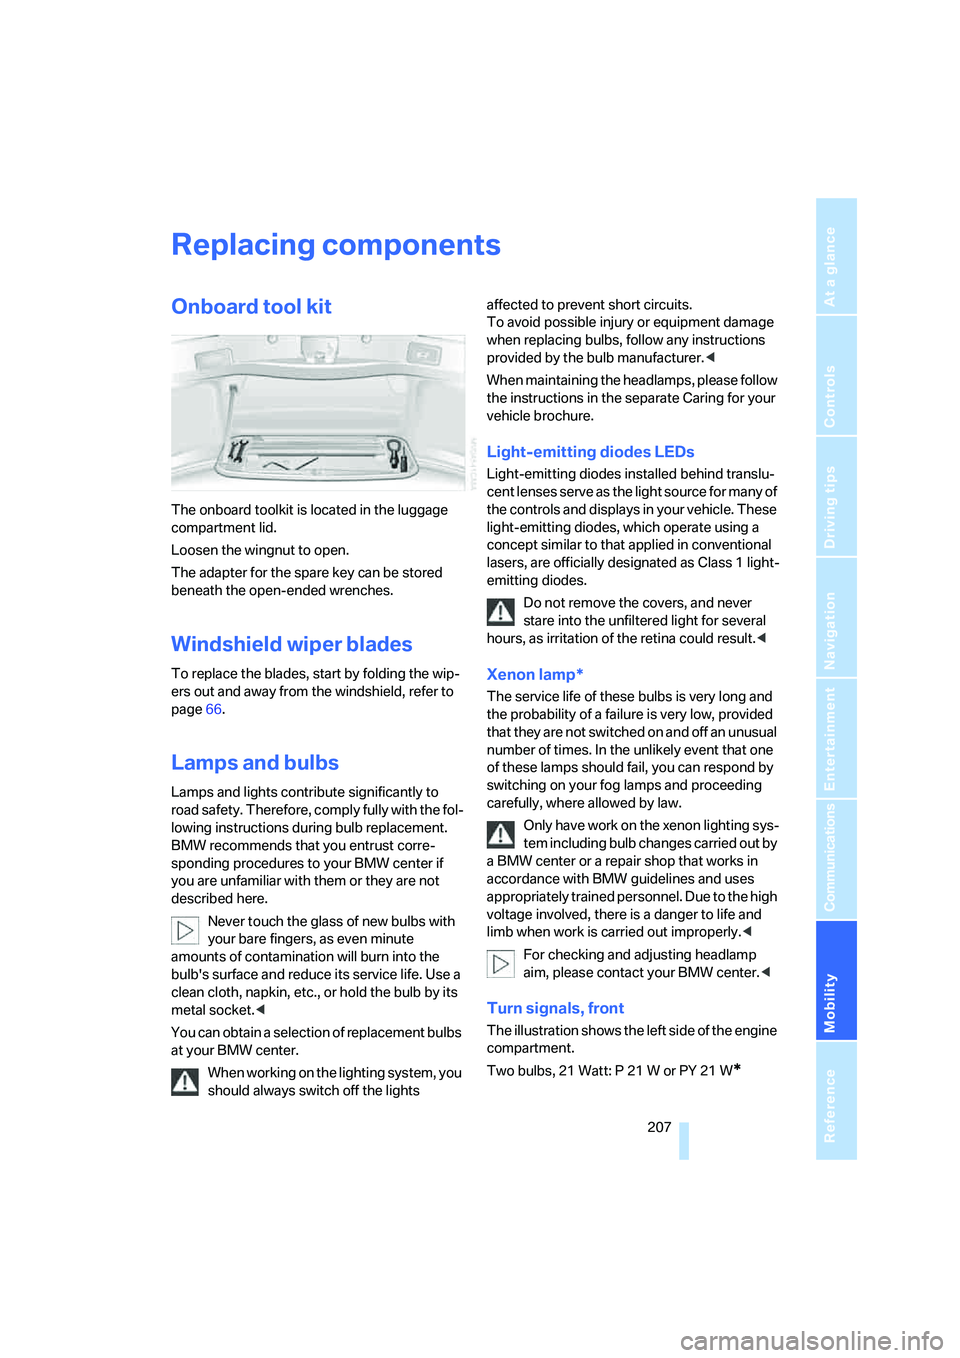
The onboard toolkit is located in the luggage
compartment lid.
Loosen the wingnut to open.
The adapter for the spare key can be stored
beneath the open-ended wrenches.
Windshield wiper blades
To replace the blades, start by folding the wip-
ers out and away from the windshield, refer to
page66.
Lamps and bulbs
Lamps and lights contribute significantly to
road safety. Therefore, comply fully with the fol-
lowing instructions during bulb replacement.
BMW recommends that you entrust corre-
sponding procedures to your BMW center if
you are unfamiliar with them or they are not
described here.
Never touch the glass of new bulbs with
your bare fingers, as even minute
amounts of contamination will burn into the
bulb's surface and reduce its service life. Use a
clean cloth, napkin, etc., or hold the bulb by its
metal socket.<
You can obtain a selection of replacement bulbs
at your BMW center.
When working on the lighting system, you
should always switch off the lights affected to prevent short circuits.
To avoid possible injury or equipment damage
when replacing bulbs, follow any instructions
provided by the bulb manufacturer.<
When maintaining the headlamps, please follow
the instructions in the separate Caring for your
vehicle brochure.
Light-emitting diodes LEDs
Light-emitting diodes installed behind translu-
cent lenses serve as the light source for many of
the controls and displays in your vehicle. These
light-emitting diodes, which operate using a
concept similar to that applied in conventional
lasers, are officially designated as Class 1 light-
emitting diodes.
Do not remove the covers, and never
stare into the unfiltered light for several
hours, as irritation of the retina could result.<
Xenon lamp*
The service life of these bulbs is very long and
the probability of a failure is very low, provided
that they are not switched on and off an unusual
number of times. In the unlikely event that one
of these lamps should fail, you can respond by
switching on your fog lamps and proceeding
carefully, where allowed by law.
Only have work on the xenon lighting sys-
tem including bulb changes carried out by
a BMW center or a repair shop that works in
accordance with BMW guidelines and uses
appropriately trained personnel. Due to the high
voltage involved, there is a danger to life and
limb when work is carried out improperly.<
For checking and adjusting headlamp
aim, please contact your BMW center.<
Turn signals, front
The illustration shows the left side of the engine
compartment.
Two bulbs, 21 Watt: P 21 W or PY 21 W
*
Page 226 of 247
Everything from A to Z
224
Everything from A to Z
Index
A
"ABC...", navigation131
ABS Antilock Brake
System87
ACC, refer to Active cruise
control69
"ACCEPT",
navigation140,147
Accepting call, automatic177
Accessories, refer to Your
individual vehicle5
Accident, refer to
– Initiating an emergency
call178
– Roadside Assistance187
Activated-charcoal filter107
Activating High Definition
Radio161
Active cruise control69
– indicator lamp72
– malfunction72
– radar sensor72
– sensor, refer to
Malfunction72
Active head restraints,
front47
Active seat50
Active seat ventilation50
Adapter for spare key31
Adaptive Drive
– refer to Dynamic Drive89
– refer to EDC Electronic
Damper Control89
Adaptive Head Light100
Address
– deleting140
– displaying141
– storing139
– storing current position146
"Address book",
navigation138Adjusting cooling effect of
rear air conditioner108
Adjusting interior
temperature105
Adjusting sound in audio
mode, refer to Tone
control153
Adjusting volume153
– ring tone of telephone177
– voice command system25
– voice instructions145
Air, drying, refer to Air condi-
tioner mode107
Airbags94
– safe sitting position43
Air conditioner in the rear108
Air conditioning103
– in rear108
– while parked109
Air-conditioning front
windshield126
Air distribution
– automatic104
– manual106
Airing, refer to Ventilation107
Air jets, refer to
Ventilation107
Air pressure, refer to Tire
inflation pressure194
Air recirculation, refer to
Recirculated air105
Air vents, refer to
Ventilation107
Air volume
– automatic climate
control106
– rear air conditioner108
AKI, refer to Fuel
specifications193
Alarm system37
– avoiding unintentional
alarms38All-season tires, refer to
Winter tires200
Altering route, refer to
Changing route145
Alternate route, refer to
Changing route145
"AM", radio155
AM waveband155
– High Definition Radio161
"ANGLE", DVD changer171
Antifreeze
– coolant203
– washer fluid66
Antilock Brake System
ABS87
Anti-theft alarm system, refer
to Alarm system37
Anti-theft system, refer to
Central locking system32
Approved engine oils203
Armrest, refer to Center
armrest
– front113
– rear114
"Arrow display",
navigation144
"AS ADDRESS",
navigation139,146
Ashtray115
– front115
– rear116
Assist, refer to
BMW Assist186
Assistance getting in and
out52
– backrest width44
Assistance system, refer to
DSC Dynamic Stability
Control87
Assistance window20
AUC Automatic recirculated-
air control105