2006 BMW 745i steering
[x] Cancel search: steeringPage 127 of 247

Driving tips
125Reference
At a glance
Controls
Communications
Navigation
Entertainment
Mobility
Stowing cargo
>Place heavy cargo as far forward and as low
as possible, placing it directly behind the
bulkhead behind the rear seats.
>Cover sharp edges and corners.
>For very heavy cargo when the rear seat is
not occupied, secure each outside rear
safety belt in the opposite buckle.
Securing cargo
>Use the luggage net* or securing straps to
secure small and lightweight luggage and
cargo.
>Heavy-duty straps
* for securing larger and
heavier objects are available at your BMW
center. Four lashing eyes for attaching
these heavy-duty straps are provided in the
luggage compartment, refer to illustration.
>Please follow the special instructions sup-
plied with the heavy-duty straps.
Always position and secure the load as
described above. If you do not, it can
endanger the passengers, for example during
braking or evasive maneuvers.
Attach heavy-duty straps only to the lashing
eyes, refer to illustration, otherwise, the heavy-
duty straps could come loose or the vehicle
could be damaged.Never exceed either the approved gross vehicle
weight or either of the approved axle loads, refer
to page220, as excessive loads can impair the
operational safety of the vehicle and may also
put you in violation of highway safety laws.
You should never transport heavy or hard
objects unsecured in the passenger compart-
ment, as they could fly around and pose a safety
hazard to the vehicle's occupants during abrupt
braking or evasive maneuvers .<
Roof-mounted luggage rack*
A special rack system is available as an option
for your BMW. Please comply with the precau-
tions included with the installation instructions.
Anchorage points
The anchorage points are located inside the
door openings.
Loading roof rack
Because roof racks raise the vehicle's center of
gravity when loaded, they have a major effect on
its handling and steering response.
You should therefore always remember not to
exceed the approved roof load capacity, the
approved gross vehicle weight or the axle loads
when loading the rack.
You can find the specified weights under
Weights starting on page220.
Make sure that the roof load is distributed
evenly, and that it does not extend outward to
beyond the limits of the loading surface. Always
load the heaviest pieces first – on the bottom.
Be sure that adequate clearance is maintained
for raising the glass sunroof, and that objects do
Page 147 of 247
Navigation
Driving tips
145Reference
At a glance
Controls
Communications
Entertainment
Mobility
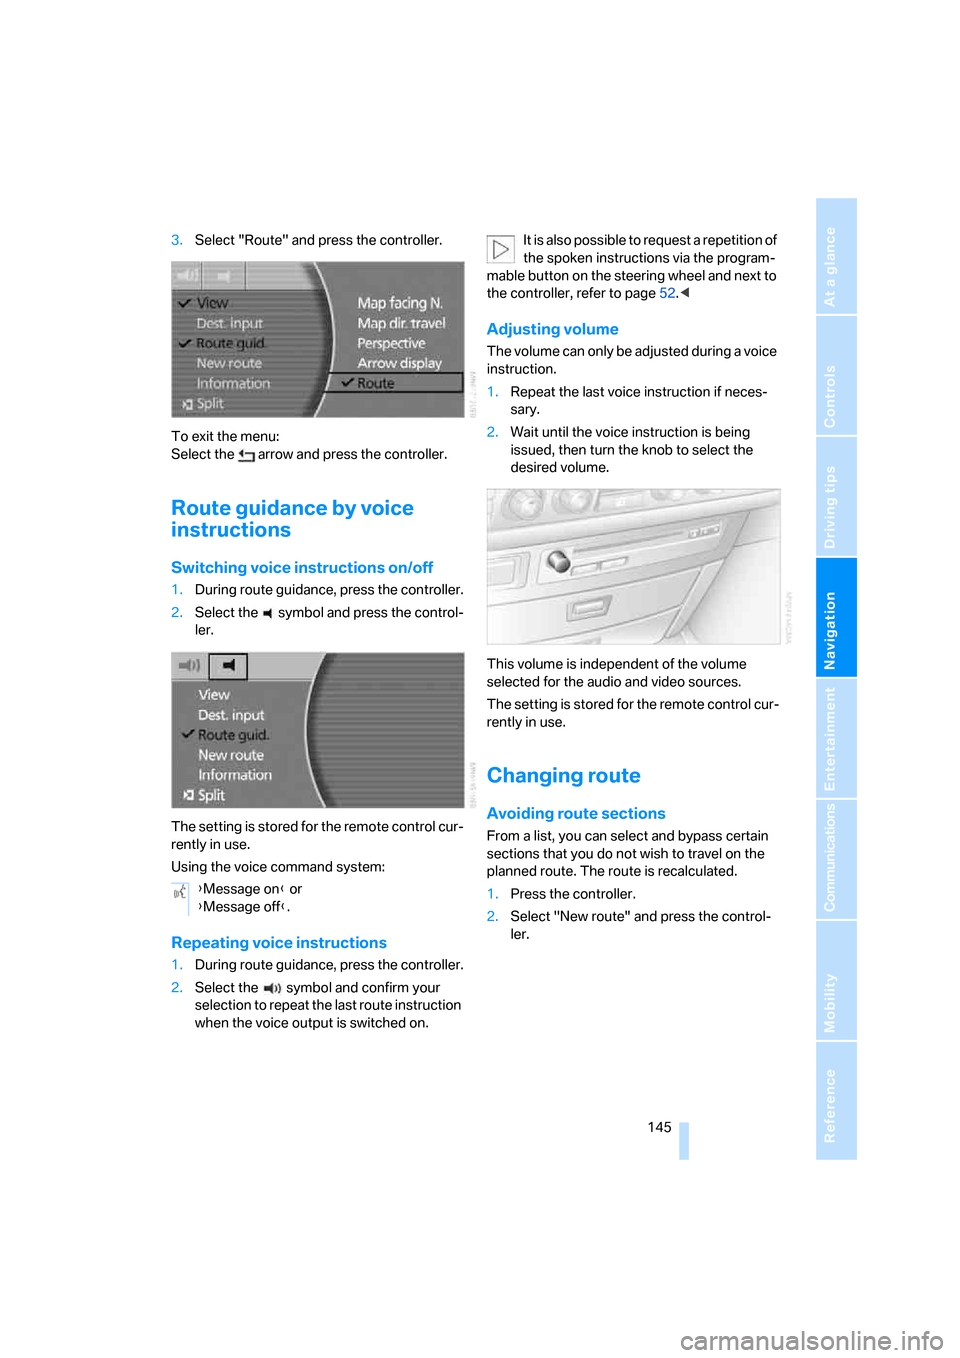
3.Select "Route" and press the controller.
To exit the menu:
Select the arrow and press the controller.
Route guidance by voice
instructions
Switching voice instructions on/off
1.During route guidance, press the controller.
2.Select the symbol and press the control-
ler.
The setting is stored for the remote control cur-
rently in use.
Using the voice command system:
Repeating voice instructions
1.During route guidance, press the controller.
2.Select the symbol and confirm your
selection to repeat the last route instruction
when the voice output is switched on.It is also possible to request a repetition of
the spoken instructions via the program-
mable button on the steering wheel and next to
the controller, refer to page52.<
Adjusting volume
The volume can only be adjusted during a voice
instruction.
1.Repeat the last voice instruction if neces-
sary.
2.Wait until the voice instruction is being
issued, then turn the knob to select the
desired volume.
This volume is independent of the volume
selected for the audio and video sources.
The setting is stored for the remote control cur-
rently in use.
Changing route
Avoiding route sections
From a list, you can select and bypass certain
sections that you do not wish to travel on the
planned route. The route is recalculated.
1.Press the controller.
2.Select "New route" and press the control-
ler. {Message on} or
{Message off}.
Page 154 of 247
On/off and settings
152
On/off and settings
The following audio and video sources share
the same controls and adjustment options.
>Radio
>CD player
*
>CD changer*
>DVD changer*
The CD changer can play CDs with com-
pressed audio files, such as MP3s.<
Controls
The audio and video sources can be operated
using:
>Buttons on the CD player
>iDrive
>Buttons on steering wheel, refer to page11
Buttons on the CD player
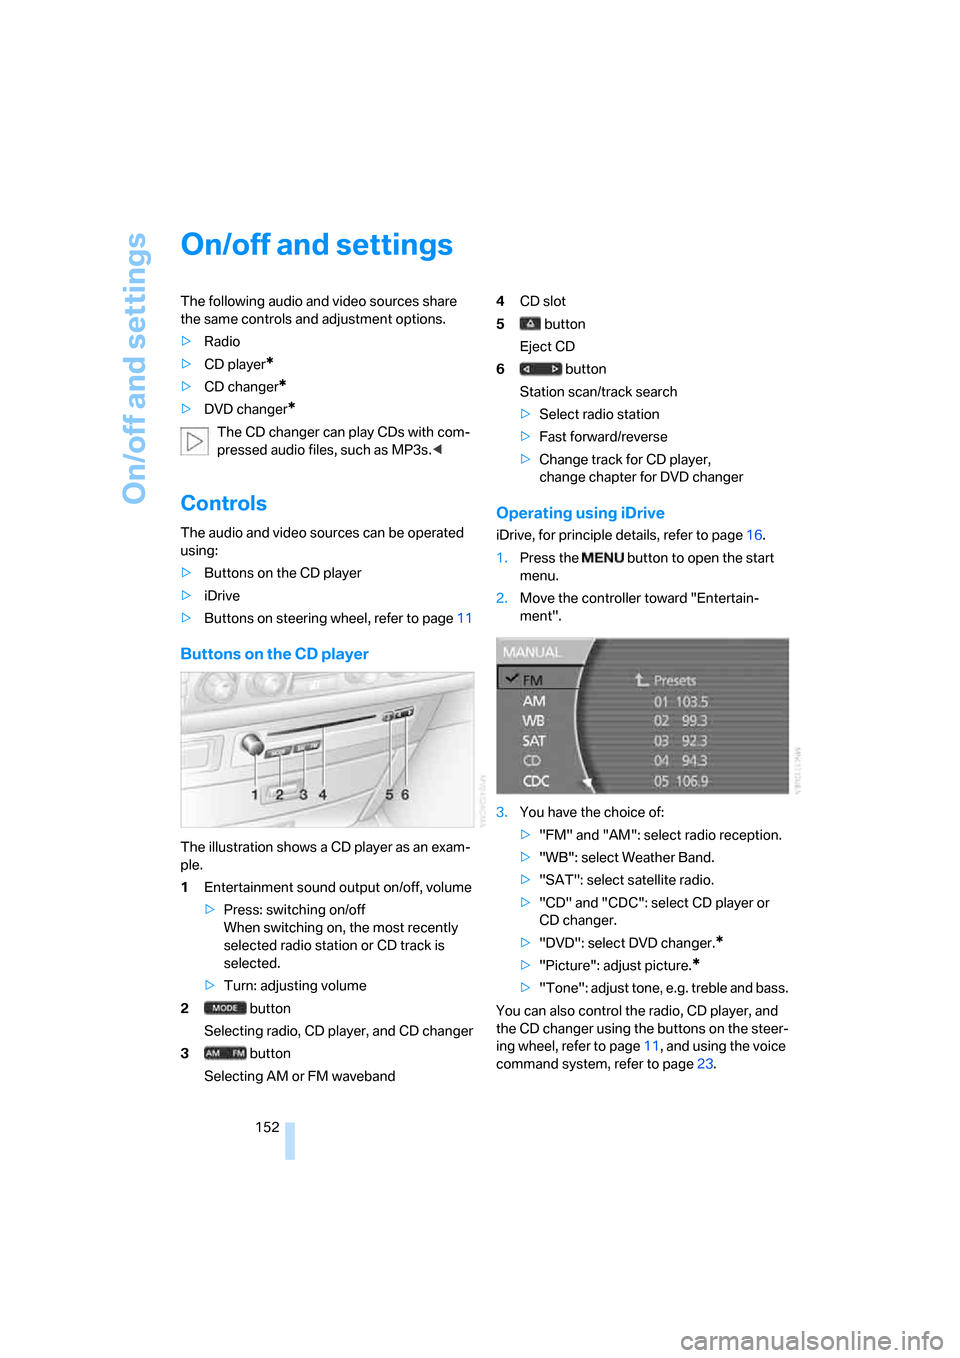
The illustration shows a CD player as an exam-
ple.
1Entertainment sound output on/off, volume
>Press: switching on/off
When switching on, the most recently
selected radio station or CD track is
selected.
>Turn: adjusting volume
2 button
Selecting radio, CD player, and CD changer
3 button
Selecting AM or FM waveband4CD slot
5 button
Eject CD
6 button
Station scan/track search
>Select radio station
>Fast forward/reverse
>Change track for CD player,
change chapter for DVD changer
Operating using iDrive
iDrive, for principle details, refer to page16.
1.Press the button to open the start
menu.
2.Move the controller toward "Entertain-
ment".
3.You have the choice of:
>"FM" and "AM": select radio reception.
>"WB": select Weather Band.
>"SAT": select satellite radio.
>"CD" and "CDC": select CD player or
CD changer.
>"DVD": select DVD changer.
*
>"Picture": adjust picture.*
>"Tone": adjust tone, e.g. treble and bass.
You can also control the radio, CD player, and
the CD changer using the buttons on the steer-
ing wheel, refer to page11, and using the voice
command system, refer to page23.
Page 178 of 247

Telephone overview
176
Telephone overview
The concept
Your BMW is equipped with a mobile phone
preparation package. After a suitable mobile
phone has been logged onto the vehicle once,
you can operate the mobile phone via iDrive,
via the buttons on the steering wheel, via the
phone keypad and by voice.
A mobile phone that has been logged on once is
automatically detected again with the engine
running or the ignition switched on as soon as
it is in the vehicle interior. The logon data of up
to four mobile phones can be stored simulta-
neously. If several mobile phones are detected
simultaneously, the mobile phone logged on
most recently can be operated via the vehicle.
Using a phone in your vehicle
Using snap-in adapter*
The so-called snap-in adapter, a mobile phone
cradle, enables the battery to be charged and
the mobile phone to be connected to the exter-
nal antenna of your vehicle. This assures better
network reception and uniform sound quality.
Ask your BMW center which mobile phones
snap-in adapters are offered for.
BMW discourages the use of mobile
phones or other mobile communications
devices inside the vehicle without a direct con-
nection to an outside antenna. Otherwise, the
vehicle electronics and mobile communications
device can affect each other. In addition, there
is no assurance that the radiation generated
during transmission will be discharged from the
vehicle interior.<
Avoid operating a mobile phone detected by
the vehicle with the keypad of the mobile
phone; otherwise, malfunctions can occur.The mobile phone can be operated by means
of:
>Buttons on the steering wheel, refer to
page11
>Retracting telephone keypad, refer to
page177
>iDrive, for principle details, refer to page16.
>Voice command system
*, refer to page23,
except for incoming calls
For information on operating your mobile
phone, please consult the separate operating
instructions.
For your safety
Only make entries when the traffic situa-
tion allows you to do so. Do not hold the
mobile phone in your hand while you are driving;
use the hands-free system instead. If you do
not observe this precaution, your being dis-
tracted can endanger vehicle occupants and
other road users.<
Suitable mobile phones
Ask your BMW center which mobile phones
with a Bluetooth interface are supported by the
mobile phone preparation package or which
mobile phones snap-in adapters are available
for. These mobile phones support the functions
described in this Owner's Manual with a certain
software version. Malfunctions can occur with
other mobile phones.
*
Page 179 of 247
177
Entertainment
Reference
At a glance
Controls
Driving tips Communications
Navigation
Mobility
Hands-free system
The hands-free microphone is located on the
left-hand side on the headliner.
The hands-free system is activated whenever
you establish or receive a call using the follow-
ing:
>Buttons on the steering wheel, page11
>Voice command system
*, page23, except
for incoming calls
>Retracting telephone keypad
>iDrive, refer to Using the phone, page182
Volume adjustment
You can set the volume for the hands-free sys-
tem and the ring tone separately:
>Turn knob during a call.
>Turn knob during an incoming call.
This volume is maintained, even if the other
audio sources are set to minimum volume.
The setting is stored for the remote control cur-
rently in use.
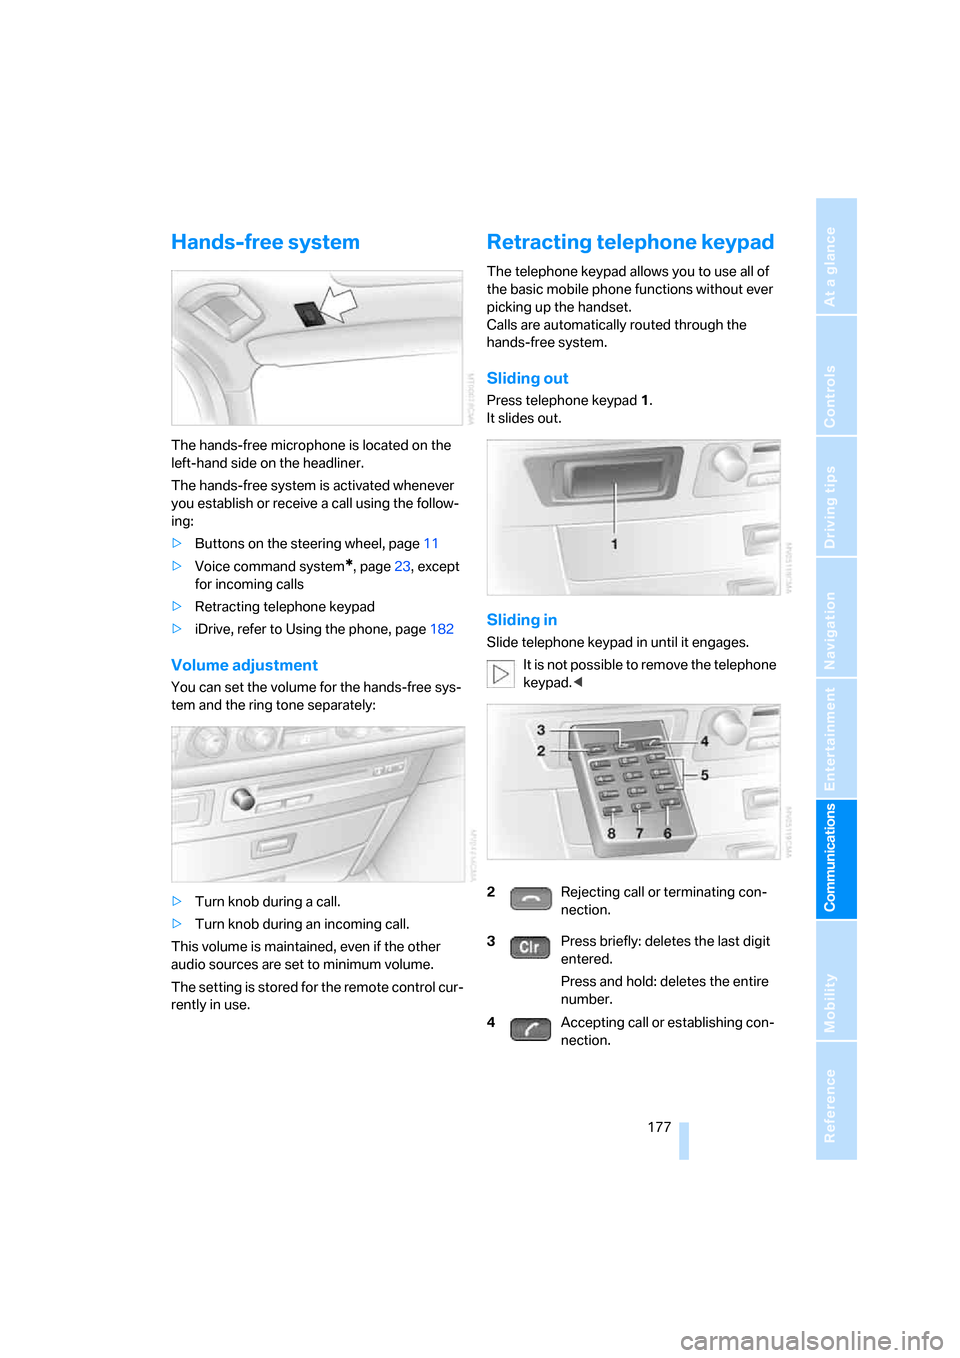
Retracting telephone keypad
The telephone keypad allows you to use all of
the basic mobile phone functions without ever
picking up the handset.
Calls are automatically routed through the
hands-free system.
Sliding out
Press telephone keypad1.
It slides out.
Sliding in
Slide telephone keypad in until it engages.
It is not possible to remove the telephone
keypad.<
2Rejecting call or terminating con-
nection.
3Press briefly: deletes the last digit
entered.
Press and hold: deletes the entire
number.
4Accepting call or establishing con-
nection.
Page 184 of 247
Using the phone
182
Using the phone
You have the option of controlling the phone
using various parts of the vehicle equipment:
>The button on the steering wheel
>The retracting telephone keypad
>iDrive
>The voice command system
*
The phone number appears in the upper status
line, refer to page20.
With the ignition switched off, you can continue
an ongoing call for a maximum of 16 minutes via
the hands-free system.
Requirements
>The logon data of the mobile phone are
stored in the vehicle and the mobile phone
is ready to operate.
>The ignition is switched on.
>The mobile phone is detected by the vehi-
cle.
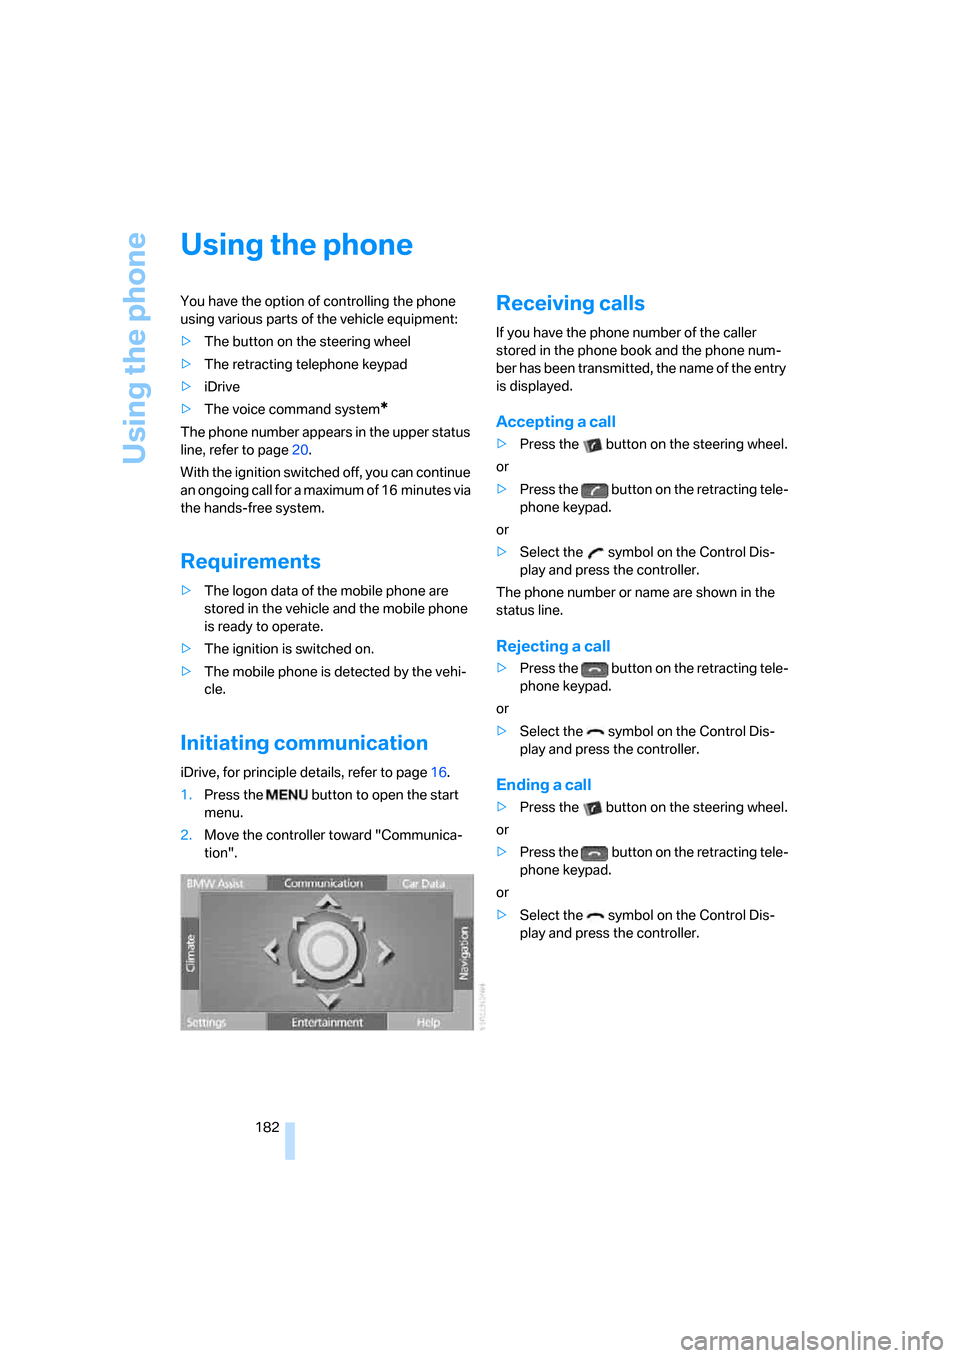
Initiating communication
iDrive, for principle details, refer to page16.
1.Press the button to open the start
menu.
2.Move the controller toward "Communica-
tion".
Receiving calls
If you have the phone number of the caller
stored in the phone book and the phone num-
ber has been transmitted, the name of the entry
is displayed.
Accepting a call
>Press the button on the steering wheel.
or
>Press the button on the retracting tele-
phone keypad.
or
>Select the symbol on the Control Dis-
play and press the controller.
The phone number or name are shown in the
status line.
Rejecting a call
>Press the button on the retracting tele-
phone keypad.
or
>Select the symbol on the Control Dis-
play and press the controller.
Ending a call
>Press the button on the steering wheel.
or
>Press the button on the retracting tele-
phone keypad.
or
>Select the symbol on the Control Dis-
play and press the controller.
Page 186 of 247
Using the phone
184 The connection can also be established
via the button on the steering wheel or the
telephone keypad.<
Dialing phone numbers stored in a list
To select an entry and establish a connection:
1.Select the list and press the controller.
>"TOP 8"
>"Last"
>"Missed"
2.Select the desired entry and press the con-
troller.
3.Select the symbol and press the control-
ler.
The system dials the number.
The phone number is displayed in the top sta-
tus line as this happens.
The connection can also be established
via the button on the steering wheel or the
telephone keypad.<
Deleting entries in lists
You can delete the lists of the most frequently
called phone numbers, missed calls and the last
subscribers called.
1.Select the desired list and press the con-
troller.
The stored entries are shown on the right
side of the Control Displays.
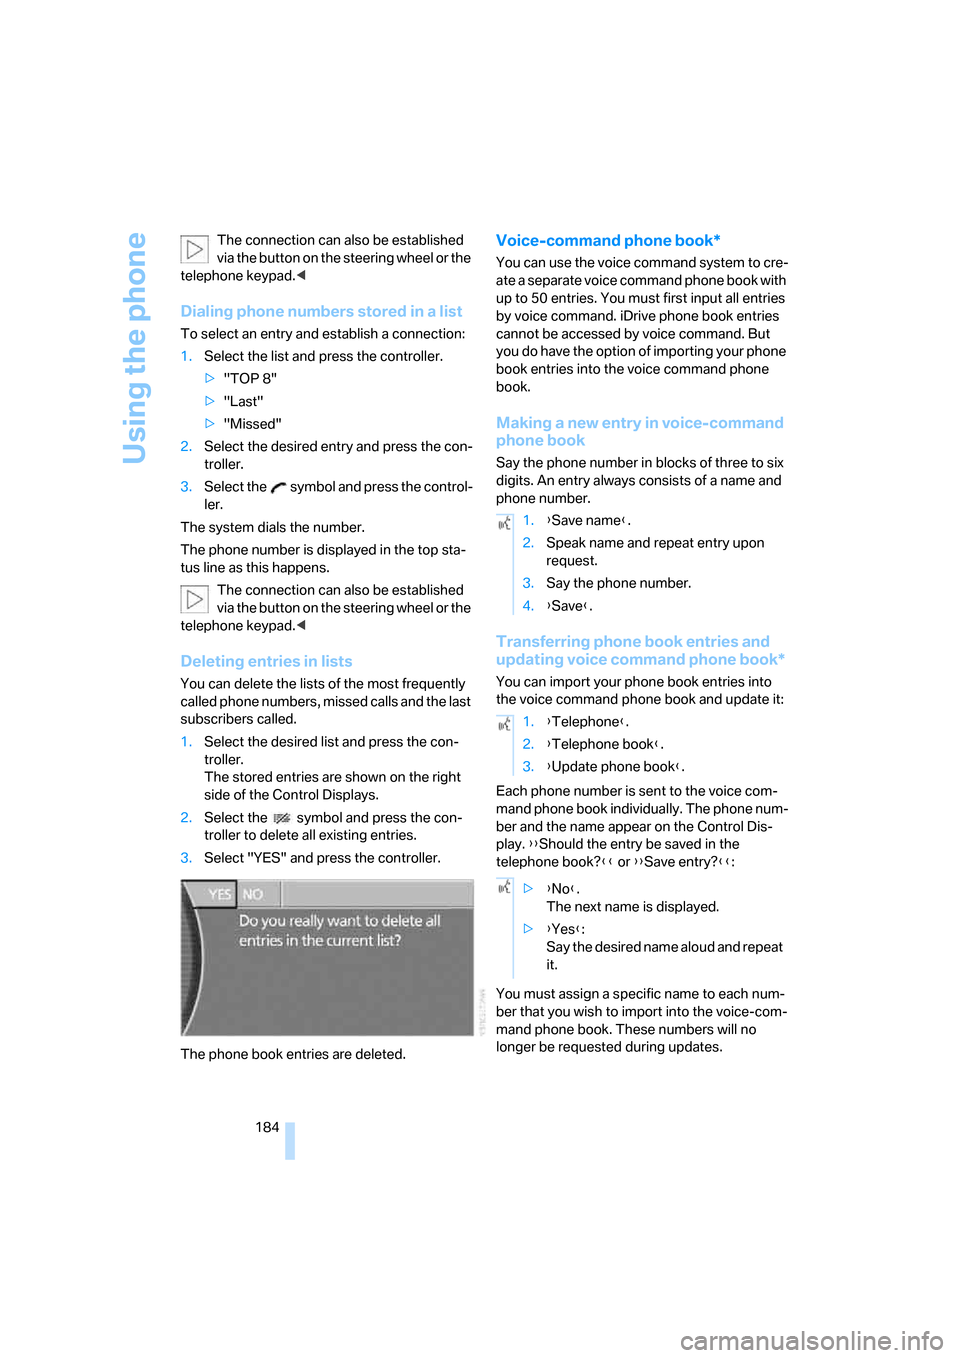
2.Select the symbol and press the con-
troller to delete all existing entries.
3.Select "YES" and press the controller.
The phone book entries are deleted.
Voice-command phone book*
You can use the voice command system to cre-
ate a separate voice command phone book with
up to 50 entries. You must first input all entries
by voice command. iDrive phone book entries
cannot be accessed by voice command. But
you do have the option of importing your phone
book entries into the voice command phone
book.
Making a new entry in voice-command
phone book
Say the phone number in blocks of three to six
digits. An entry always consists of a name and
phone number.
Transferring phone book entries and
updating voice command phone book*
You can import your phone book entries into
the voice command phone book and update it:
Each phone number is sent to the voice com-
mand phone book individually. The phone num-
ber and the name appear on the Control Dis-
play. {{Should the entry be saved in the
telephone book?}} or {{Save entry?}}:
You must assign a specific name to each num-
ber that you wish to import into the voice-com-
mand phone book. These numbers will no
longer be requested during updates.
1.{Save name}.
2.Speak name and repeat entry upon
request.
3.Say the phone number.
4.{Save}.
1.{Telephone}.
2.{Telephone book}.
3.{Update phone book}.
>{No}.
The next name is displayed.
>{Yes}:
Say the desired name aloud and repeat
it.
Page 213 of 247

Mobility
211Reference
At a glance
Controls
Driving tips
Communications
Navigation
Entertainment
After mounting
1.Tighten the lug bolts in a diagonal pattern.
To ensure safety, always have the
lug bolts checked with a calibrated
torque wrench as soon as possible to
ensure that they are tightened to the speci-
fied torque. The tightening torque is
100lbft/140Nm.<
2.Reverse the removal sequence when stor-
ing the wheel and tools in the vehicle.
3.Check and correct the tire inflation pressure
at the earliest opportunity.
Protect valve stems and valve stem
seal caps from dirt and contamina-
tion. Dirt in valve stems is a frequent source
of gradual air loss.<
4.Reinitialize the Flat Tire Monitor, refer to
page90, or reset the Tire Pressure Monitor,
refer to page92.
5.Replace the damaged tire as soon as possi-
ble and have the new wheel/tire balanced.
Driving with spare tire
On certain wheel-tire combinations, the
size of the spare tire differs from that of
the rest of the tires. The spare tire is fully capa-
ble of running in all load and speed ranges.
However, to recreate the original conditions,
the tire should be replaced as soon as possi-
ble.<
Vehicle battery
Maintenance
The battery is 100 % maintenance-free, i.e., the
electrolyte will last for the life of the battery
when the vehicle is operated in a temperate cli-
mate. Your BMW center will be happy to advise
you on all questions concerning the battery.
Charging battery
Charge the battery in the vehicle only via the
terminals in the engine compartment and with
the engine off. Connections, refer to Jump
starting on page213.
Battery switch
Before storing the vehicle for an extended
period of several weeks or more, slide the bat-
tery switch located behind the trim panel on the
right side of the luggage compartment to OFF.
This reduces the current flow from the battery
for the period during which the vehicle remains
parked. A message is shown on the Info Dis-
play. Please take note of the supplementary
information provided on the Control Display.
Disposal
Have old batteries disposed of following
replacement at your BMW center or bring
them to a collection point. Maintain the battery
in an upright position for transport and storage.
Always secure the battery to prevent it from tip-
ping over during transport.<
Power failure
After a temporary interruption in electrical
power, the functioning of some equipment may
be limited and must be reinitialized. Individual
settings are also lost and must be updated
again:
>Seat, mirror, and steering wheel memory
The positions must be stored again, refer to
page46.
>Time and date
These must be reset, refer to page84.
>Radio
Stations must be stored again, refer to
page158.
>Navigation system
You must wait until it becomes operational
again, refer to Inserting navigation CDs/
DVDs on page130.