Page 56 of 248

Controls
55Reference
At a glance
Driving tips
Communications
Navigation
Entertainment
Mobility
Sedan: rear seats with through-loading
system*
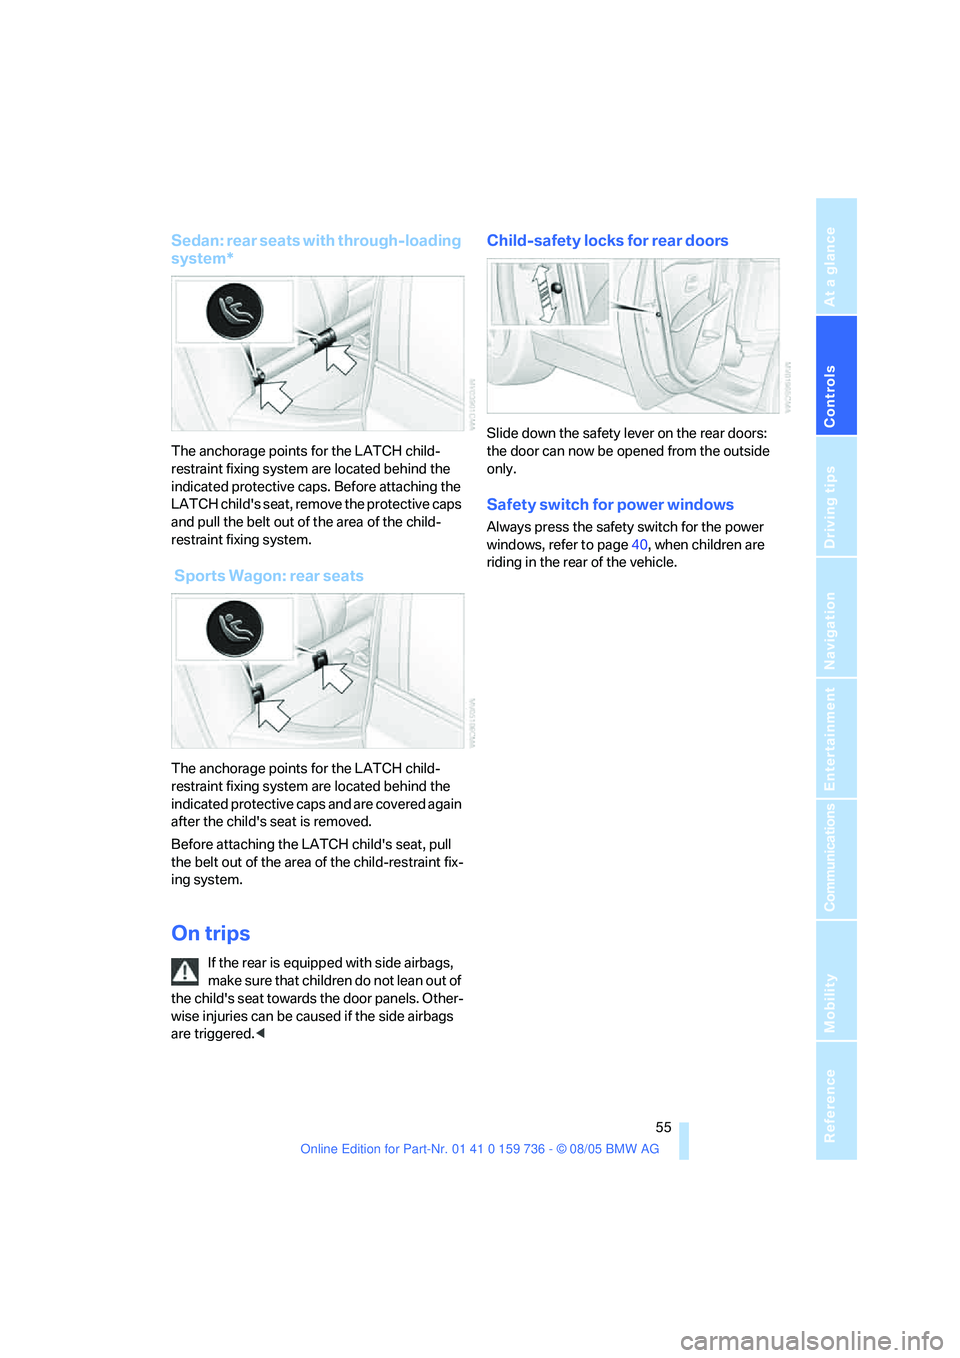
The anchorage points for the LATCH child-
restraint fixing system are located behind the
indicated protective caps. Before attaching the
LATCH child's seat, remove the protective caps
and pull the belt out of the area of the child-
restraint fixing system.
Sports Wagon: rear seats
The anchorage points for the LATCH child-
restraint fixing system are located behind the
indicated protective caps and are covered again
after the child's seat is removed.
Before attaching the LATCH child's seat, pull
the belt out of the area of the child-restraint fix-
ing system.
On trips
If the rear is equipped with side airbags,
make s ure that children do not lean o ut of
the child's seat towards the door panels. Other-
wise injuries can be caused if the side airbags
are triggered.<
Child-safety locks for rear doors
Slide down the safety lever on the rear doors:
the door can now be opened from the outside
only.
Safety switch for power windows
Always press the safety switch for the power
windows, refer to page40, when children are
riding in the rear of the vehicle.
Page 108 of 248

Controls
107Reference
At a glance
Driving tips
Communications
Navigation
Entertainment
Mobility
Ventilating lower compartment
Push the slide in the lower compartment
upward.
Depending on the automatic climate con-
trol setting, the temperature inside the
ventilated compartment may be higher than in
the rest of the interior. Should this be the case,
push the slide downward to close off the venti-
lation.<
Adjusting
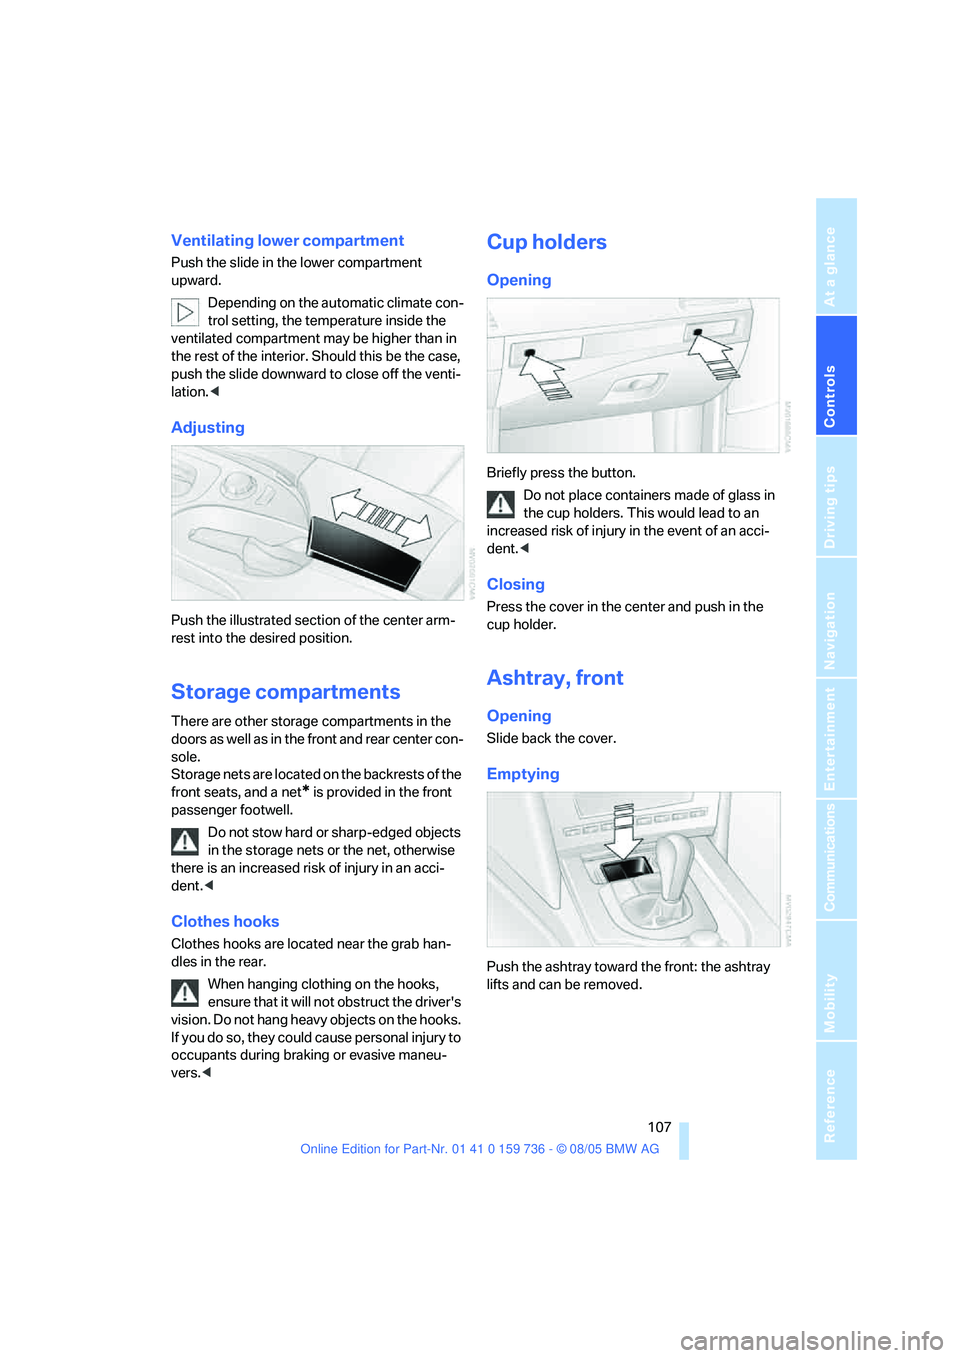
Push the illustrated section of the center arm-
rest into the desired position.
Storage compartments
There are other storage compartments in the
doors as well as in the front and rear center con-
sole.
Storage nets are located on the backrests of the
front seats, and a net
* is provided in the front
passenger footwell.
Do not stow hard or sharp-edged objects
in the storage nets or the net, otherwise
there is an increased risk of injury in an acci-
dent.<
Clothes hooks
Clothes hooks are located near the grab han-
dles in the rear.
When hanging clothing on the hooks,
ensure that it will not obstruct the driver's
vision. Do not hang heavy objects on the hooks.
If you do so, they could cause personal injury to
occupants during braking or evasive maneu-
vers.<
Cup holders
Opening
Briefly press the button.
Do not place containers made of glass in
the cup holders. This would lead to an
increased risk of injury in the event of an acci-
dent.<
Closing
Press the cover in the center and push in the
cup holder.
Ashtray, front
Opening
Slide back the cover.
Emptying
Push the ashtray toward the front: the ashtray
lifts and can be removed.
Page 111 of 248

Practical interior accessories
110 transported cargo could enter the vehicle dur-
ing braking or evasive maneuvers and endanger
the vehicle occupants.<
The lashing eyes in the luggage compartment
provide you with a way to attach luggage com-
partment nets
* or flexible straps for securing
suitcases and luggage, refer to page120.
Ski bag*
Designed for safe, clean transport of up to
4 pairs of standard skis or up to 2 snowboards.
With the ski bag you can stow skis with a length
o f u p t o 6 . 9 f t / 2 . 1 0 m . W h e n s k i s o f 6 . 9 f t / 2 . 1 0 m
in length are loaded, the ski bag will tend to con-
tract, reducing its overall capacity.
Loading
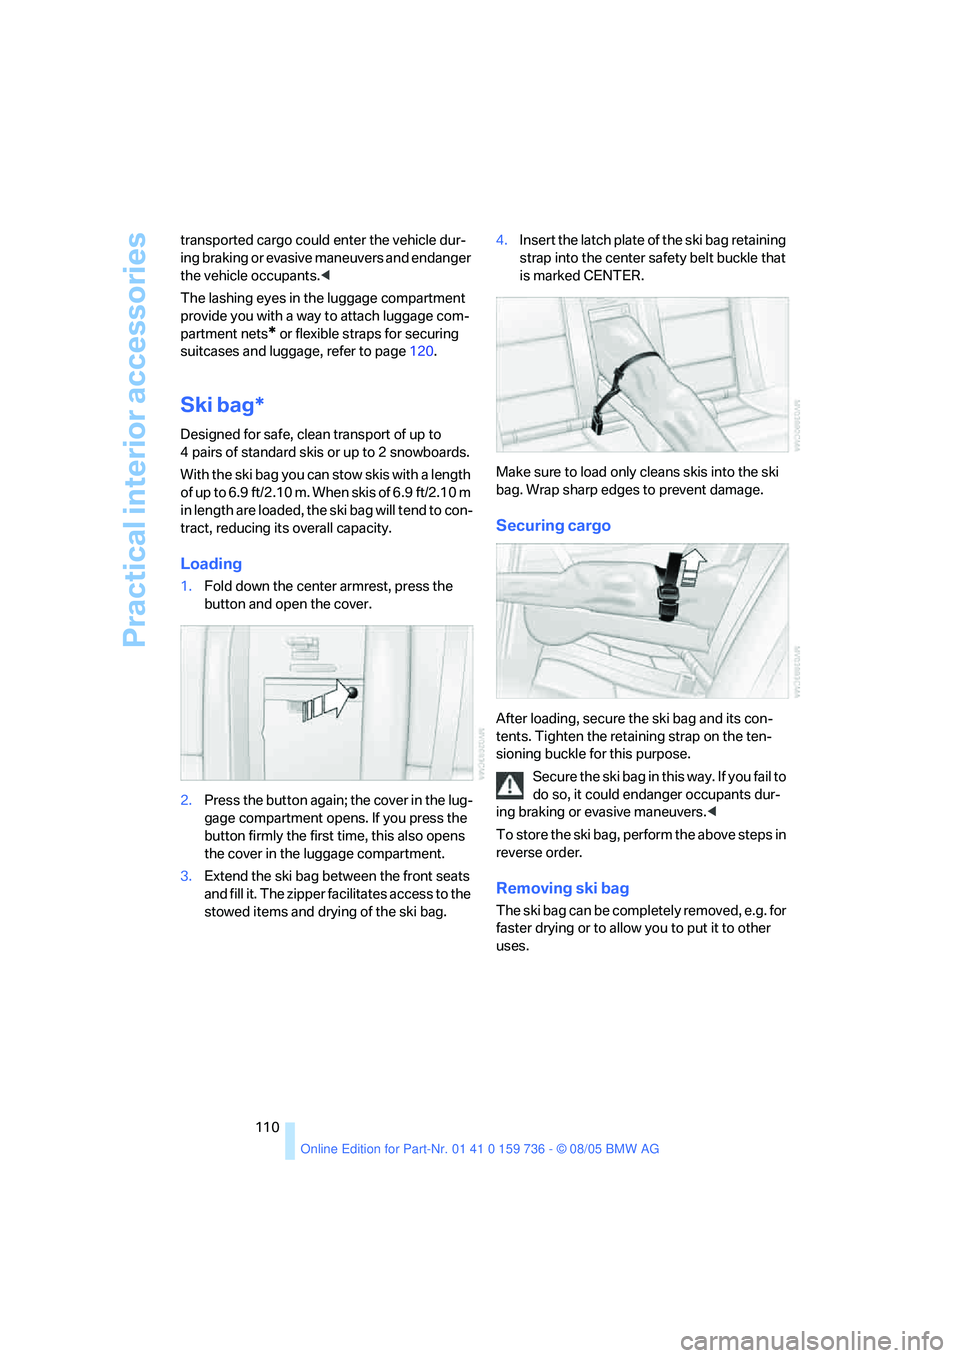
1.Fold down the center armrest, press the
button and open the cover.
2.Press the button again; the cover in the lug-
gage compartment opens. If you press the
button firmly the first time, this also opens
the cover in the luggage compartment.
3.Extend the ski bag between the front seats
and fill it. The zipper facilitates access to the
stowed items and drying of the ski bag.4.Insert the latch plate of the ski bag retaining
strap into the center safety belt buckle that
is marked CENTER.
Make sure to load only cleans skis into the ski
bag. Wrap sharp edges to prevent damage.
Securing cargo
After loading, secure the ski bag and its con-
tents. Tighten the retaining strap on the ten-
sioning buckle for this purpose.
Secure the ski bag in this way. If you fail to
do so, it could endanger occupants dur-
ing braking or evasive maneuvers.<
To store the ski bag, perform the above steps in
reverse order.
Removing ski bag
The ski bag can be completely removed, e.g. for
faster drying or to allow you to put it to other
uses.