2006 BMW 525XI interior lights
[x] Cancel search: interior lightsPage 38 of 248
Controls
37Reference
At a glance
Driving tips
Communications
Navigation
Entertainment
Mobility
>To changes in the vehicle's tilt if someone
attempts to steal the wheels or tow the
vehicle
>To interruptions in battery voltage
Unauthorized operations are briefly signaled by
the alarm system:
>with an acoustic alarm
>by switching on
the hazard warning flashers
>by flashing the high beams
Arming and disarming alarm system
When you lock or unlock the vehicle, either with
the remote control or at the door lock, the alarm
system is armed or disarmed at the same time.
The luggage compartment lid/tailgate can also
be opened with the system armed with the
button on the remote control, refer to page33.
When the luggage compartment lid/tailgate is
closed, it is locked and monitored again.
Switching off alarm
>Unlock the vehicle using the remote control,
refer to page30, or
>insert the remote control as far as possible
into the ignition lock, refer to page56.
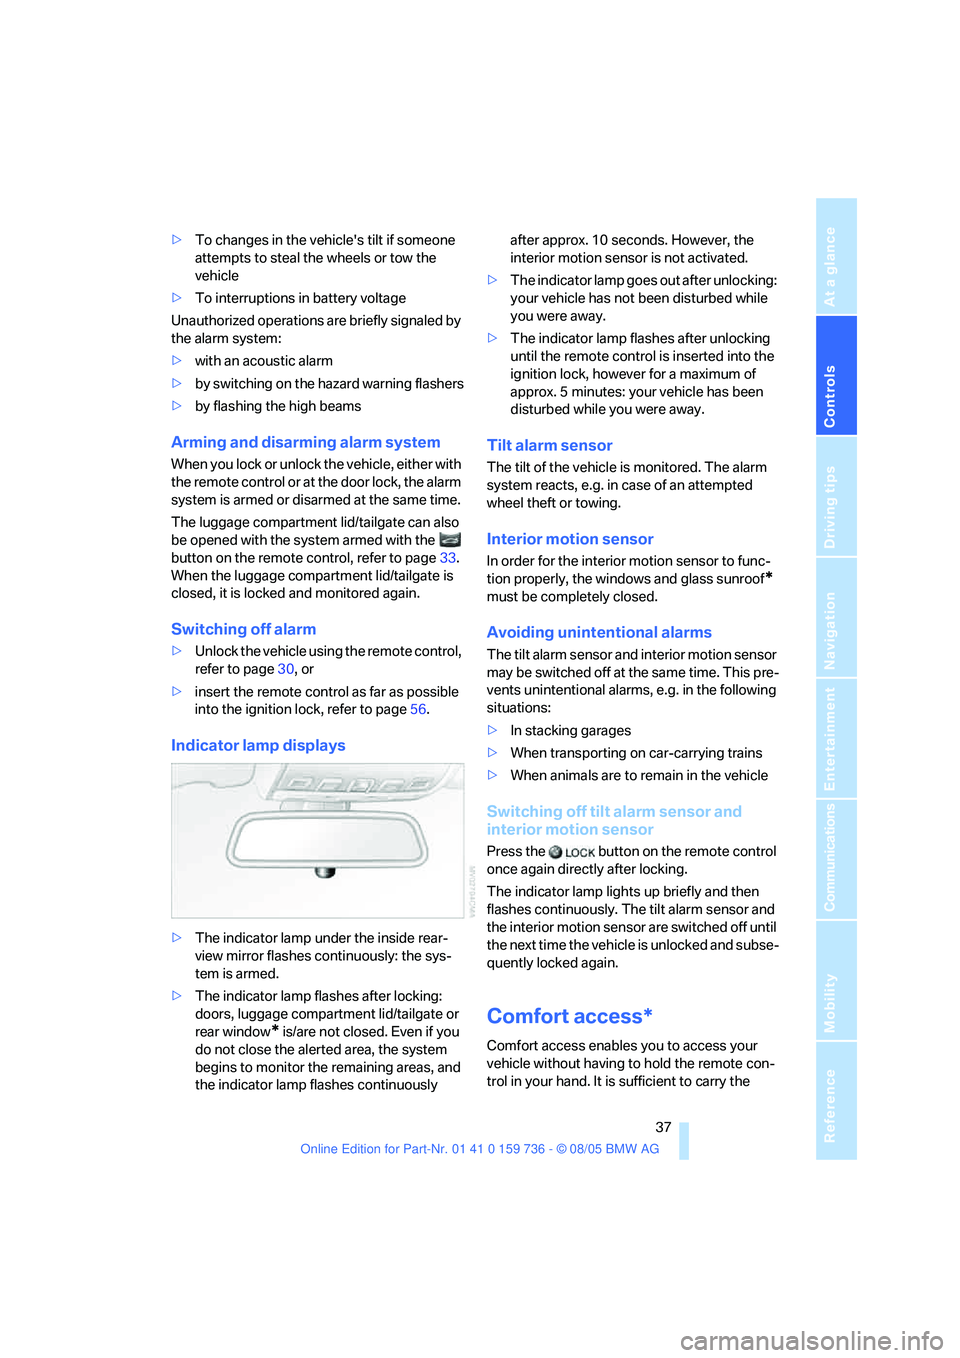
Indicator lamp displays
>The indicator lamp under the inside rear-
view mirror flashes continuously: the sys-
tem is armed.
>The indicator lamp flashes after locking:
doors, luggage compartment lid/tailgate or
rear window
* is/are not closed. Even if you
do not close the alerted area, the system
begins to monitor the remaining areas, and
the indicator lamp flashes continuously after approx. 10 seconds. However, the
interior motion sensor is not activated.
>The indicator lamp goes out after unlocking:
your vehicle has not been disturbed while
you were away.
>The indicator lamp flashes after unlocking
until the remote control is inserted into the
ignition lock, however for a maximum of
approx. 5 minutes: your vehicle has been
disturbed while you were away.
Tilt alarm sensor
The tilt of the vehicle is monitored. The alarm
system reacts, e.g. in case of an attempted
wheel theft or towing.
Interior motion sensor
In order for the interior motion sensor to func-
tion properly, the windows and glass sunroof
*
must be completely closed.
Avoiding unintentional alarms
The tilt alarm sensor and interior motion sensor
may be switched off at the same time. This pre-
vents unintentional alarms, e.g. in the following
situations:
>In stacking garages
>When transporting on car-carrying trains
>When animals are to remain in the vehicle
Switching off tilt alarm sensor and
interior motion sensor
Press the button on the remote control
once again directly after locking.
The indicator lamp lights up briefly and then
flashes continuously. The tilt alarm sensor and
the interior motion sensor are switched off until
the next time the vehicle is unlocked and subse-
quently locked again.
Comfort access*
Comfort access enables you to access your
vehicle without having to hold the remote con-
trol in your hand. It is sufficient to carry the
Page 39 of 248

Opening and closing
38 remote control with you, e.g. in your jacket
pocket. The vehicle automatically detects the
related remote control in the immediate vicinity
or in the interior.
Comfort access supports the following func-
tions:
>Unlocking/locking vehicle
>Starting engine
>Comfort locking
Functional requirement
>The vehicle can only be unlocked if the
vehicle detects that the remote control car-
ried is located outside the vehicle.
>The next unlocking and locking cycle is not
possible until after approx. 2 seconds.
>The engine can only be started if the vehicle
detects that the remote control carried is
located in the vehicle.
Special features in contrast to ordinary
remote control
It is basically irrelevant whether you operate the
functions mentioned previously with the com-
fort access feature or by pressing the buttons
on the remote control. Therefore, please famil-
iarize yourself with the information on opening
and closing beginning on page28 beforehand.
The special features when using comfort
access are described in the following.
Releasing
Completely grasp a door handle, arrow1.
This corresponds to pressing the button.If a remote control is detected in the interior
after unlocking, the electric steering-wheel lock
unlocks, refer to page56.
Locking
Touch the surface, arrow2 on the driver's door
or3 on the other doors with a finger for approx.
1 second. This corresponds to pressing the
button.
For comfort closing, hold a finger on the sur-
face, arrow2 or 3.
If a remote control accidentally left in the
luggage compartment/cargo area is
detected in the locked vehicle after closing the
luggage compartment lid/tailgate, the lid/tail-
gate opens again. The hazard warning flashers
flash and an acoustic signal
* sounds.<
Switching on radio readiness
By briefly pressing the Start/Stop button, you
switch on the radio readiness, refer to page56.
When doing so, do not depress the brake
pedal, otherwise the engine will start
immediately.<
Starting engine
You can start the engine or switch on the switch
on ignition if a remote control is located in the
interior of the vehicle. It need not be inserted in
the ignition lock, refer to page56.
If you take the remote control with you when
leaving the vehicle with the engine running, a
warning lamp lights up. In addition, a message
appears on the Control Display. As long as no
remote control is detected in the vehicle, it is
only possible to restart the engine within
approx. 10 seconds after it is switched off.
Switching off engine with automatic
transmission
The engine can only be switched off in the
selector lever position P, refer to page58.
To switch off the engine in the selector lever
position N, the remote control must be inserted
in the ignition lock.
Page 51 of 248
Adjustments
50
Tilting down passenger-side exterior
mirror – automatic parking function*
Activating
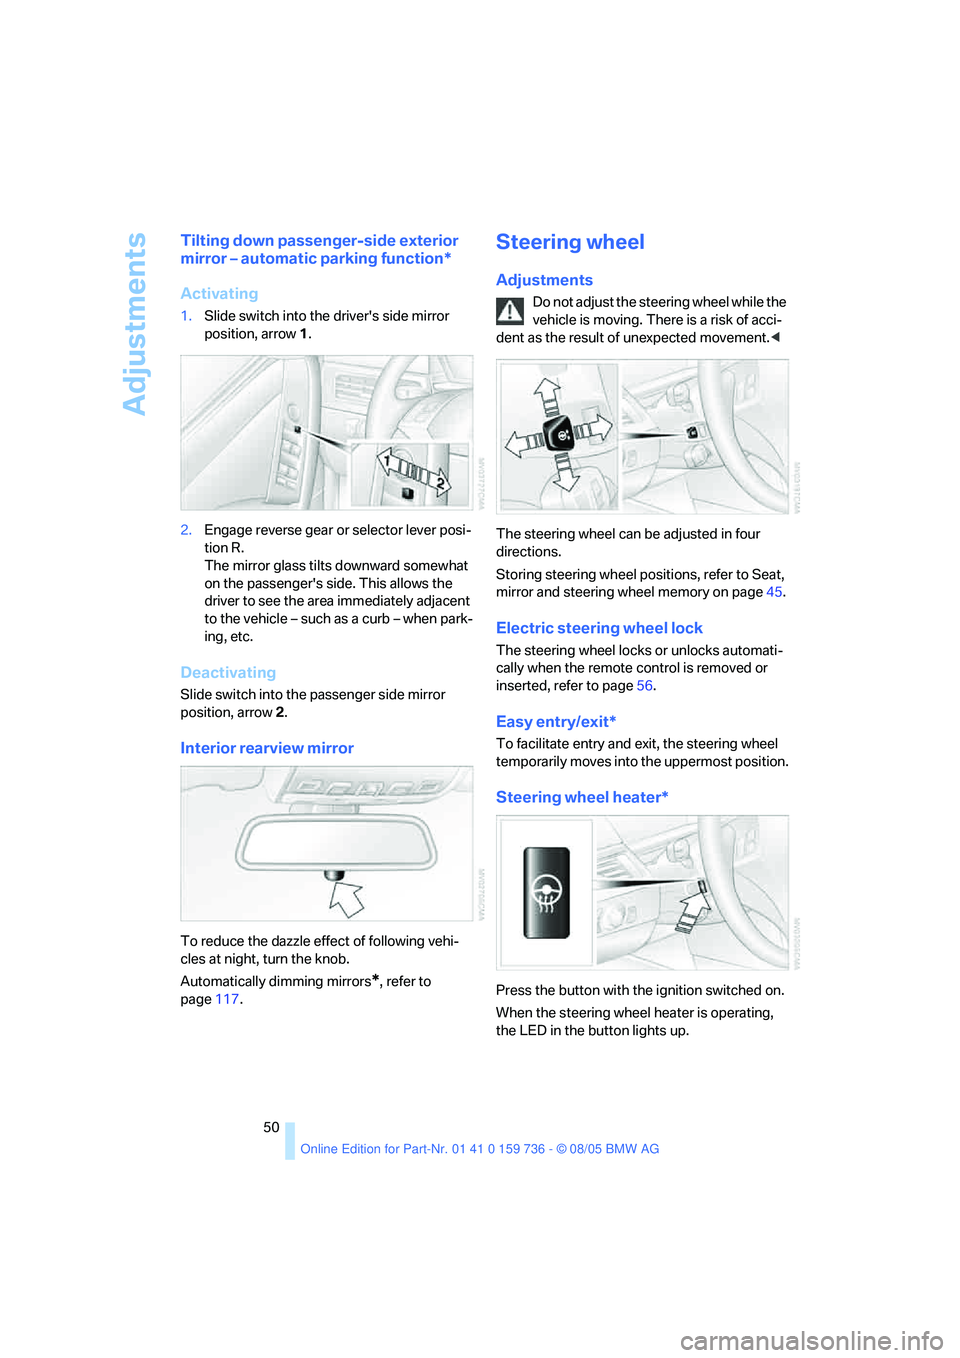
1.Slide switch into the driver's side mirror
position, arrow 1.
2.Engage reverse gear or selector lever posi-
tion R.
The mirror glass tilts downward somewhat
on the passenger's side. This allows the
driver to see the area immediately adjacent
to the vehicle – such as a curb – when park-
ing, etc.
Deactivating
Slide switch into the passenger side mirror
position, arrow 2.
Interior rearview mirror
To reduce the dazzle effect of following vehi-
cles at night, turn the knob.
Automatically dimming mirrors
*, refer to
page117.
Steering wheel
Adjustments
Do not adjust the steering wheel while the
vehicle is moving. There is a risk of acci-
dent as the result of unexpected movement.<
The steering wheel can be adjusted in four
directions.
Storing steering wheel positions, refer to Seat,
mirror and steering wheel memory on page45.
Electric steering wheel lock
The steering wheel locks or unlocks automati-
cally when the remote control is removed or
inserted, refer to page56.
Easy entry/exit*
To facilitate entry and exit, the steering wheel
temporarily moves into the uppermost position.
Steering wheel heater*
Press the button with the ignition switched on.
When the steering wheel heater is operating,
the LED in the button lights up.
Page 64 of 248
Controls
63Reference
At a glance
Driving tips
Communications
Navigation
Entertainment
Mobility
Triple turn signal activation
Press the lever to the resistance point; the turn
signal flashes three times.
You can activate or deactivate this function.
iDrive, for principle details, refer to page16.
1.Open the start menu.
2.Press the controller to open the menu.
3.Select "Vehicle settings" and press the
controller.
4.Select "Lighting" and press the controller.
5.Select "Triple turn signal activation" and
press the controller.
Triple turn signaling is activated.
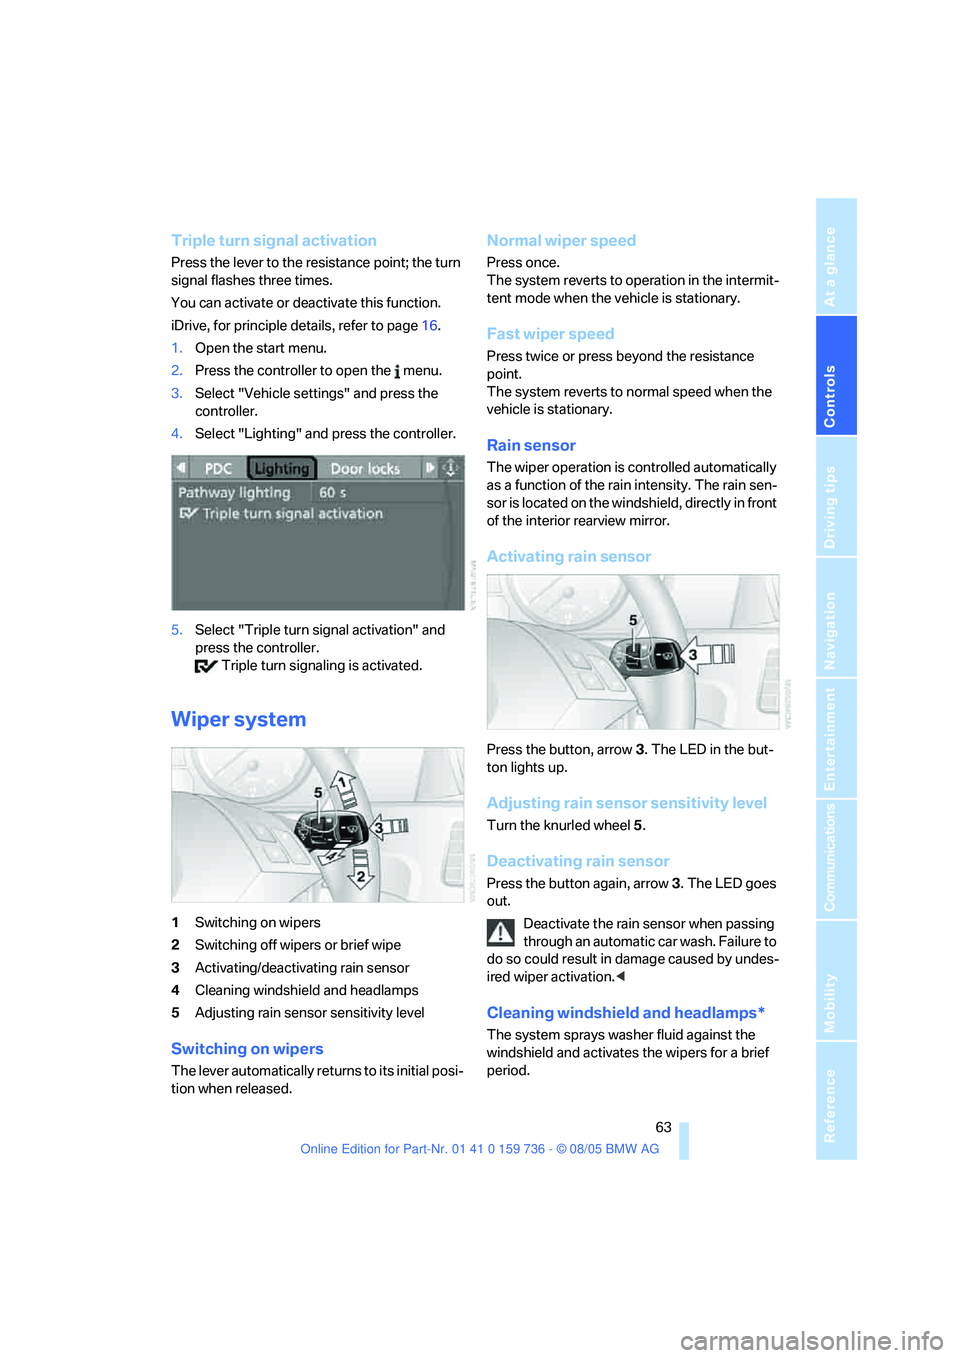
Wiper system
1Switching on wipers
2Switching off wipers or brief wipe
3Activating/deactivating rain sensor
4Cleaning windshield and headlamps
5Adjusting rain sensor
sensitivity level
Switching on wipers
The lever automatically returns to its initial posi-
tion when released.
Normal wiper speed
Press once.
The system reverts to operation in the intermit-
tent mode when the vehicle is stationary.
Fast wiper speed
Press twice or press beyond the resistance
point.
The system reverts to normal speed when the
vehicle is stationary.
Rain sensor
The wiper operation is controlled automatically
as a function of the rain intensity. The rain sen-
sor is located on the windshield, directly in front
of the interior rearview mirror.
Activating rain sensor
Press the button, arrow3. The LED in the but-
ton lights up.
Adjusting rain sensor sensitivity level
Turn the knurled wheel5.
Deactivating rain sensor
Press the button again, arrow3. The LED goes
out.
Deactivate the rain sensor when passing
through an automatic car wash. Failure to
do so could result in damage caused by undes-
ired wiper activation.<
Cleaning windshield and headlamps*
The system sprays washer fluid against the
windshield and activates the wipers for a brief
period.
Page 98 of 248
Controls
97Reference
At a glance
Driving tips
Communications
Navigation
Entertainment
Mobility
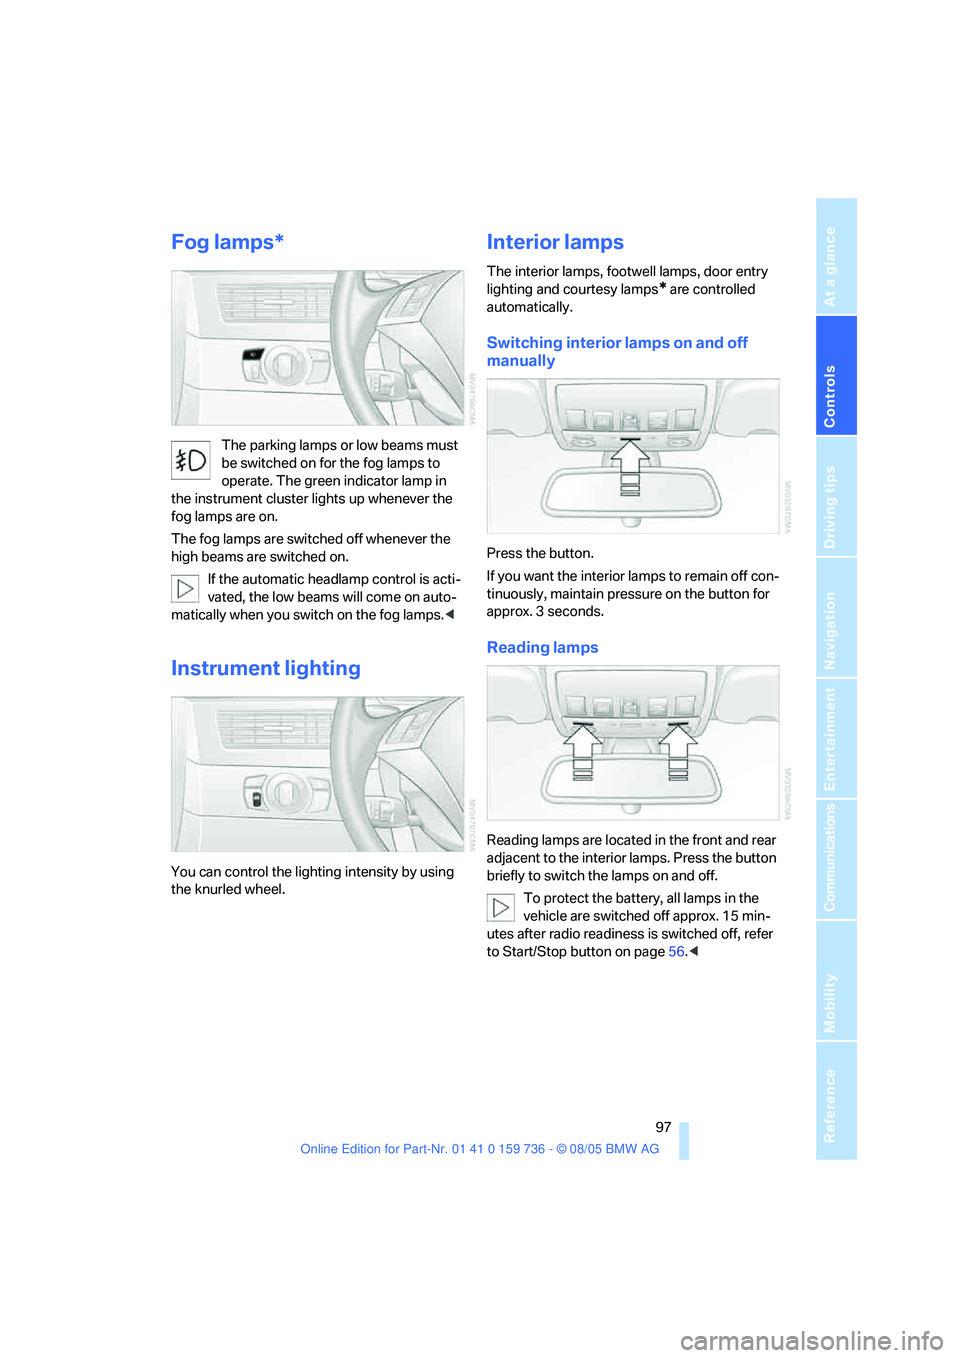
Fog lamps*
The parking lamps or low beams must
be switched on for the fog lamps to
operate. The green indicator lamp in
the instrument cluster lights up whenever the
fog lamps are on.
The fog lamps are switched off whenever the
high beams are switched on.
If the automatic headlamp control is acti-
vated, the low beams will come on auto-
matically when you switch on the fog lamps.<
Instrument lighting
You can control the lighting intensity by using
the knurled wheel.
Interior lamps
The interior lamps, footwell lamps, door entry
lighting
and courtesy lamps* are controlled
automatically.
Switching interior lamps on and off
manually
Press the button.
If you want the interior lamps to remain off con-
tinuously, maintain pressure on the button for
approx. 3 seconds.
Reading lamps
Reading lamps are located in the front and rear
adjacent to the interior lamps. Press the button
briefly to switch the lamps on and off.
To protect the battery, all lamps in the
vehicle are switched off approx. 15 min-
utes after radio readiness is switched off, refer
to Start/Stop button on page56.<
Page 102 of 248

Controls
101Reference
At a glance
Driving tips
Communications
Navigation
Entertainment
Mobility
body. Therefore, open these vents for maxi-
mum cooling.
AUC Automatic recirculated-air
control/recirculated-air mode
You can respond to pollutants or
unpleasant odors in the immediate
environment by suspending the
supply of outside air. The system then recircu-
lates the air currently within the vehicle. During
AUC operation, a sensor detects pollutants in
the outside air and controls the shut-off auto-
matically.
By pressing the button repeatedly, you can
request three operating modes:
>LED off: outside air flows in continuously.
>Right LED on, AUC mode: the system
detects pollutants in the outside air and
shuts off the supply as needed.
>Left LED on, recirculated-air mode: the
supply of outside air is permanently shut off.
If condensation starts to form on the
inside window surfaces during operation
in the recirculated-air mode, you should switch
it off while also increasing the air volume as
required.
The recirculated-air mode should not be used
over an extended period of time, as the air qual-
ity inside the vehicle deteriorates continu-
ously.<
Residual heat
The heat stored in the engine is
used to heat the passenger com-
partment, e.g. while stopped at a
school to pick up a child.
The function can be switched on when the fol-
lowing conditions are met:
>up to 15 minutes after switching off the
engine
>with engine at operating temperature
>with sufficient battery voltage
>at an outside temperature below 777/
256The LED lights up when the function is
switched on.
From radio readiness the interior temperature,
the air volume and the air distribution can be
set.
Switching off automatic climate control
The air volume, the heater and the
cooling function are all switched
off.
You can restart the automatic
climate control by pressing any of its buttons
except the REST button.
Front ventilation
1Knurled wheels to smoothly open and close
air vents
2Levers to change the air vent direction
Do not drop any foreign objects into the
vent outlets, otherwise these could be
catapulted outwards and lead to injuries.<
Ventilation for cooling
Adjust the vent outlets to direct the flow of cool
air in your direction, for instance, if the interior
has become too warm, etc.
Draft-free ventilation
Set the vent outlets so that the air flows past
you and is not directed straight at you.
Page 109 of 248
Practical interior accessories
108
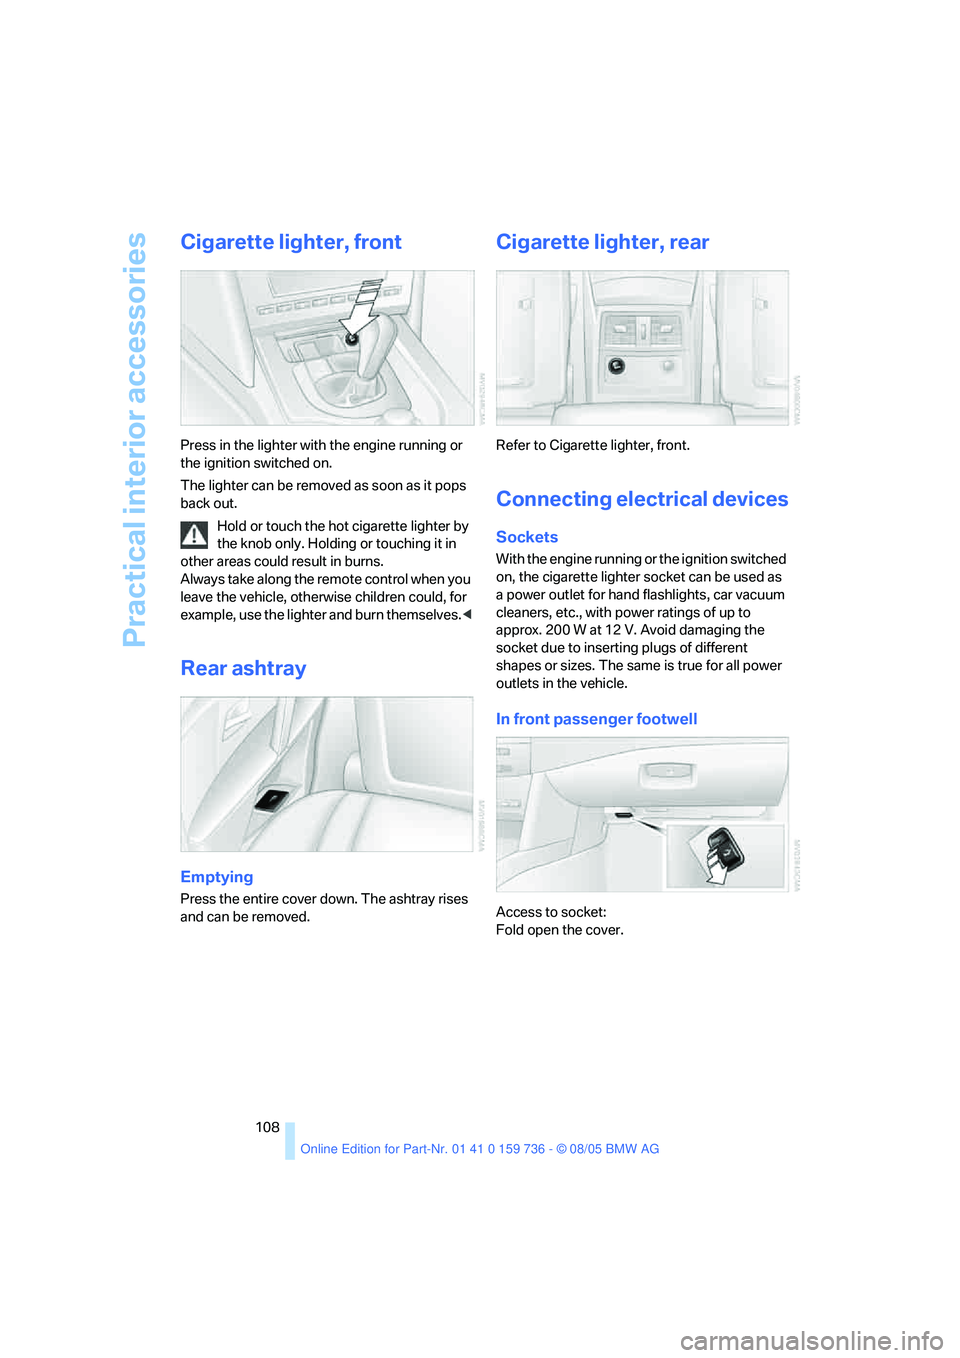
Cigarette lighter, front
Press in the lighter with the engine running or
the ignition switched on.
The lighter can be removed as soon as it pops
back out.
Hold or touch the hot cigarette lighter by
the knob only. Holding or touching it in
other areas could result in burns.
Always take along the remote control when you
leave the vehicle, otherwise children could, for
example, use the lighter and burn themselves.<
Rear ashtray
Emptying
Press the entire cover down. The ashtray rises
and can be removed.
Cigarette lighter, rear
Refer to Cigarette lighter, front.
Connecting electrical devices
Sockets
With the engine running or the ignition switched
on, the cigarette lighter socket can be used as
a power outlet for hand flashlights, car vacuum
cleaners, etc., with power ratings of up to
approx. 200 W at 12 V. Avoid damaging the
socket due to inserting plugs of different
shapes or sizes. The same is true for all power
outlets in the vehicle.
In front passenger footwell
Access to socket:
Fold open the cover.