2006 BMW 335I COUPE height
[x] Cancel search: heightPage 43 of 239
Controls
41Reference
At a glance
Driving tips
Communications
Navigation
Entertainment
Mobility
incline the backrest too far to the rear while the
vehicle is being driven, otherwise there is a dan-
ger in the event of an accident of sliding under
the safety belt, eliminating the protection nor-
mally provided by the belt.<
Comply with the instructions on head restraint
height on page42, and on damaged safety
belts on page46.
Manual adjustment
Observe the adjustment instructions on
page40 to ensure the best possible per-
sonal protection.<
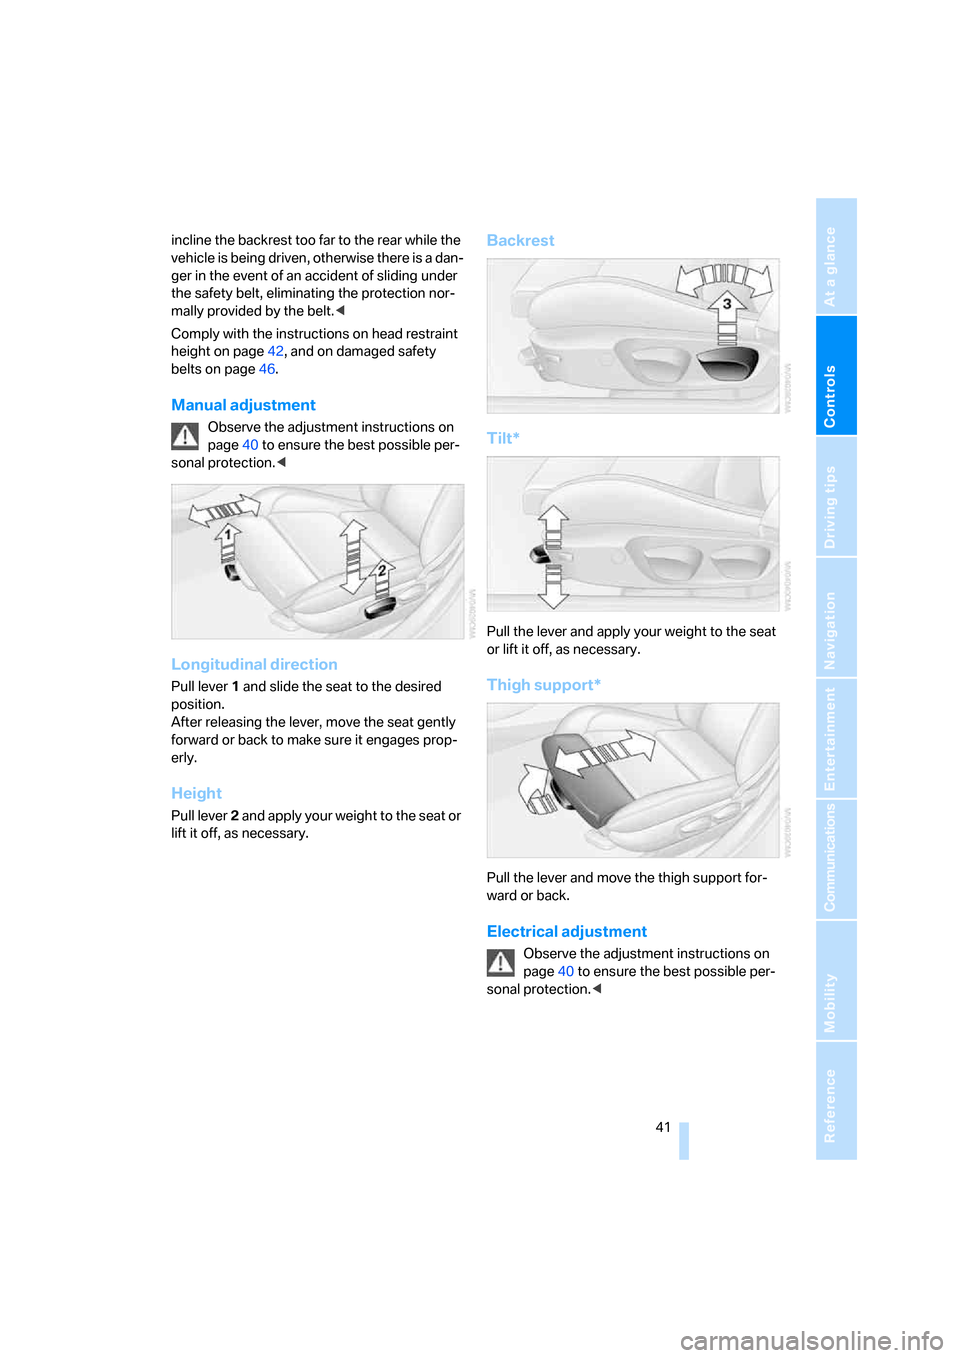
Longitudinal direction
Pull lever 1 and slide the seat to the desired
position.
After releasing the lever, move the seat gently
forward or back to make sure it engages prop-
erly.
Height
Pull lever 2 and apply your weight to the seat or
lift it off, as necessary.
Backrest
Tilt*
Pull the lever and apply your weight to the seat
or lift it off, as necessary.
Thigh support*
Pull the lever and move the thigh support for-
ward or back.
Electrical adjustment
Observe the adjustment instructions on
page40 to ensure the best possible per-
sonal protection.<
ba8_E9293_US.book Seite 41 Freitag, 5. Mai 2006 1:02 13
Page 44 of 239
Adjustments
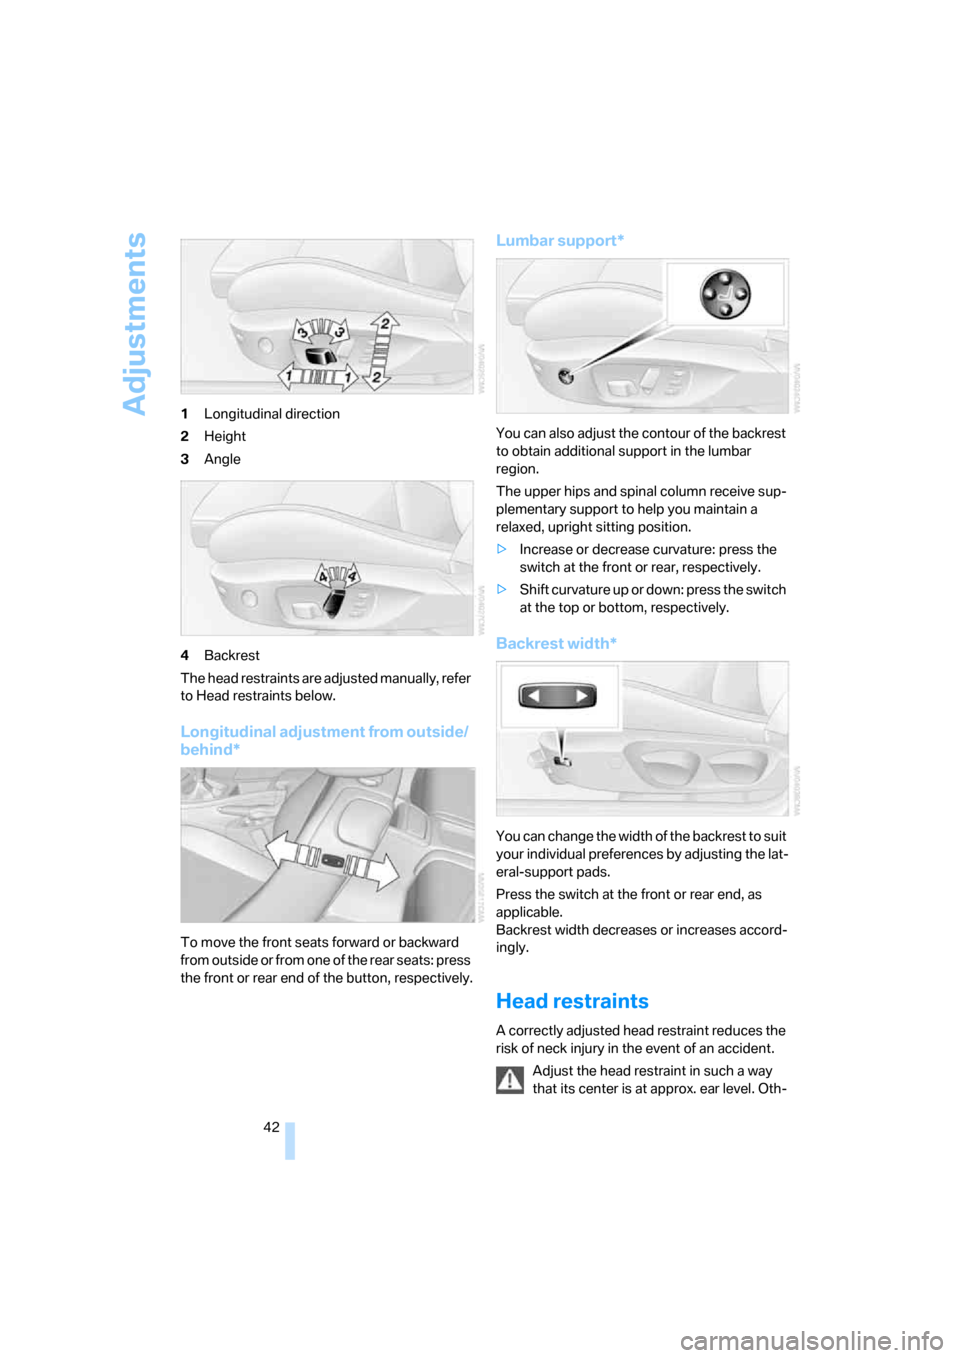
42 1Longitudinal direction
2Height
3Angle
4Backrest
The head restraints are adjusted manually, refer
to Head restraints below.
Longitudinal adjustment from outside/
behind*
To move the front seats forward or backward
from outside or from one of the rear seats: press
the front or rear end of the button, respectively.
Lumbar support*
You can also adjust the contour of the backrest
to obtain additional support in the lumbar
region.
The upper hips and spinal column receive sup-
plementary support to help you maintain a
relaxed, upright sitting position.
>Increase or decrease curvature: press the
switch at the front or rear, respectively.
>Shift curvature up or down: press the switch
at the top or bottom, respectively.
Backrest width*
You can change the width of the backrest to suit
your individual preferences by adjusting the lat-
eral-support pads.
Press the switch at the front or rear end, as
applicable.
Backrest width decreases or increases accord-
ingly.
Head restraints
A correctly adjusted head restraint reduces the
risk of neck injury in the event of an accident.
Adjust the head restraint in such a way
that its center is at approx. ear level. Oth-
ba8_E9293_US.book Seite 42 Freitag, 5. Mai 2006 1:02 13
Page 45 of 239
Controls
43Reference
At a glance
Driving tips
Communications
Navigation
Entertainment
Mobility
erwise, there is an increased risk of injury in the
event of an accident.<
Front seats
Height adjustment
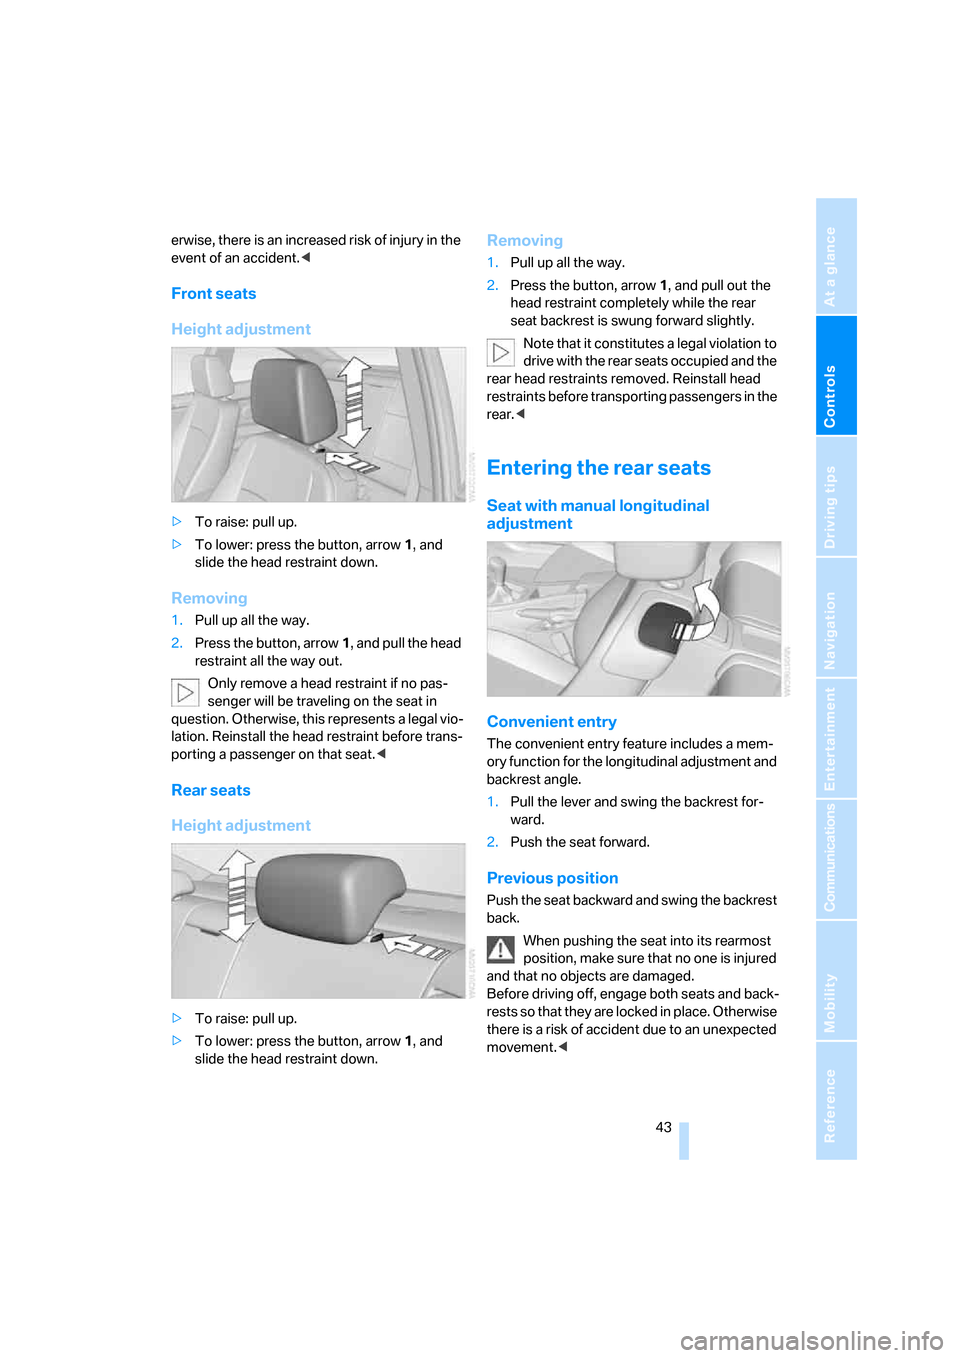
>To raise: pull up.
>To lower: press the button, arrow1, and
slide the head restraint down.
Removing
1.Pull up all the way.
2.Press the button, arrow1, and pull the head
restraint all the way out.
Only remove a head restraint if no pas-
senger will be traveling on the seat in
question. Otherwise, this represents a legal vio-
lation. Reinstall the head restraint before trans-
porting a passenger on that seat.<
Rear seats
Height adjustment
>To raise: pull up.
>To lower: press the button, arrow1, and
slide the head restraint down.
Removing
1.Pull up all the way.
2.Press the button, arrow 1, and pull out the
head restraint completely while the rear
seat backrest is swung forward slightly.
Note that it constitutes a legal violation to
drive with the rear seats occupied and the
rear head restraints removed. Reinstall head
restraints before transporting passengers in the
rear.<
Entering the rear seats
Seat with manual longitudinal
adjustment
Convenient entry
The convenient entry feature includes a mem-
ory function for the longitudinal adjustment and
backrest angle.
1.Pull the lever and swing the backrest for-
ward.
2.Push the seat forward.
Previous position
Push the seat backward and swing the backrest
back.
When pushing the seat into its rearmost
position, make sure that no one is injured
and that no objects are damaged.
Before driving off, engage both seats and back-
rests so that they are locked in place. Otherwise
there is a risk of accident due to an unexpected
movement.<
ba8_E9293_US.book Seite 43 Freitag, 5. Mai 2006 1:02 13
Page 50 of 239
Adjustments
48
Steering wheel
Adjustments
Do not adjust the steering wheel position
while the car is in motion, or an accident
may result from any unexpected movement.<
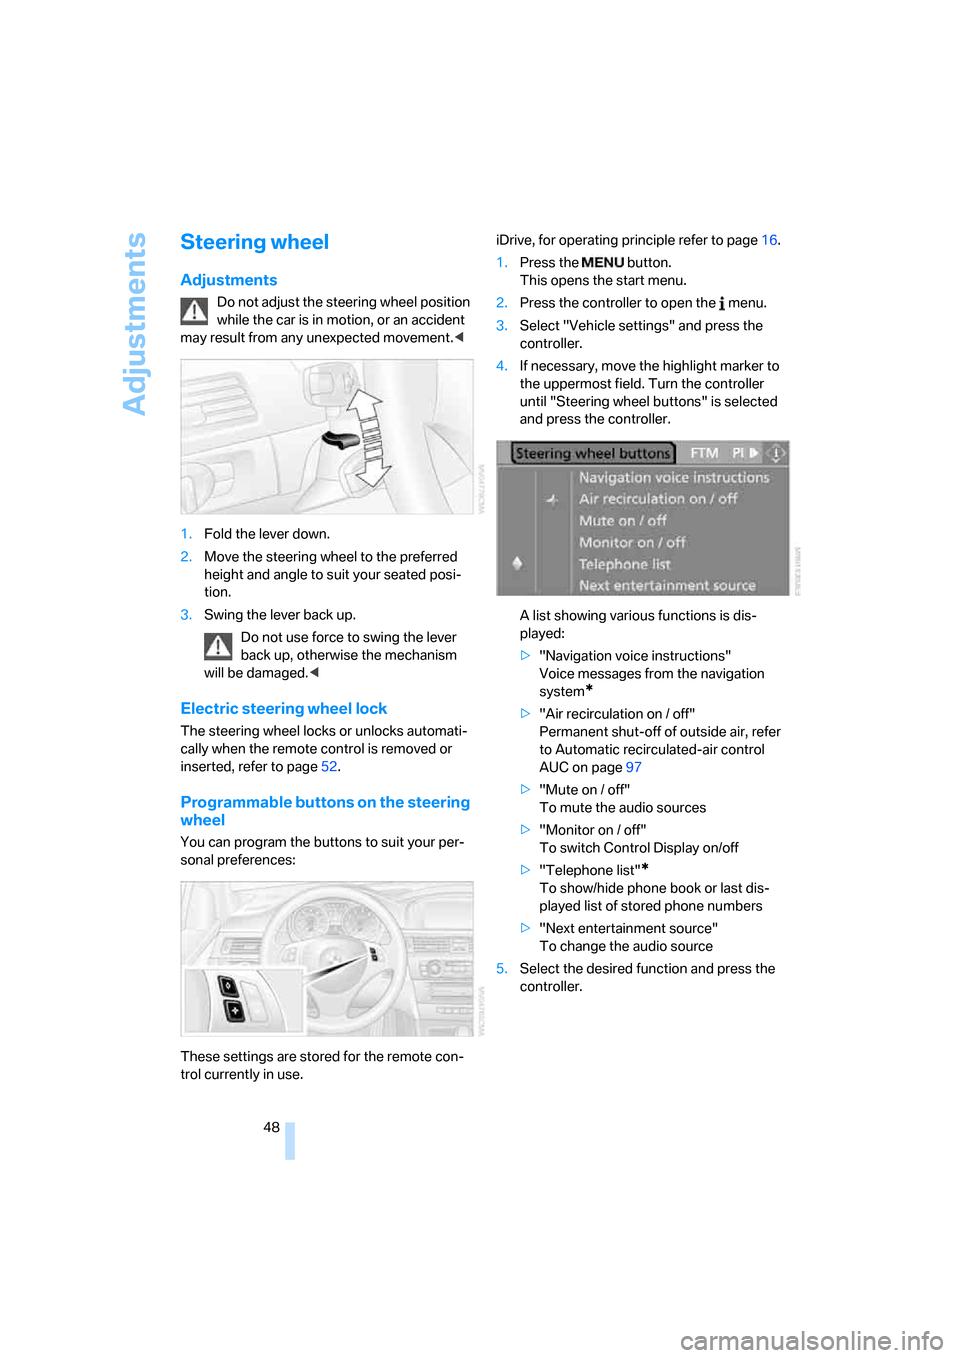
1.Fold the lever down.
2.Move the steering wheel to the preferred
height and angle to suit your seated posi-
tion.
3.Swing the lever back up.
Do not use force to swing the lever
back up, otherwise the mechanism
will be damaged.<
Electric steering wheel lock
The steering wheel locks or unlocks automati-
cally when the remote control is removed or
inserted, refer to page52.
Programmable buttons on the steering
wheel
You can program the buttons to suit your per-
sonal preferences:
These settings are stored for the remote con-
trol currently in use.iDrive, for operating principle refer to page16.
1.Press the button.
This opens the start menu.
2.Press the controller to open the menu.
3.Select "Vehicle settings" and press the
controller.
4.If necessary, move the highlight marker to
the uppermost field. Turn the controller
until "Steering wheel buttons" is selected
and press the controller.
A list showing various functions is dis-
played:
>"Navigation voice instructions"
Voice messages from the navigation
system
*
>"Air recirculation on / off"
Permanent shut-off of outside air, refer
to Automatic recirculated-air control
AUC on page97
>"Mute on / off"
To mute the audio sources
>"Monitor on / off"
To switch Control Display on/off
>"Telephone list"
*
To show/hide phone book or last dis-
played list of stored phone numbers
>"Next entertainment source"
To change the audio source
5.Select the desired function and press the
controller.
ba8_E9293_US.book Seite 48 Freitag, 5. Mai 2006 1:02 13
Page 66 of 239

Driving
64 desired, by tapping or pulling the lever when
road and traffic conditions permit. It is not pos-
sible to resume a stored speed.
Radar sensor
The sensor's ability to detect vehicles ahead
may be restricted as a result of heavy rain, dirt, snow or ice. If necessary, clean the radar sensor
located in the front bumper, see arrow. Be sure
to use particular care when removing any layers
of snow or ice from the sensor.
When the radar sensor is not properly posi-
tioned, active cruise control cannot be activated
at all.
Malfunction
The warning lamp comes on when
the system has failed. A message
appears on the Control Display. You
can find more information starting on page75.
System limitations
Always remember that the range and abil-
ity of the system does have physical limi-
tations. It will not apply the brakes or decelerate
your vehicle when there is a slow-moving vehi-
cle, stopped vehicle or stationary object ahead
of you, as for example, at a traffic light or a
parked vehicle. Also, the system does not react
to oncoming traffic, pedestrians or other types
of potential traffic such as a rider on horseback.
It is also possible that the system may not
detect smaller moving objects such as motor-
cycles or bicycles. Be especially alert when
encountering any of these situations as the sys-
tem will neither automatically brake, nor provide
a warning to you. Also, be aware that every
decrease in the distance setting allows your
vehicle to come closer to a vehicle in front of
you and requires a heightened amount of alert-
ness.
system.<
If while your vehicle is actively following a vehi-
cle in front of you and the vehicle ahead speeds
up or the lane ahead becomes clear, then your
vehicle will accelerate to the speed you have
selected. Be aware that changing to a clear,
unobstructed lane will also result in your vehicle
accelerating.
Be certain to deactivate the system when
you pull into an exit lane for a highway off-
ramp.<
Also, vehicles traveling in a staggered manner
on a highway may cause a delay in the system's
reaction to a vehicle in front of you or may cause
the system to react to a vehicle actually in the
lane next to you. Always be ready to take action
or apply the brakes if necessary.
ba8_E9293_US.book Seite 64 Freitag, 5. Mai 2006 1:02 13
Page 193 of 239
Mobility
191Reference
At a glance
Controls
Driving tips
Communications
Navigation
Entertainment
Under the hood
Do not work on the car unless you pos-
sess the necessary technical knowledge.
If you are unfamiliar with the statutory guide-
lines, have any work on the vehicle performed
only by a BMW center or by a workshop that
work according to BMW repair procedures with
correspondingly trained personnel. If this work
is not carried out properly, there is a danger of
subsequent damage and related safety haz-
ards.<
Hood
Releasing
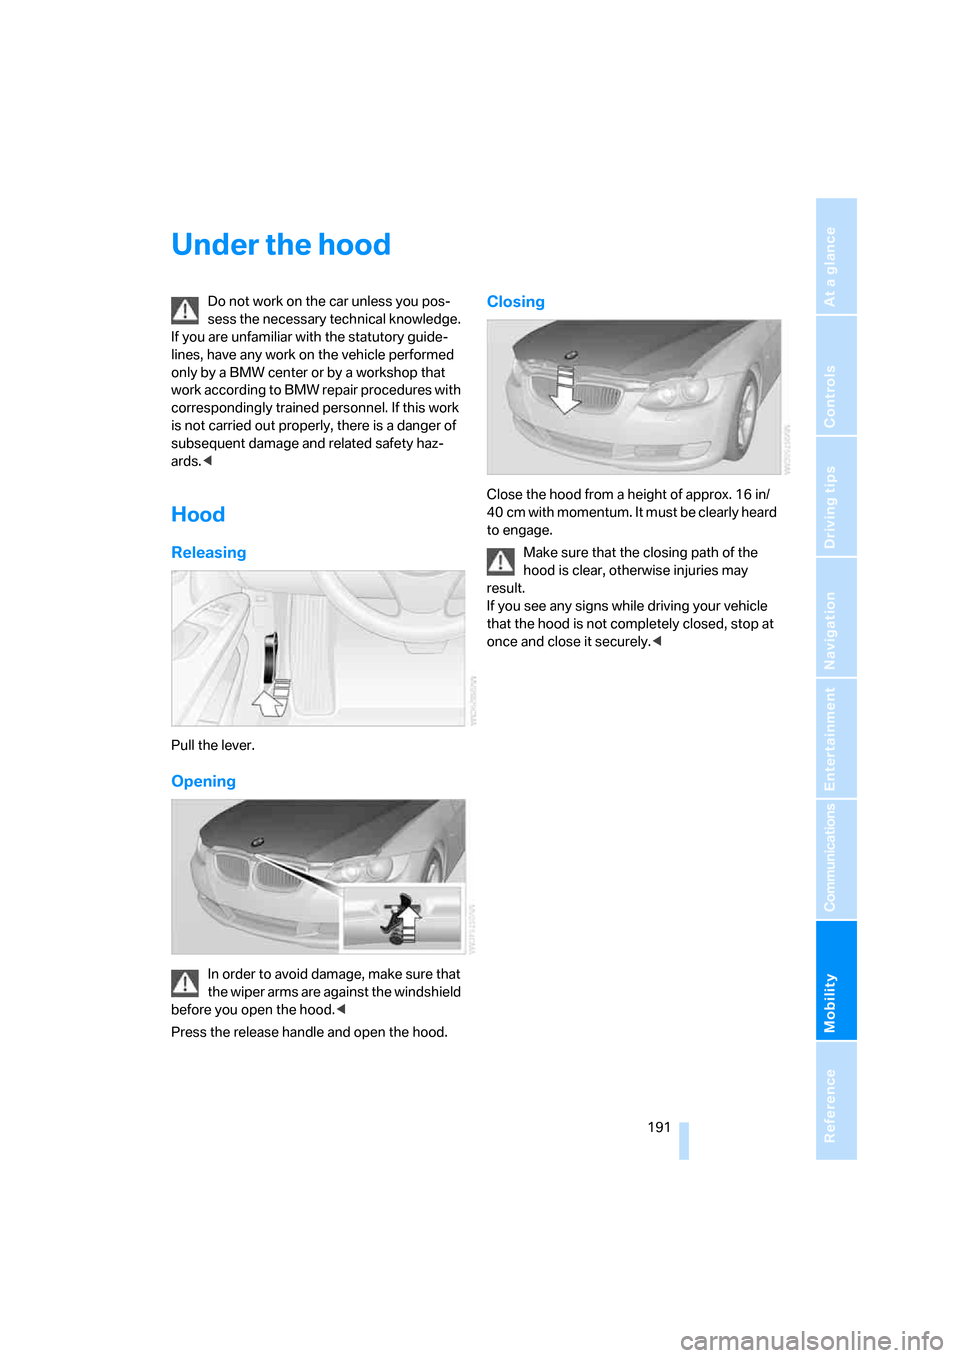
Pull the lever.
Opening
In order to avoid damage, make sure that
the wiper arms are against the windshield
before you open the hood.<
Press the release handle and open the hood.
Closing
Close the hood from a height of approx. 16 in/
40 cm with momentum. It must be clearly heard
to engage.
Make sure that the closing path of the
hood is clear, otherwise injuries may
result.
If you see any signs while driving your vehicle
that the hood is not completely closed, stop at
once and close it securely.<
ba8_E9293_US.book Seite 191 Freitag, 5. Mai 2006 1:02 13
Page 213 of 239
Reference 211
At a glance
Controls
Driving tips
Communications
Navigation
Entertainment
Mobility
Dimensions
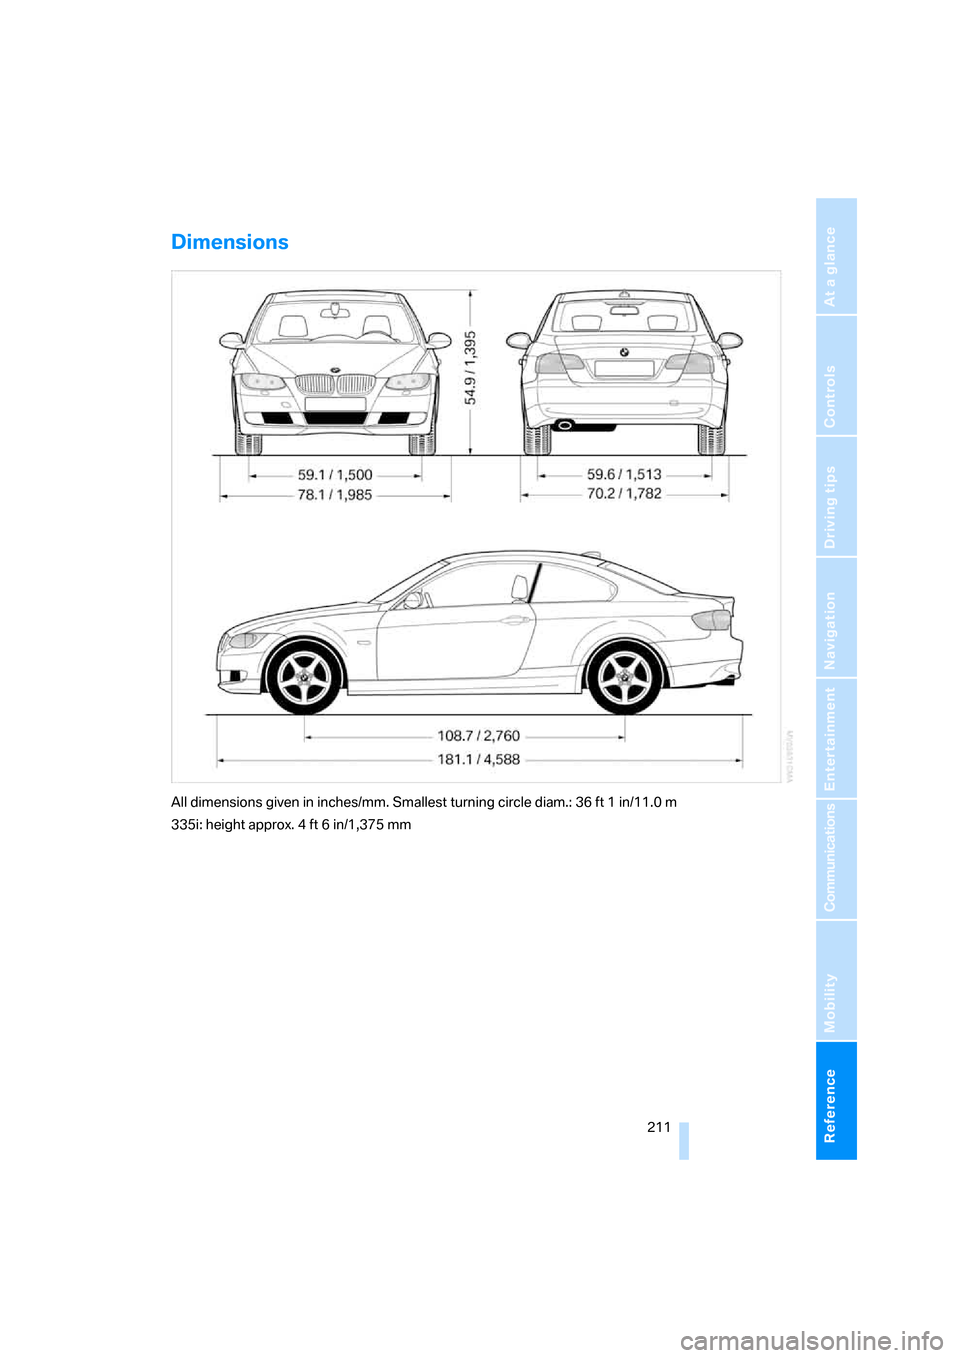
All dimensions given in inches/mm. Smallest turning circle diam.: 36 ft 1 in/11.0 m
335i: height approx. 4 ft 6 in/1,375 mm
ba8_E9293_US.book Seite 211 Freitag, 5. Mai 2006 1:02 13
Page 227 of 239

Reference 225
At a glance
Controls
Driving tips
Communications
Navigation
Entertainment
Mobility
Heating and ventilation, refer
to Climate95
Heating while at a standstill,
refer to Using residual
heat98
Heavy loads, refer to Stowing
cargo115
Height, refer to
Dimensions211
Height adjustment
– seats41
– steering wheel48
High beams92
– headlamp flasher92
– indicator lamp13
High Definition Radio, refer to
Digital radio147
High water, refer to Driving
through water113
Highways, refer to Route
criteria131
Hills113
Holders for cups105
Home address130
"Home address" in
navigation130
Homepage BMW4
Hood191
Hooks for shopping bags108
Horn10,11
Hotel function33
Hot exhaust system112
"Hour memo"74
"House number" in
destination entry124
Hydraulic brake assist, refer to
Dynamic Brake Control
DBC81
Hydroplaning113
I
IBOC, refer to Digital
radio147
Ice warning, refer to Outside
temperature warning66
ID3 tag, refer to Information
about the track154Identification marks
– Run-Flat Tires189
– tire coding187
iDrive16
– adjusting brightness79
– assistance window20
– automatic climate control96
– changing language78
– changing units of measure
and display format70
– confirming selection or
entry19
– controls16
– displays, menus17
– menu guidance17
– operating principle16
– overview16
– selecting a menu item19
– setting the date and time73
– start menu17
– status information20
– switching menu pages19
– symbols18
iDrive operating principle16
Ignition52
– switched off52
– switched on52
Ignition key, refer to Remote
control with integrated
key28
Ignition key position 1, refer to
Radio readiness52
Ignition key position 2, refer to
Ignition on52
Ignition lock52
i menu18
Indicator and warning
lamps13
– Tire Pressure Monitor
TPM85
Individual air distribution96
Inflation pressure, refer to Tire
inflation pressure184
Inflation pressure monitoring,
refer to Tire Pressure
Monitor TPM84Information
– on another location126
– on country126
– on current position126
– on destination location126
"Information" in
navigation127
Information menu, refer to
imenu18
"Information on
destination"128
Initializing
– active steering87
– after power failure201
– compass, refer to
Calibrating103
– Flat Tire Monitor FTM83
– glass sunroof38
"Input map"126
Installation location
– CD changer156
– telephone104
Instructions for navigation
system, refer to Voice
instructions135
Instrument cluster12
Instrument lighting93
Instrument panel, refer to
Cockpit10
Integrated key28
Integrated universal remote
control101
Interesting destination for
navigation126
"Interim time"78
Interior lamps93
– remote control30
Interior motion sensor35
Interior rearview mirror47
– automatic dimming
feature113
– compass102
Interlock, refer to Disengaging
the remote control54
Intermittent mode of the
wipers57
ba8_E9293_US.book Seite 225 Freitag, 5. Mai 2006 1:02 13