2006 BMW 330I hood open
[x] Cancel search: hood openPage 5 of 246
Reference
At a glance
Controls
Driving tips
Communications
Navigation
Entertainment
Mobility
Contents
The fastest way to find information on a partic-
ular topic or item is by using the index, refer to
page226.
Using this Owner's Manual
4Notes
6Reporting safety defects
At a glance
10Cockpit
16iDrive
22Voice command system
Controls
28Opening and closing
40Adjustments
49Transporting children safely
52Driving
69Everything under control
83Technology for driving comfort and
safety
93Lamps
97Climate
103Practical interior accessories
Driving tips
116Things to remember when driving
Navigation
124Starting the navigation system
125Destination entry
136Destination guidance
141What to do if …
Entertainment
144On/off and settings
148Radio
156CD player and CD changer
162External audio device
Communications
166Telephoning
178TeleService, BMW Assist
Mobility
186Refueling
188Wheels and tires
198Under the hood
203Maintenance
205Replacing components
211Giving and receiving assistance
Reference
218Technical data
222Short commands for the voice command
system
226Everything from A - Z
Page 13 of 246
At a glance
11Reference
Controls
Driving tips
Communications
Navigation
Entertainment
Mobility
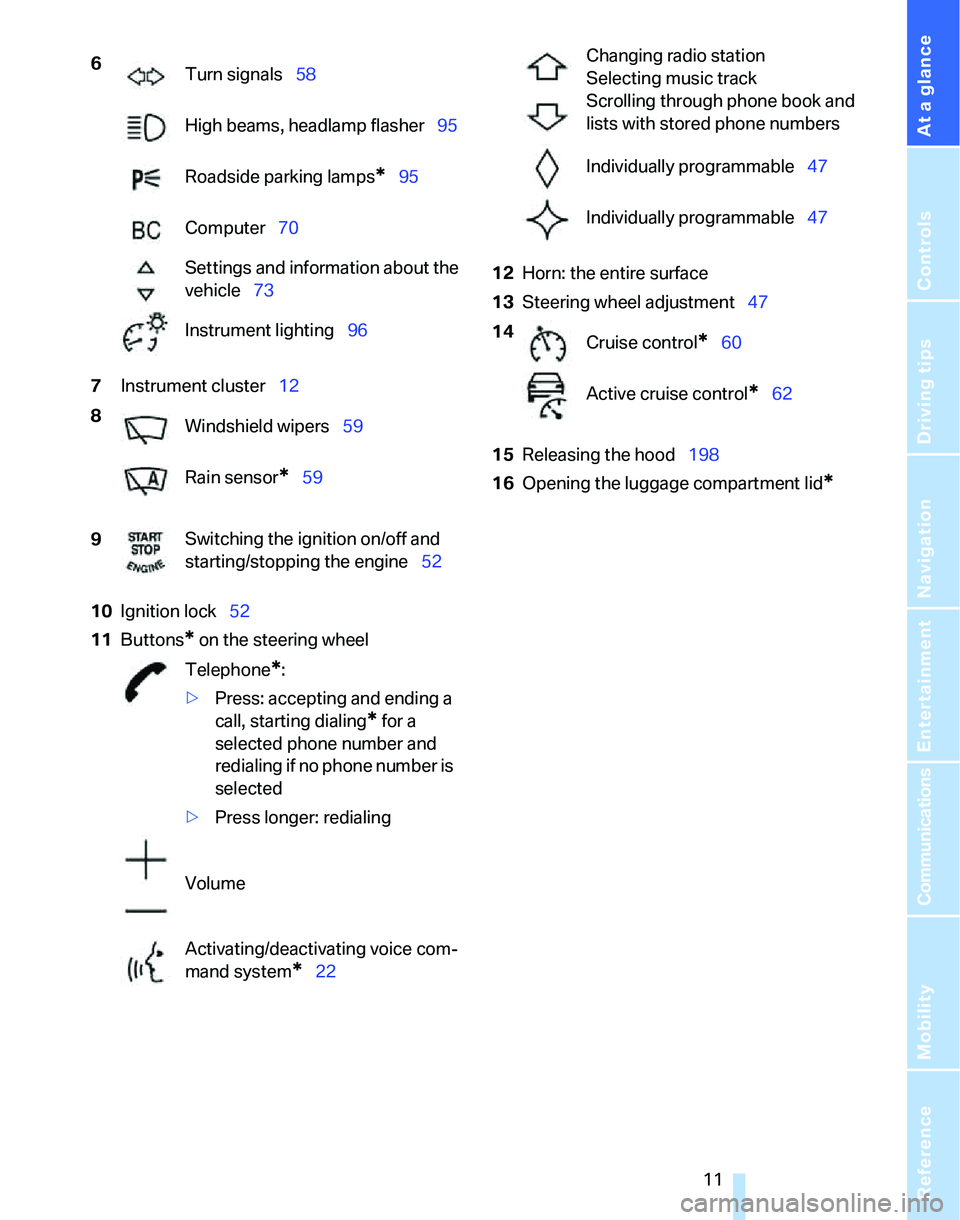
7Instrument cluster12
10Ignition lock52
11Buttons
* on the steering wheel12Horn: the entire surface
13Steering wheel adjustment47
15Releasing the hood198
16Opening the luggage compartment lid
*
6
Turn signals58
High beams, headlamp flasher95
Roadside parking lamps
*95
Computer70
Settings and information about the
vehicle73
Instrument lighting96
8
Windshield wipers59
Rain sensor
*59
9Switching the ignition on/off and
starting/stopping the engine52
Telephone
*:
>Press: accepting and ending a
call, starting dialing
* for a
selected phone number and
redialing if no phone number is
selected
>Press longer: redialing
Volume
Activating/deactivating voice com-
mand system
*22
Changing radio station
Selecting music track
Scrolling through phone book and
lists with stored phone numbers
Individually programmable47
Individually programmable47
14
Cruise control
*60
Active cruise control
*62
Page 36 of 246
Opening and closing
34 compartment is locked, the luggage compart-
ment lid cannot be opened. This is an advan-
tage when valet parking, for example.
Unlocking separately
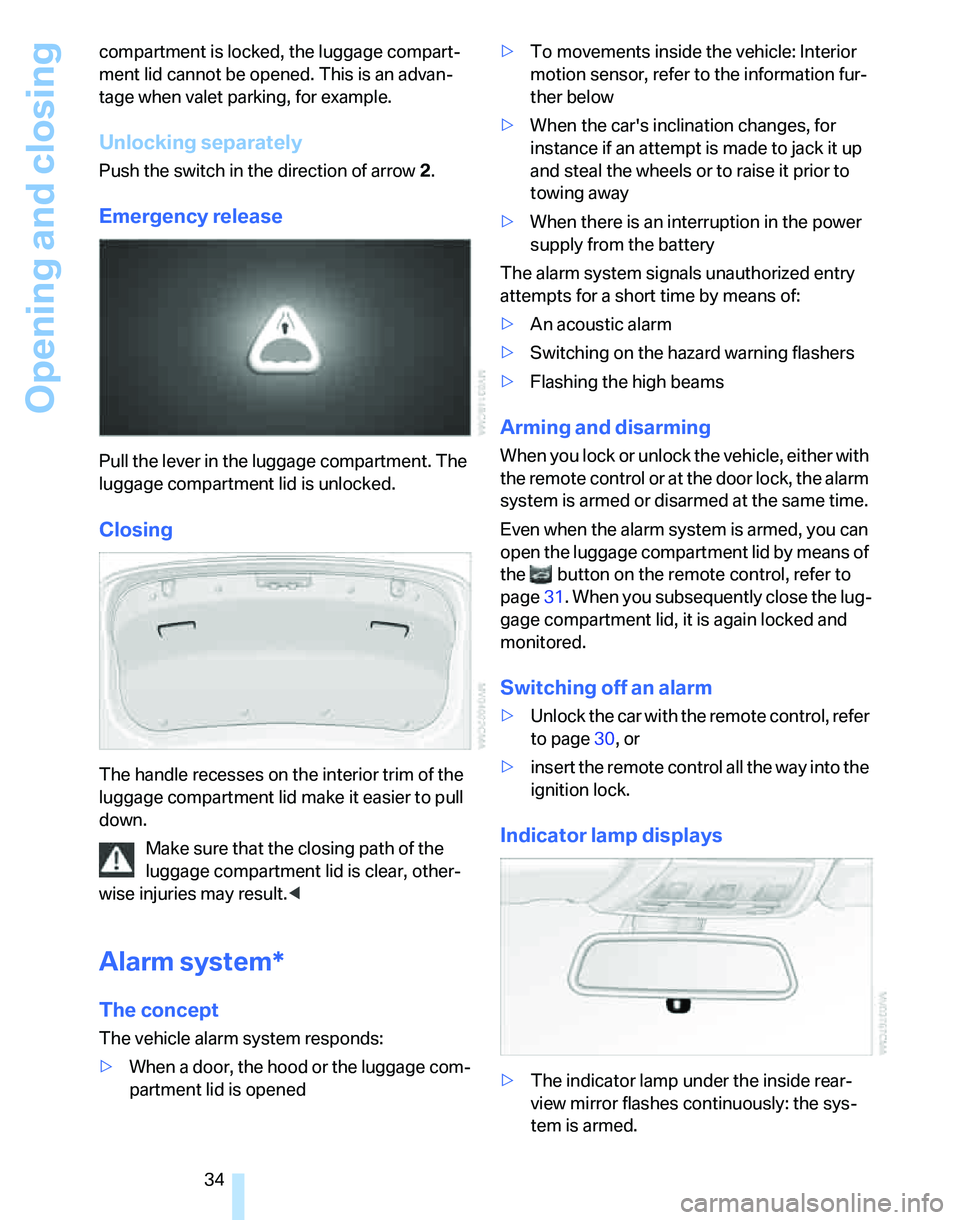
Push the switch in the direction of arrow 2.
Emergency release
Pull the lever in the luggage compartment. The
luggage compartment lid is unlocked.
Closing
The handle recesses on the interior trim of the
luggage compartment lid make it easier to pull
down.
Make sure that the closing path of the
luggage compartment lid is clear, other-
wise injuries may result.<
Alarm system*
The concept
The vehicle alarm system responds:
>When a door, the hood or the luggage com-
partment lid is opened>To movements inside the vehicle: Interior
motion sensor, refer to the information fur-
ther below
>When the car's inclination changes, for
instance if an attempt is made to jack it up
and steal the wheels or to raise it prior to
towing away
>When there is an interruption in the power
supply from the battery
The alarm system signals unauthorized entry
attempts for a short time by means of:
>An acoustic alarm
>Switching on the hazard warning flashers
>Flashing the high beams
Arming and disarming
When you lock or unlock the vehicle, either with
the remote control or at the door lock, the alarm
system is armed or disarmed at the same time.
Even when the alarm system is armed, you can
open the luggage compartment lid by means of
the button on the remote control, refer to
page31. When you subsequently close the lug-
gage compartment lid, it is again locked and
monitored.
Switching off an alarm
>Unlock the car with the remote control, refer
to page30, or
>insert the remote control all the way into the
ignition lock.
Indicator lamp displays
>The indicator lamp under the inside rear-
view mirror flashes continuously: the sys-
tem is armed.
Page 37 of 246
Controls
35Reference
At a glance
Driving tips
Communications
Navigation
Entertainment
Mobility
>The indicator lamp flashes after locking:
doors, hood or luggage compartment lid are
not properly closed. Even if you do not close
the alerted area, the system begins to mon-
itor the remaining areas, and the indicator
lamp flashes continuously after approx. 10
seconds. However, the interior motion sen-
sor is not activated.
>The indicator lamp goes out after unlocking:
your vehicle has not been disturbed while
you were away.
>If the indicator lamp flashes after unlocking
until the remote control is inserted in the
ignition, but for no longer than approx.
5 minutes: your vehicle has been disturbed
while you were away.
Tilt alarm sensor
The tilt of the vehicle is monitored. The alarm
system reacts, e.g. to attempts to steal a wheel
or tow the vehicle.
Interior motion sensor
In order for the interior motion sensor to func-
tion properly, the windows and glass sunroof
must be completely closed.
Avoiding unintentional alarms
The tilt alarm sensor and interior motion sensor
may be switched off at the same time. This pre-
vents unintentional alarms, e.g. in the following
situations:
>In duplex garages
>When transporting on car-carrying trains
>When animals are to remain in the vehicle
Switching off tilt alarm sensor and
interior motion sensor
Press the button on the remote control
twice in a row.
The indicator lamp comes on for approx. two
seconds, then begins to flash steadily. The tilt
alarm sensor and the interior motion sensor are
switched off until the next time the vehicle is
unlocked and subsequently locked again.
Convenient access*
Convenient access enables you to enter your
vehicle without needing to hold the remote con-
trol in your hand. All you need to do is wear the
remote control close to your body, e.g. in your
jacket pocket. The vehicle automatically
detects the corresponding remote control
within the immediate vicinity or in the passen-
ger compartment.
Convenient access supports the following
functions:
>Unlocking/locking the vehicle
>Unlocking the luggage compartment lid
separately
>Engine starting
>Convenient closure
Functional requirement
>The vehicle or the luggage compartment lid
can only be locked when the vehicle detects
that the remote control currently in use is
outside of the vehicle.
>The vehicle cannot be locked or unlocked
again until after approx. 2 seconds.
>The engine can only be started when the
vehicle detects that the remote control cur-
rently in use is inside the vehicle.
Special features in comparison to
conventional remote controls
In general, there is no difference between using
convenient access or pressing the buttons on
the remote control to carry out the functions
mentioned above. You should therefore first
familiarize yourself with the instructions on
opening and closing starting on page28.
Special features regarding the use of conve-
nient access are described below.
Page 200 of 246
Under the hood
198
Under the hood
Do not work on the car unless you pos-
sess the necessary technical knowledge.
If you are unfamiliar with the statutory guide-
lines, have any work on the vehicle performed
only by a BMW Center or by a workshop that
work according to BMW repair procedures with
correspondingly trained personnel. If this work
is not carried out properly, there is a danger of
subsequent damage and related safety haz-
ards.<
Hood
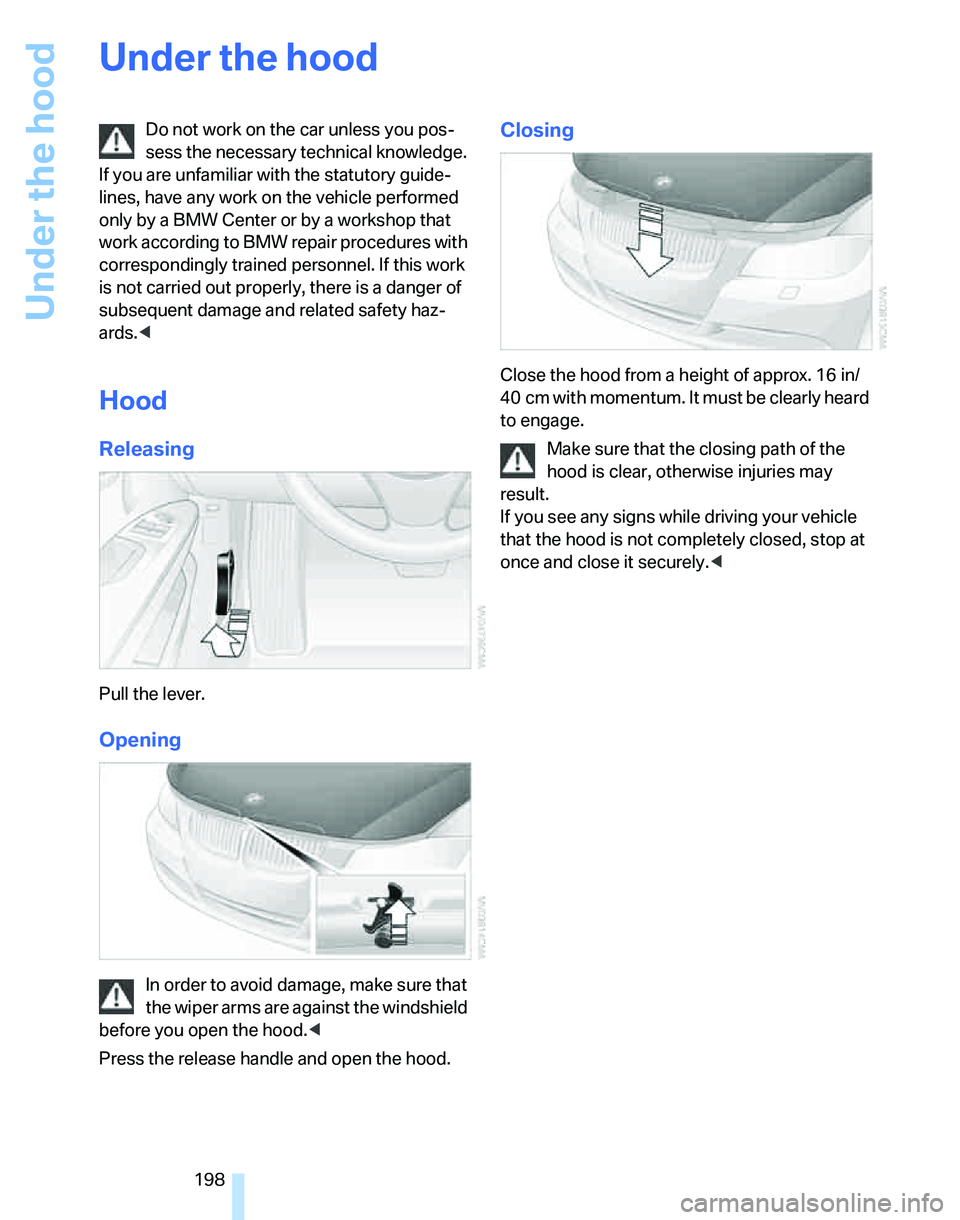
Releasing
Pull the lever.
Opening
In order to avoid damage, make sure that
the wiper arms are against the windshield
before you open the hood.<
Press the release handle and open the hood.
Closing
Close the hood from a height of approx. 16 in/
40 cm with momentum. It must be clearly heard
to engage.
Make sure that the closing path of the
hood is clear, otherwise injuries may
result.
If you see any signs while driving your vehicle
that the hood is not completely closed, stop at
once and close it securely.<
Page 202 of 246
Under the hood
200
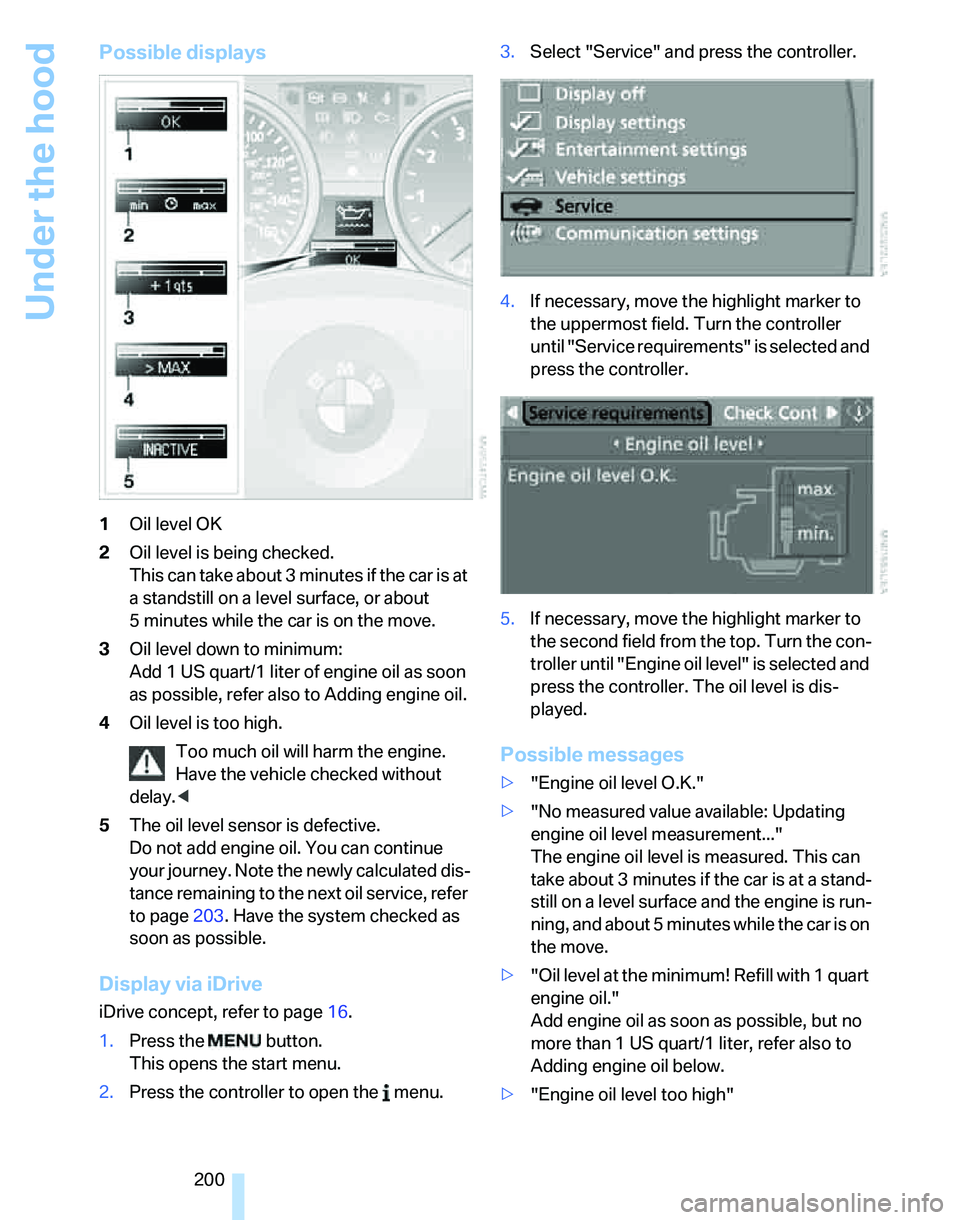
Possible displays
1Oil level OK
2Oil level is being checked.
This can take about 3 minutes if the car is at
a standstill on a level surface, or about
5 minutes while the car is on the move.
3Oil level down to minimum:
Add 1US quart/1liter of engine oil as soon
as possible, refer also to Adding engine oil.
4Oil level is too high.
Too much oil will harm the engine.
Have the vehicle checked without
delay.<
5The oil level sensor is defective.
Do not add engine oil. You can continue
your journey. Note the newly calculated dis-
tance remaining to the next oil service, refer
to page203. Have the system checked as
soon as possible.
Display via iDrive
iDrive concept, refer to page16.
1.Press the button.
This opens the start menu.
2.Press the controller to open the menu.3.Select "Service" and press the controller.
4.If necessary, move the highlight marker to
the uppermost field. Turn the controller
until "Service requirements" is selected and
press the controller.
5.If necessary, move the highlight marker to
the second field from the top. Turn the con-
troller until "Engine oil level" is selected and
press the controller. The oil level is dis-
played.
Possible messages
>"Engine oil level O.K."
>"No measured value available: Updating
engine oil level measurement..."
The engine oil level is measured. This can
take about 3 minutes if the car is at a stand-
still on a level surface and the engine is run-
ning, and about 5 minutes while the car is on
the move.
>"Oil level at the minimum! Refill with 1 quart
engine oil."
Add engine oil as soon as possible, but no
more than 1 US quart/1 liter, refer also to
Adding engine oil below.
>"Engine oil level too high"
Page 204 of 246
Under the hood
202 pressure to escape, then continue turning
to open.
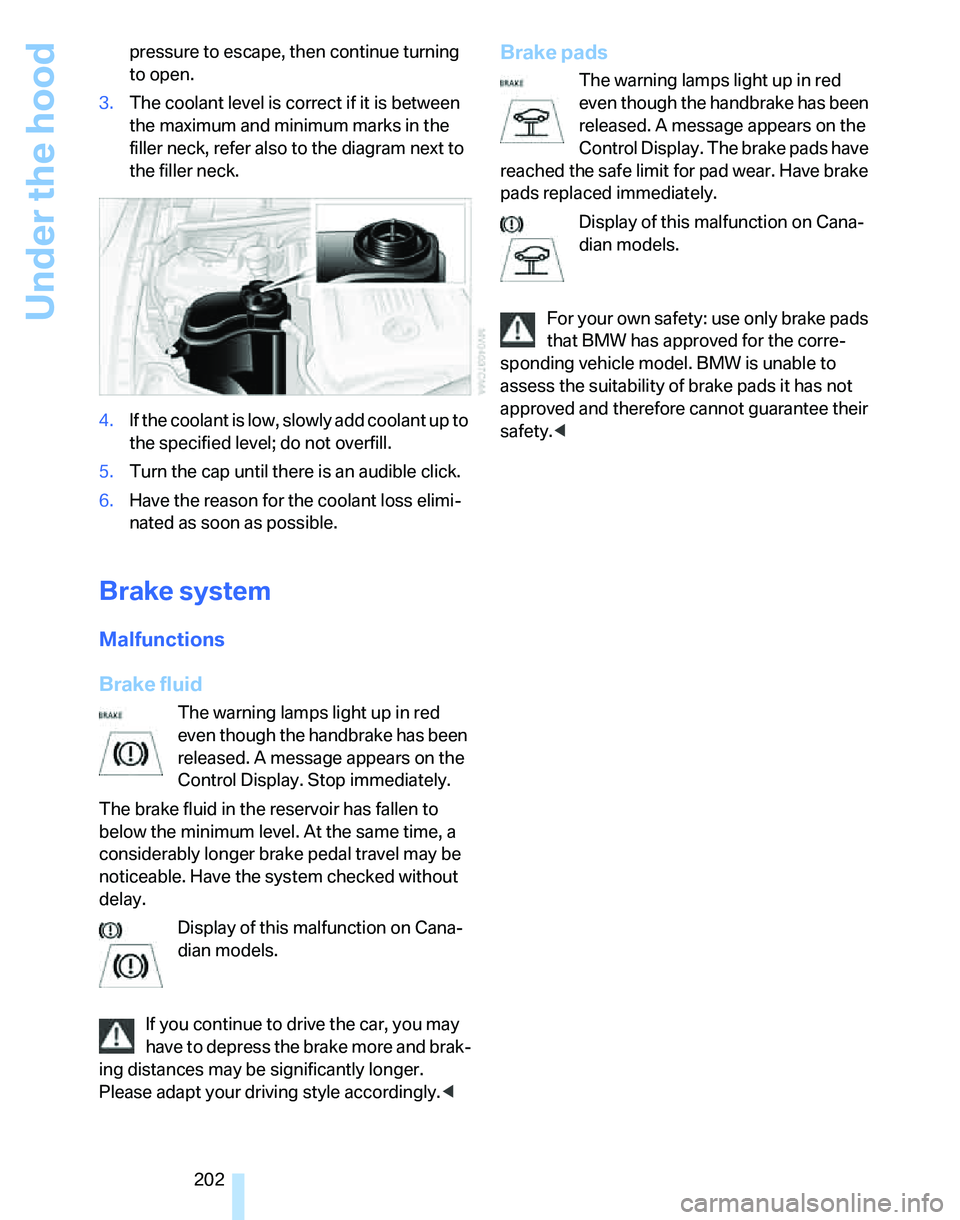
3.The coolant level is correct if it is between
the maximum and minimum marks in the
filler neck, refer also to the diagram next to
the filler neck.
4.If the coolant is low, slowly add coolant up to
the specified level; do not overfill.
5.Turn the cap until there is an audible click.
6.Have the reason for the coolant loss elimi-
nated as soon as possible.
Brake system
Malfunctions
Brake fluid
The warning lamps light up in red
even though the handbrake has been
released. A message appears on the
Control Display. Stop immediately.
The brake fluid in the reservoir has fallen to
below the minimum level. At the same time, a
considerably longer brake pedal travel may be
noticeable. Have the system checked without
delay.
Display of this malfunction on Cana-
dian models.
If you continue to drive the car, you may
have to depress the brake more and brak-
ing distances may be significantly longer.
Please adapt your driving style accordingly.<
Brake pads
The warning lamps light up in red
even though the handbrake has been
released. A message appears on the
Control Display. The brake pads have
reached the safe limit for pad wear. Have brake
pads replaced immediately.
Display of this malfunction on Cana-
dian models.
For your own safety: use only brake pads
that BMW has approved for the corre-
sponding vehicle model. BMW is unable to
assess the suitability of brake pads it has not
approved and therefore cannot guarantee their
safety.<
Page 234 of 246
Everything from A - Z
232
G
Garage door opener, refer to
Integrated universal remote
control103
Gasoline, refer to Required
fuel186
Gasoline display, refer to Fuel
gauge70
Gasoline engine, checking oil
level199
Gear indicator
– automatic transmission with
Steptronic57
– sequential manual gearbox
SMG55
Gearshift lever
– automatic transmission with
Steptronic57
– manual transmission54
– sequential manual gearbox
SMG55
Gearshifts
– with automatic
transmission57
– with manual transmission54
– with the sequential manual
gearbox SMG55
General driving notes116
Glass sunroof, electric38
– anti-trapping mechanism39
– closing after electrical
malfunction39
– convenient operation30,32
– opening, closing38
– operation with convenient
access36
– raising38
– remote control30
Glove compartment106
– rechargeable flashlight106
GPS navigation, refer to
Navigation system124
Grills97
Gross vehicle weight, refer to
Weights220
H
Halogen lamps
– replacing bulbs206
Handbrake54
– indicator lamp54
Hand lamp, refer to
Rechargeable flashlight106
Hands-free system14
Hazard warning flashers14
HD, refer to High Definition
Radio151
Head airbags90
Headlamp control,
automatic93
Headlamp cover206
Headlamp flasher58
– indicator lamp11,13
Headlamps
– care, refer to Caring for your
vehicle brochure
– replacing bulbs206
Head restraints42
– sitting safely40
Heated
– mirrors46
– rear window100
– seats43
Heating
– mirrors46
– rear window100
– seats43
Heating while at a standstill,
refer to Using residual
heat99
Heavy loads, refer to Stowing
cargo119
Height, refer to
Dimensions219
Height adjustment
– seats41
– steering wheel47
High beams95
– headlamp flasher95
– indicator lamp13
– replacing bulbs206
High Definition Radio151
High water, refer to Driving
through water117Highways, refer to Route
criteria135
Hills117
Holders for cups107
"Home address" in
navigation134
Homepage4
Hood198
Horn10
Hot exhaust system116
"Hour memo"78
"House number" in
destination entry128
Hydraulic brake assist, refer to
Dynamic Brake Control84
Hydroplaning117
I
IBOC, refer to High Definition
Radio151
Ice warning69
ID3 tag, refer to Information
about the track158
iDrive16
– adjusting brightness82
– assistance window20
– automatic climate control98
– changing language82
– date and time, setting77
– displays, menus17
– menu guidance17
– operating principle16
– overview16
– selecting a menu item19
– status information20
– switching menu pages19
– symbols18
Ignition52
– switched off52
– switched on52
Ignition key, refer to
Integrated key/remote
control28
Ignition key position 1, refer to
Radio readiness52
Ignition key position 2, refer to
Ignition on52
Ignition lock52