2006 BMW 330CI CONVERTABLE height
[x] Cancel search: heightPage 37 of 190

37
Indicator lamp displays>The indicator lamp below the interior
rearview mirror flashes continuously:
The system is armed
>The indicator lamp flashes immedi-
ately after the vehicle is locked: doors
or luggage compartment lid are not
completely closed. Even if you do not
close the alerted area(s), the remain-
ing areas are secured, and the indi-
cator lamp will flash continuously
after 10 seconds. However, the inte-
rior motion sensor is not activated
>The indicator lamp goes out immedi-
ately after the vehicle is unlocked: no
manipulation or attempted intrusions
have been detected in the period
since the system was armed
>The indicator lamp flashes for
10 seconds immediately after the
vehicle is unlocked: an attempted
entry has been detected in the period
since the system was armed.
Following triggering of an alarm, the
indicator lamp will flash continuously.Tilt alarm sensor and interior
motion sensorTilt alarm sensor:
The tilt of the vehicle is monitored. The
alarm system reacts, for example, to
attempts to steal the wheels or tow the
vehicle.
Interior motion sensor:
The vehicle interior is monitored up to
the height of the seat cushions. Even
when the convertible top is open, the
alarm system including the interior
motion sensor is armed. Objects falling
into the vehicle, e.g. leaves, can trigger
unintentional alarms, refer to Avoiding
unintentional alarms.Avoiding unintentional alarmsThe tilt alarm sensor and interior motion
sensor may be switched off at the same
time. You can do this to prevent a false
alarm, e.g. in the following situations:
>In garages with elevator ramps>When the vehicle is being trans-
ported by train
>When animals are to remain in the
vehicle.
To deactivate the tilt alarm and
interior motion sensors>Press the button on the remote con-
trol twice.
The indicator lamp lights up briefly and
then flashes continuously. The tilt alarm
sensor and the interior motion sensor
are deactivated until the vehicle is
unlocked and locked again.
You can have the tilt alarm sensor
and the interior motion sensor
permanently deactivated.<
The system inadvertently deacti-
vates the tilt alarm sensor and the
interior motion sensor if the conve-
nience closing of windows and glass
sunroof is interrupted within the first
10 seconds and then restarted. The
vehicle must then be unlocked and
relocked before the sensors will resume
operation.<
Alarm system*
OverviewControlsMaintenanceRepairsDataIndex
Page 42 of 190

42
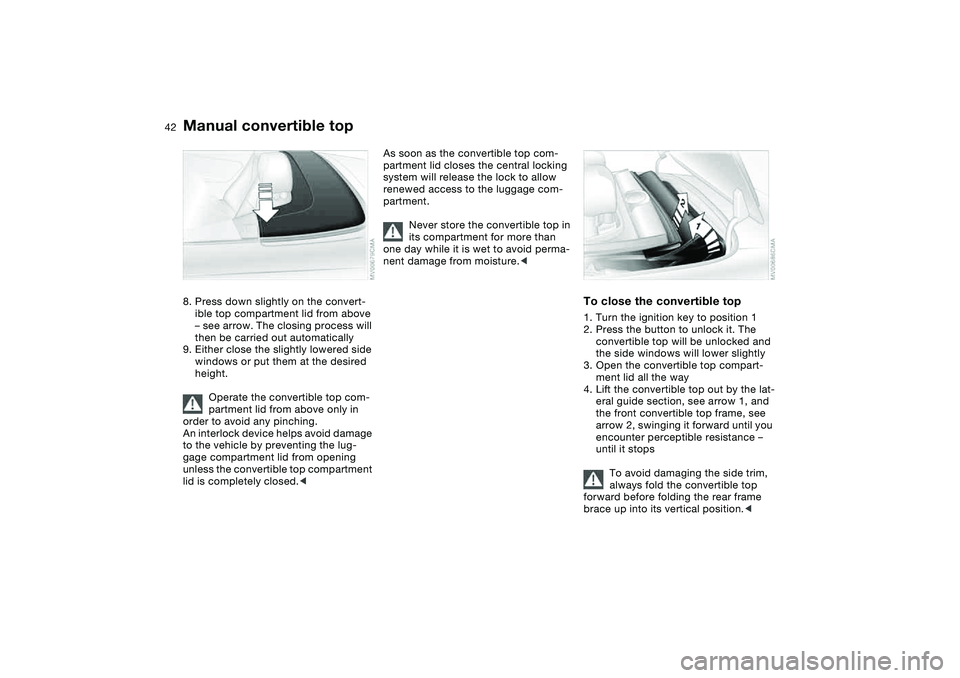
8. Press down slightly on the convert-
ible top compartment lid from above
– see arrow. The closing process will
then be carried out automatically
9. Either close the slightly lowered side
windows or put them at the desired
height.
Operate the convertible top com-
partment lid from above only in
order to avoid any pinching.
An interlock device helps avoid damage
to the vehicle by preventing the lug-
gage compartment lid from opening
unless the convertible top compartment
lid is completely closed.<
As soon as the convertible top com-
partment lid closes the central locking
system will release the lock to allow
renewed access to the luggage com-
partment.
Never store the convertible top in
its compartment for more than
one day while it is wet to avoid perma-
nent damage from moisture.<
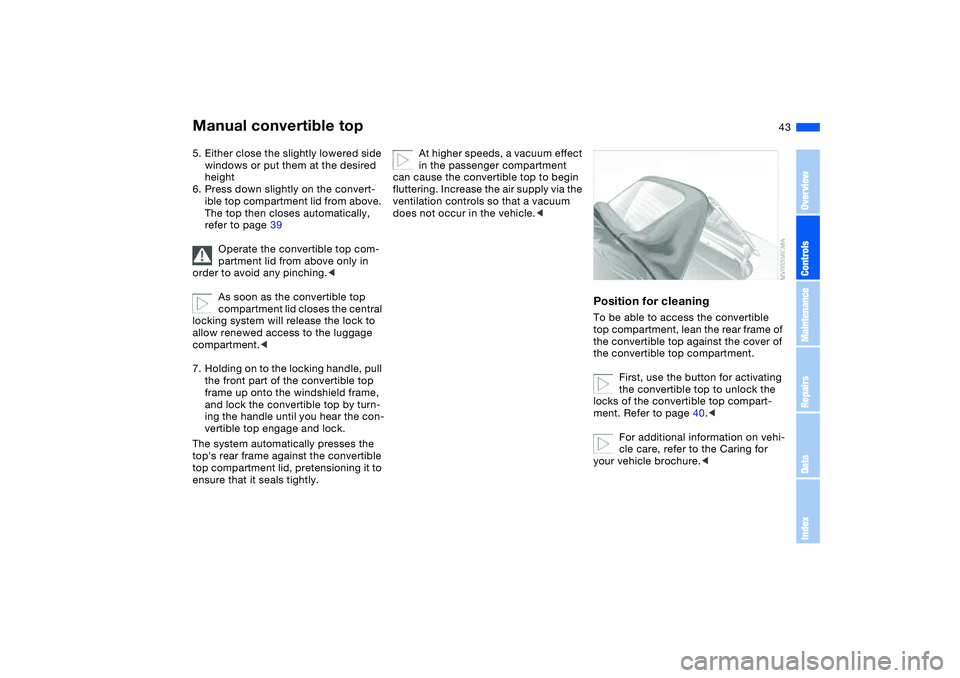
To close the convertible top1. Turn the ignition key to position 1
2. Press the button to unlock it. The
convertible top will be unlocked and
the side windows will lower slightly
3. Open the convertible top compart-
ment lid all the way
4. Lift the convertible top out by the lat-
eral guide section, see arrow 1, and
the front convertible top frame, see
arrow 2, swinging it forward until you
encounter perceptible resistance –
until it stops
To avoid damaging the side trim,
always fold the convertible top
forward before folding the rear frame
brace up into its vertical position.<
Manual convertible top
Page 43 of 190

43
5. Either close the slightly lowered side
windows or put them at the desired
height
6. Press down slightly on the convert-
ible top compartment lid from above.
The top then closes automatically,
refer to page 39
Operate the convertible top com-
partment lid from above only in
order to avoid any pinching.<
As soon as the convertible top
compartment lid closes the central
locking system will release the lock to
allow renewed access to the luggage
compartment.<
7. Holding on to the locking handle, pull
the front part of the convertible top
frame up onto the windshield frame,
and lock the convertible top by turn-
ing the handle until you hear the con-
vertible top engage and lock.
The system automatically presses the
top's rear frame against the convertible
top compartment lid, pretensioning it to
ensure that it seals tightly.
At higher speeds, a vacuum effect
in the passenger compartment
can cause the convertible top to begin
fluttering. Increase the air supply via the
ventilation controls so that a vacuum
does not occur in the vehicle.<
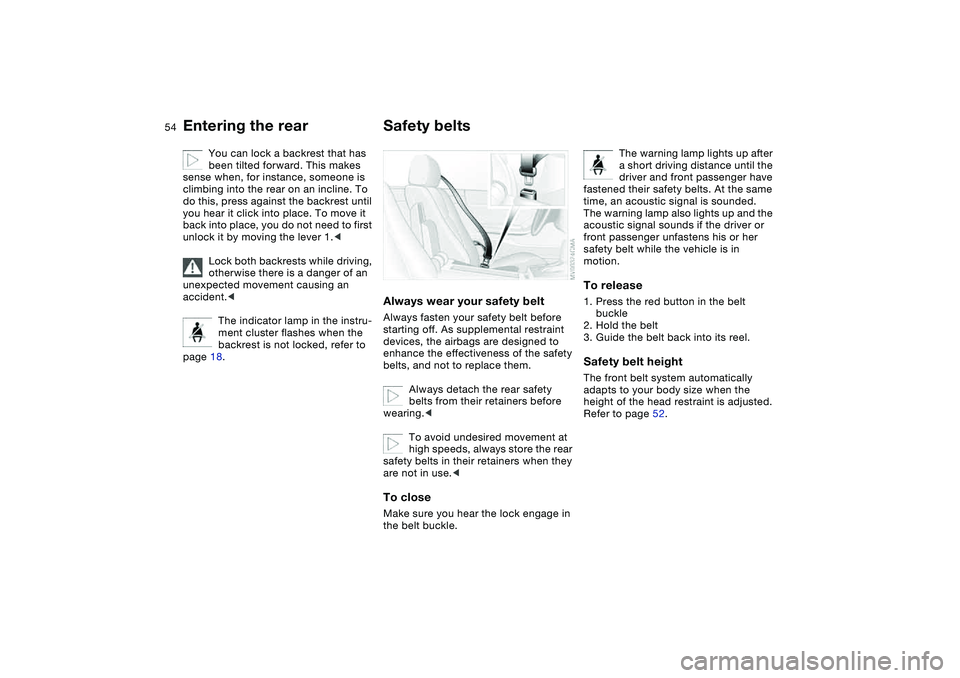
Position for cleaningTo be able to access the convertible
top compartment, lean the rear frame of
the convertible top against the cover of
the convertible top compartment.
First, use the button for activating
the convertible top to unlock the
locks of the convertible top compart-
ment. Refer to page 40.<
For additional information on vehi-
cle care, refer to the Caring for
your vehicle brochure.<
Manual convertible top
OverviewControlsMaintenanceRepairsDataIndex
Page 51 of 190

51
SeatsWhen adjusting your seat, always
observe the following precautions
Never try to adjust your seat while
operating the vehicle. The seat
could respond with unexpected move-
ment, and the ensuing loss of vehicle
control could lead to an accident. Never
ride with the backrest reclined to an
extreme angle. This is especially impor-
tant for the front passenger to remem-
ber. If you do, there is a risk that you
will slide under the safety belt in an
accident, thus reducing the protection
provided by the safety belt.
With the wind deflector in place:
Do not push the front seats all the way
back, otherwise the wind deflector will
be damaged.<
Seat adjustment>Power seat adjustment, refer to
page 51
>Head restraint, refer to page 52
>Entering the rear, refer to page 53.
Adjusting electric power seatsSeat adjustment1Tilt angle
2Backward/forward adjustment
3Height
4Backrest angle
Please refer to the adjustment
instructions on page 51 to reduce
the risk of personal injury.<
With the BMW sports seat* you can
also adjust the thigh support. To do so,
pull the lever and adjust the position of
the cushion for thigh support as
desired.
OverviewControlsMaintenanceRepairsDataIndex
Page 52 of 190

52
Lumbar support*To adjustYou can adjust the backrest's contour
to support the lordosis of the spine, i.e.
the curvature of its lumbar section.
The upper hips and spinal column
receive supplementary support to help
you maintain a relaxed, upright posture.
>Press the front or rear of the switch:
increase or decrease the curvature
>Press the upper or lower end of the
switch: shift the curvature up or
down.
Head restraintsFront head restraints1Height
Head restraints reduce the risk of
spinal injury in the event of an
accident.
Adjust the head restraint so that its
center is approximately at the height of
your ears.
When moving the head restraints up or
down, avoid placing hands and fingers
between the head restraint and the
upper edge of the backrest to avoid the
possibility of injury.<
Tilt angle: position the head restraints
manually in the preferred position.
Page 54 of 190

54
You can lock a backrest that has
been tilted forward. This makes
sense when, for instance, someone is
climbing into the rear on an incline. To
do this, press against the backrest until
you hear it click into place. To move it
back into place, you do not need to first
unlock it by moving the lever 1.<
Lock both backrests while driving,
otherwise there is a danger of an
unexpected movement causing an
accident.<
The indicator lamp in the instru-
ment cluster flashes when the
backrest is not locked, refer to
page 18.
Safety beltsAlways wear your safety beltAlways fasten your safety belt before
starting off. As supplemental restraint
devices, the airbags are designed to
enhance the effectiveness of the safety
belts, and not to replace them.
Always detach the rear safety
belts from their retainers before
wearing.<
To avoid undesired movement at
high speeds, always store the rear
safety belts in their retainers when they
are not in use.
The warning lamp lights up after
a short driving distance until the
driver and front passenger have
fastened their safety belts. At the same
time, an acoustic signal is sounded.
The warning lamp also lights up and the
acoustic signal sounds if the driver or
front passenger unfastens his or her
safety belt while the vehicle is in
motion.
To release1. Press the red button in the belt
buckle
2. Hold the belt
3. Guide the belt back into its reel.Safety belt heightThe front belt system automatically
adapts to your body size when the
height of the head restraint is adjusted.
Refer to page 52.
Entering the rear
Page 58 of 190

58
Interior rearview mirrorTo reduce glare from vehicles behind
you when you are driving at night, tilt
the mirror by turning the button.
Vehicles without alarm system:
Tilt the small lever forward.
Interior rearview mirror with
automatic dimming feature*While the vehicle is being driven for-
ward, this mirror dims light through an
infinitely variable range depending on
the light's incidence. Two photocells in
the interior rearview mirror serve this
purpose. One is positioned in the mir-
ror, while the other is slightly offset on
the opposite side of the mirror.
To ensure perfect functioning, keep the
photocells clean and the area between
the interior rearview mirror and the
windshield free of any obstruction like
stickers, etc.
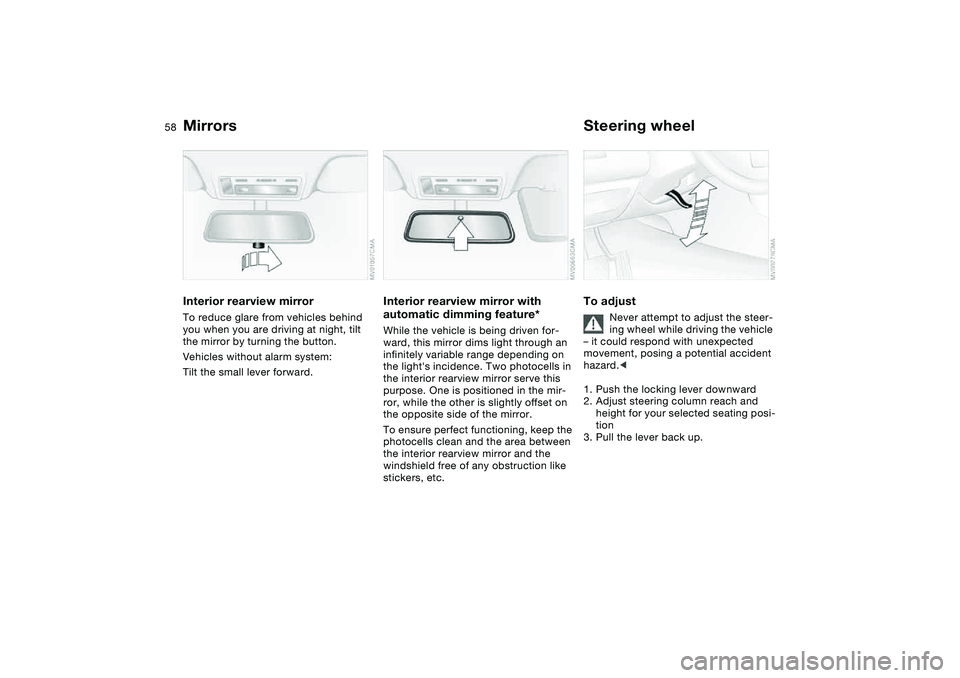
Steering wheelTo adjust
Never attempt to adjust the steer-
ing wheel while driving the vehicle
– it could respond with unexpected
movement, posing a potential accident
hazard.<
1. Push the locking lever downward
2. Adjust steering column reach and
height for your selected seating posi-
tion
3. Pull the lever back up.
Mirrors
Page 63 of 190

63
It is recommended to cover the child-
restraint attaching clip with a soft mate-
rial to prevent damage to the stored
soft top.
Should a hard top be installed, the
fitting of child harness tether
strap/s – if child seat is required – is
necessary before installation of the
hard top.<
Before installing any child-
restraint device or child seat,
please read the following:
Never install a rearward-facing child-
restraint system in the front passenger
seat of this vehicle.
Your vehicle is equipped with an airbag
supplemental restraint system for the
front passenger. Because the backrest
on any rearward-facing child-restraint
system – of the kind designed for
infants under 1 year and 20 lbs/9 kg –
would be within the airbag's deploy-
ment range, you should never mount
such a device in the front passenger
seat, since the impact of the airbag
against the child restraint's backrest
could lead to serious or fatal injuries.
If it is necessary for a child – not an
infant – to ride in the front seat, certain
precautions should be taken. First,
move the passenger seat as far away
from the dashboard as possible. This
important precaution is intended to
maximize the distance between the air-
bag and the child. Older children
should be tightly secured with the
safety belt after they have outgrown a
booster seat that is appropriate for their
age, height, and weight. Younger chil-
dren should be secured in an appropri-
ate forward-facing child-restraint sys-
tem that has first been properly
installed with a safety belt.
Never install a rearward-facing child-
restraint system in the front passenger
seat.
We strongly urge you to carefully read
and comply with the instructions for
installation and use provided by the
child restraint's manufacturer when-
ever you use such a device.
Do not attempt to modify child-restraint
systems. If you do this, the protection
provided by these systems could be
impaired.
Be sure that all occupants – of all ages –
remain properly and securely restrained
at all times.<
All rear seating positions in your vehicle
meet the recommendations of
SAE J1819, an industry-recommended
practice for securing child-restraint sys-
tems in motor vehicles.
Transporting children safely
OverviewControlsMaintenanceRepairsDataIndex