Page 129 of 190

129
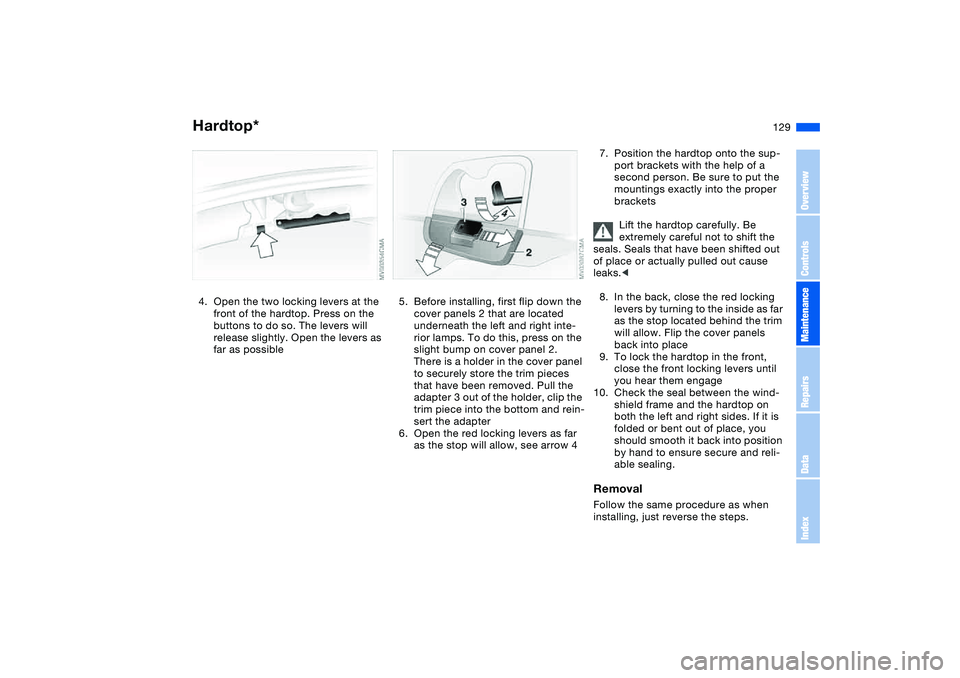
4. Open the two locking levers at the
front of the hardtop. Press on the
buttons to do so. The levers will
release slightly. Open the levers as
far as possible
5. Before installing, first flip down the
cover panels 2 that are located
underneath the left and right inte-
rior lamps. To do this, press on the
slight bump on cover panel 2.
There is a holder in the cover panel
to securely store the trim pieces
that have been removed. Pull the
adapter 3 out of the holder, clip the
trim piece into the bottom and rein-
sert the adapter
6. Open the red locking levers as far
as the stop will allow, see arrow 4
7. Position the hardtop onto the sup-
port brackets with the help of a
second person. Be sure to put the
mountings exactly into the proper
brackets
Lift the hardtop carefully. Be
extremely careful not to shift the
seals. Seals that have been shifted out
of place or actually pulled out cause
leaks.<
8. In the back, close the red locking
levers by turning to the inside as far
as the stop located behind the trim
will allow. Flip the cover panels
back into place
9. To lock the hardtop in the front,
close the front locking levers until
you hear them engage
10. Check the seal between the wind-
shield frame and the hardtop on
both the left and right sides. If it is
folded or bent out of place, you
should smooth it back into position
by hand to ensure secure and reli-
able sealing.RemovalFollow the same procedure as when
installing, just reverse the steps.
Hardtop*
OverviewControlsMaintenanceRepairsDataIndex
Page 130 of 190

130Wheels and tires
Tire inflation pressureInformation for your safetyIt is not merely the tire's service life, but
also driving comfort and, above all else,
driving safety that depend on the condi-
tion of the tires and the maintenance of
the specified tire inflation pressure.
Check tire inflation pressures on a
regular basis and correct them, if
necessary, including the compact
wheel: at least twice a month and
before beginning a longer trip. If this is
not done, incorrect tire pressures can
cause driving instability and tire dam-
age, ultimately resulting in accidents.
Do not drive with a pressureless, i.e.
flat, tire, unless your vehicle is
equipped with Run Flat tires. A flat tire
greatly impairs steering and braking
response, and can lead to complete
loss of control over the vehicle.
of cold tires. This means after driving a
maximum of 1.25 miles/2 km or after
the vehicle has been parked for at least
2 hours. Warm tires have higher infla-
tion pressures.
After correcting the tire inflation pres-
sure, reinitialize the Flat Tire Monitor,
refer to page 93.
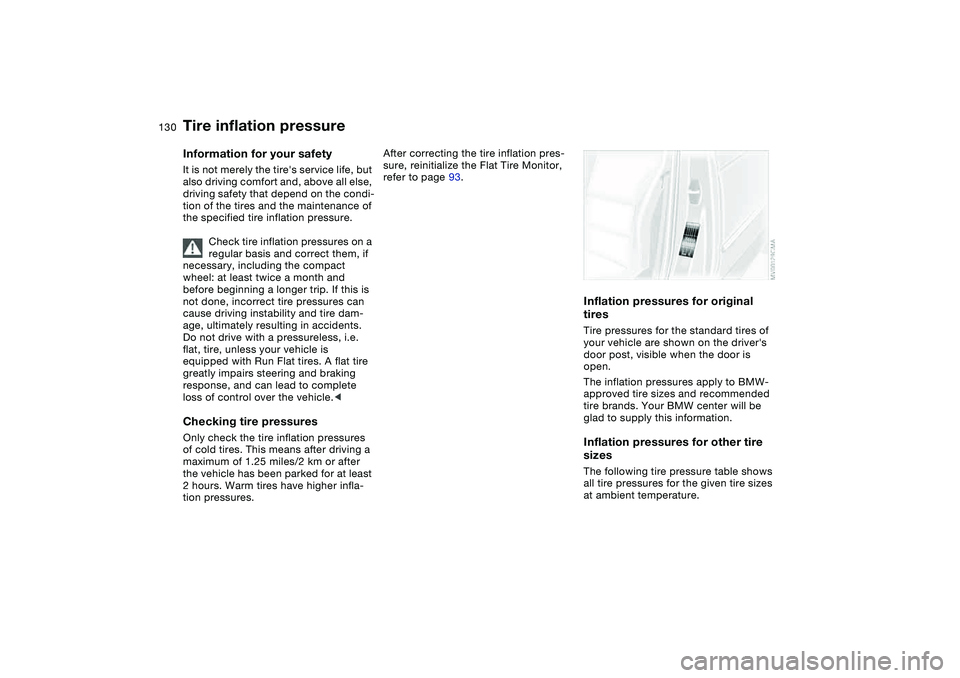
Inflation pressures for original
tiresTire pressures for the standard tires of
your vehicle are shown on the driver's
door post, visible when the door is
open.
The inflation pressures apply to BMW-
approved tire sizes and recommended
tire brands. Your BMW center will be
glad to supply this information.Inflation pressures for other tire
sizesThe following tire pressure table shows
all tire pressures for the given tire sizes
at ambient temperature.
Page 131 of 190
131
BMW Tires
All pressure specifications in the table are indicated
in psi/kilopascal with cold tires –
cold = ambient temperature
325Ci 205/55 R 16 91 H M+S
205/55 R 16 91 H
225/50 R 16 92 W
225/45 R 17 91 W29/200 33/230 36/250 44/300
225/45 ZR 17
245/40 ZR 1729/200
––
33/23036/250
––
44/300
205/50 R 17 93 V M+S extra load
205/50 R 17 93 W extra load
205/55 R 16 91 Q M+S
225/50 R 16 92 Q M+S
205/50 R 17 93 Q M+S extra load
225/45 R 17 91 Q M+S32/220 36/250 39/270 46/320Tire inflation pressure
OverviewControlsMaintenanceRepairsDataIndex
Page 133 of 190

133
Tire codeKnowing the tire code on the tire side-
wall makes it easier to correctly choose
and identify your tires.Tire sizeE.g. 205/60 R 15 91 W
205 = Nominal width in mm
60 = Cross-sectional ratio in %
R = Radial belt construction
15 = Rim diameter in inches
91 = Load index, not on ZR tires
W = Speed rating, in front of the R on
ZR tiresSpeed ratingQ = up to 100 mph (160 km/h)
T = up to 118 mph (190 km/h)
H = up to 130 mph (210 km/h)
V = up to 150 mph (240 km/h)
W = up to 167 mph (270 km/h)
Y = up to 186 mph (300 km/h)Tire Identification NumberTires with DOT codes comply with the
guidelines of the U.S. Department of
Transportation.DOT code:
E.g. DOT xxxx xxx 1004
xxxx = Manufacturer's code for tire
brand
xxx = Tire size and tire version
1004 = Tire age
Tire ageThe date on which the tire was manu-
factured is indicated by the code on the
sidewall:
DOT … 1004 indicates that the tire was
manufactured in week 10 of the year
2004.
BMW recommends the replacement of
all tires when they are no more than
6 years old, even if a tire life of 10 years
is possible.Uniform Tire Quality GradingQuality grades can be found where
applicable on the tire sidewall between
tread shoulder and maximum section
width. For example:
Trea dwear 200 Traction AA
Temperature ADOT quality gradesTread wearTraction AA A B C
Temperature A B C
All passenger car tires must con-
form to Federal Safety Require-
ments in addition to these grades.<
Tread wearThe tread wear grade is a comparative
rating based on the wear rate of the tire
when tested under controlled condi-
tions on a specified government test
course.
For example, a tire graded 150 would
wear one and one-half – 1
1/2 – times as
well on the government course as a tire
graded 100. The relative performance
of tires depends upon the actual condi-
tions of their use, however, and may
depart significantly from the norm due
to variations in driving habits, service
practices and differences in road char-
acteristics and climate.
TractionThe traction grades, from highest to
lowest, are AA, A, B, and C.
OverviewControlsMaintenanceRepairsDataIndex
Page 135 of 190

135
Tire treadTread depth should not be allowed to
go below 1/8 in/3 mm, even though
European legislation, for example,
requires a mimimum tread depth of only
1/16 in/1.6 mm. Below 1/8 in/3 mm
tread depth, there is a great risk of
hydroplaning, even at relatively moder-
ate speeds and with only small amounts
of water on the road.
At tread depths below approx.
3/16 in/4 mm, tire performance under
winter driving conditions deteriorates
noticeably. Worn tires should therefore
be replaced for safety considerations.
Tread wear indicators in the tread-
groove base, see arrow, are distributed
around the wheel circumference and
are labeled on the tire sidewall with
TWI, Tread Wear Indicator. At a tread
depth of 1/16 in/1.6 mm, the indicators
signal that the legally permissible wear
limit has been reached.
Run Flat tires*Run Flat tires are labeled on the side-
wall with a circular symbol containing
the letters RSC.
Run Flat tires consist of self-supporting
tires and special rims. The tire rein-
forcement ensures that driving remains
possible to a restricted degree in the
event of pressure drop or even if the tire
is deflated.Driving with a damaged tireDepending on the cargo load, Run Flat
tires allow you to continue driving at a
maximum speed of 50 mph / 80 km/h.
Tire condition
OverviewControlsMaintenanceRepairsDataIndex
Page 137 of 190

137
tire center, preferably your BMW cen-
ter. Observe any country-specific regu-
lations, e.g. on making a corresponding
entry in the vehicle documents.
The factory-approved radial belt tires
are matched to your vehicle and pro-
vide optimum safety and driving com-
fort when used properly.Run Flat tiresIf your vehicle is equipped with Run Flat
tires, refer to Run Flat tires, use only
these tires since no spare wheel is
available in the event of a flat.Special characteristics of winter
tiresBMW recommends the use of winter
tires for operation under winter road
conditions. While all-season tires with
M+S designation provide better winter
traction than summer tires, they gener-
ally do not achieve the full performance
of winter tires.
Run Flat tires:
If your vehicle is equipped with Run Flat
tires, refer to Run Flat tires, please note
the following: when mounting new tires
or replacing summer tires with winter tires, or vice versa, use only Run Flat
tires since no spare wheel is available
in the event of a flat. Your BMW center
wil be glad to advise you.
Observing speed ratings:
Never exceed the maximum
speed for which the winter tires
are rated. Unprofessional attempts by
laymen to service tires can lead to dam-
age and accidents. Have this work per-
formed by skilled professionals only.
The technicians at your BMW center
will be glad to assist you with the
required professional knowledge and
specialized equipment.<
StorageAlways store tires in a cool, dry place.
Store them away from light whenever
possible. Protect the tires against con-
tact with oil, grease and fuel. Do not
exceed the maximum tire inflation pres-
sures specified on the tire sidewall.
Snow chains*Only certain snow chains have been
tested by BMW and determined and
approved as roadworthy. Consult your
BMW center for details. BMW recom-
mends using only these approved fine-
link snow chains. Use them in pairs on
either summer or winter tires, but only
on both rear wheels.
Comply with all manufacturer's safety
precautions when mounting the chains.
Do not exceed a speed of 30 mph /
50 km/h when using snow chains.
You cannot mount snow chains with the
following tires:
>225/50 R 16
>225/45 R 17
>245/40 R 17
>225/40 R 18
>255/35 R 18.
Do not initialize the Flat Tire Moni-
tor after mounting snow chains to
the tires.
When driving with snow chains, it may
be useful to turn off the DSC for a short
time, refer to page 92.<
New wheels and tires
OverviewControlsMaintenanceRepairsDataIndex
Page 139 of 190
139
OverviewControlsMaintenanceRepairsDataIndex
Page 141 of 190
141
1Brake fluid reservoir145
2Engine oil dipstick142
3Coolant expansion tank144
4Reservoir for the headlamp and wind-
shield washer system142
5Engine oil filler neck143
6Auxiliary terminal for jump-
starting163Engine compartment essentials
OverviewControlsMaintenanceRepairsDataIndex