Page 51 of 194
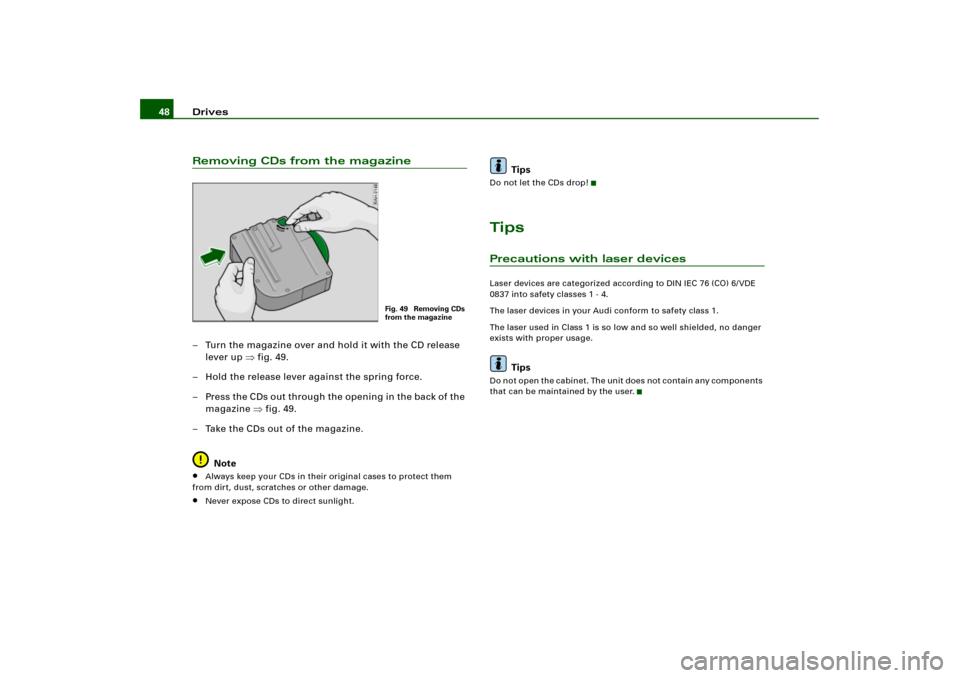
Drives 48Removing CDs from the magazine– Turn the magazine over and hold it with the CD release
lever up �fig.49.
– Hold the release lever against the spring force.
– Press the C Ds o ut through the open ing in the back of the
magazine �fig.49.
– Take the CDs out of the magazine.
Note�
Always keep your CDs in their original cases to protect them
from dirt, dust, scratches or other damage.
�
Never expose CDs to direct sunlight.
Tips
Do not let the CDs drop!TipsPrecautions with laser devicesLaser devices are categorized according to DIN IEC 76 (CO) 6/ VDE
0837 into safety classes 1 - 4.
The laser devices in your Audi conform to safety class 1.
The laser used in Class 1 is so low and so well shielded, no danger
exists with proper usage.
Tips
D o n o t o p e n t h e c a b i n e t . Th e u n i t d o e s n o t c o n t a i n a n y c o m p o n e n t s
that can be maintained by the user.
Fig. 49 Removing CDs
from the magazine
Page 69 of 194
RADIO65
General operation
RADIO, CD
NAME, TEL
NAV, INFO
CAR, SETUP
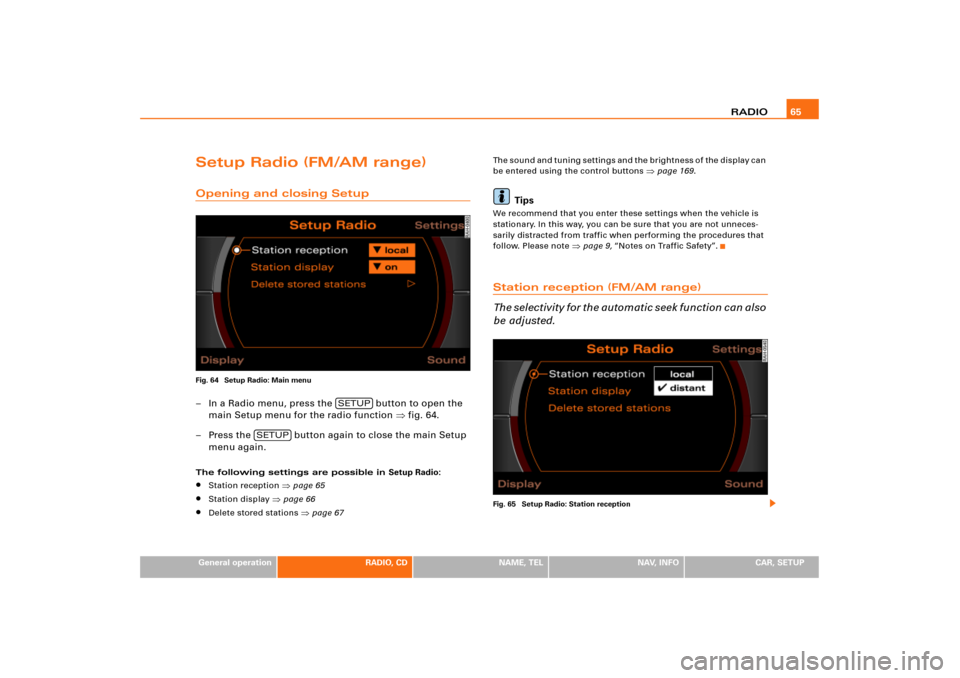
Setup Radio (FM/AM range)Opening and closing SetupFig. 64 Setup Radio: Main menu– In a Radio menu, press the button to open the
main Setup menu for the radio function �fig.64.
– Press the button again to close the main Setup
menu again.The following settings are possible in Setup Radio:�
Station reception
�page 65
�
Station display
�page 66
�
Delete stored stations
�page 67The sound and tuning settings and the brightness of the display can
be entered using the control buttons
�page 169.
Tips
We recommend that you enter these settings when the vehicle is
stationary. In this way, you can be sure that you are not unneces-
sarily distracted from traffic when performing the procedures that
follow. Please note
�page 9, “Notes on Traffic Safety”.
Station reception (FM/AM range)
The selectivity for the automatic seek function can also
be adjusted.Fig. 65 Setup Radio: Station reception
SETUP
SETUP
Page 74 of 194
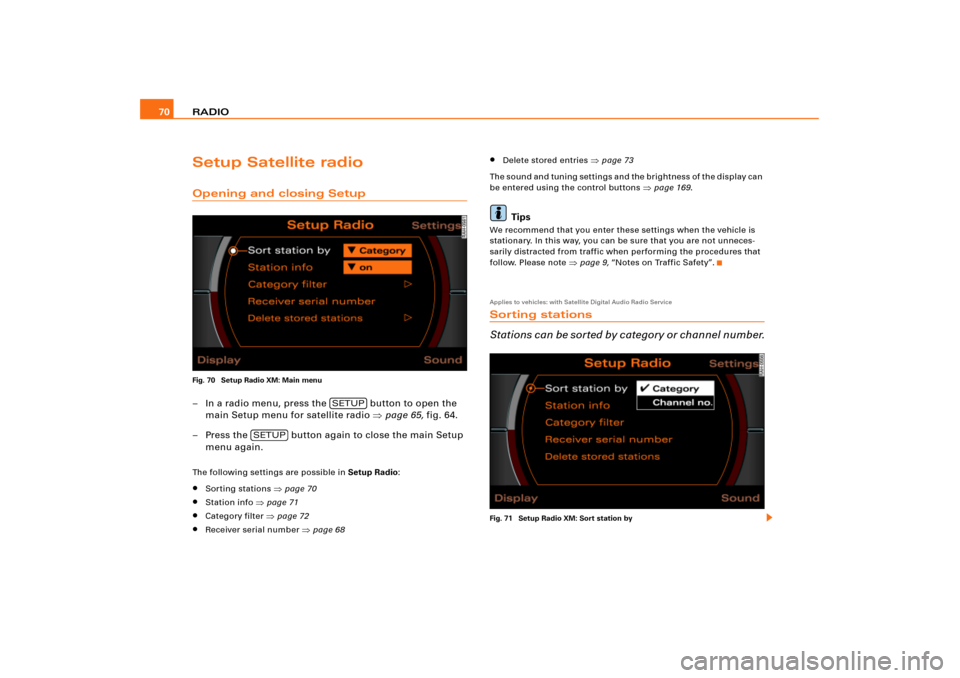
RADIO 70Setup Satellite radioOpening and closing SetupFig. 70 Setup Radio XM: Main menu– In a radio menu, press the button to open the
main Setup menu for satellite radio �page 65, fig.64.
– Press the button again to close the main Setup
menu again.The following settings are possible in Setup Radio:�
Sorting stations
�page 70
�
Station info
�page 71
�
Category filter
�page 72
�
Receiver serial number
�page 68
�
Delete stored entries
�page 73
The sound and tuning settings and the brightness of the display can
be entered using the control buttons
�page 169.
Tips
We recommend that you enter these settings when the vehicle is
stationary. In this way, you can be sure that you are not unneces-
sarily distracted from traffic when performing the procedures that
follow. Please note
�page 9, “Notes on Traffic Safety”.
Applies to vehicles: with Satellite Digital Audio Radio ServiceSorting stations
S t a t i o ns c a n b e s o r t e d b y c a t e g or y o r ch a n ne l n u mb e r.Fig. 71 Setup Radio XM: Sort station by
SETUP
SETUP
Page 86 of 194
CD/SD 82When the button is pressed again, the scanning stops and the title
currently being played will continue to play.
Tips
If you have set Repeat fo r a s i n g l e Tra c k in Setup CD, you cannot use
the Scan function
�page 82.
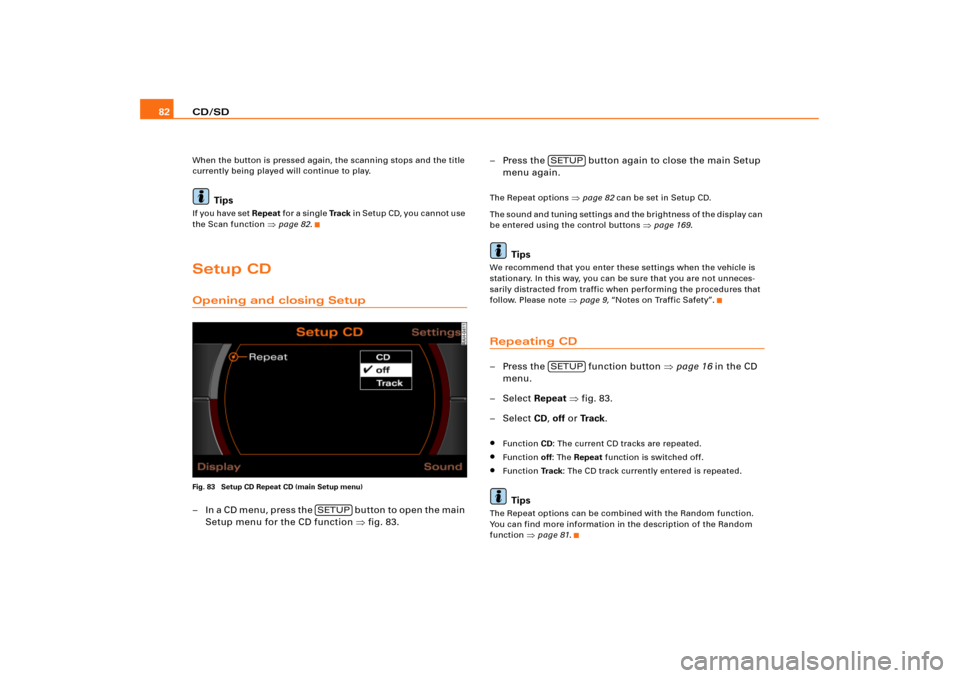
Setup CDOpening and closing SetupFig. 83 Setup CD Repeat CD (main Setup menu)– I n a C D m e n u , p r e s s t h e b u t t o n t o o p e n t h e m a i n
Setup menu for the CD function �fig.83.– Press the button again to close the main Setup
menu again.
The Repeat options
�page 82 can be set in Setup CD.
The sound and tuning settings and the brightness of the display can
be entered using the control buttons
�page 169.
Tips
We recommend that you enter these settings when the vehicle is
stationary. In this way, you can be sure that you are not unneces-
sarily distracted from traffic when performing the procedures that
follow. Please note
�page 9, “Notes on Traffic Safety”.
Repeating CD–Press the function button �page 16 in the CD
menu.
– Select Repeat �fig.83.
– Select CD, off or Tr a c k.�
Function CD: The current CD tracks are repeated.
�
Function off: The Repeat function is switched off.
�
Function Tr a c k: The CD track currently entered is repeated.Tips
The Repeat options can be combined with the Random function.
You can find more information in the description of the Random
function
�page 81.
SETUP
SETUPSETUP
Page 91 of 194
CD/SD87
General operation
RADIO, CD
NAME, TEL
NAV, INFO
CAR, SETUP
– By rotating and pressing the control knob, select NAME
(“Details”) to open more detailed information about the
current track �page 86, fig.89.If information about the current track, performer, album, year of
issue, specific comments and the category has been stored in the
MP3 file, you can bring up this information using NAME (“Details”).
Tips
Because there are different methods of generating MP3 files, it is
possible that MP3 files cannot be played or information cannot be
read. You can find additional hints starting on
�page 37.
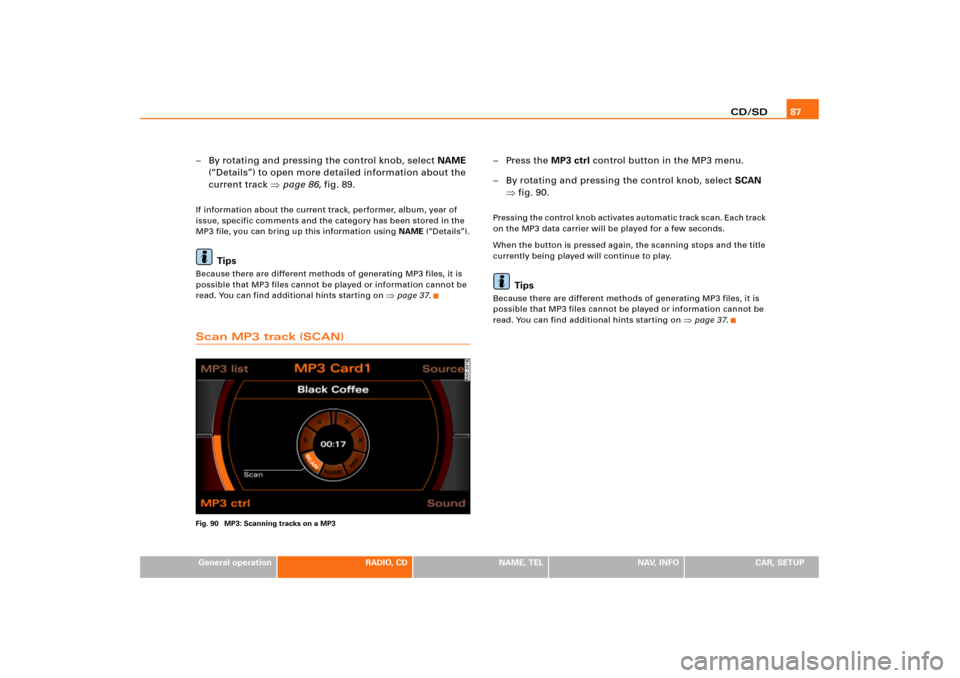
Scan MP3 track (SCAN)Fig. 90 MP3: Scanning tracks on a MP3
–Press the MP3 ctrl control button in the MP3 menu.
– By rotating and pressing the control knob, select SCAN
�fig.90.Pressing the control knob activates automatic track scan. Each track
on the MP3 data carrier will be played for a few seconds.
When the button is pressed again, the scanning stops and the title
currently being played will continue to play.
Tips
Because there are different methods of generating MP3 files, it is
possible that MP3 files cannot be played or information cannot be
read. You can find additional hints starting on
�page 37.
Page 92 of 194
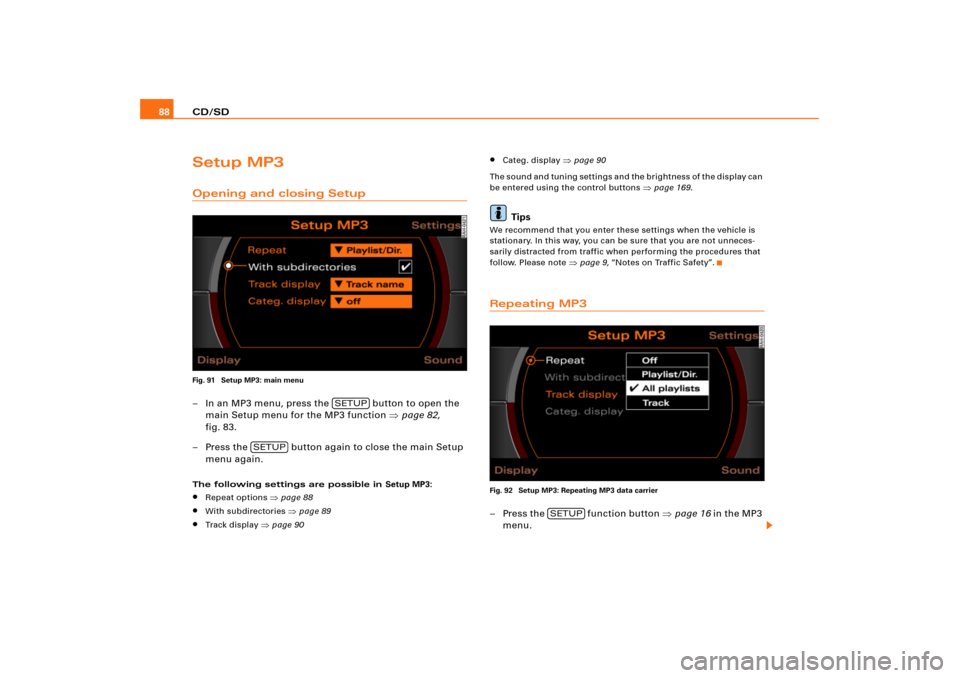
CD/SD 88Setup MP3Opening and closing SetupFig. 91 Setup MP3: main menu– In an MP3 menu, press the button to open the
main Setup menu for the MP3 function �page 82,
fig.83.
– Press the button again to close the main Setup
menu again.The following settings are possible in Setup MP3:�
Repeat options
�page 88
�
With subdirectories
�page 89
�
Tr a c k d i s p l a y
�page 90
�
Categ. display
�page 90
The sound and tuning settings and the brightness of the display can
be entered using the control buttons
�page 169.
Tips
We recommend that you enter these settings when the vehicle is
stationary. In this way, you can be sure that you are not unneces-
sarily distracted from traffic when performing the procedures that
follow. Please note
�page 9, “Notes on Traffic Safety”.
Repeating MP3Fig. 92 Setup MP3: Repeating MP3 data carrier– Press the function button �page 16 in the MP3
menu.
SETUP
SETUP
SETUP
Page 93 of 194
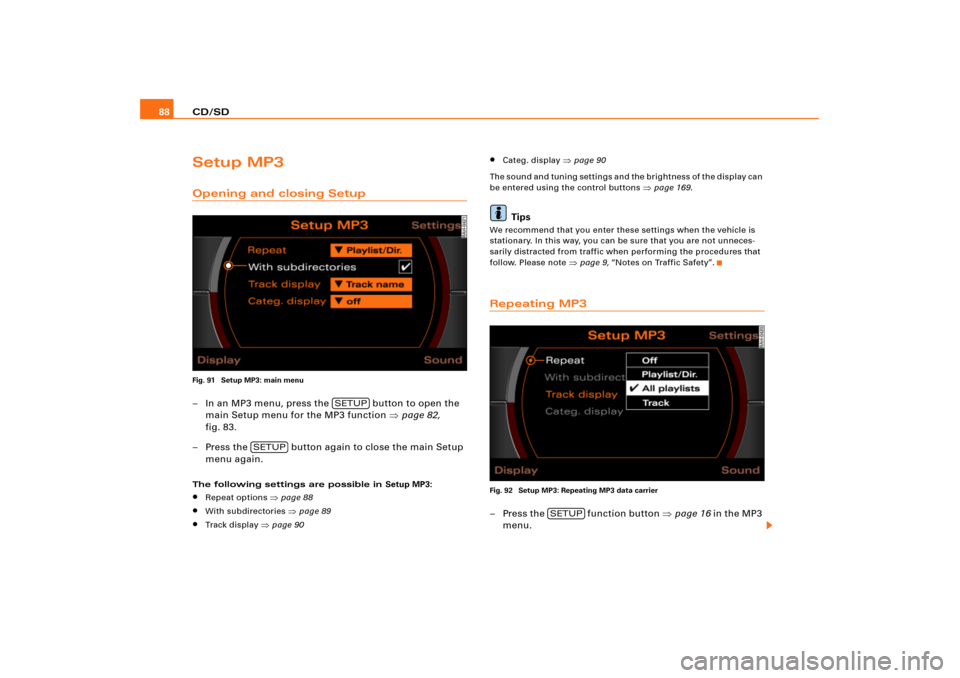
CD/SD 88Setup MP3Opening and closing SetupFig. 91 Setup MP3: main menu– In an MP3 menu, press the button to open the
main Setup menu for the MP3 function �page 82,
fig.83.
– Press the button again to close the main Setup
menu again.The following settings are possible in Setup MP3:�
Repeat options
�page 88
�
With subdirectories
�page 89
�
Tr a c k d i s p l a y
�page 90
�
Categ. display
�page 90
The sound and tuning settings and the brightness of the display can
be entered using the control buttons
�page 169.
Tips
We recommend that you enter these settings when the vehicle is
stationary. In this way, you can be sure that you are not unneces-
sarily distracted from traffic when performing the procedures that
follow. Please note
�page 9, “Notes on Traffic Safety”.
Repeating MP3Fig. 92 Setup MP3: Repeating MP3 data carrier– Press the function button �page 16 in the MP3
menu.
SETUP
SETUP
SETUP
Page 104 of 194
NAME (directory)99
General operation
RADIO, CD
NAME, TEL
NAV, INFO
CAR, SETUP
Tips
�
If you press the button
�page 16 wi t h i n t h e N a me f un c -
tion, you can program sound and tuning settings using the control
buttons and adjust the brightness for the display.
�
If you have not inserted a navigation DVD into the Navigation
DVD drive, you cannot use the Directory function.
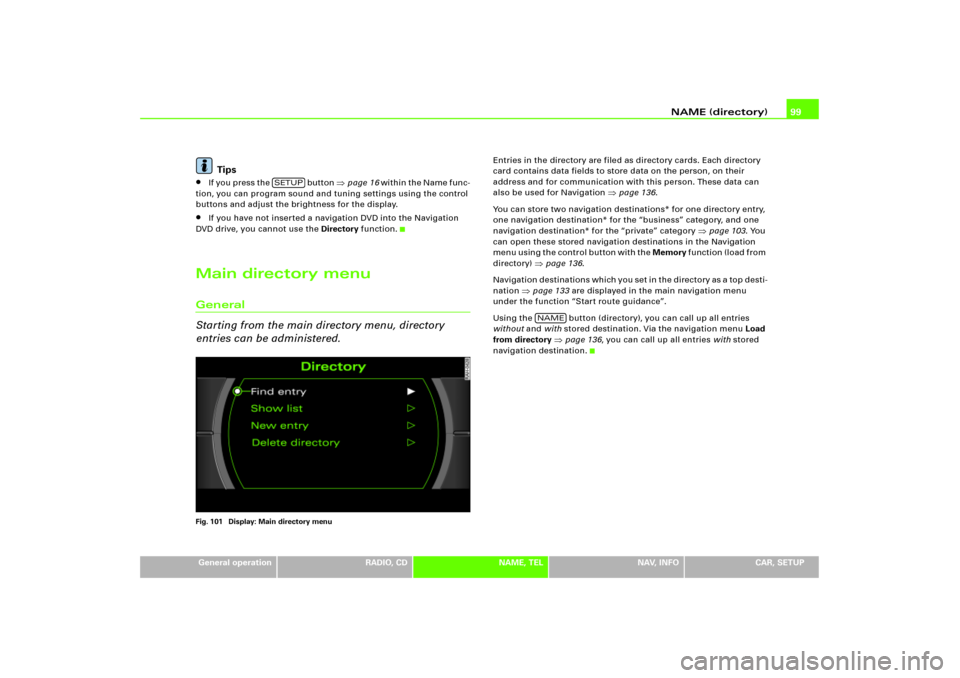
Main directory menuGeneral
Starting from the main directory menu, directory
entries can be administered.Fig. 101 Display: Main directory menu
Entries in the directory are filed as directory cards. Each directory
card contains data fields to store data on the person, on their
address and for communication with this person. These data can
also be used for Navigation
�page 136.
You can store two navigation destinations* for one directory entry,
one navigation destination* for the “business” category, and one
navigation destination* for the “private” category
�page 103. You
can open these stored navigation destinations in the Navigation
m e n u u s i n g t h e c o n t r o l b u t t o n w i t h t h e Memory f u n c t i o n ( l o a d f r o m
directory)
�page 136.
Navigation destinations which you set in the directory as a top desti-
nation
�page 133 are displayed in the main navigation menu
under the function “Start route guidance”.
Using the button (directory), you can call up all entries
without and with stored destination. Via the navigation menu Load
from directory
�page 136, you can call up all entries with stored
navigation destination.
SETUP
NAME