Page 206 of 255
CONT INUED
If you have a f lat tire while driving,
stop in a saf e place to change it.
Drive slowly along the shoulder until
you get to an exit or an area to stop
that is far away from the traffic lanes.Park the vehicle on f irm, level, and
non-slippery ground. Put the
transmission in Park (automatic)
or reverse (manual). Apply the
parking brake. If you are towing a
trailer, unhitch the trailer.Open the hatch. Pull up the f loor
mat and remove the spare tire
cover.
Unscrew the wing bolt. Turn on the hazard warning lights,
and turn the ignition switch to the
LOCK (0) position. Have all
passengers get out of the vehicle
while you change the tire.
1. 2.
3.
4.
Changing a Flat Tire
T aking Care of t he Unexpect ed
205
TOOL KIT
JACK
The vehicle can easily roll off
the jack, seriously injuring
anyone underneath.
Follow the directions for
changing a tire exactly, and
never get under the vehicle
when it is supported only by the
jack.
Page 211 of 255
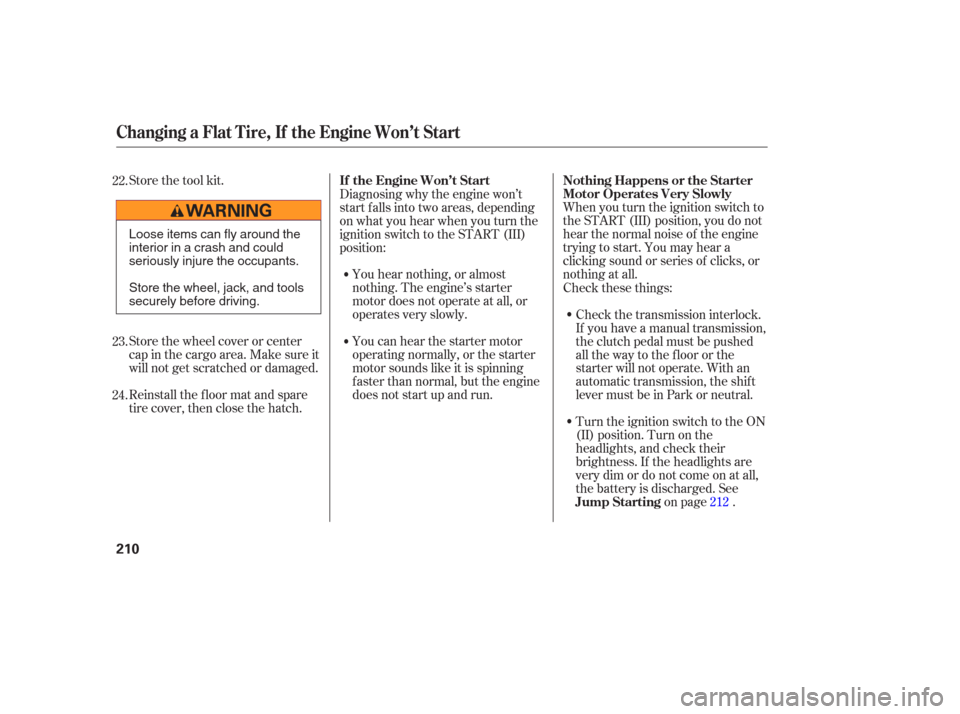
Store the tool kit.
Store the wheel cover or center
cap in the cargo area. Make sure it
will not get scratched or damaged.When you turn the ignition switch to
the START (III) position, you do not
hear the normal noise of the engine
trying to start. You may hear a
clicking sound or series of clicks, or
nothing at all.
Reinstall the f loor mat and spare
tire cover, then close the hatch. Diagnosing why the engine won’t
start f alls into two areas, depending
on what you hear when you turn the
ignition switch to the START (III)
position:
You hear nothing, or almost
nothing. The engine’s starter
motor does not operate at all, or
operates very slowly.
You can hear the starter motor
operating normally, or the starter
motor sounds like it is spinning
f aster than normal, but the engine
does not start up and run. Check these things:
Check the transmission interlock.
If you have a manual transmission,
the clutch pedal must be pushed
all the way to the f loor or the
starter will not operate. With an
automatic transmission, the shift
lever must be in Park or neutral.
Turn the ignition switch to the ON
(II) position. Turn on the
headlights, and check their
brightness. If the headlights are
very dim or do not come on at all,
the battery is discharged. See on page .
22.
23.
24.
212
Changing a Flat Tire, If the Engine Won’t Start
If the Engine Won’t StartNothing Happens or the Starter
Motor Operates Very Slowly
Jump Starting
210
Loose items can fly around the
interior in a crash and could
seriously injure the occupants.
Store the wheel, jack, and tools
securely before driving.
Page 213 of 255

�´�´
Although this seems like a simple
procedure, you should take several
precautions.
To jump start your vehicle:
Open the hood, and check the
physical condition of the battery.
In very cold weather, check the
condition of the electrolyte. If it
seems slushy or f rozen, do not try
jump starting until it thaws.
You cannot start your vehicle with an
automatic transmission by pushing
or pulling it. Turn of f all the electrical
accessories: heater, A/C, audio
system, lights, etc.
Put the transmission in neutral
(manual) or Park (automatic), and
set the parking brake.Connect one jumper cable to the
positive ( ) terminal on your
battery. Connect the other end to
the positive ( ) terminal on the
booster battery.
1.
2. 3.
Jump Starting
212
A battery can explode if you do
not follow the correct procedure,
seriously injuring anyone
nearby.
Keep all sparks, open flames,
and smoking materials away
from the battery.
If a battery sits in extreme cold, the
electrolyte inside can f reeze.
Attempting to jump start with a f rozen
battery can cause it to rupture.
Page 215 of 255

The pointer of the vehicle’s
temperature gauge should stay in
the midrange. If it climbs to the red
mark, you should determine the
reason (hot day, driving up a steep
hill, etc.).If you see steam and/or spray
coming f rom under the hood, turn
of f the engine. Wait until you see
no more signs of steam or spray,
then open the hood.
If you do not see steam or spray,
leave the engine running, and
watch the temperature gauge. If
the high heat is due to overloading,
the engine should start to cool
down almost immediately. If it
does, wait until the temperature
gauge comes down to the midpoint,
then continue driving.
If the temperature gauge stays at
the red mark, turn of f the engine.
If your vehicle overheats, you should
take immediate action. The only
indication may be the temperature
gauge climbing to or above the red
mark. Or you may see steam or
spray coming f rom under the hood.
Saf ely pull to the side of the road.
Put the transmission in neutral
(manual) or Park (automatic), and
set the parking brake. Turn of f all
the accessories, and turn on the
hazard indicators.
1. 2.
3.
4.
If theEngineOverheats
214
Steam and spray from an
overheated engine can
seriously scald you.
Do not open the hood if steam
is coming out.
Driving with the temperature gauge
pointer at the red mark can cause
serious damage to the engine.
Page 226 of 255

�µ�µ
CONT INUED
If your vehicle needs to be towed,
call a prof essional towing service or
an organization. Never tow your
vehicle with just a rope or chain. It is
very dangerous. With the f ront wheels on the ground,
it is best to tow the vehicle no farther
than 50 miles (80 km), and keep the
speedbelow35mph(55km/h).
Release the parking brake. Turn of f the engine.
ShifttoD,thentoN.
Start the engine. Shif t the transmission to neutral. Release the parking brake.
If , due to damage, your vehicle must
be towed with the f ront wheels on
the ground, do this:
Therearetwowaystotowyour
vehicle: The operator
loads your vehicle on the back of a
truck.
The tow
truck uses two pivoting arms that go
under the tires (f ront or rear) and lif t
them of f the ground. The other two
tires remain on the ground.
Automatic Transmission:
Manual Transmission:
Emergency Towing
Flat -bed Equipment
Wheel-lif t Equipment
This is the best way to trans-
port your vehicle.
T his is
an acceptable way to tow your
vehicle.
T aking Care of t he Unexpect ed
225
Trying to lif t or tow your vehicle by the
bumpers will cause serious damage.
The bumpers are not designed to
support the vehicle’s weight.
Improper towing preparation will
damage the transmission. Follow the
above procedure exactly. If you cannot
shif t the transmission or start the
engine (automatic transmission), your
vehicle must be transported with the
f ront wheels of f the ground.
Page 230 of 255
The transmission number is on a
label on top of the transmission. The engine number is stamped into
the engine block.
Identif ication Numbers
Technical Inf ormation
229
ENGINE NUMBERMANUAL TRANSMISSION NUMBER
AUTOMATIC TRANSMISSION NUMBER
Page 232 of 255

�µ
�µ
�Î
�Î
�Î
�µ
�µ
�µ
�µ
�µ
�µ
�µ
�µ
�µ
�µ
�µ
�µ
�µ
�µ
�µ
�µ
�Î
�Î
�Î
�Î�Î
�Î
Specif ications
Technical Inf ormation
231
Capacities
Fuses
Alignment
Battery Tires
Lights
0.0in(0mm)
0.08 in (2.0 mm) 0°30’
1.8 US qt (1.7
)
1.6 US qt (1.5)
2.9 US qt (2.7
)
6.9 US qt (6.5)
2.6 US qt (2.5)
4.8 US qt (4.5)
1°00’
2°53’
P205/55R16 89V
P195/65R15 89H
Manual
transmission
fluid
Interior
Under-hood
Toe-in
Camber
Caster
12 V
12 V
12 V 12 V
5W 65 W
21 W 55 W
60 psi (420 kPa , 4.2 kgf/cm
)
31 psi (220 kPa , 2.2 kgf/cm)
31 psi (220 kPa , 2.2 kgf/cm)
T125/70D16 96M
T135/70D15 99M
Capacity 12 V 36 AH/5 HR12 V
12 V
12 V
12 V
12 V
12 V
12 V
12 V
12 V
12 V
3.4 W
8W
5W
8W
5W
18 W
5W
21 W
21 W/5 W
21 W
12 V 5 W
Size
Pressure P215/45R17 87V
Headlights
Front turn signal lights
Front parking lights
Front side marker lights
Rear turn signal lights
Brake/Taillights
High-mount brake light
Rear side marker lights
Back-up lights
License plate lights
Ceiling light
Cargo area light
Spotlights
Glove box light See page223or the fuse label
attached to the inside of the fuse
box door under the dashboard.
See page224or the fuse box
cover.
High
Low Front
Rear
Front
Rear
Front
Type-S
Change
Total
Change
Total
U.S. vehicles
Canadian
vehicles
1:
2:
3:Front/Rear
Spare
Front
Rear
Spare
(HB3)
(Amber)
(Amber)
Canadian standard model
U.S. base model and Canadian Premium models
Automatic trans-
mission fluid
Windshield
washer reservoir
1
2
3
1, 2
3
Page 237 of 255

The onboard ref ueling vapor
recovery (ORVR) system captures
the f uel vapors during ref ueling. The
vapors are adsorbed in a canister
f illed with activated carbon. While
driving, the f uel vapors are drawn
into the engine and burned of f .
The exhaust emissions controls
include three systems: PGM-FI,
ignition timing control, and three
way catalytic converter. These three
systems work together to control the
engine’s combustion and minimize
the amount of HC, CO, and NOx that
comes out the tailpipe. The exhaust
emissions control systems are
separate f rom the crankcase and
evaporative emissions control
systems.The emissions control systems are
covered by warranties separate from
the rest of your vehicle. Read your
warranty manual for more informa-
tion. The emissions control systems are
designed and certif ied to work
together in reducing emissions to
levels that comply with the Clean Air
Act. To make sure the emissions
remain low, you should use only new
Acura replacement parts or their
equivalent f or repairs. Using lower
qualitypartsmayincreasethe
emissions f rom your vehicle.
The three way catalytic converter is
in the exhaust system. Through
chemical reactions, it converts HC,
CO, and NOx in the engine’s exhaust
to carbon dioxide (CO ), nitrogen
(N ), and water vapor. This system constantly adjusts the
ignition timing, reducing the amount
of HC, CO, and NOx produced. The PGM-FI system uses sequential
multiport f uel injection. It has three
subsystems: air intake, engine
control, and f uel control. The
powertrain control module (PCM) in
automatic transmission vehicles or
the engine control module (ECM) in
manual transmission vehicles use
various sensors to determine how
much air is going into the engine. It
then controls how much f uel to inject
under all operating conditions.
2
2
Emissions Cont rols
Onboard Ref ueling Vapor
Recovery
Exhaust Emissions Controls Replacement PartsPGM-FI System
Three Way Catalytic Converter
Ignit ion T iming Cont rol Syst em
236

