2005 VOLVO S80 change time
[x] Cancel search: change timePage 3 of 123

Fuel filler door
The fuel filler door, located on the right rear fender, is connected to your car's central locking system.
Press the button on the light switch panel (see page 32
) when the car is at a standstill to unlock the fuel filler door.
Please note that the fuel filler door will remain unlocked until the car begins to move forward.
An audible click will be heard when the fuel filler door relocks.
Fuel filler cap
After refueling, close the fuel filler cap by turning it clockwise until it clicks into place. If this cap is not closed tightly
or if the engine is running when the car is refueled, the Malfunction Indicator Lamp ("Check Engine" light) may
indicate a fault. WARNING! If your vehicle is
Warning!
If your vehicle is involved in an accident, unseen damage may affect your vehicle's driveability and safety.
Important
Before you operate your car for the first time, please familiarize yourself with the new-engine oil consumption
information on page 136
. You should also be familiar with the information in chapters one, two and four of this
manual.
Information contained in the balance of the manual is extremely useful and should be read after operating the
vehicle for the first time.
The manual is structured so that it can be used for reference. For this reason, it should be kept in the car for
ready access. Do not export your Volvo to another country before investigating that country's applicable safety
and exhaust emission requirements. In some cases it may be difficult or impossible to comply with these
requirements. Modifications to the emission control system(s) may render your Volvo not certifiable for legal
operation in the U.S., Canada and other countries.
All information, illustrations and specifications contained in this manual are based on the latest product
information available at the time of publication. Please note that some vehicles may be equipped differently,
depending on special legal requirements and that optional equipment described in this manual may not be
available in all markets.
Volvo reserves the right to make model changes at any time, or to change specifications or design, without
notice and without incurring obligation.
CALIFORNIA Proposition 65 Warning
WARNING! Engine exhaust, some of its constituents, and certain vehicle components contain or emit chemicals
known to the state of California to cause cancer, and birth defects or other reproductive harm. In addition, certain
fluids contained in vehicles and certain products of component wear contain or emit chemicals known to the State
of California to cause cancer, and birth defects or other reproductive harm.
Volvo and the environment
Volvo is committed to the well being of its customers. As a natural part of this commitment, we care about the
environment in which we all live. Caring for the environment means an everyday involvement in reducing our
environmental impact.
Volvo's environmental activities are based on a holistic view, which means we consider the overall environmental
impact of a product throughout its complete life cycle. In this context, design, production, product use, and recycling
are all important considerations.
ProCarManuals.com
Page 22 of 123

Canadian models are equipped with this warning light:
Oil pressure warning light
If the light comes on while driving, stop the car and then stop the engine immediately and check the engine oil
level . See page 137
. If the light stays on after restart, have the car towed to the nearest authorized Volvo retailer. After
hard driving, the light may come on occasionally when the engine is idling. This is normal, provided it goes off when
the engine speed is increased.
Generator warning light
If the light comes on while the engine is running, have the charging system checked.
* Rear fog light, if used, and trailer turn signal, if towing a trailer, will go on while driving.
pg. 29 Indicator and warning lights
Rear fog light
This light indicates that the rear fog light is on.
CHECK
ENGINE
Malfunction indicator lamp
On-Board Diagnostic II (OBDII): As you drive, a computer called "OBDII" monitors your car's engine, transmission,
electrical and emission systems. The CHECK ENGINE light will light up if the computer senses a condition that
potentially may need correcting. When this happens, please have your car checked by a Volvo retailer as soon as
possible.
A CHECK ENGINE light may have many causes. Sometimes, you may not notice a change in your car's behavior.
Even so, an uncorrected condition could hurt fuel economy, emission cleanliness, and driveability. Extended driving
without correcting the cause could even damage other components in your car.
Canadian models are equipped with this warning light:
NOTE : If the fuel filler cap is not closed tightly or if the engine is running when the car is refueled, the Malfunction
Indicator Lamp may indicate a fault. However, your vehicle's performance will not be affected. Use only Volvo
original or approved fuel filler caps.
Anti-lock Brake System ABS
If the warning light comes on, there is a malfunction of the ABS system (the standard braking system pwill however
function). The vehicle should be driven to a Volvo retailer for inspection. See page 19
for additional information.
Stability Traction Control (STC) system (option), or Dynamic Stability and Traction Control (DSTC) system
(option)
This indicator light will flash with STC or DSTC is actively working to stabilize the car. See pages 20-21
for more
detailed information.
ProCarManuals.com
Page 29 of 123

Volvo cares about the environment. The air conditioning system in your car contains a CFC-free refrigerant - R134a
(HFC134a). This substance will not deplete the ozone layer. The system contains 2.2 lbs (1000 g) R134a and uses
PAG oil.
Passenger compartment blower
Approximately 50 minutes after the ignition is turned off, the blower may come on automatically, and run for five
minutes, to remove condensation in the A/C evaporator.
pg. 51 Electronic Climate Control (ECC) - with Interior Air Quality system (option)
Interior Air Quality system (option)
Some cars are equipped with a multifilter and air quality sensor. The filter separates gases and particles, thereby
reducing the amounts of odors and contaminants entering the car. The air quality sensor detects increased levels of
contaminants in the outside air. When the air quality sensor detects contaminated outside air, the air intake closes and
the air inside the passenger compartment is recirculated, i.e. no outside air enters the car. The filter also cleans
recirculated passenger compartment air. When the Air quality sensor is activated, the LED AUT comes on in the
recirculation button
Operation:
Press
to activate the Air quality sensor (normal setting).
Or select one of three functions by pressing
1. Press
the LED AUT comes on.
The Air quality sensor is now activated.
2. Press
no LED is lighted.
Recirculation not activated.
3. Press
the LED MAN comes on. Recirculation is now activated. You can switch between these three functions
by repeatedly pressing
Keep the following in mind:
Make it a rule to have the air quality sensor activated at all times.
Recirculation is limited in cold climates to avoid misting up.
If misting occurs, you should deactivate the Air quality sensor.
If the windows mist up, you can also use the windshield and side window defroster functions. See page 48.
The filter should be changed at the intervals listed in the Warranty and Service Records Information booklet.
However, if the car is used in a severely contaminated environment, it may be necessary to change the filter more
frequently.
pg. 52
This page intentionally left blank.
ProCarManuals.com
Page 35 of 123

The engine is started.
The car is locked from the outside with the key or remote control.
The interior courtesy light can be switched on or off at any time by pressing the center button in the panel above the
rearview mirror. When switched on with the engine off, the light will stay on for 10 minutes. When switched on with
the engine running, the light will stay on indefinitely. The light may be switched off at any time by pressing the center
button a second time.
The courtesy light timer periods can be changed. Consult your Volvo retailer.
Overriding the Interior and Trunk Courtesy Lights
Normally if a car door is left open with the engine turned off, the interior courtesy light will stay on for 10 minutes.
Normally, if the trunk is left open with the engine turned off, the trunk courtesy lights will stay on for 10 minutes.
If a car door is left open or the interior courtesy lights are turned on while the engine is left running, the interior
courtesy lights will stay on indefinitely. Likewise, if the trunk is left open while the engine is running, the trunk
courtesy light will stay on indefinitely.
At times, you may wish to be assured that the courtesy lights will stay off regardless of door or trunk lid position.
To switch off the interior and trunk courtesy lights indefinitely, press and hold the center button in the panel above the
rearview mirror for 3 seconds.The courtesy lights will go off and remain off until the center button is pressed again.
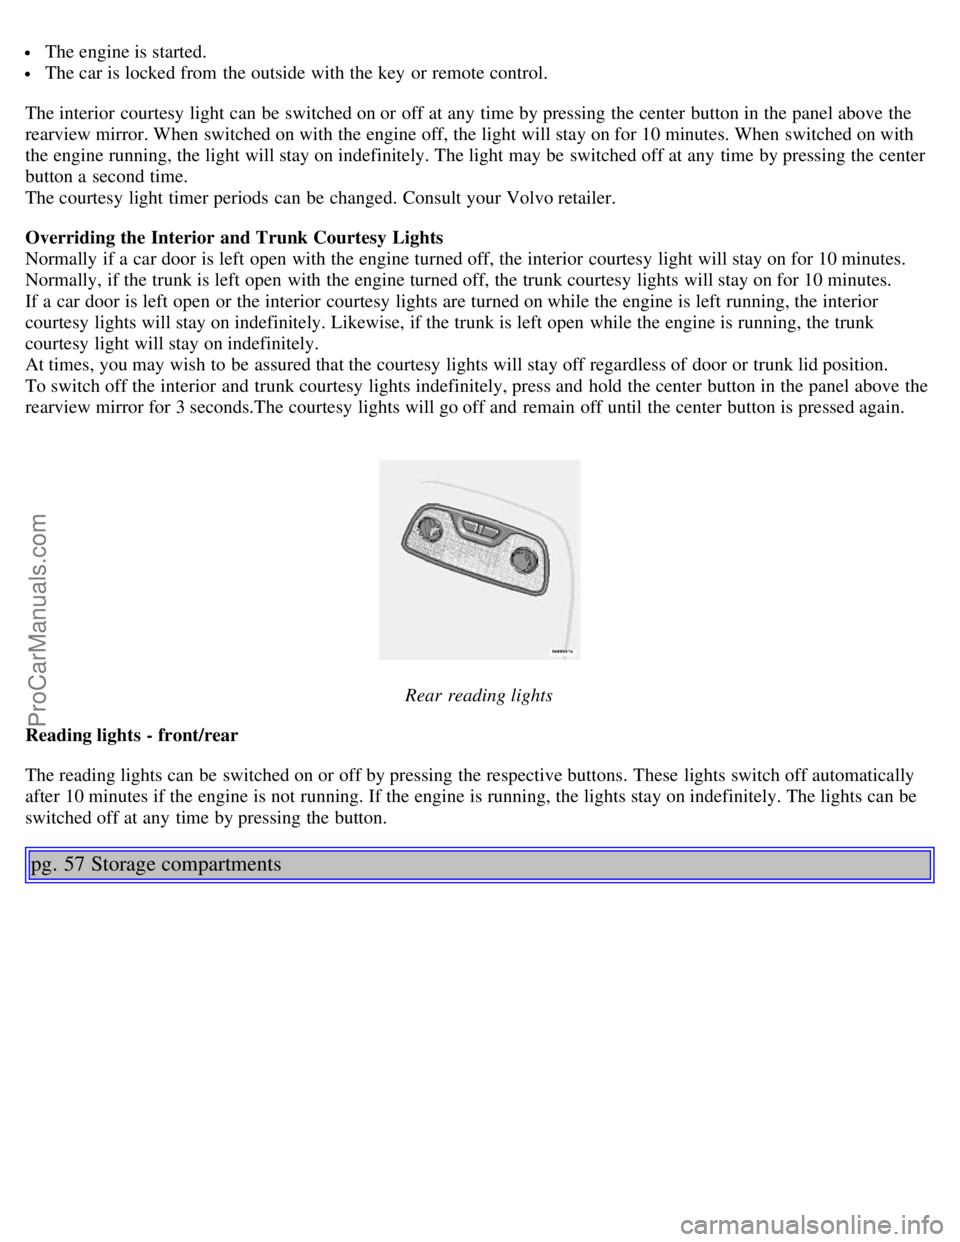
Rear reading lights
Reading lights - front/rear
The reading lights can be switched on or off by pressing the respective buttons. These lights switch off automatically
after 10 minutes if the engine is not running. If the engine is running, the lights stay on indefinitely. The lights can be
switched off at any time by pressing the button.
pg. 57 Storage compartments
ProCarManuals.com
Page 42 of 123

Use the switch on the front door armrests to lock/unlock the car from the inside.WARNING!
If the doors are locked while driving, this may hinder rapid access to the occupants of the car in the event of an
accident. (Also see information on "Child safety locks").
Note: To help prevent accidentally locking the keys in the car, the central locking system is designed to unlock the
doors immediately if the key is left in the ignition switch, the car is locked using the lock button on the door and the
door is then closed. A sound from the lock will be audible at this time.
Please note that this function will not unlock the doors if the engine is running.
Immobilizer (start inhibitor)
Each of the keys supplied with your car contains a coded transmitter. The code in the key is transmitted to an antenna
in the ignition switch where it is compared to the code stored in the start inhibitor module. The car will start only with
a properly coded key.
If you misplace a key, take the other keys to an authorized Volvo retailer for reprogramming as an antitheft measure.
This device complies with part 15 of the FCC rules. Operation is subject to the following condition: (1) This device
may not cause harmful interference, and (2) this device must accept any interference received, including interference
that may cause undesired operation.
Exterior Courtesy lights
Home Safe System
When you leave your car at night, you can make use of the courtesy lighting function:
Remove the key from the ignition switch.
Pull the turn signal lever towards the steering wheel (as when using the headlight flasher function).
Exit the car and lock the doors.
The headlights, parking lights, license plate lights and the lights in the sideview mirrors will now come on and remain
on for 30, 60 or 90 seconds (the time interval is at your discretion and can be changed by an authorized Volvo retailer).
Approach lighting
When approaching the car at night, press the yellow button in the central locking remote control (see illustration on
page 63
). This lights up the interior courtesy light, parking lights, license plate lights and the lights in the sideview
mirrors.
pg. 63 Remote keyless entry system
ProCarManuals.com
Page 60 of 123

If you select the (MAN)ual position while driving, the gear that was being used in the (D)rive position will also
initially be selected in (MAN)ual position.
Move the gear selector forward (toward "+") to shift to a higher gear or rearward (toward "-") to shift to a lower
gear.
If you hold the gear selector toward "-", the transmission will downshift one gear , and will utilize the braking power
of the engine. If the current speed is too high for using a lower gear, the downshift will not occur until the speed has
decreased enough to allow the lower gear to be used.
If you slow down to a very low speed, the transmission will automatically shift down.
When starting in the (MAN)ual position, 3rd gear is the highest gear that may be selected.
NOTE: Kickdown (see previous page) does not function when the transmission is in the manual shift (geartronic)
mode. The gear selector must be in D (Drive) position.
* Models with a 5-cylinder turbo engine have a 5-speed transmission. Fifth gear also has the lock-up function.
W Winter/Wet driving mode - enhanced vehicle traction
Mode W will only function if the gear selector is in the (D)rive position.
Press the button at the base of the gear selector to engage/disengage this driving mode. The position of this button
may vary slightly on certain models.
An LED in the button will light up to indicate that W is engaged and this will also be displayed in the instrument
panel (see page 27
).
This mode may be selected for starting/moving off on slippery roads.
pg. 82 Four -C active chassis system
Four-C (option)
Your car can be optionally equipped with the Four-C (Continuously Controlled Chassis Concept) system.
This system is based on a number of sensors that continuously monitor factors such as the car's lateral and vertical
movements, speed, and movements of the wheels. The sensors receive data up to 500 times per second, which is used
to provide extremely fast and precise adjustment of each shock absorber. The system adjusts the stiffness of the shock
absorbers approximately 100 times per second.
The button in the center console (see the illustration on page 31
) can be used at any time to switch between the two
driving modes: Comfort or Sport.
The system then adjusts the stiffness of the shock absorbers accordingly, for example when the type of road changes,
or if the driver wishes to change driving style. This adjustment takes place instantaneously.
Comfort
ProCarManuals.com
Page 100 of 123

Compact disc care
· Before using a new disc for the first time, remove any burrs in the center/outer edge by running the stem of a pen or
similar object around the hole/edge of the disc.
· Use high quality discs only.
· Keep the discs clean. Wipe them with a soft, clean, lint-free cloth, working from the center outwards. If necessary,
dampen the cloth with a neutral soap solution. Dry thoroughly before using.
· Never use cleaning spray or antistatic liquid. Use only cleaners specifically made for CDs.
· Use discs of the correct size only (3.5" discs should never be used). The discs should conform to the norms EN60908
(IEC60908).
· Do not put tape or labels on the disc itself.
· Volvo does not recommend the use of plastic outer rings on the disc.
· Condensation may occur on discs/optical components of the changer in cold winter weather. The disc can be dried
with a clean, lint-free cloth. Optical components in the CD changer may, however, take up to one hour to dry off.
· Never attempt to play a disc which is damaged in any way.
· When not in use, the discs should be stored in their covers. Avoid storing discs in excessive heat, direct sunlight or
dusty locations.
Cassettes
· Store cassettes in their cases.
· Do not touch the tape surface with your fingers.
· Tapes should not be exposed to direct sunlight or extreme temperatures.
· Keep tapes away from oil, grease and other contaminants.
· For optimal tape deck performance Volvo does not recommend the use of C-120 tapes.
· Take up slack using a pen or a pencil before inserting a cassette in the cassette slot.
Cassette cleaning
We recommend the use of the Volvo Cleaning Cassette available as a genuine Volvo accessory. Regular use improves
sound quality, cleans vital parts and prevents tape tangle.
pg. 153 Audio system HU-650 - overview
ProCarManuals.com