2005 VOLKSWAGEN GOLF turn signal
[x] Cancel search: turn signalPage 16 of 444
Tank
the tank 3.2: 35
Fuel gauge 3.1:
fuel filler flap 3.2: 35
Technic al modifications 3.2:
32
Tether anchors 2.1:68
Tether strap 2.1:
69
Threaded rim ring 3.2: 57
down hooks 3.1:
Tie-dow ns 2.1: 12
Tire pressure 3.2: 68
Tir e pressure monitorin g disp lay
mode ls) 3.2: 65
Warn ing 3.2: 65
T i
re pres sure monitoring sys tem
3.2: 75
Tires and wheels 3.2: 75
Valves 3.2: 75
Tire pressure monitoring system
models) 3.2 : 62
Tires
Repla cing 3.2:
75
life 3.2:72
rating le tter code 3.2: 74 Tire Identification Number 3.2: 74
Tire manufacturing date 3.2: 74
Tire specifications 3.2: 74
Tread
depth 3.2:72
tire pressure 3.2: 68 tire inflation pressure 3.2: 61 Dimensions 3.2: 73
General notes 3.2: 57
Glossary of tire and loading terminology 3.2: 58
New tires
and wheels 3.2: 73 Replaci ng 3.2: 73
ch ai.ns 3.2: 78
Tir e pressure monitoring system 3.2: 75
Tires and vehic le load lim its 3.2: Whee l bolts 3.2: 79
Winter tires 3.2:77
Tir e serv i
ce life 3.2:72
Tool s 3.2:
Torn or fra yed safe ty belts 2.1: 17
Towing 3.2:
General notes 3.2: 103
When can your vehicle not be
t owed? 3.2:
Towing eye 3.2:
See Tire pre ss ure monitoring system
model s)
Warning
light 3.2: 62
Trail er towing 3.2: 15
Anti-theft alarm system 3.2: 18
Brake s 3.2: 15
instructions 3.2 : 16
3.2:
Transporting long items 3.1: 63
Tread Wear Indi cato r
Trunk lid 3.1: 35
See also Rear lid
Turn signa l and high beam lever 3.1:46
Turn signal s 3.1: 46
Warning light 3
.1: 46
u
Underbody sealant 3.2: 27
Unfast ening belts 2.1: 25
Unidirectional tires 3.2:57, 86
tir e qual ity grading 3.2: 76
Unpleasant odor 3.1: 83
Uphol stery
Key word s 13
Page 173 of 444
Booklet 3.1 Controls and Equipment
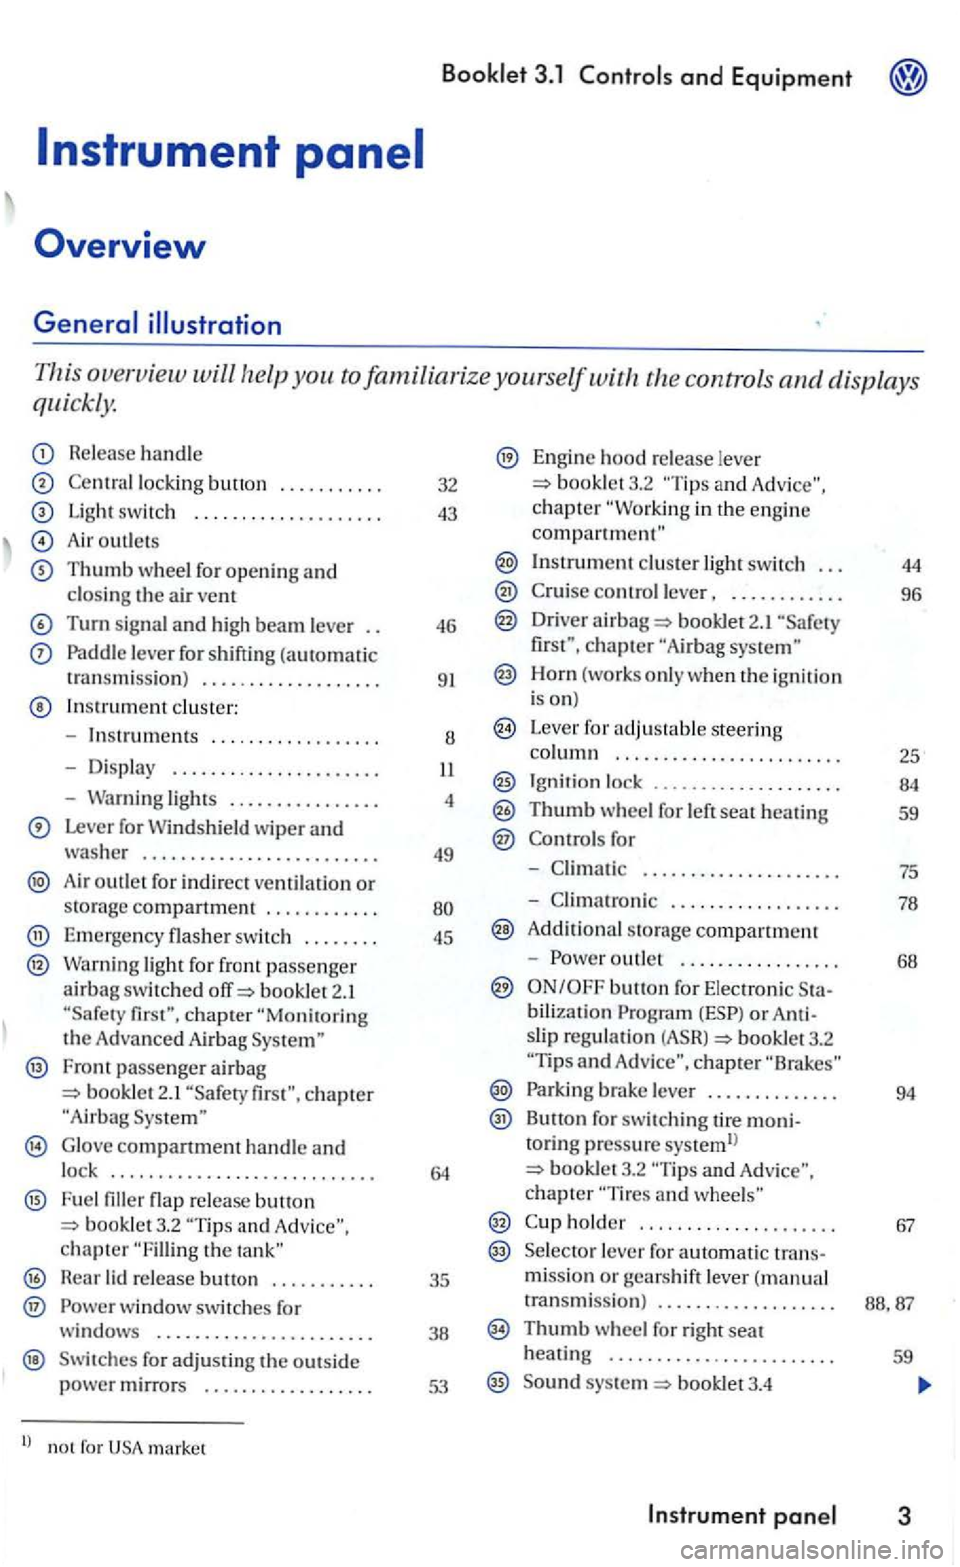
This overview will the controls and displays
quickly.
Release handle
lock ing button ...... .... .
Light switc h ................... .
Air outlet s
Thumb wheel for opening and closin g the a ir vent
Turn signal and high beam leve r
Paddle leve r for shifting (automatic
t ransmiss ion ) .................. .
In strument cluste r:
- Instru
ments ... ...........• ...
- Dis pla y ..
-Warning lights ............... .
Lever for Windshield wiper and washer ........................ .
Air outlet for in d irect ventilatio n or storag e compartment ........... .
Emerge ncy flasher sw itch ....... .
Warning light for front passenge r airbag switc hed booklet 2.1
Fron t passenger airbag bookle t 2.1
G lo ve compartment handle and lock ........................... .
F u e l flap re lease button and chapter the
H ear lid re lease .......... .
® w indow switches for
windows ...................... .
Swit ches for adjus ti n g the outs id e power mirrors ................. .
l) no t for market 32
43
46
9
1
8
4
49
45
35
38
53
Engine hood re lease lever booklet3.2 and c h a pter in the engin e compartment"
Instrument cluster light switch . . . 44
control lever, . . . . . . . . . . . . 96
Driver airba g 2.1 chapter
Horn (works o nly when the ig niti on
i s on)
Leve r for adjus table steering column . . . . . . . . . . .. . . . . . . . . . . . . 25
Ignit ion lock ...... 00............ 84
Thumb wheel for left seat heating 59
for
-. . . . . . . . . . . . . . . . . . . . . 75
- Climatro nic . . . . . . . . . . . . . . . . . . 78
A ddit iona l s torage compartment
-
outle t . . . . . . . . . . . . . . . . . 68
bilization or slip regulatio n booklet3.2 and chapte r
Parki ng brake lever . . . . . . . . . . . . . . 94
Button for switc hing tire moni-toring p ressure systemll booklet3.2 chapter
holder . . . . . . . . . . . . . . . . . . . . . 67
Se lecto r lever fo r automatic trans-missio n or gears h ift lever ( m anual
transmissi o n) . . . . . . . . . . . . . . . . . . .
Thumb w heel for right seat
heatin g . . . . . . . . . . . . . . . . . . . . . . . . 59
Sound syste m booklet3.4
Page 175 of 444
Booklet 3.1 Controls and Equipment
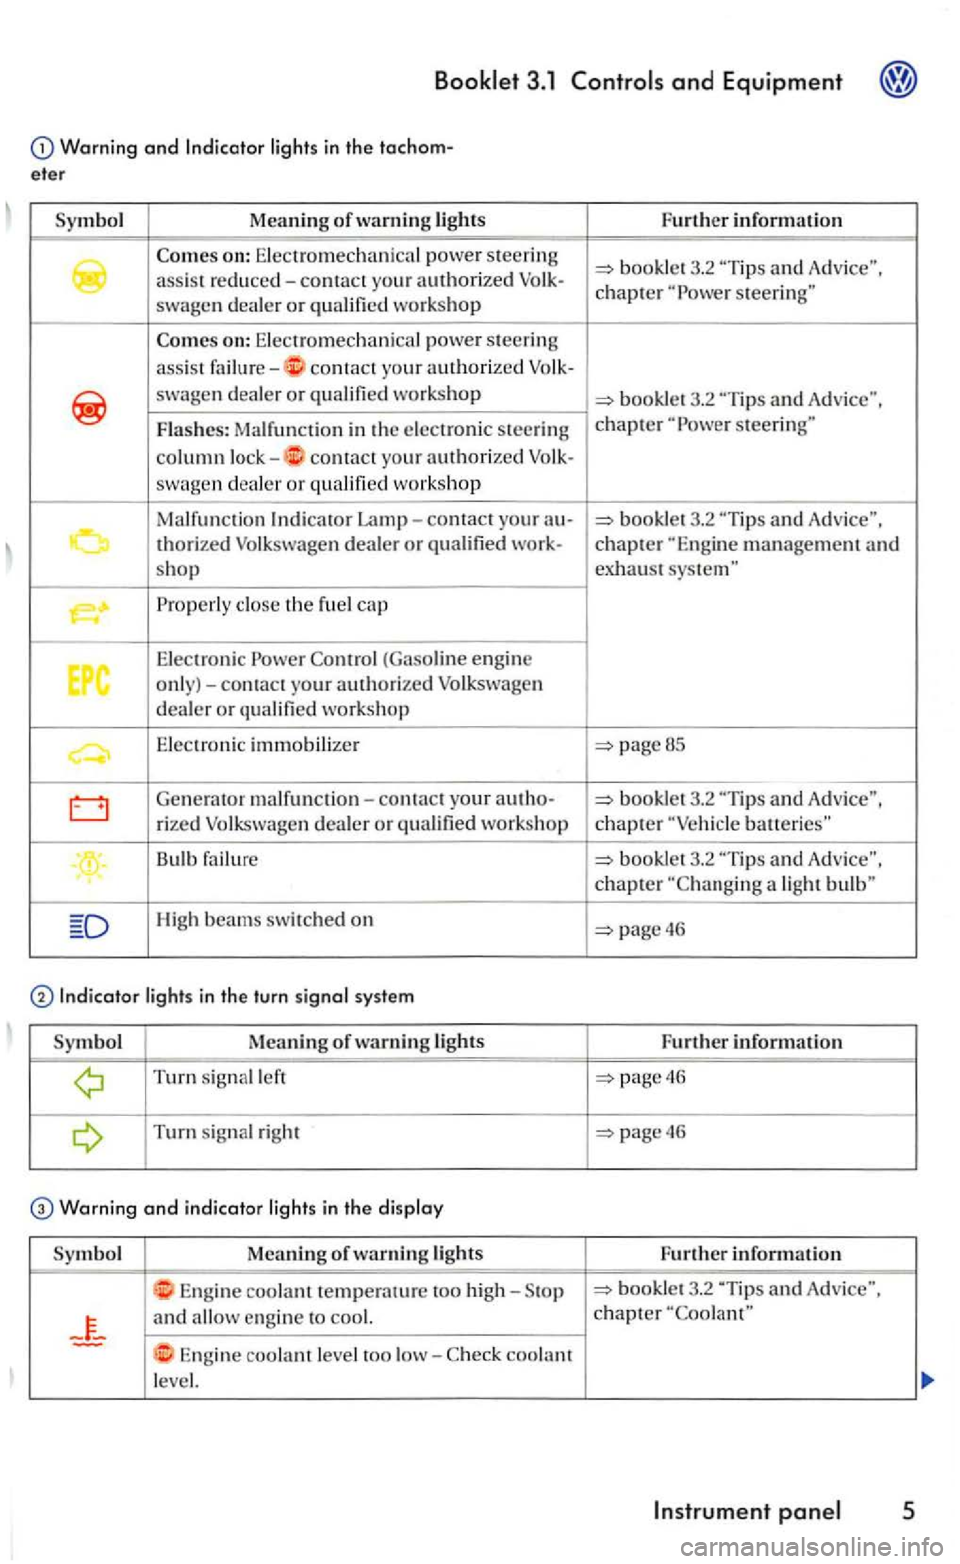
Warning and lights in the tachom
eter
Symbol Meaning of warning lights
swagen dealer or
on: Electromechanical power steeri ng
a
ssi s t contact yo ur a uthorized
swagen d ealer or
contact your authorized swagen dea ler or workshop
Malfunction
Properly close th e fu el cap
Elec tronic Power (Gaso line engine only)-contact your authorized Volkswage n dealer or qualified workshop
E le ctronic immobilizer
Generator malf unction-contact your au tho-
rized Volkswage n dealer or qualified workshop
Bulb failure
High beams swit ched on
Turn signal left
Turn s ignal right
Warning and indicator light s in the di splay
Symbol Meaning of lights
Engine coolant temperature too high-
and
Engine coolant level too low-coolant
le vel. Fu
rther information
3.2
"Tip s and Advice". chapter steering"
steerin g"
pageBS
-
batteries"
booklet 3.2
page46
Further information
page46
page46
Further inform ation
3.2 "Tip s and Adv ice", chapter
Page 198 of 444
3.1
key
Locking and
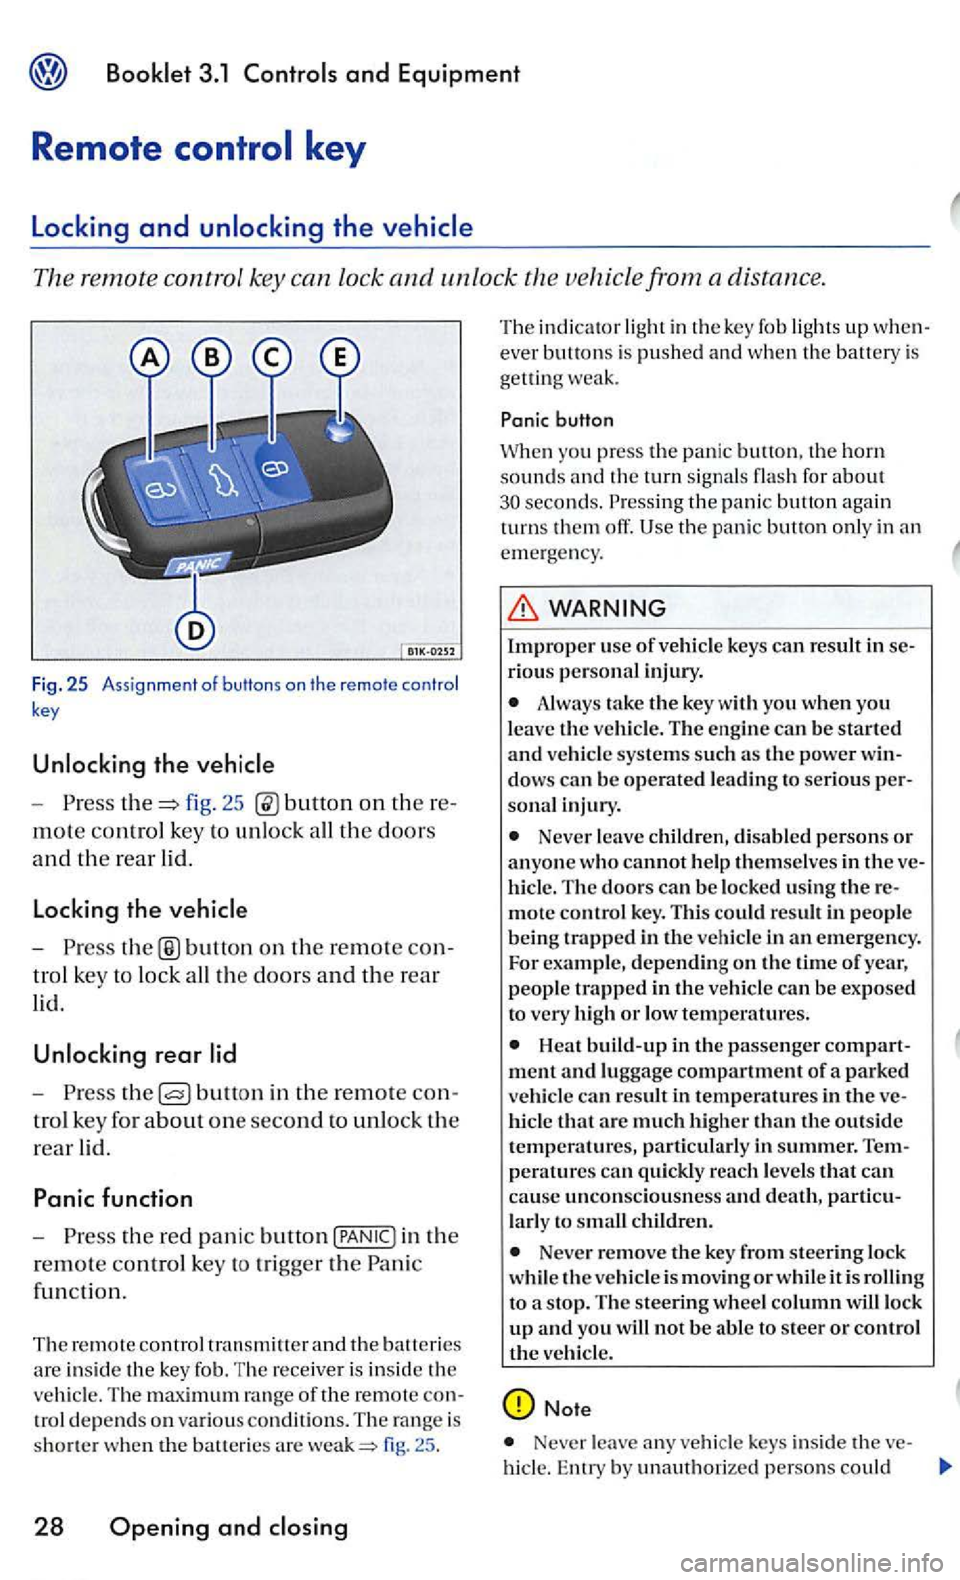
remote control key can lock and unlo ck the vehicle from a distance.
Fig. 25 Ass ignment of butt ons on the remote control
key
- P res s fig. 25 on th ere
mote control key to unl ock all th e doors
and th e rear lid.
Locking the
-button on the rem ote con
t ro l key to lock all the doors and the rear
lid.
rear
-Press bullo n in the re mote con
tro l key for a
bout one second to unlock the
rear lid.
Panic function
-Press the red pani c button in the
r
emote co ntrol key to tri gge r the Pan ic
fun cti
on.
Th e remote control
fig. 25 .
28 Opening and
T he ind ica tor lig ht in th e key fob ligh ts up w hen
ever bu tto ns is pushed a nd when th e batt ery is
get ting weak.
button
Whe n you press the panic the horn sounds the turn signal s flas h for about the pani c button again
turn s them off.
WARNING
Improper us e of vehicle keys can result in serio us perso nal inj ury .
Always take the key with yo u when you leave the ve hicle. The engine can be started and vehicle systems su ch as th e power win
dow s can be operated l ead ing to seri o us person al in ju ry.
Never leave childr en, disabl ed p erson s or anyone who cannot help them selves in t he ve
hi cle . The doors can be locked using the re
mote control key. T his co uld result in peo pl e
being trapped in th e vehicl e in an emergency.
For example, depending on the time of year, people trapped i n th e vehicl e can be exposed
t o very high or low tem peratures.
hicl e that arc much high er than the outside temperatures, particularly in summer. T empe ra tures can quickly reac h levels that can
cause uncon scio usnes s and death, partic u
l a rl y to sm all children.
Neve r remove the key from steering lock
whi le th e vehicle is mov in g or whil e it is t o a s top. The s teering wheel column wiU lock up and you will not be a bl e to steer or control the veh icle.
Note
Never leave any veh icle keys inside the ve-
hicl e. En try by unauth orized persons could
Page 216 of 444
and Equipment
and high beam
signa l and high leve r also operates
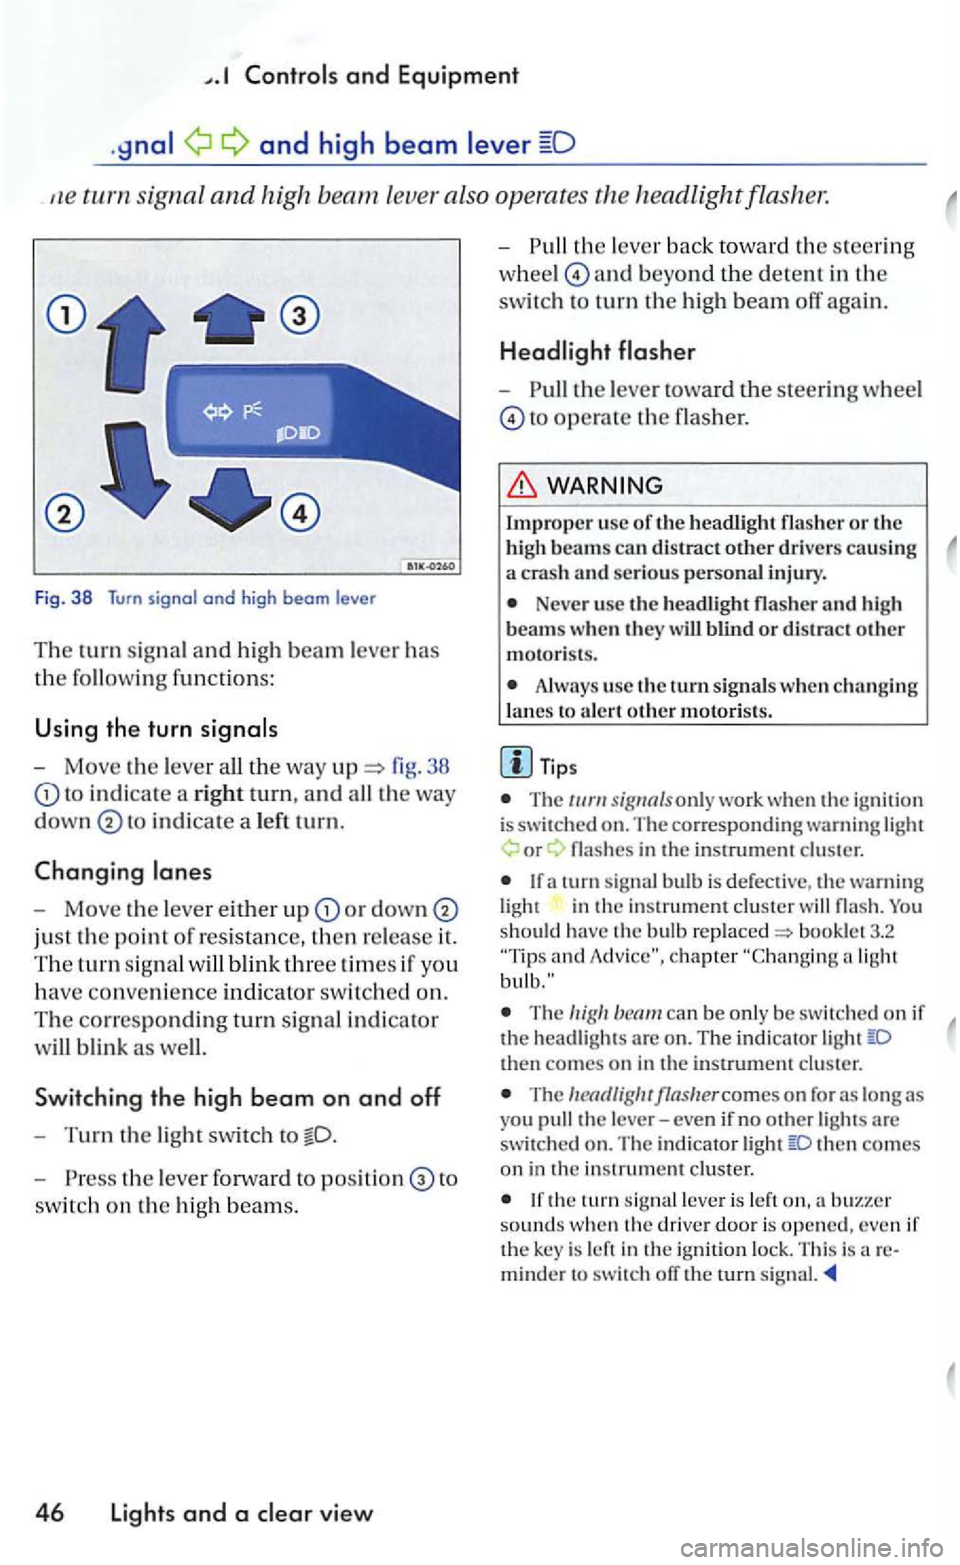
Fig. 38 Turn signal and high beam le ve r
Th e turn signal a n d hi gh beam lever has
the followin g functions:
U sing the turn
- Move the lever 38
to in d icate a rig ht tu rn, and
in dicate a le ft tu rn.
Changing
-Move the leve r either u p or down
just the point of resistance, then re lease it.
The tu rn sig n al
Sw itchin g the high b eam on and off
-Turn the light swit ch to
- P ress the lever forward to to
switc h on the hig h beam s.
4 6 Lights and a view
-th e lever back to wa rd th e s teering
w hee l
and beyond the dete n t in the
switc h to turn th e high beam off again.
-the lever toward the steeri ng wheel
to operate the flasher.
Impro per usc of th e headli ght flasher o r the
h igh beams can distract other drive rs causing a crash an d serious personal injury.
Neve r use the headli gh t flasher and h igh
beam s w hen th ey w ill blind o r distract other motoris ts .
Always use the turn s ig nals w hen ch a nging
l a nes to a le rt oth e r m otori sts .
T ips
T he only work whe n the ig nition is switched on. The co rre sponding warning or
in the in strument cluster
and
The can be only be sw itc hed on if the head ligh ts are o n . The indi cator then comes on in the instrument cluster.
The
then co mes on in the in strument cluster.
the tu rn leve r is left sounds w hen th e driver door is opened, even if the key is left in the ign ition lock. This is areminder to switch ofT the rurn signal.
Page 272 of 444
3.1 and Equipment
Replacing th e battery
Remote contro l
Reverse
Automatic transm issio n 93
Roorload 74
Roor rack 72, 74
Roar rack mounts 72
s
Chil d sarety lock 33
adjustm ent 55, 58
heatin g
Front 59
Securing load 74
Se lector lever lock 89
Se lector lever postions 92
Serv i
ce Interval D is p lay
Service position
menu 18
Speed warnin g 2 1
Starting th e en g in e
the ignition 85
S t
eering 25
S t
eering lock 84
S t
eerin g w heel h eight adju stm ent 25
S t
oppin g the en gin e 86
vis o r 49
S
unroor
Suns hade
power roar 41
Swi tc h lightin g 3
Switc hes Emergency 45
L ig
ht s w it c hes 43
index
outs id e mirrors 53
roar windows 3 8
Switching orr th e engin e
the ig ni tio n
Tie-dow n hooks
Transportin g long items 63
T
runk li d 35
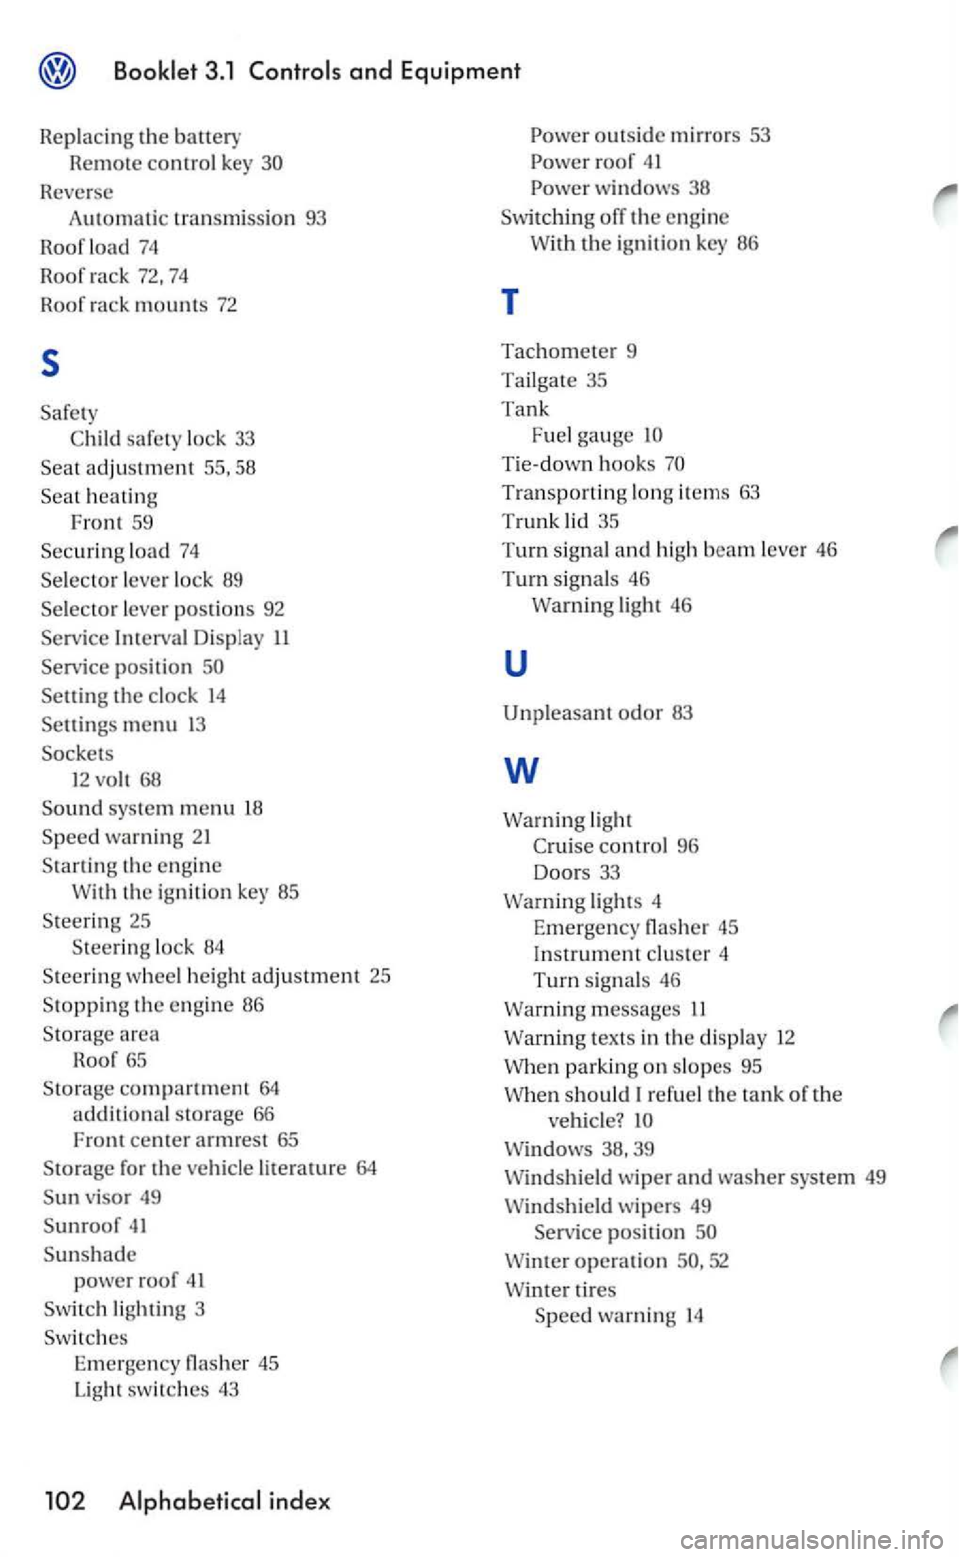
Turn signal and high beam leve r 46
Turn signal s 46 ligh t 46
u
Unpleasant odor 83
w
light Cru ise contro l 96
Doo rs 33
lights 4 Emergency 45
Instrum ent clu ster 4
T u
rn sig n als 46
messages
t ext s in th e di sp la y
parking on slo pes 95
When should re ruel th e tank or the
vehicle?
wiper and w asher sys te m 49
Windshi eld wip ers 49
positio n
52
ti re s warning 14
Page 290 of 444
For dri ving safely. always follow the specified
maintenance int erva ls in your mainte na nce booklet 1.1 ciall y for changin g the brake fluid. Hard u se, maril y stop and go driv ing, o p eratio n in very dusty area s. trailer towing as well as other tions may make it necessary to short en nance in te rvals-see your a u th orize d swage n dealer.
Your
l ow ing po int s befo re yo u drive off:
lights and turn signal s.
Make sur e that all ligh ts and all windows are
clea n.
Adjust the mirro rs.
Make sure th at the a ir intake slots between the e ngin e hoo d and the w in d shi eld are free of leaves . s n ow and ice.
wa rnin g and indicato r light s whe n
s ta rti ng the e ng in e.
Your personal driving styl e and attitude have a
lot
to do with safety.
Th eref ore, for yo
ur ow n safety:
Wear your safety belts and wear the m
book let 2.1 chapter
Make sure that all passenge rs their safe ty be lls properly. eve n those sitting in the book le t2.1 chapter Passengers not wear ing safety bells
Make sure that chil dren always sit on the rea r seat properly restrain ed by
Neve r transport chil d in a r ear-faci ng c hild or infant seat on the fron t passe nger seat booklet2.1
Adjust you r seat that yo u can easily reach
all control s while yo u are as far away from the airbag as pos sibl e but not close r than
bookle t2.1 and bookle t3. 1
The seatin g position is ve ry important for th e
a ir bag book let2.1 chapter" Air bag
Always adjust the head rest ra int s to the rect heig ht. For maximum pro tection. adjust the
head restrai nt so the upper e d ge is as eve n
w ith the top of your head a s pos sibl e, but no lower than eye level and so that it is as close th e back of your head booklet 2.1
Always make s ure that th e movem ent of the
p ed als is not re stricted in any booklet 3.1 Equipment",
Sto re lu ggage and light it em s properly in the
lu ggage compartment and on th e roof bookle t3. 1 and Luggag e compartment " and book let3.1 and Equipment", chapte r " Roof
If you drink, do not drive!
The use of alco hol. drugs and certai n tions will seriou sly impa ir percepti on , reac tio ns and dri ving ability, substantially in creasin g the risk of an acc ident, cras h and persona l injury.
Do not driv e if you are tired.
Make frequ ent rest sto ps, least afte r every two hours of dri ving.
Always
adapt vehicle speed to traffic, rood and
weather conditions.
R e
member, that especially on sm oot h. slipp ery
roa ds, ve hicl e ha ndl ing and brak ing depend a
g reat deal o n tire adhes ion. wet roads, the
f ront w heels can h ydropla ne, especi ally at
hi ghe r speeds. th is happen s, yo u will then no
lon ger be abl e to steer or brake properly.
Alwa ys observe the p osted speed limits and common sense. good judg m ent can mean the diff ere nce b e tween arriving safely at your d estination and being seriou sly injured in a cras h or othe r kind of accident.
14 Driving and protecting the environment
Page 369 of 444
Heated seats 4
(5). 37 46 (5)
windows for 23 front
wind ows for 32 rear
Rea r
window de- 25 (25) fogger
R
ear w indow wiper 41 (15)
R ear 12-vo h socket 26
F1 F2
Backup light left F47 F48
Backup light right F47 F48
Brake light left F48
Warning
Brake light righ t F47
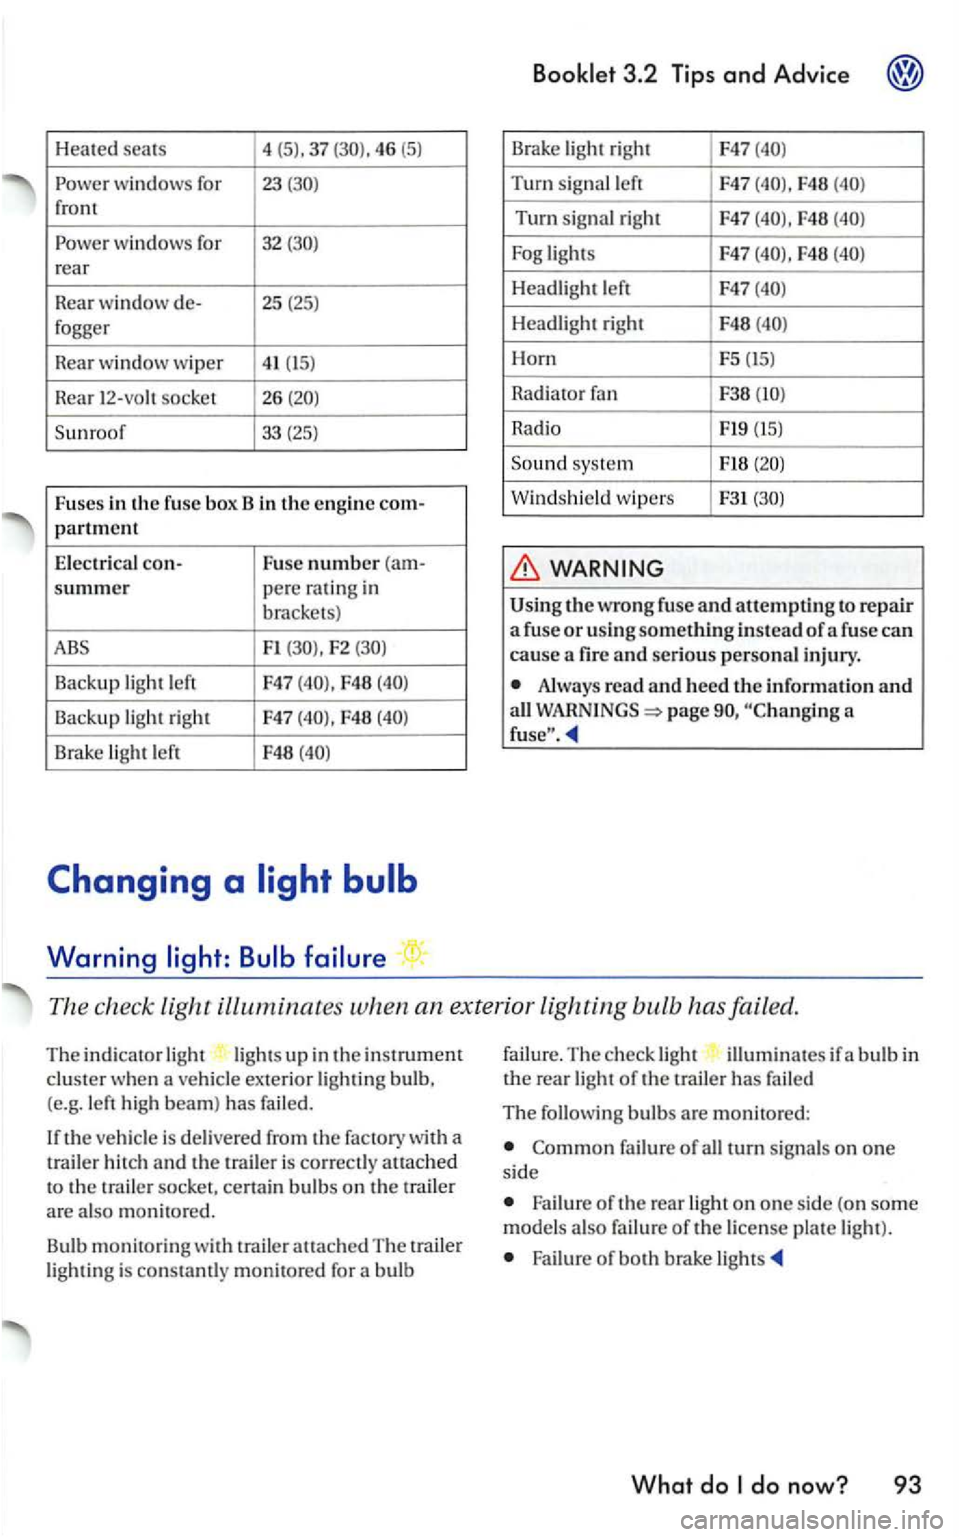
Turn sig na l left F47 F48
Turn signal right F47 F48
F48
Headlight left F47
Headli gh t right F48
Horn F5 (15)
Rad i
ator
Radio Fl9 (15)
Sound syste m
Windshield wipers F31
the wrong fuse and attempti ng to re pair a fuse or usi ng something instead of a fuse can
cause a fir e and serious personal injury.
Alway s read and heed the information and all page a
The check light ill uminates when an ex terior lighting bulb has failed.
The indicato r light lig ht s up in the instrument clus ter when a ve hicle exterior lightin g bulb,
(e.g. le ft high beam) has failed.
th e ve hicle is delivered from the factory with a
t railer h itch and the is correct ly atLached to the trai le r socket, cert ain bulb s on the trail er are also monit ore d .
Bu lb
monitorin g with trailer attach ed The traile r light ing is con stamly monitored for a bulb failu
re.
The ch eck ligh t illumin ates if a b ulb in the rea r light of the trailer has fai led
The following bulbs are mon itored:
failure of all turn signa ls on one si de
Failure o f the rear light on one si de (on som e
model s als o failu re of the license pla te light ).
Failure of both brake li gh ts
What do