2005 PONTIAC BONNEVILLE headlamp
[x] Cancel search: headlampPage 69 of 438
Remote Keyless Entry System
Operation
If your vehicle has this feature, you can lock and unlock
your doors or unlock your trunk from about 3 feet
(1 m) up to 30 feet (9 m) away using the remote keyless
entry transmitter supplied with your vehicle.
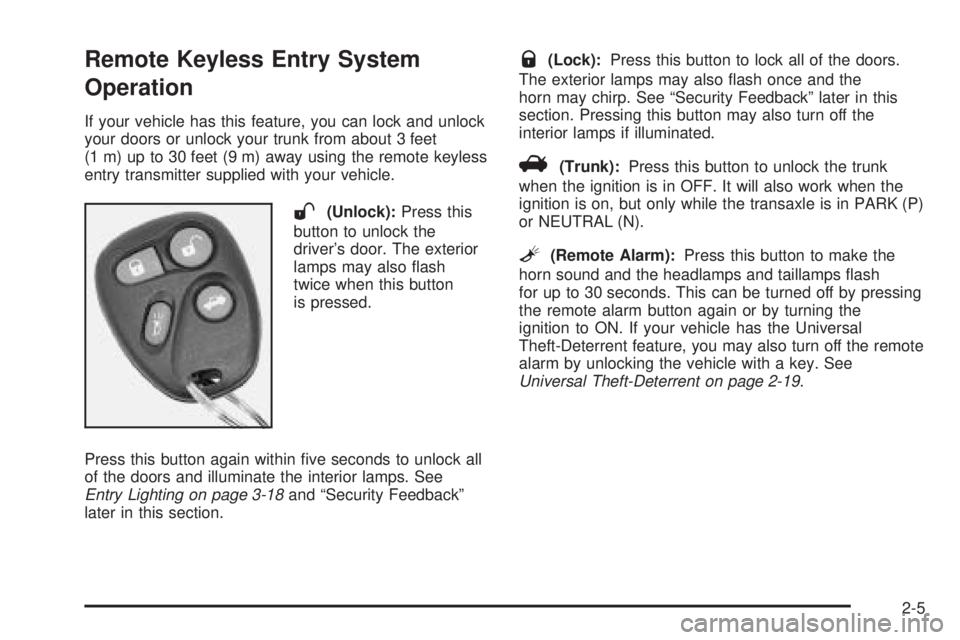
W(Unlock):Press this
button to unlock the
driver’s door. The exterior
lamps may also ash
twice when this button
is pressed.
Press this button again within ve seconds to unlock all
of the doors and illuminate the interior lamps. See
Entry Lighting on page 3-18and “Security Feedback”
later in this section.
Q(Lock):Press this button to lock all of the doors.
The exterior lamps may also ash once and the
horn may chirp. See “Security Feedback” later in this
section. Pressing this button may also turn off the
interior lamps if illuminated.
V(Trunk):Press this button to unlock the trunk
when the ignition is in OFF. It will also work when the
ignition is on, but only while the transaxle is in PARK (P)
or NEUTRAL (N).
L(Remote Alarm):Press this button to make the
horn sound and the headlamps and taillamps ash
for up to 30 seconds. This can be turned off by pressing
the remote alarm button again or by turning the
ignition to ON. If your vehicle has the Universal
Theft-Deterrent feature, you may also turn off the remote
alarm by unlocking the vehicle with a key. See
Universal Theft-Deterrent on page 2-19.
2-5
Page 90 of 438
Engine Coolant Heater
If your vehicle has this feature, in very cold weather,
0°F (−18°C) or colder, the engine coolant heater can
help. You will get easier starting and better fuel economy
during engine warm-up. Usually, the coolant heater
should be plugged in a minimum of four hours prior to
starting your vehicle. At temperatures above 32°F (0°C),
use of the coolant heater is not required.
To Use the Engine Coolant Heater
1. Turn off the engine.
2. Open the hood and unwrap the electrical cord.
The engine coolant heater cord is located on
the passenger’s side of the vehicle, above the
headlamp assembly.
3. Plug it into a normal, grounded 110-volt AC outlet.
{CAUTION:
Plugging the cord into an ungrounded outlet
could cause an electrical shock. Also, the
wrong kind of extension cord could overheat
and cause a re. You could be seriously
injured. Plug the cord into a properly grounded
three-prong 110-volt AC outlet. If the cord will
not reach, use a heavy-duty three-prong
extension cord rated for at least 15 amps.
4. Before starting the engine, be sure to unplug and
store the cord as it was before to keep it away
from moving engine parts. If you do not, it could
be damaged.
How long should you keep the coolant heater plugged
in? The answer depends on the outside temperature, the
kind of oil you have, and some other things. Instead
of trying to list everything here, we ask that you contact
your dealer in the area where you will be parking
your vehicle. The dealer can give you the best advice
for that particular area.
2-26
Page 100 of 438
Mirrors
Manual Rearview Mirror
While sitting in a comfortable driving position, adjust the
mirror so you can see clearly behind your vehicle. Grip
the mirror in the center to move it up or down and side to
side. The control at the bottom of the mirror is the
day/night feature that allows adjustment to the mirror so
that the glare of headlamps from behind is reduced. Push
the tab for daytime use; pull it for night use.
Automatic Dimming Rearview Mirror
The vehicle may have an automatic dimming rearview
mirror. It may also have OnStar®controls. SeeOnStar®
System on page 2-39for more information.
At night, when glare from lights is high, the mirror will
gradually darken. This change may take a few seconds.
The mirror will return to its clear daytime state when
glare is reduced.
Mirror Operation
AUTO:Press this button to turn on the automatic
dimming feature.
OFF:Press this button to turn off the automatic
dimming feature.
O(On/Off):For mirrors equipped with OnStar®
controls, press this button to turn the automatic dimming
feature on or off.
The indicator light will be illuminated when this feature
is on.
2-36
Page 113 of 438
Instrument Panel Overview...............................3-4
Hazard Warning Flashers................................3-6
Other Warning Devices...................................3-6
Horn.............................................................3-6
Tilt Wheel.....................................................3-6
Turn Signal/Multifunction Lever.........................3-7
Turn and Lane-Change Signals........................3-8
Headlamp High/Low-Beam Changer..................3-8
Flash-to-Pass.................................................3-9
Windshield Wiper Lever...................................3-9
Cruise Control..............................................3-11
Exterior Lamps.............................................3-14
Wiper Activated Headlamps............................3-14
Headlamps on Reminder................................3-15
Daytime Running Lamps (DRL).......................3-15
Fog Lamps..................................................3-16
Twilight Sentinel
®..........................................3-16
Exterior Lighting Battery Saver........................3-17
Instrument Panel Brightness...........................3-17
Courtesy Lamps...........................................3-17
Entry Lighting...............................................3-18
Delayed Entry Lighting...................................3-18
Theater Dimming..........................................3-18
Delayed Exit Lighting.....................................3-18
Perimeter Lighting.........................................3-18
Parade Dimming...........................................3-19
Front Reading Lamps....................................3-20Rear Reading Lamps....................................3-20
Battery Load Management.............................3-20
Inadvertent Power Battery Saver.....................3-21
Head-Up Display (HUD).................................3-21
Accessory Power Outlets...............................3-24
Ashtrays and Cigarette Lighter........................3-24
Climate Controls............................................3-25
Climate Control System.................................3-25
Automatic Climate Control System...................3-28
Outlet Adjustment.........................................3-32
Climate Controls Personalization.....................3-32
Warning Lights, Gages, and Indicators............3-33
Instrument Panel Cluster................................3-33
Speedometer and Odometer...........................3-37
Trip Odometer..............................................3-37
Tachometer.................................................3-38
Safety Belt Reminder Light.............................3-38
Airbag Readiness Light..................................3-38
Voltmeter Gage............................................3-40
Brake System Warning Light..........................3-41
Anti-Lock Brake System Warning Light.............3-42
Traction Control System (TCS) Warning Light......3-43
Low Traction Active Light...............................3-44
Engine Coolant Temperature Gage
(V6 Engine)..............................................3-45
Section 3 Instrument Panel
3-1
Page 119 of 438
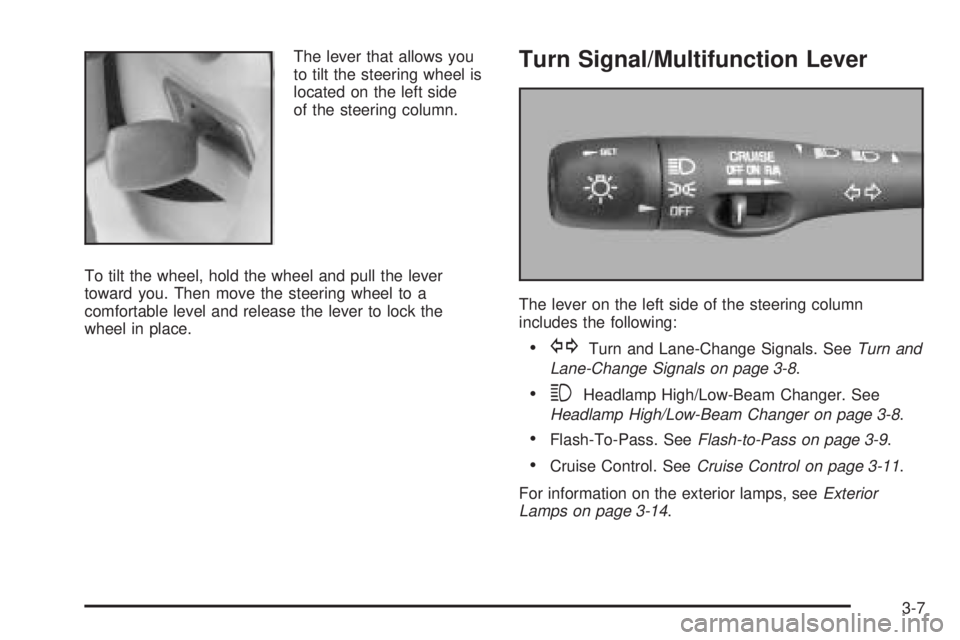
The lever that allows you
to tilt the steering wheel is
located on the left side
of the steering column.
To tilt the wheel, hold the wheel and pull the lever
toward you. Then move the steering wheel to a
comfortable level and release the lever to lock the
wheel in place.Turn Signal/Multifunction Lever
The lever on the left side of the steering column
includes the following:
GTurn and Lane-Change Signals. SeeTurn and
Lane-Change Signals on page 3-8.
3Headlamp High/Low-Beam Changer. See
Headlamp High/Low-Beam Changer on page 3-8.
Flash-To-Pass. SeeFlash-to-Pass on page 3-9.
Cruise Control. SeeCruise Control on page 3-11.
For information on the exterior lamps, seeExterior
Lamps on page 3-14.
3-7
Page 120 of 438
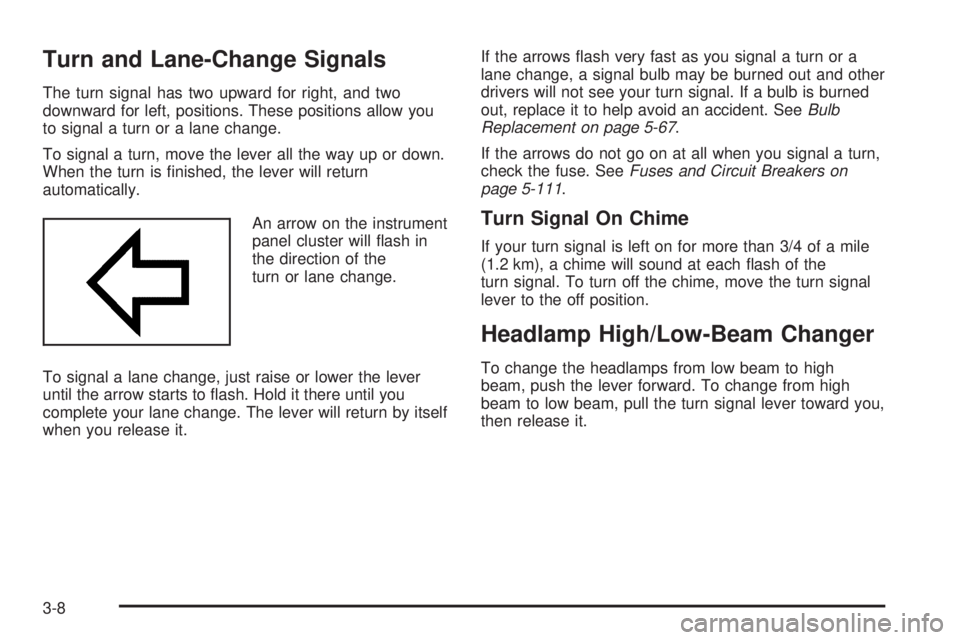
Turn and Lane-Change Signals
The turn signal has two upward for right, and two
downward for left, positions. These positions allow you
to signal a turn or a lane change.
To signal a turn, move the lever all the way up or down.
When the turn is nished, the lever will return
automatically.
An arrow on the instrument
panel cluster will ash in
the direction of the
turn or lane change.
To signal a lane change, just raise or lower the lever
until the arrow starts to ash. Hold it there until you
complete your lane change. The lever will return by itself
when you release it.If the arrows ash very fast as you signal a turn or a
lane change, a signal bulb may be burned out and other
drivers will not see your turn signal. If a bulb is burned
out, replace it to help avoid an accident. SeeBulb
Replacement on page 5-67.
If the arrows do not go on at all when you signal a turn,
check the fuse. SeeFuses and Circuit Breakers on
page 5-111.
Turn Signal On Chime
If your turn signal is left on for more than 3/4 of a mile
(1.2 km), a chime will sound at each ash of the
turn signal. To turn off the chime, move the turn signal
lever to the off position.
Headlamp High/Low-Beam Changer
To change the headlamps from low beam to high
beam, push the lever forward. To change from high
beam to low beam, pull the turn signal lever toward you,
then release it.
3-8
Page 121 of 438
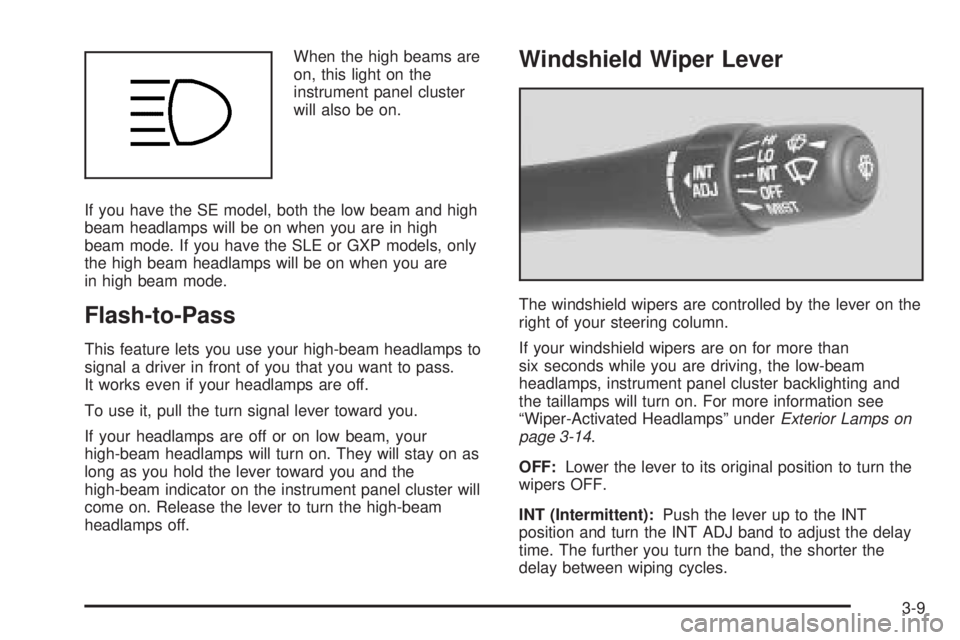
When the high beams are
on, this light on the
instrument panel cluster
will also be on.
If you have the SE model, both the low beam and high
beam headlamps will be on when you are in high
beam mode. If you have the SLE or GXP models, only
the high beam headlamps will be on when you are
in high beam mode.
Flash-to-Pass
This feature lets you use your high-beam headlamps to
signal a driver in front of you that you want to pass.
It works even if your headlamps are off.
To use it, pull the turn signal lever toward you.
If your headlamps are off or on low beam, your
high-beam headlamps will turn on. They will stay on as
long as you hold the lever toward you and the
high-beam indicator on the instrument panel cluster will
come on. Release the lever to turn the high-beam
headlamps off.
Windshield Wiper Lever
The windshield wipers are controlled by the lever on the
right of your steering column.
If your windshield wipers are on for more than
six seconds while you are driving, the low-beam
headlamps, instrument panel cluster backlighting and
the taillamps will turn on. For more information see
“Wiper-Activated Headlamps” underExterior Lamps on
page 3-14.
OFF:Lower the lever to its original position to turn the
wipers OFF.
INT (Intermittent):Push the lever up to the INT
position and turn the INT ADJ band to adjust the delay
time. The further you turn the band, the shorter the
delay between wiping cycles.
3-9
Page 126 of 438
Exterior Lamps
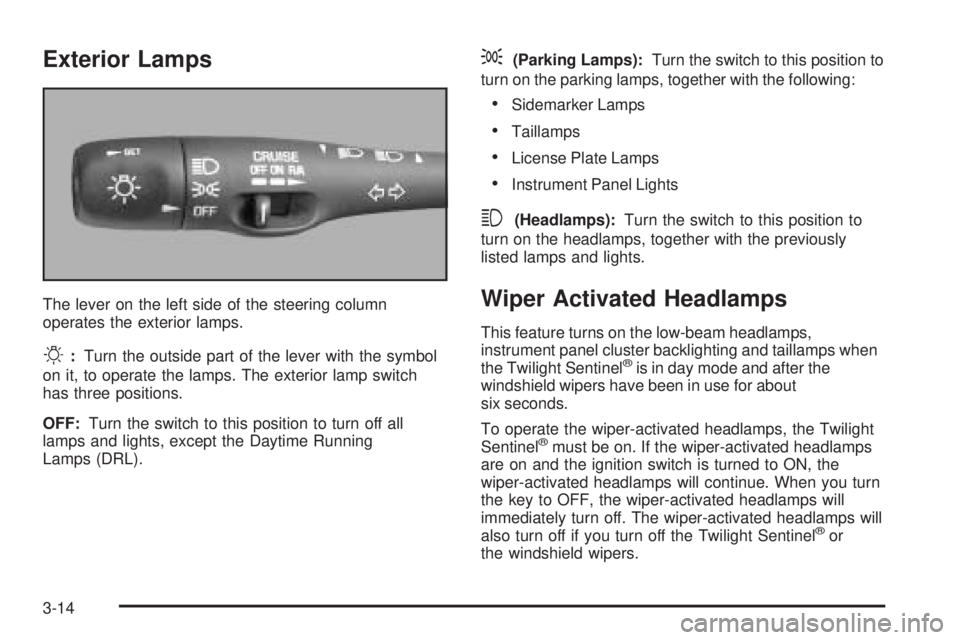
The lever on the left side of the steering column
operates the exterior lamps.
O:Turn the outside part of the lever with the symbol
on it, to operate the lamps. The exterior lamp switch
has three positions.
OFF:Turn the switch to this position to turn off all
lamps and lights, except the Daytime Running
Lamps (DRL).
;(Parking Lamps):Turn the switch to this position to
turn on the parking lamps, together with the following:
Sidemarker Lamps
Taillamps
License Plate Lamps
Instrument Panel Lights
3(Headlamps):Turn the switch to this position to
turn on the headlamps, together with the previously
listed lamps and lights.
Wiper Activated Headlamps
This feature turns on the low-beam headlamps,
instrument panel cluster backlighting and taillamps when
the Twilight Sentinel
®is in day mode and after the
windshield wipers have been in use for about
six seconds.
To operate the wiper-activated headlamps, the Twilight
Sentinel
®must be on. If the wiper-activated headlamps
are on and the ignition switch is turned to ON, the
wiper-activated headlamps will continue. When you turn
the key to OFF, the wiper-activated headlamps will
immediately turn off. The wiper-activated headlamps will
also turn off if you turn off the Twilight Sentinel
®or
the windshield wipers.
3-14