2005 NISSAN ALTIMA 3,5 SE ignition
[x] Cancel search: ignitionPage 87 of 304

button on the keyfob.
All doors lock. The hazard lights flash
twice and the horn beeps once to indicate
all doors are locked.
cWhen the
button is pushed with
all doors locked, the hazard lights flash
twice and the horn beeps once as a re-
minder that the doors are already locked.
For vehicles with navigation system, see
9Vehicle electronic systems9in the9Display
screen, heater, air conditioner and audio
systems9section later in this manual. For
vehicles without navigation system, see9Si-
lencing the horn beep feature9in the9Pre-
driving checks and adjustments9section
later in this manual.
4. Confirm that the security indicator light
comes on. The security light stays on for
about 30 seconds. The vehicle security sys-
tem is now pre-armed. After about 30 sec-
onds the vehicle security system automati-
cally shifts into the armed phase. The
security light begins to flash once every 3
seconds. If, during the 30-second pre-arm
time period, the door is unlocked by the key
or the keyfob, or the ignition key is turned to
ACC or ON, the system will not arm.cIf the key is turned slowly when locking
the door, the system may not arm. Fur-
thermore, if the key is turned beyond
the vertical position toward the unlock
position to remove the key, the system
may be disarmed when the key is re-
moved. If the indicator light fails to
glow for 30 seconds, unlock the door
once and lock it again.
cEven when the driver and/or passen-
gers are in the vehicle, the system will
arm with all doors and trunk lid closed
and locked with the ignition key in the
OFF position.
Vehicle security system activation
The vehicle security system will give the following
alarm:
cThe headlights blink and the horn sounds
intermittently.
cThe alarm automatically turns off after ap-
proximately 50 seconds. However, the alarm
reactivates if the vehicle is tampered with
again. The alarm can be shut off by unlocking
a door or trunk lid with the key, or by pressing
the
button on the keyfob.The alarm is activated by:
copening the door or trunk lid without using
the key or keyfob (even if the door is un-
locked by releasing the door inside lock
switch) .
How to stop an activated alarm
The alarm stops only by unlocking a door or the
trunk lid with the key, or by pressing the
button on the keyfob.
NISSAN VEHICLE IMMOBILIZER
SYSTEM (NVIS)
The NISSAN Vehicle Immobilizer System (NVIS)
will not allow the engine to start without the use of
a registered NVIS key.
If the engine fails to start using a registered NVIS
key (for example, when interference is caused by
another NVIS key, an automated toll road device
or automatic payment device on the key ring) ,
restart the engine using the following proce-
dures:
1. Leave the ignition switch in the ON position
for approximately 5 seconds.
2. Turn the ignition switch to the OFF or LOCK
position, and wait approximately 10 sec-
onds.
3. Repeat steps 1 and 2.
Instruments and controls2-17
ZREVIEW COPYÐ2005 Altima(l30)
Owners ManualÐUSA_English(nna)
01/04/05Ðarosenma
X
Page 93 of 304

,orposition.Be sure you do not put anything on top of
the autolight sensor
s1located on the top
side of the instrument panel. The autolight
sensor controls the autolight; if it is cov-
ered, the autolight sensor reacts as if it is
dark out and the headlights will illuminate.
If this occurs while parked with the engine
off and the key in the ON position, your
vehicle’s battery could become discharged.Headlight beam select
s1To select the high beam function, push the
lever forward. The high beam lights come on
and the
light illuminates.
s2Pull the lever back to select the low beam.
s3Pulling and releasing the lever flashes the
headlight high beams on and off.
Battery saver system
If the ignition switch is turned OFF while the
headlight switch is in theorposi-
tion, the headlights will turn off after 5 minutes.
LIC0562
Page 94 of 304
position. Turn the
headlight switch to theposition for full
illumination when driving at night.
If the parking brake is applied before the engine is
started, the daytime running lights do not illumi-
nate. The daytime running lights illuminate when
the parking brake is released. The daytime run-
ning lights will remain on until the ignition switch
is turned off.
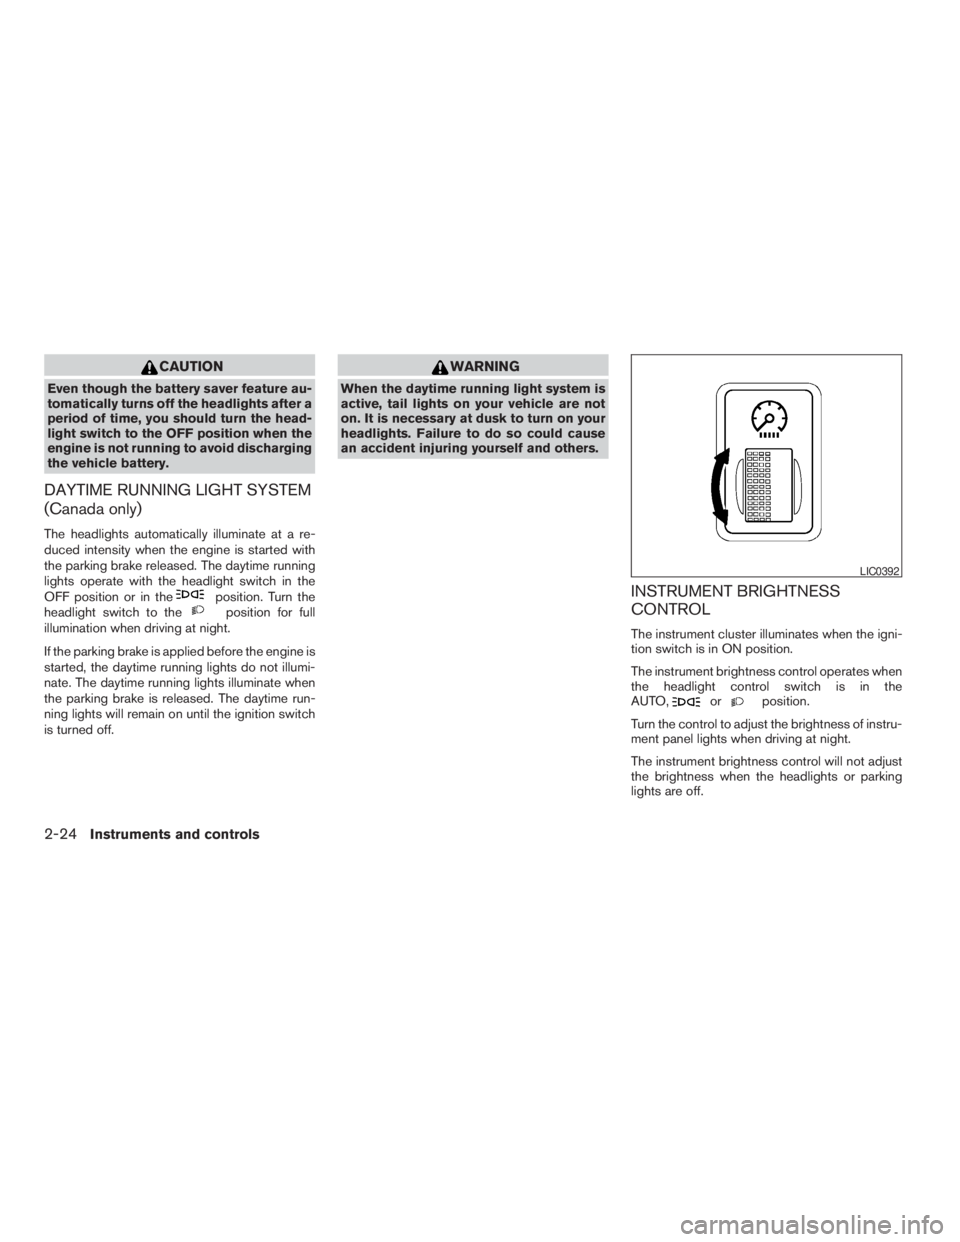
orposition.
Turn the control to adjust the brightness of instru-
ment panel lights when driving at night.
The instrument brightness control will not adjust
the brightness when the headlights or parking
lights are off.
Page 109 of 304
WARNING
There are some small distances immedi-
ately before the closed position which
cannot be detected. Make sure that all
passengers have their hands, etc., inside
the vehicle before closing the window.
AUTOMATIC SUNROOF
The sunroof will only operate when the ignition
key is in the ON position. The automatic sunroof
is operational for about 45 seconds, even if the
ignition key is turned to the ACC or OFF position.
If the driver’s door or the front passenger’s door
is opened during this period of about 45 sec-
onds, power to the sunroof is canceled.
Sliding the sunroof
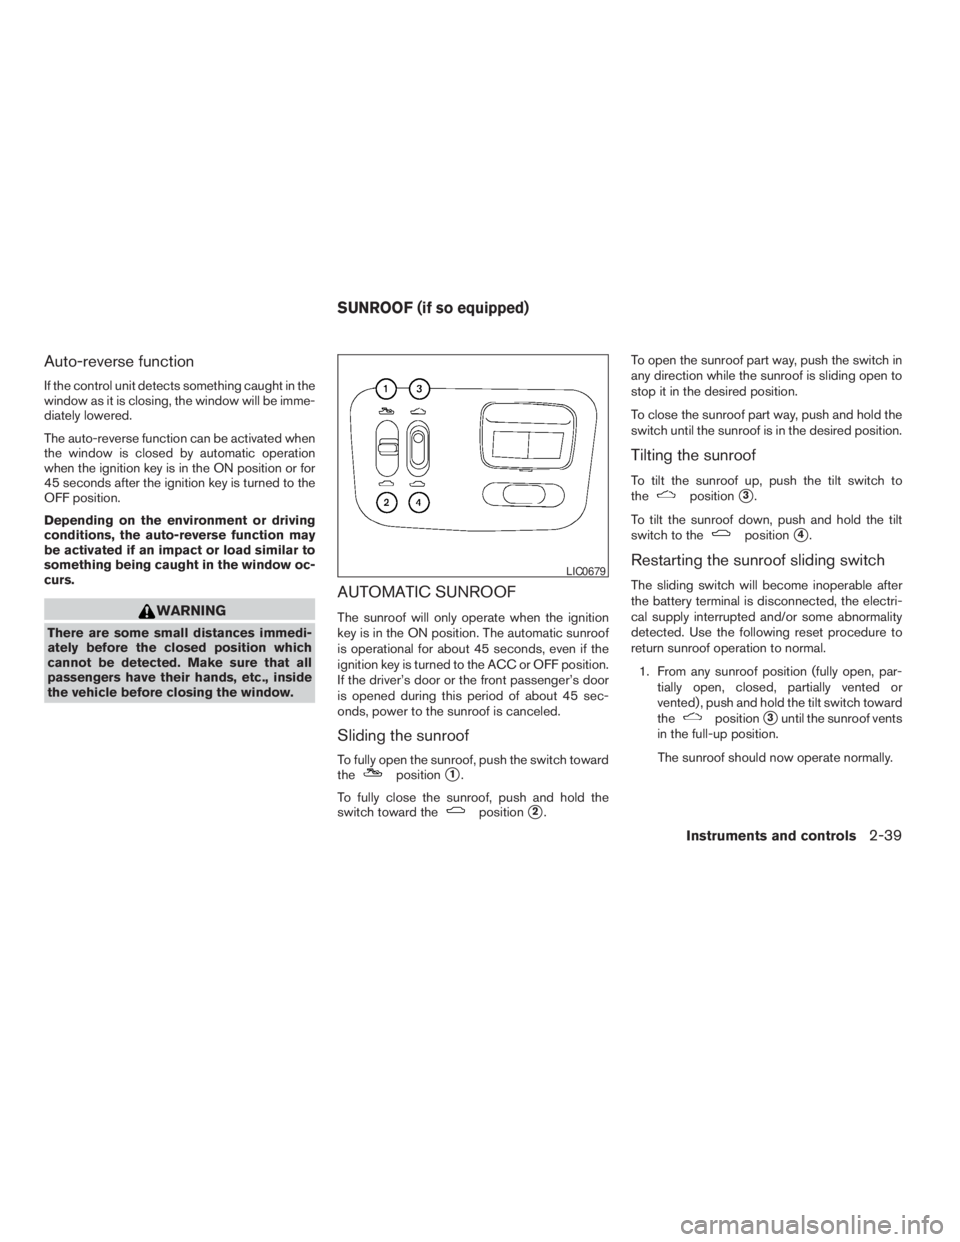
To fully open the sunroof, push the switch toward
thepositions1.
To fully close the sunroof, push and hold the
switch toward the
positions2.To open the sunroof part way, push the switch in
any direction while the sunroof is sliding open to
stop it in the desired position.
To close the sunroof part way, push and hold the
switch until the sunroof is in the desired position.
Tilting the sunroof
To tilt the sunroof up, push the tilt switch to
thepositions3.
To tilt the sunroof down, push and hold the tilt
switch to the
positions4.
Restarting the sunroof sliding switch
The sliding switch will become inoperable after
the battery terminal is disconnected, the electri-
cal supply interrupted and/or some abnormality
detected. Use the following reset procedure to
return sunroof operation to normal.
1. From any sunroof position (fully open, par-
tially open, closed, partially vented or
vented) , push and hold the tilt switch toward
the
positions3until the sunroof vents
in the full-up position.
The sunroof should now operate normally.
Instruments and controls2-39
ZREVIEW COPYÐ2005 Altima(l30)
Owners ManualÐUSA_English(nna)
01/04/05Ðarosenma
X
Page 110 of 304
CAUTION
cRemove water drops, snow, ice or sand
from the sunroof before opening.
cDo not place heavy objects on the sun-
roof or surrounding area.
Sunshade
Open and close the sunshade by sliding it for-
ward or backward.
If the sunroof does not close
Have your NISSAN dealer check and repair the
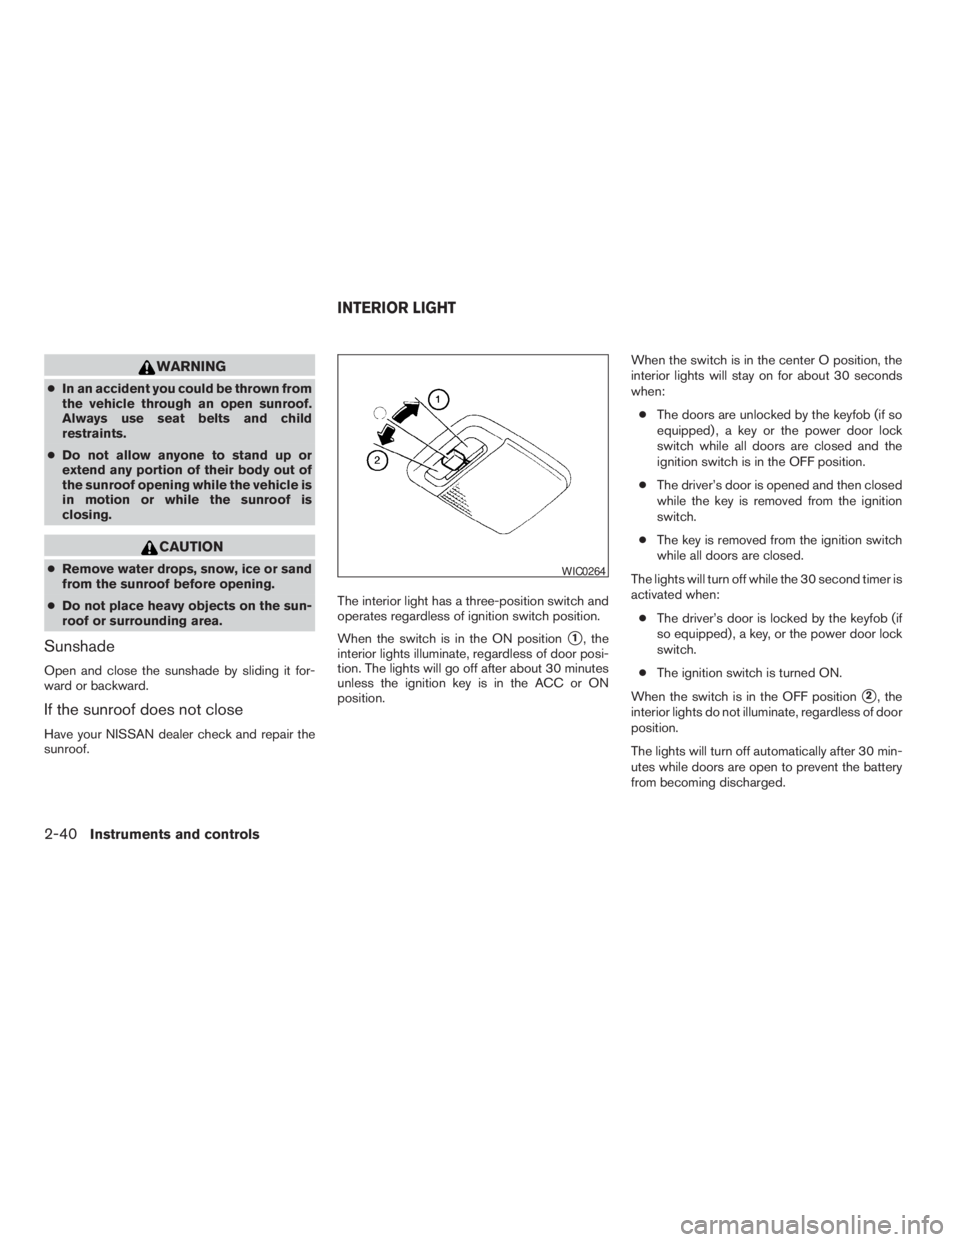
sunroof.The interior light has a three-position switch and
operates regardless of ignition switch position.
When the switch is in the ON position
s1, the
interior lights illuminate, regardless of door posi-
tion. The lights will go off after about 30 minutes
unless the ignition key is in the ACC or ON
position.When the switch is in the center O position, the
interior lights will stay on for about 30 seconds
when:
cThe doors are unlocked by the keyfob (if so
equipped) , a key or the power door lock
switch while all doors are closed and the
ignition switch is in the OFF position.
cThe driver’s door is opened and then closed
while the key is removed from the ignition
switch.
cThe key is removed from the ignition switch
while all doors are closed.
The lights will turn off while the 30 second timer is
activated when:
cThe driver’s door is locked by the keyfob (if
so equipped) , a key, or the power door lock
switch.
cThe ignition switch is turned ON.
When the switch is in the OFF position
s2, the
interior lights do not illuminate, regardless of door
position.
The lights will turn off automatically after 30 min-
utes while doors are open to prevent the battery
from becoming discharged.
Page 122 of 304
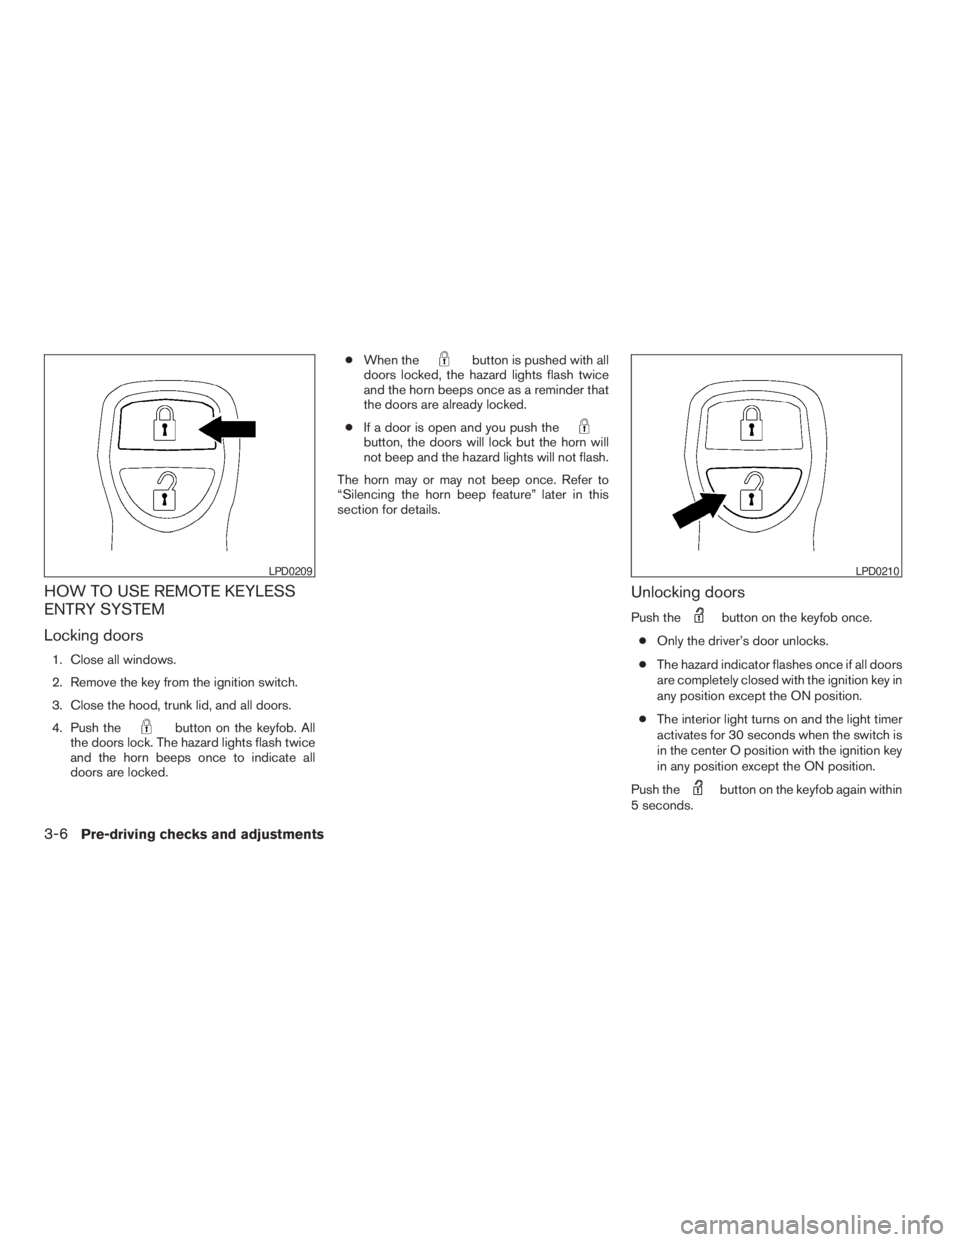
button on the keyfob. All
the doors lock. The hazard lights flash twice
and the horn beeps once to indicate all
doors are locked.cWhen the
button is pushed with all
doors locked, the hazard lights flash twice
and the horn beeps once as a reminder that
the doors are already locked.
cIf a door is open and you push the
button, the doors will lock but the horn will
not beep and the hazard lights will not flash.
The horn may or may not beep once. Refer to
“Silencing the horn beep feature” later in this
section for details.
Unlocking doors
Push thebutton on the keyfob once.
cOnly the driver’s door unlocks.
cThe hazard indicator flashes once if all doors
are completely closed with the ignition key in
any position except the ON position.
cThe interior light turns on and the light timer
activates for 30 seconds when the switch is
in the center O position with the ignition key
in any position except the ON position.
Push the
button on the keyfob again within
5 seconds.
LPD0210
Page 123 of 304
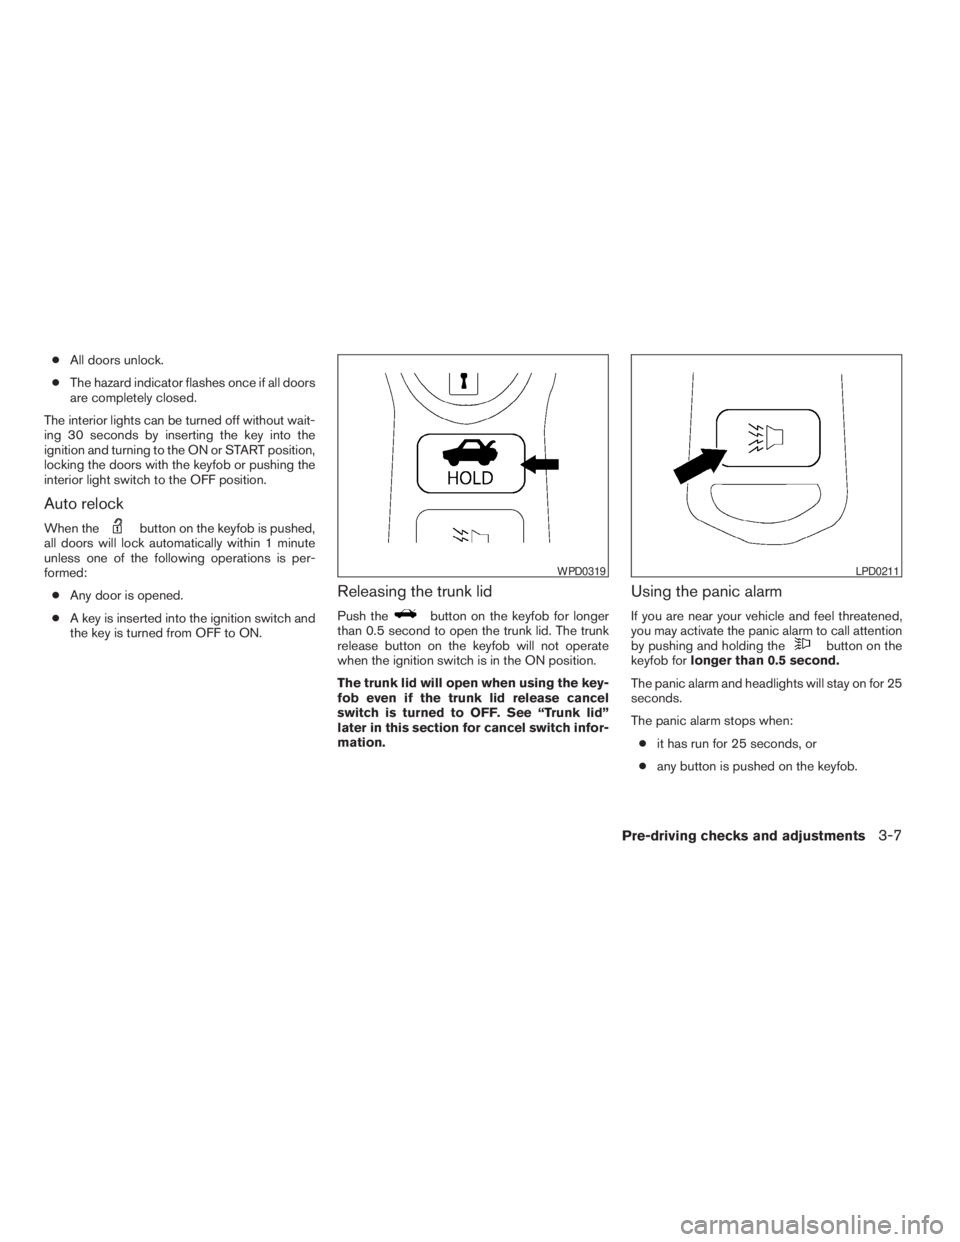
button on the keyfob is pushed,
all doors will lock automatically within 1 minute
unless one of the following operations is per-
formed:
cAny door is opened.
cA key is inserted into the ignition switch and
the key is turned from OFF to ON.
Releasing the trunk lid
Push thebutton on the keyfob for longer
than 0.5 second to open the trunk lid. The trunk
release button on the keyfob will not operate
when the ignition switch is in the ON position.
The trunk lid will open when using the key-
fob even if the trunk lid release cancel
switch is turned to OFF. See “Trunk lid”
later in this section for cancel switch infor-
mation.
Using the panic alarm
If you are near your vehicle and feel threatened,
you may activate the panic alarm to call attention
by pushing and holding the
button on the
keyfob forlonger than 0.5 second.
The panic alarm and headlights will stay on for 25
seconds.
The panic alarm stops when:
cit has run for 25 seconds, or
cany button is pushed on the keyfob.
LPD0211
Page 135 of 304

brightness control button (P. 4-10)
2. PREV (previous) button (P. 4-3)
3. Joystick and ENTER push button (P. 4-3)
4. SETTING button (P. 4-6)
5. TRIP drive computer button (P. 4-4)
6. DEST button*
7. ROUTE button*
8. MAP button*
9. GUIDE VOICE button*
10.
zoom out button*
11.
zoom in button*
*For Navigation system control buttons, refer to
the separate Navigation System Owner’s
Manual.
HOW TO USE JOYSTICK AND
“ENTER” BUTTON
Choose an item on the display using the joystick
and push the“ENTER”button for operation.
HOW TO USE “PREV” BUTTON
This button has two functions.
cGo back to the previous display (cancel) .
If you touch“PREV”button during setup, the
setup will be canceled and/or the display will
return to the previous screen.
cFinish setup.
If you touch this button after the setup is com-
pleted, the setup will start over, and the display
will return to the climate control or audio mode
and Navigation screen.
SETTING UP THE START-UP
SCREEN
When you turn the ignition key to ACC or ON, the
SYSTEM START-UP warning is displayed on the
screen. Read the warning and select the “I
AGREE” (English) or “ENTER” (Français) key
then push the“ENTER”button.
If you do not push the“ENTER”button, the
Navigation system will not proceed to the next
step display.If you do not touch the button or screen key for
more than 1 minute on the TRIP, SETTING or
START-UP screen, the screen will change to
TRIP screen automatically.
To proceed to the next step, refer to the separate
Navigation System Owner’s Manual.
Display screen, heater, air conditioner and audio systems4-3
ZREVIEW COPYÐ2005 Altima(l30)
Owners ManualÐUSA_English(nna)
01/04/05Ðarosenma
X