Page 151 of 417
150 Controls in detailAudio systemDirect frequency input
Select the desired frequency band.�
Press“ button.
�
Enter desired frequency using
buttons4 toM.Manual tuning
�
Select the desired frequency band.
�
Press and hold either thed or
cbutton until the desired
frequency is reached.
Step-by-step station tuning takes place
in ascending or descending order of
frequency. The first three tuning steps
will take place without muting. After-
wards, the radio will be muted and
highspeed tuning will take place until
the button is released.Automatic seek tuning
�
Select the desired frequency band.
�
Press either thef or ebutton.
The radio will tune to the next higher or
next lower receivable frequency.
iYou can only enter frequencies within
the respective waveband.
If a button is not pressed within four
seconds, the radio will return to the
station last tuned to.
Page 152 of 417
151 Controls in detail
Audio system
Scan tuning�
Starting scan tuning�
Select desired frequency band.
�
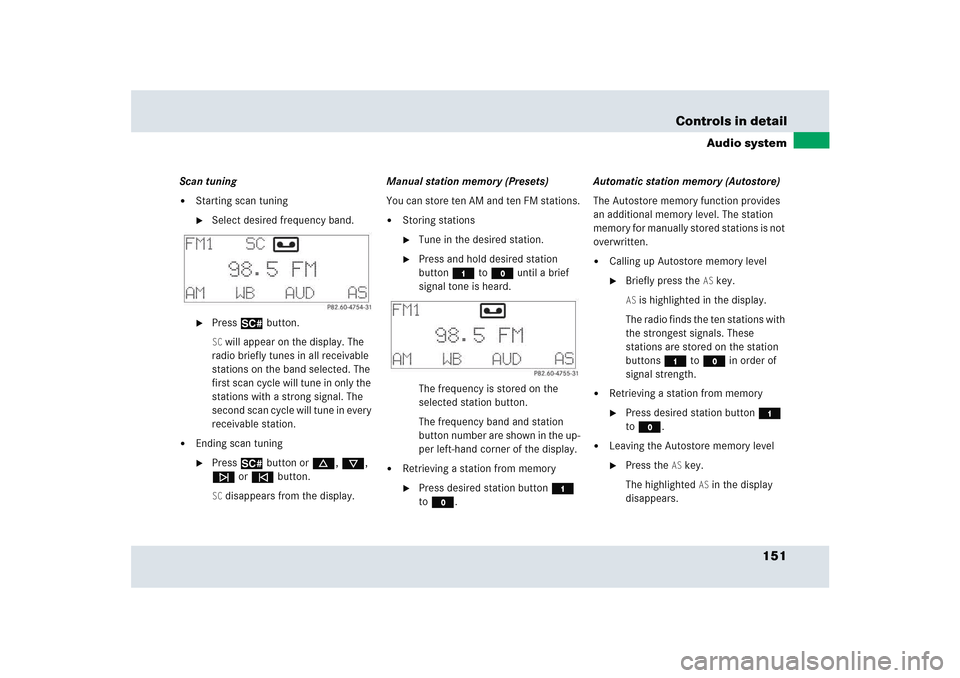
Press2 button.SC will appear on the display. The
radio briefly tunes in all receivable
stations on the band selected. The
first scan cycle will tune in only the
stations with a strong signal. The
second scan cycle will tune in every
receivable station.
�
Ending scan tuning�
Press2 button ord, c,
f or ebutton.SC disappears from the display.Manual station memory (Presets)
You can store ten AM and ten FM stations.
�
Storing stations�
Tune in the desired station.
�
Press and hold desired station
button4 toM until a brief
signal tone is heard.
The frequency is stored on the
selected station button.
The frequency band and station
button number are shown in the up-
per left-hand corner of the display.
�
Retrieving a station from memory�
Press desired station button4
toM.Automatic station memory (Autostore)
The Autostore memory function provides
an additional memory level. The station
memory for manually stored stations is not
overwritten.
�
Calling up Autostore memory level�
Briefly press the
AS key.
AS is highlighted in the display.
The radio finds the ten stations with
the strongest signals. These
stations are stored on the station
buttons4 toM in order of
signal strength.
�
Retrieving a station from memory�
Press desired station button4
toM.
�
Leaving the Autostore memory level�
Press the
AS key.
The highlighted
AS in the display
disappears.
Page 153 of 417
152 Controls in detailAudio systemWeather band�
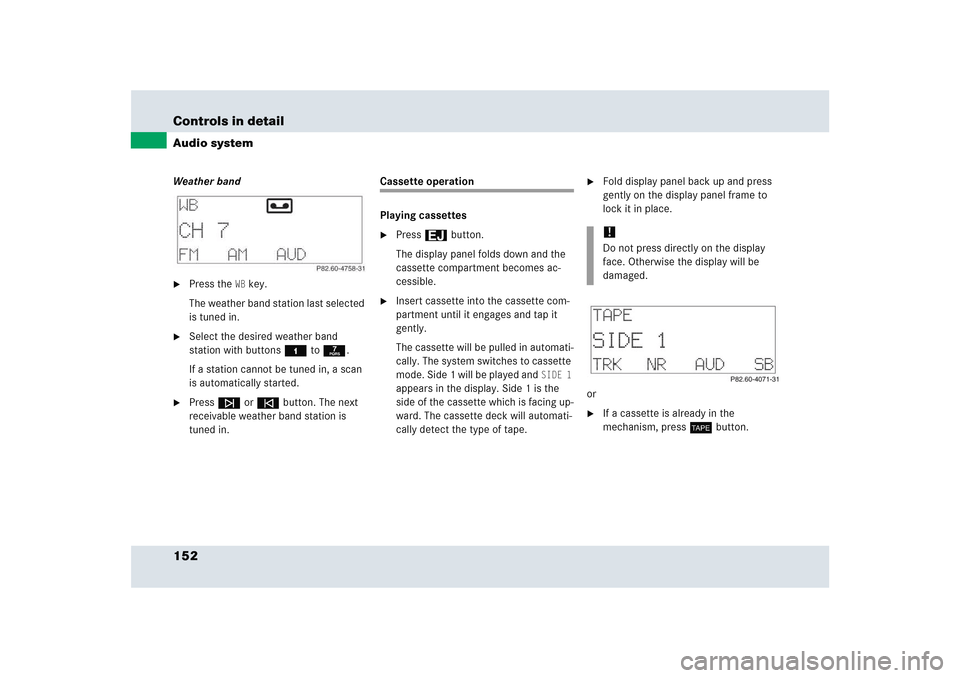
Press the
WB key.
The weather band station last selected
is tuned in.
�
Select the desired weather band
station with buttons4 to7.
If a station cannot be tuned in, a scan
is automatically started.
�
Pressf or ebutton. The next
receivable weather band station is
tuned in.
Cassette operation
Playing cassettes�
Press3 button.
The display panel folds down and the
cassette compartment becomes ac-
cessible.
�
Insert cassette into the cassette com-
partment until it engages and tap it
gently.
The cassette will be pulled in automati-
cally. The system switches to cassette
mode. Side 1 will be played and
SIDE 1
appears in the display. Side 1 is the
side of the cassette which is facing up-
ward. The cassette deck will automati-
cally detect the type of tape.
�
Fold display panel back up and press
gently on the display panel frame to
lock it in place.
or
�
If a cassette is already in the
mechanism, pressj button.!Do not press directly on the display
face. Otherwise the display will be
damaged.
Page 159 of 417
158 Controls in detailAudio systemSelecting CDs�
You can select from among the CDs in
the CD magazine using buttons4
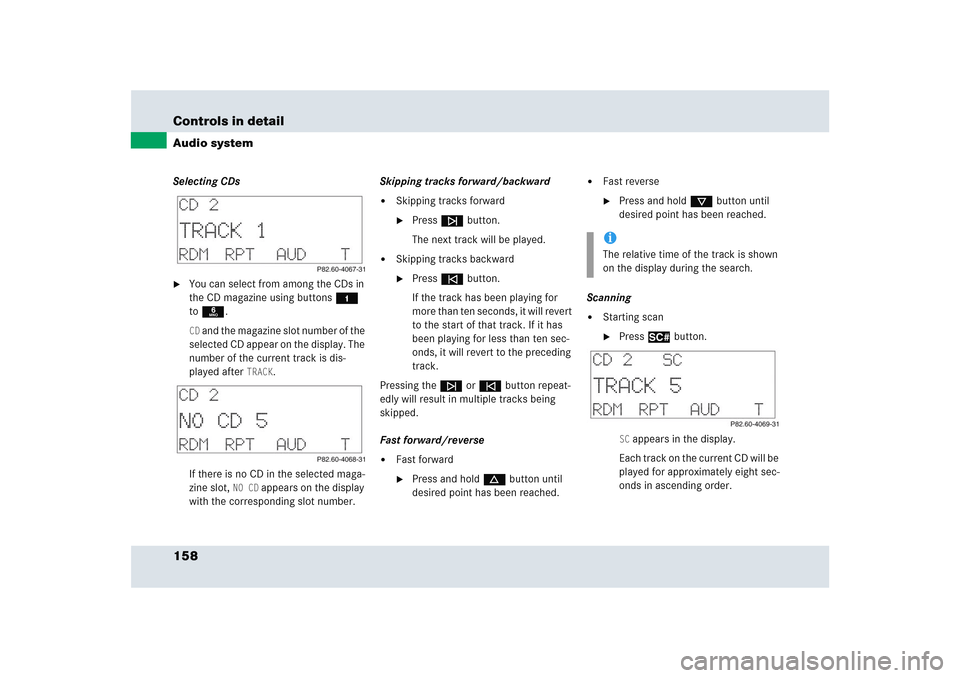
to6.CD and the magazine slot number of the
selected CD appear on the display. The
number of the current track is dis-
played after
TRACK
.
If there is no CD in the selected maga-
zine slot,
NO CD
appears on the display
with the corresponding slot number.Skipping tracks forward/backward
�
Skipping tracks forward�
Pressf button.
The next track will be played.
�
Skipping tracks backward�
Presse button.
If the track has been playing for
more than ten seconds, it will revert
to the start of that track. If it has
been playing for less than ten sec-
onds, it will revert to the preceding
track.
Pressing thef or ebutton repeat-
edly will result in multiple tracks being
skipped.
Fast forward/reverse
�
Fast forward�
Press and holdd button until
desired point has been reached.
�
Fast reverse�
Press and holdc button until
desired point has been reached.
Scanning
�
Starting scan�
Press2 button.SC appears in the display.
Each track on the current CD will be
played for approximately eight sec-
onds in ascending order.
iThe relative time of the track is shown
on the display during the search.
Page 161 of 417
160 Controls in detailAudio systemTelephone operationVarious car telephone functions and oper-
ating steps for the car telephone can be
performed and displayed via the audio sys-
tem.
Further operating instructions not covered
here can be found in the operating
instructions for the multifunction steering
wheel and the telephone.
Switching on the telephone
�
Pressh button.
If you have programmed an unlock
code for the telephone, you must enter
the code now.
�
Enter the code using buttons4
toM.
�
If necessary, correct number entered
with the
CLR
key. Press key briefly to
delete the last digit entered; press key
and hold to delete the complete num-
ber.
�
Press the
OK key after entering correct
code.
The telephone is unlocked. If you have
entered the wrong code, you must re-
peat the entering procedure with the
correct code.
Switching off the telephone
�
Pressh button repeatedly until PHONE OFF
appears in the display.
The receiving symbol in the display
disappears.
Adjusting the volume
�
Turn control knoba during tele-
phone operation.
The volume increases or decreases de-
pending on the direction in which the
knob is turned.
Warning!
G
Please do not forget that your primary re-
sponsibility is to drive the vehicle. A driver’s
attention to the road must always be
his/her primary focus when driving. For
your safety and the safety of others, we rec-
ommend that you pull over to a safe location
and stop before placing or taking a tele-
phone call.
If you choose to use the telephone
1 while
driving, please use the hands-free device
and only use the telephone when road,
weather and traffic conditions permit. Some
jurisdictions prohibit the driver from using a
cellular telephone while driving a vehicle.
Bear in mind that at a speed of just 30 mph
(approximately 50 km/h), your vehicle is
covering a distance of 44 feet
(approximately 14 m) every second.
1Observe all legal requirements.
iThe volume can be adjusted separately
for the telephone and radio.
Page 162 of 417
161 Controls in detail
Audio system
Placing a call
Entering a telephone number and
starting the dialing process�
Enter the desired telephone number
using buttons4 toM.
The number can have up to 32 digits,
but only 13 of these are visible on the
display.
If necessary, correct number entered with
the CLR
key.
�
Press key briefly to delete the last digit
entered.
�
Press key and hold to delete the com-
plete number.
�
After correct telephone number has
been entered, press the
SND
key.Phone book
The numbers stored in the phone book can
be called up either by name or number.
Calling up the phone book
�
Pressd, c, f or
ebutton.Switching between name search and
number search
�
Press the
ABC
key.
The name search is called up.
or
�
Press the
NUM
key.
The number search is called up.
Searching and calling up phone book en-
tries by name
�
Press the
ABC
key.
The current name is highlighted on the
display.
��
Page 165 of 417
164 Controls in detailAudio systemQuick-dialing�
Press one of the desired number
buttons4 toM longer than one
second.
The telephone number saved under
that number will be dialed.Emergency calls “911”
The following describes how to dial a “911”
emergency call using the audio system
head unit when a Mercedes-Benz specified
mobile phone is inserted in the phone cra-
dle. Unless otherwise specified, the de-
scriptions refer to the audio system head
unit.
Consult the separate telephone operating
instructions that came with your mobile
phone for information on how to place a
“911” emergency call on the mobile
phone. The following conditions must be met for a
“911” emergency call:
�
Telephone must be switched on.
�
The corresponding mobile communica-
tions network must be available.
If you cannot make an emergency call, you
will have to initiate rescue measures
yourself.
!Please be aware that button4
might already be reserved for an emer-
gency call number.
Warning!
G
The “911” emergency call system is a public
service. Using it without due cause is a crim-
inal offense.
iEmergency calls may not be possible
with all telephone networks or if certain
network services and/or telephone
functions are active. Check with your
local service providers.
Page 175 of 417
174 Controls in detailAutomatic transmissionStopping
When you stop briefly, e.g. at traffic lights:�
Leave the transmission in gear.
�
Hold the vehicle with the brake.
When you stop longer with the engine
idling or on an uphill gradient:
�
Move the gear selector lever to
positionP.
�
Set the parking brake.Maneuvering
When you maneuver in tight areas,
e.g. when pulling into a parking space:
�
Control the vehicle speed by gradually
releasing the brakes.
�
Accelerate gently.
�
Never abruptly step on the accelerator.
Working on the vehicle
Steering wheel gearshift control
You can change the gears manually on the
steering wheel or by using the gear
selector lever (
�page 168).
The steering wheel gearshift buttons are
located on the left and right side of the
steering wheel.
1Left button: downshift
2Right button: upshift
Warning!
G
When working on the vehicle, set the
parking brake and move gear selector lever
to positionP. Otherwise the vehicle could
roll away.