Page 239 of 464
239 Controls in detail
Retractable hardtop
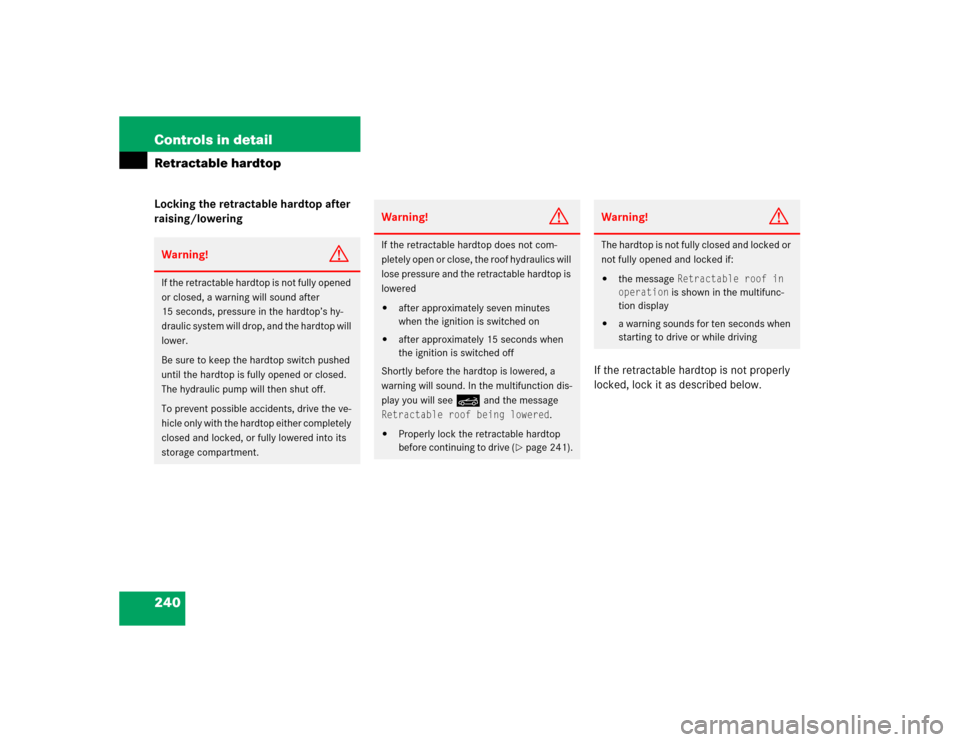
The switch for opening/closing the retract-
able hardtop is on the lower part of the
center console.Retractable hardtop switch1Opening
2Closing
For operating the power windows with the
retractable hardtop switch (
�page 234).Opening
�
Push and hold the retractable hardtop
switch in direction of arrow1 until the
retractable hardtop is completely low-
ered into the trunk.
The message
Retractable roof open
briefly appears in the multifunction dis-
play.
Closing
�
Push and hold the retractable hardtop
switch in direction of arrow2 until the
retractable hardtop is completely
closed and locked.
The message
Retractable roof
closed
briefly appears in the multifunc-
tion display.
iBefore operating the retractable hard-
top via the retractable hardtop switch,
do the following first:�
Engage the parking brake
(�page 56).
�
Close the luggage cover.
�
Close the trunk lid.
�
Switch on ignition (
�page 35).
Page 240 of 464

240 Controls in detailRetractable hardtopLocking the retractable hardtop after
raising/lowering
If the retractable hardtop is not properly
locked, lock it as described below.Warning!
G
If the retractable hardtop is not fully opened
or closed, a warning will sound after
15 seconds, pressure in the hardtop’s hy-
draulic system will drop, and the hardtop will
lower.
Be sure to keep the hardtop switch pushed
until the hardtop is fully opened or closed.
The hydraulic pump will then shut off.
To prevent possible accidents, drive the ve-
hicle only with the hardtop either completely
closed and locked, or fully lowered into its
storage compartment.
Warning!
G
If the retractable hardtop does not com-
pletely open or close, the roof hydraulics will
lose pressure and the retractable hardtop is
lowered�
after approximately seven minutes
when the ignition is switched on
�
after approximately 15 seconds when
the ignition is switched off
Shortly before the hardtop is lowered, a
warning will sound. In the multifunction dis-
play you will see
K
and the message
Retractable roof being lowered
.
�
Properly lock the retractable hardtop
before continuing to drive (
�page 241).
Warning!
G
The hardtop is not fully closed and locked or
not fully opened and locked if:�
the message
Retractable roof in
operation is shown in the multifunc-
tion display
�
a warning sounds for ten seconds when
starting to drive or while driving
Page 241 of 464

241 Controls in detail
Retractable hardtop
Unlocked status noticed when stopped�
Switch on the ignition (
�page 35).
�
To lock the retractable hardtop in its
fully closed position, push the retract-
able hardtop switch forward until the
retractable hardtop is fully closed.
The message
Retractable roof
closed
briefly appears in the multifunc-
tion display.
or:
�
To lock the retractable hardtop in its
fully opened position, push the retract-
able hardtop switch rearward until the
retractable hardtop is fully open.
The message
Retractable roof open
briefly appears in the multifunction
display.Unlocked status noticed while driving
�
Stop the vehicle and leave the ignition
switched on.
�
To lock the retractable hardtop in its
fully closed position, push the retract-
able hardtop switch forward until the
retractable hardtop is fully closed.
The message
Retractable roof
closed
briefly appears in the multifunc-
tion display.
or:
�
To lock the retractable hardtop in its
fully opened position, push the retract-
able hardtop switch rearward until the
retractable hardtop is fully open.
The message
Retractable roof open
briefly appears in the multifunction
display.
Warning!
G
Stop the vehicle and lock the retractable
hardtop before continuing to drive. You
could otherwise endanger yourself and oth-
ers.
Page 242 of 464

242 Controls in detailRetractable hardtopOpening and closing the retractable
hardtop with the SmartKey*
The power windows (
�page 232) will also
be opened or closed when you operate the
retractable hardtop with the SmartKey.
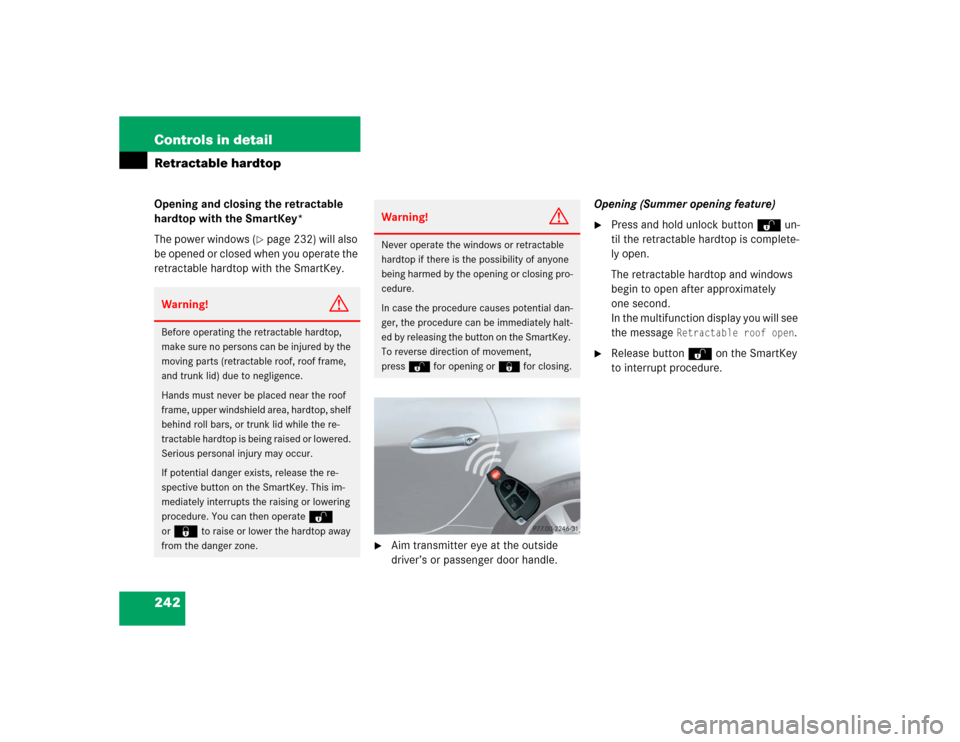
�
Aim transmitter eye at the outside
driver’s or passenger door handle.Opening (Summer opening feature)
�
Press and hold unlock buttonΠun-
til the retractable hardtop is complete-
ly open.
The retractable hardtop and windows
begin to open after approximately
one second.
In the multifunction display you will see
the message
Retractable roof open
.
�
Release buttonΠon the SmartKey
to interrupt procedure.
Warning!
G
Before operating the retractable hardtop,
make sure no persons can be injured by the
moving parts (retractable roof, roof frame,
and trunk lid) due to negligence.
Hands must never be placed near the roof
frame, upper windshield area, hardtop, shelf
behind roll bars, or trunk lid while the re-
tractable hardtop is being raised or lowered.
Serious personal injury may occur.
If potential danger exists, release the re-
spective button on the SmartKey. This im-
mediately interrupts the raising or lowering
procedure. You can then operate
Œ
or
‹
to raise or lower the hardtop away
from the danger zone.
Warning!
G
Never operate the windows or retractable
hardtop if there is the possibility of anyone
being harmed by the opening or closing pro-
cedure.
In case the procedure causes potential dan-
ger, the procedure can be immediately halt-
ed by releasing the button on the SmartKey.
To reverse direction of movement,
pressŒ for opening or‹ for closing.
Page 243 of 464

243 Controls in detail
Retractable hardtop
Closing (Convenience closing feature)�
Press and hold lock button‹ until
the retractable hardtop is fully closed.
The retractable hardtop and windows
begin to close after approximately
one second.
In the multifunction display you will see
the message
Retractable roof
closed
.
�
Release button‹ on the SmartKey
to interrupt procedure.
Wind screen
1Wind screen
2Snap fastener
3Supporting strap
4Fastening pinInstalling
�
Remove wind screen1 from its stor-
age bag and unfold.
The storage bag is located on the wall
behind the seat backrests.
�
Attach supporting straps3 to fasten-
ing pins4.
�
Close snap fasteners2.
�
Pull wind screen1 on molding over
roll bars.
Removing
�
Pull off wind screen1 from roll bars.
�
Open snap fasteners2.
�
Loosen supporting straps3 from fas-
tening pins4.
�
Fold wind screen1 and put it back
into storage bag.
Warning!
G
If the retractable hardtop does not com-
pletely open or close, a warning sounds. In
the multifunction display you will see
K
and the message
Retractable roof
being lowered. After about 15 seconds
the roof hydraulics lose pressure.
Properly lock the retractable hardtop
(
�page 240) before continuing to drive.
Warning!
G
The wind screen can restrict the driver’s
vision to the rear of the vehicle. To prevent
a possible accident when visibility is limited
(e.g. in darkness), the upper part of the wind
screen should be folded back.
iPull on snap fastener’s head to open
the snap fastener.
Page 245 of 464

245 Controls in detail
Driving systems
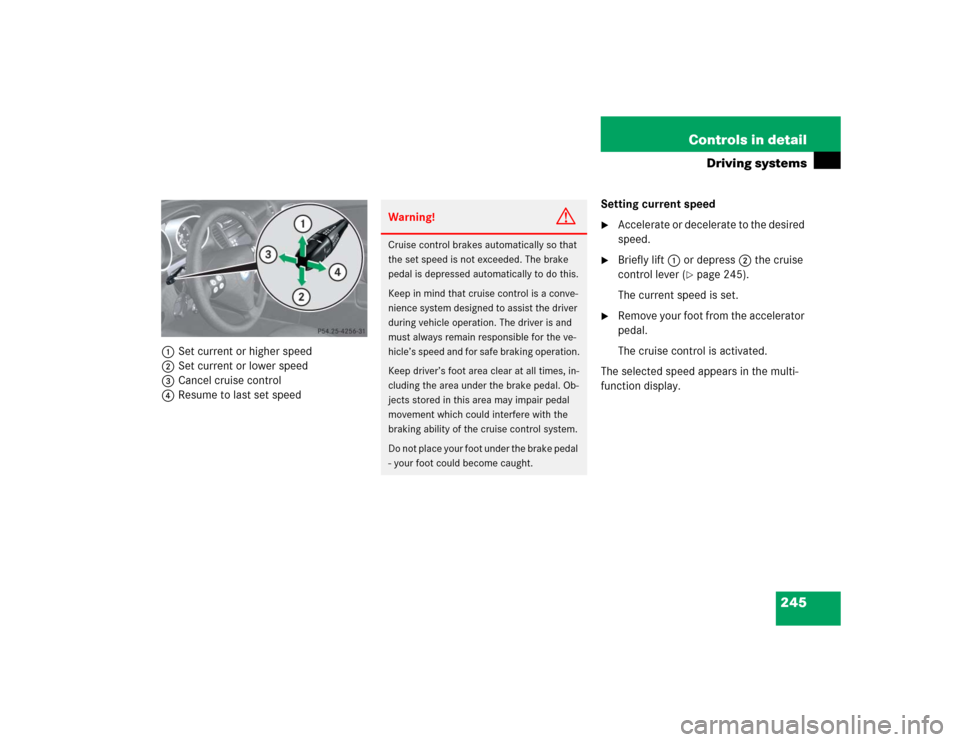
1Set current or higher speed
2Set current or lower speed
3Cancel cruise control
4Resume to last set speedSetting current speed
�
Accelerate or decelerate to the desired
speed.
�
Briefly lift1 or depress2 the cruise
control lever (
�page 245).
The current speed is set.
�
Remove your foot from the accelerator
pedal.
The cruise control is activated.
The selected speed appears in the multi-
function display.
Warning!
G
Cruise control brakes automatically so that
the set speed is not exceeded. The brake
pedal is depressed automatically to do this.
Keep in mind that cruise control is a conve-
nience system designed to assist the driver
during vehicle operation. The driver is and
must always remain responsible for the ve-
hicle’s speed and for safe braking operation.
Keep driver’s foot area clear at all times, in-
cluding the area under the brake pedal. Ob-
jects stored in this area may impair pedal
movement which could interfere with the
braking ability of the cruise control system.
Do not place your foot under the brake pedal
- your foot could become caught.
Page 248 of 464
248 Controls in detailDriving systemsFine adjustment in 1 mph
(Canada: 1 km/h) increments
Faster�
Briefly tip the cruise control lever in
direction of arrow1 (
�page 245).
Slower
�
Briefly tip the cruise control lever in
direction of arrow2 (
�page 245).Setting to last stored speed
(“Resume” function)
�
Briefly pull the cruise control lever in
direction of arrow4 (
�page 245).
The cruise control resumes the last set
speed.
�
Remove your foot from the accelerator
pedal.
The last set speed appears in the multi-
function display.
Warning!
G
The speed stored in memory should only be
set again if prevailing road conditions per-
mit. Possible acceleration or deceleration
differences arising from returning to the pre-
set speed could cause an accident and/or
serious injury to you and others.
Page 258 of 464

258 Controls in detailUseful featuresSystem self-check
Initially, after switching on ignition, mal-
functions are detected and indicated (the
indicator lamps in the SOS button, the
Roadside Assistance button•, and the
Information button¡ stay on longer
than ten seconds or do not come on).
The message
Tele Aid malfunction
Drive to workshop
appears in the multi-
function display.Emergency calls
An emergency call is initiated automatical-
ly following an accident in which the emer-
gency tensioning devices (ETDs) or
air bags deploy.
An emergency call can also be initiated
manually by opening the cover next to the
interior rear view mirror labeled SOS, then
briefly pressing the button located under
the cover. See (
�page 259) for instruc-
tions on initiating an emergency call man-
ually.
Once the emergency call is in progress, the
indicator lamp in the SOS button will begin
to flash. The message
Connecting call
appears in the multifunction display and
the audio system is muted. When the con-
nection is established, the message
Call connected
appears in the multifunc-
tion display. All information relevant to the
emergency, such as the location of the ve-
hicle (determined by the GPS satellite loca-
tion system), vehicle model, identification
number and color are generated.
!The Tele Aid system utilizes the cellular
network for communication and the
GPS (Global Positioning System) satel-
lites for vehicle location. If either of
these signals are unavailable, the
Tele Aid system may not function and if
this occurs, assistance must be sum-
moned by other means.
Warning!
G
If the indicator lamps in the SOS button, in
the Roadside Assistance button, and/or in
the Information button do not come on dur-
ing the system self-check or if any of these
indicators remain illuminated constantly in
red and/or the message
Tele Aid
malfunction Drive to workshop
is dis-
played in the multifunction display after the
system self-check, a malfunction in the sys-
tem has been detected.
If a malfunction is indicated as outlined
above, the system may not operate as ex-
pected. Have the system checked at the
nearest Mercedes-Benz Center as soon as
possible.