Page 132 of 474
130 Controls in detailLightingDeactivating�
Slide switch4 to the right.
The interior lighting and the entry/exit
lamps remain switched off in darkness,
even when you�
unlock the vehicle
�
open a door
�
remove the SmartKey from the
starter switch
�
open the trunkManual control
Switching lamps on
�
Press switch3.
The interior lighting switches on.
Switching lamps off
�
Press switch3 again.
The interior lighting switches off.
Courtesy lighting
For better orientation in the dark, courtesy
lamps will illuminate the interior of your ve-
hicle as follows:
With parking lamps switched on:�
the door handles
�
the driver and passenger footwells
With SmartKey in starter switch position1:
�
the door handles
�
the center console
iThe setting selected for the interior
lighting is used for the trunk lighting as
well.
If you leave the trunk lid open for an ex-
tended period of time, the trunk light-
ing will switch off automatically after
approximately ten minutes.
iIf you turn the SmartKey in the starter
switch to position0 and switch off the
exterior headlamps, the door handle
lamps will remain lit for approximately
five minutes.
Page 133 of 474
131 Controls in detail
Instrument cluster
�Instrument cluster
For a full view illustration of the instrument
cluster, see “Instrument cluster”
(�page 24).
The instrument cluster is activated when
you
�
open a door
�
switch on the ignition
�
press the reset button (
�page 24)
�
switch on the exterior lamps
Opening a door will activate the instrument
cluster only for about 30 seconds.
You can change the instrument cluster set-
tings in the Instrument cluster submenu of
the control system (
�page 148).
Instrument cluster illumination
Use the reset button to adjust the illumina-
tion brightness for the instrument cluster
and the switches on the center console.
To brighten illumination�
Turn the reset button in the instrument
cluster (
�page 24) clockwise.
The instrument cluster illumination will
brighten.
To dim illumination
�
Turn the reset button in the instrument
cluster (
�page 24) counterclockwise.
The instrument cluster illumination will
dim.
Coolant temperature gauge
iThe instrument cluster illumination is
dimmed or brightened to suit ambient
light conditions.
Warning
G
�
Driving when your engine is badly over-
heated can cause some fluids which
may have leaked into the engine com-
partment to catch fire. You could be se-
riously burned.
�
Steam from an overheated engine can
cause serious burns an can occur just by
opening the hood. Stay away from the
engine if you see or hear steam coming
from it.
Turn off the engine, get out of the vehicle
and do not stand near the vehicle until the
engine has cooled down.
Page 149 of 474
147 Controls in detail
Control system
The table below shows what settings can
be changed within the various menus. De-
tailed instructions on making individual
settings can be found on the following pag-
es.Instrument cluster
Time
Lighting
Vehicle
Convenience
Selecting temperature
display mode
Synchronizing time with
head unit
Setting daytime running
lamp mode (USA only)
Setting station selection
mode (radio)
Activating
easy-entry/exit feature
Selecting speedometer
display mode
Setting the time (hours)
Setting locator lighting
Setting automatic locking
Setting key-dependency
Selecting language
Setting the time
(minutes)
Setting night security
illumination
Tire inflation pressure
display
Setting parking position
for exterior rear view
mirror
Selecting time display
mode
Setting interior lighting
delayed switch-off
Page 153 of 474

151 Controls in detail
Control system
Setting the time (minutes)
This function is only available if the func-
tion
Time sync. with head unit
(
�page 149) has been set to
Off
. The time
is then not set automatically by the
COMAND and must be set manually if re-
quired.
�
Move the selection marker with the
æ or ç button to the
Time
submenu.
�
Press button j or k repeatedly
until the message
Set time Minutes
appears in the multifunction display.
The selection marker is on the minute
setting.
�
Press button æ or ç to set the
hour.
�
Press the reset button in the instru-
ment cluster (
�page 25) to confirm
the setting.
Selecting time display mode
�
Move the selection marker with the
æ or ç button to the
Inst.
cluster
submenu.
�
Press button j or k repeatedly
until the message
Clock
appears in the
multifunction display.
The selection marker is on the current
setting.
�
Press æ or ç to set the
12-hour
or
24-hour
time display mode.
iFor information on setting the time, re-
fer to the separate COMAND operating
instructions.
Page 155 of 474
153 Controls in detail
Control system
In low ambient light conditions the follow-
ing lamps will switch on additionally:�
Parking lamps
�
Tail lamps
�
License plate lamps
�
Side marker lampsSetting locator lighting
With the locator lighting feature activated
and the exterior lamp switch in position
U, the following lamps will switch on
when the vehicle is unlocked with the
SmartKey during darkness:
�
Parking lamps
�
Tail lamps
�
License plate lamps
�
Front fog lamps
The locator lighting switches off when the
driver’s door is opened.
If you do not open a door after unlocking
the vehicle with the SmartKey, the lamps
will switch off automatically after approxi-
mately 40 seconds.
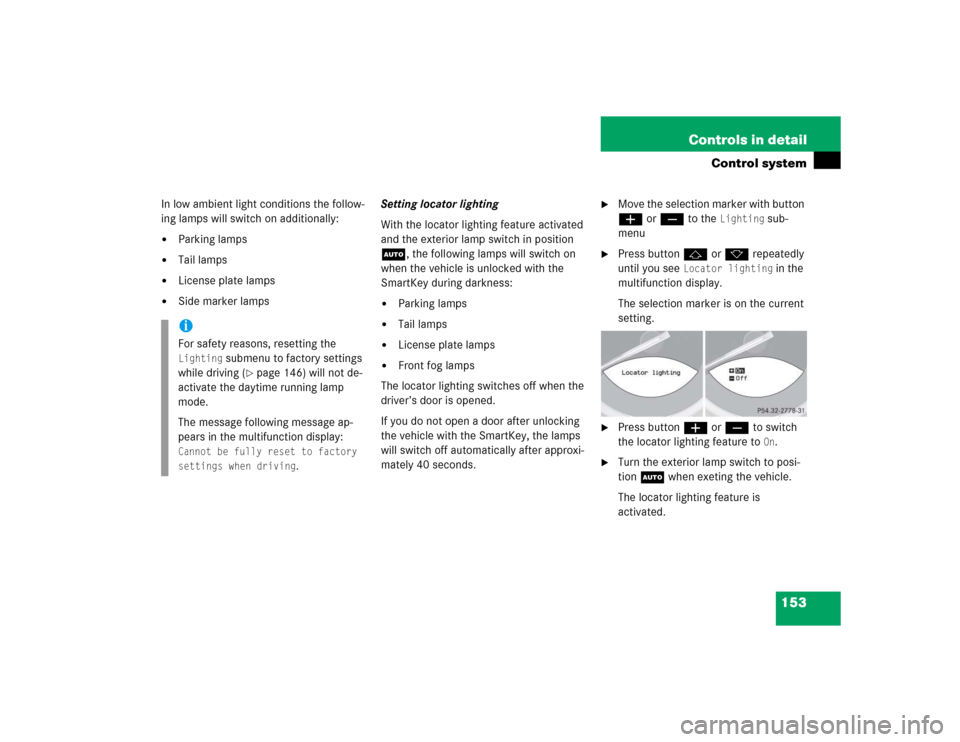
�
Move the selection marker with button
æ or ç to the
Lighting
sub-
menu
�
Press button j or k repeatedly
until you see
Locator lighting
in the
multifunction display.
The selection marker is on the current
setting.
�
Press button æ or ç to switch
the locator lighting feature to
On.
�
Turn the exterior lamp switch to posi-
tion U when exeting the vehicle.
The locator lighting feature is
activated.
iFor safety reasons, resetting the Lighting
submenu to factory settings
while driving (
�page 146) will not de-
activate the daytime running lamp
mode.
The message following message ap-
pears in the multifunction display:
Cannot be fully reset to factory
settings when driving
.
Page 158 of 474
156 Controls in detailControl systemVehicle submenu
Access the
Vehicle
submenu via the
Set-
tings
menu. Use the
Vehicle
submenu to
make general vehicle settings. The follow-
ing functions are available:
Setting automatic locking
Use this function to activate or deactivate
the automatic central locking. With the
automatic central locking system
activated, the vehicle is centrally locked at
vehicle speeds of approximately
9mph(15km/h).
�
Move the selection marker with the
æ or ç button to the
Vehicle
submenu.
�
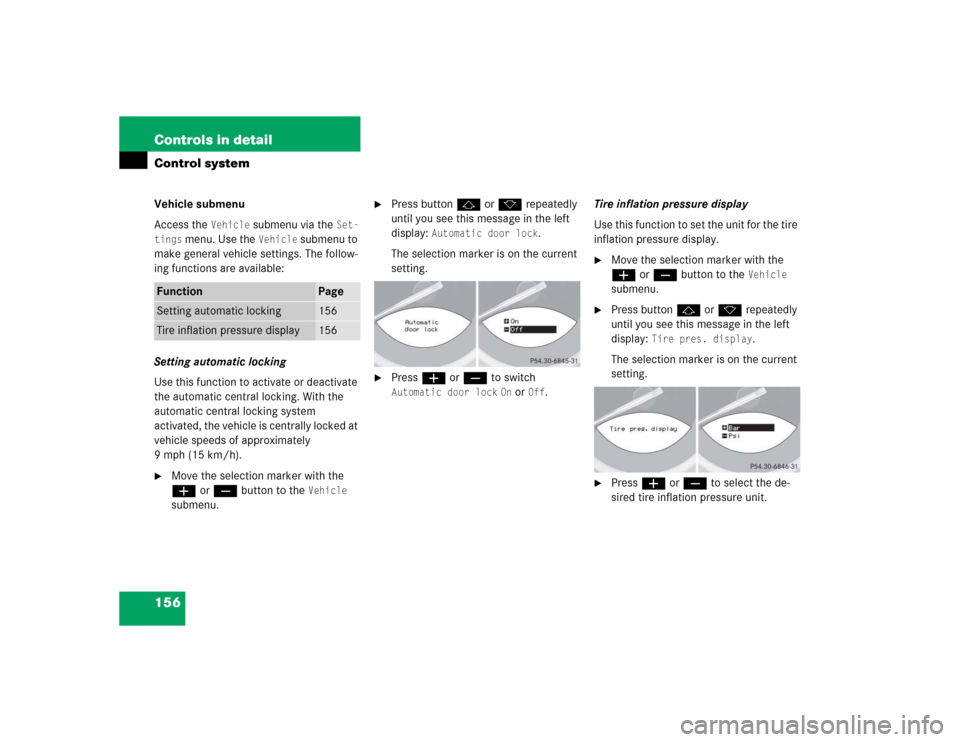
Press button j or k repeatedly
until you see this message in the left
display:
Automatic door lock
.
The selection marker is on the current
setting.
�
Press æ or ç to switch Automatic door lock
On or
Off
.Tire inflation pressure display
Use this function to set the unit for the tire
inflation pressure display.
�
Move the selection marker with the
æ or ç button to the
Vehicle
submenu.
�
Press button j or k repeatedly
until you see this message in the left
display:
Tire pres. display
.
The selection marker is on the current
setting.
�
Press æ or ç to select the de-
sired tire inflation pressure unit.
Function
Page
Setting automatic locking
156
Tire inflation pressure display
156
Page 159 of 474
157 Controls in detail
Control system
Convenience submenu
Access the
Convenience
submenu via the
Settings
menu. Use the
Convenience
sub-
menu to change the settings for a number
of convenience features. The following
functions are available:
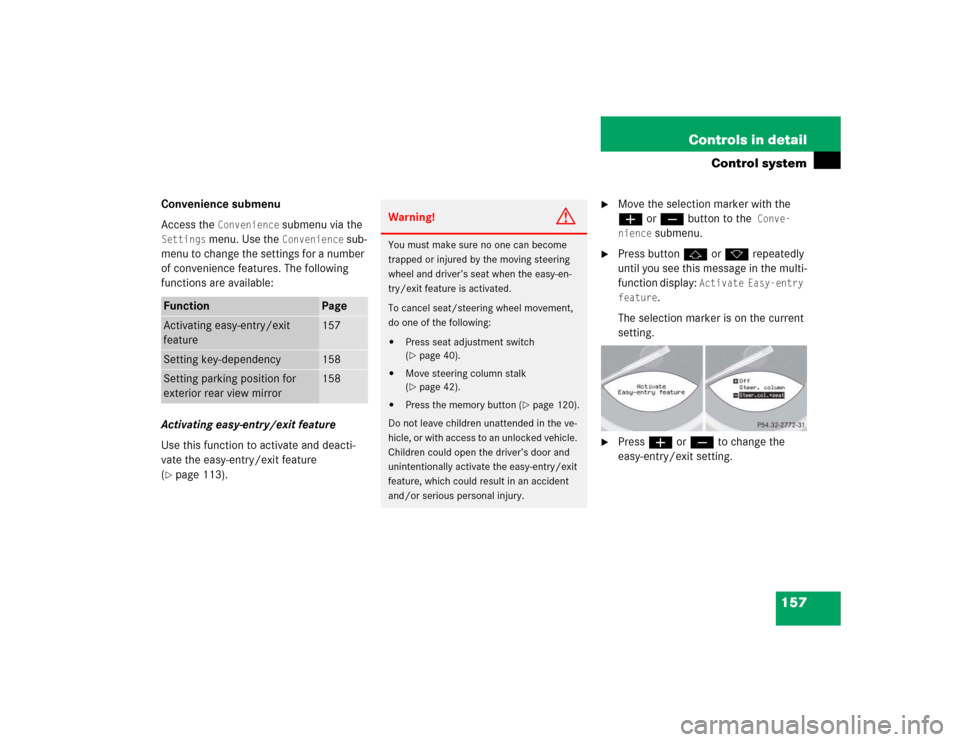
Activating easy-entry/exit feature
Use this function to activate and deacti-
vate the easy-entry/exit feature
(
�page 113).
�
Move the selection marker with the
æ orç button to the
Conve-
nience
submenu.
�
Press button j or k repeatedly
until you see this message in the multi-
function display:
Activate Easy-entry
feature
.
The selection marker is on the current
setting.
�
Press æ or ç to change the
easy-entry/exit setting.
Function
Page
Activating easy-entry/exit
feature
157
Setting key-dependency
158
Setting parking position for
exterior rear view mirror
158
Warning!
G
You must make sure no one can become
trapped or injured by the moving steering
wheel and driver’s seat when the easy-en-
try/exit feature is activated.
To cancel seat/steering wheel movement,
do one of the following:�
Press seat adjustment switch
(�page 40).
�
Move steering column stalk
(�page 42).
�
Press the memory button (
�page 120).
Do not leave children unattended in the ve-
hicle, or with access to an unlocked vehicle.
Children could open the driver’s door and
unintentionally activate the easy-entry/exit
feature, which could result in an accident
and/or serious personal injury.
Page 170 of 474
168 Controls in detailAutomatic transmissionGear selector lever position
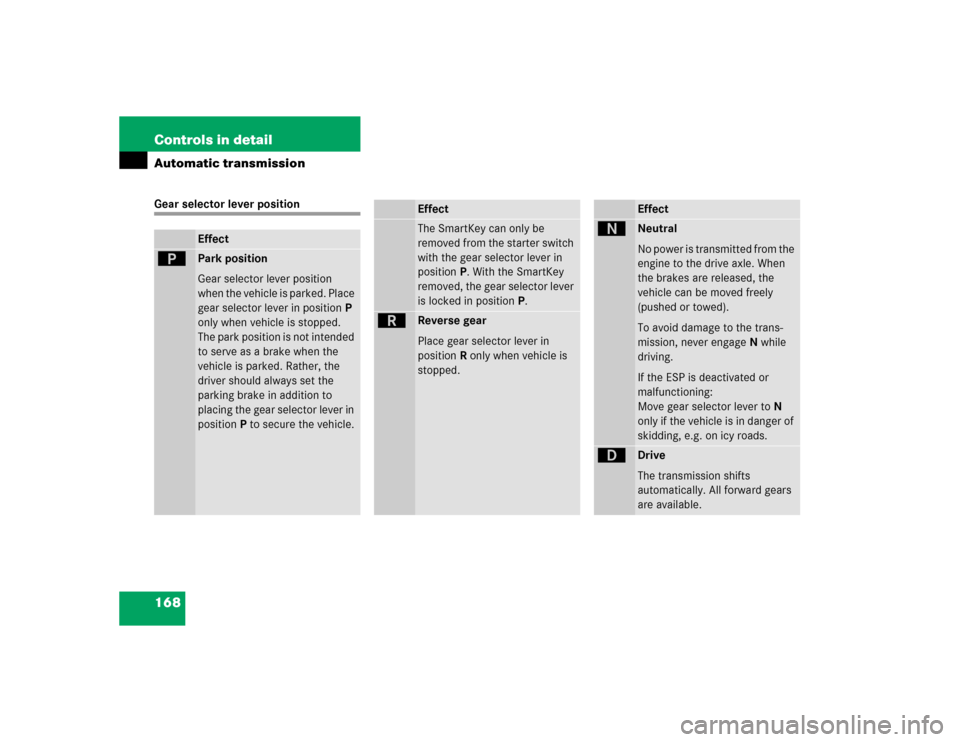
Effect
ì
Park position
Gear selector lever position
when the vehicle is parked. Place
gear selector lever in positionP
only when vehicle is stopped.
The park position is not intended
to serve as a brake when the
vehicle is parked. Rather, the
driver should always set the
parking brake in addition to
placing the gear selector lever in
positionP to secure the vehicle.
EffectThe SmartKey can only be
removed from the starter switch
with the gear selector lever in
positionP. With the SmartKey
removed, the gear selector lever
is locked in positionP.
í
Reverse gear
Place gear selector lever in
positionR only when vehicle is
stopped.
Effect
ë
Neutral
No power is transmitted from the
engine to the drive axle. When
the brakes are released, the
vehicle can be moved freely
(pushed or towed).
To avoid damage to the trans-
mission, never engageN while
driving.
If the ESP is deactivated or
malfunctioning:
Move gear selector lever toN
only if the vehicle is in danger of
skidding, e.g. on icy roads.
ê
Drive
The transmission shifts
automatically. All forward gears
are available.