Page 336 of 474

334 OperationVehicle care�
Clean the wiper blade inserts with a
clean cloth and detergent solution.Window cleaning
�
Turn on the wipers and place it in a ver-
tical position.
For information how to place the wipers in
a vertical position, see “Replacing wiper
blades” (
�page 396).
�
Use a window cleaning solution on all
glass surfaces.
An automotive glass cleaner is recom-
mended.
Warning!
G
For safety reasons, switch off wipers and re-
move SmartKey from starter switch (vehi-
cles with KEYLESS-GO*: Make sure the
vehicle's on-board electronics have status
0) before cleaning the wiper blades. Other-
wise, the wiper motor could suddenly turn
on and cause injury. !Fold the windshield wiper arms back
onto the windshield before turning the
SmartKey in the starter switch.
Hold on to the wiper when folding the
wiper arm back. If released, the force
of the impact from the tensioning
spring could crack the windshield.
!The windshield wipers must be in a ver-
tical position before folding them away
from the windshield. They could other-
wise damage the hood. Warning!
G
For safety reasons, switch off wipers and re-
move SmartKey from starter switch (vehi-
cles with KEYLESS-GO*: Make sure the
vehicle's on-board electronics have status
0) before cleaning the wiper blades. Other-
wise, the wiper motor could suddenly turn
on and cause injury.
!Fold the windshield wiper arms back
onto the windshield before turning the
SmartKey in the starter switch.
Hold on to the wiper when folding the
wiper arm back. If released, the force
of the impact from the tensioning
spring could crack the windshield.
Page 340 of 474

338 Practical hintsWhat to do if …?Lamps in instrument cluster
General information:If any of the following lamps in the instru-
ment cluster fails to come on during the
bulb self-check when switching on theignition, have the respective bulb checked
and replaced if necessary.Problem
Possible cause
Suggested solution
-
The yellow ABS malfunction in-
dicator lamp comes on while
driving.
The ABS has detected a malfunction and
has switched off. The BAS and the ESP are
also switched off (see messages in multi-
function display).
The brake system is still functioning nor-
mally but without the ABS available.
If the ABS control unit is malfunctioning,
other systems such as Parktronic*,
Distronic*, and the automatic transmission
may also be malfunctioning.
�
Continue driving with added caution.
Wheels may lock during hard braking,
reducing steering capability.
�
Read and observe messages in the mul-
tifunction display (
�page 347).
�
Have the system checked at an autho-
rized Mercedes-Benz Center as soon as
possible.
Failure to follow these instructions increas-
es the risk of an accident.
The charging voltage has fallen below
10 volts and the ABS has switched off.
The battery may not be charged sufficiently.
�
Switch off electrical consumers that are
currently not needed, e.g. seat heat-
ing*.
�
If necessary, have the generator
(alternator) and battery checked.
When the voltage is above this value again,
the ABS is operational again.
Page 348 of 474

346 Practical hintsWhat to do if …?Lamp in center consoleLamp
Problem
Possible cause
Suggested solution
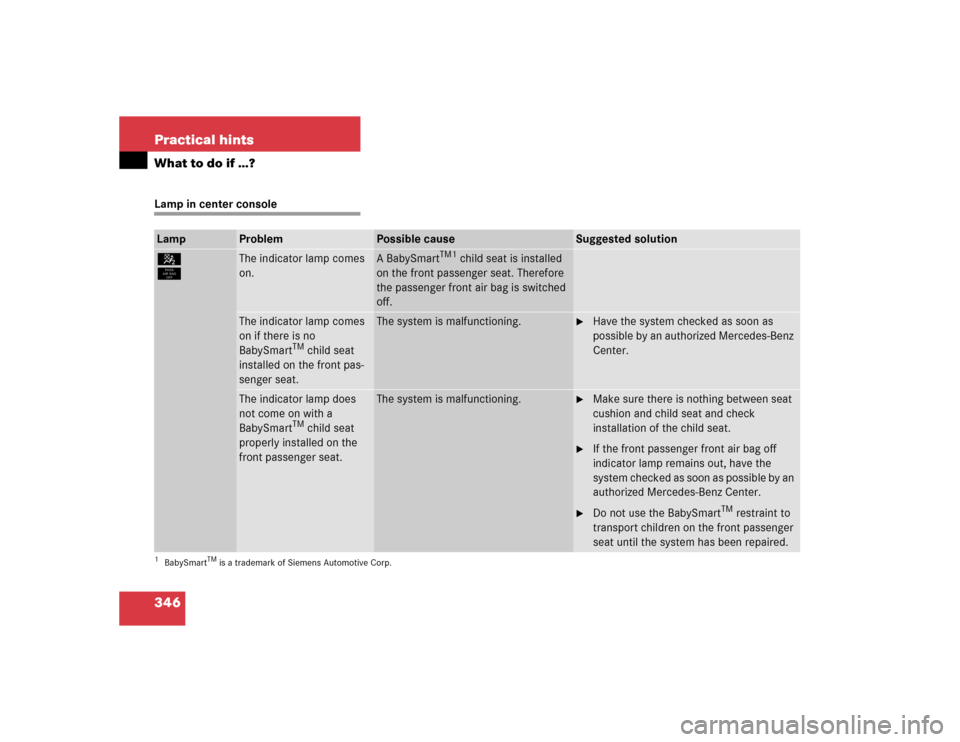
5
8
The indicator lamp comes
on.
A BabySmart
TM1
child seat is installed
on the front passenger seat. Therefore
the passenger front air bag is switched
off.
1BabySmart
TM is a trademark of Siemens Automotive Corp.
The indicator lamp comes
on if there is no
BabySmart
TM child seat
installed on the front pas-
senger seat.
The system is malfunctioning.
�
Have the system checked as soon as
possible by an authorized Mercedes-Benz
Center.
The indicator lamp does
not come on with a
BabySmart
TM child seat
properly installed on the
front passenger seat.
The system is malfunctioning.
�
Make sure there is nothing between seat
cushion and child seat and check
installation of the child seat.
�
If the front passenger front air bag off
indicator lamp remains out, have the
system checked as soon as possible by an
authorized Mercedes-Benz Center.
�
Do not use the BabySmart
TM restraint to
transport children on the front passenger
seat until the system has been repaired.
Page 366 of 474

364 Practical hintsWhat to do if …?Display
Possible cause
Possible solution
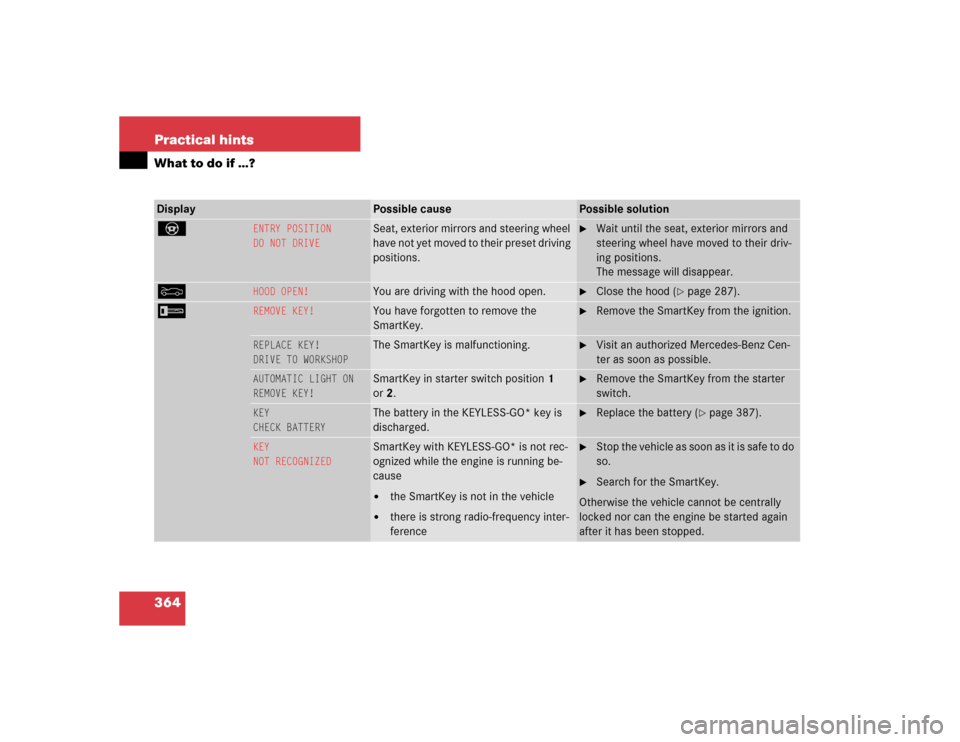
_
ENTRY POSITION
DO NOT DRIVE
Seat, exterior mirrors and steering wheel
have not yet moved to their preset driving
positions.
�
Wait until the seat, exterior mirrors and
steering wheel have moved to their driv-
ing positions.
The message will disappear.
Y
HOOD OPEN!
You are driving with the hood open.
�
Close the hood (
�page 287).
I
REMOVE KEY!
You have forgotten to remove the
SmartKey.
�
Remove the SmartKey from the ignition.
REPLACE KEY!
DRIVE TO WORKSHOP
The SmartKey is malfunctioning.
�
Visit an authorized Mercedes-Benz Cen-
ter as soon as possible.
AUTOMATIC LIGHT ON
REMOVE KEY!
SmartKey in starter switch position 1
or2.
�
Remove the SmartKey from the starter
switch.
KEY
CHECK BATTERY
The battery in the KEYLESS-GO* key is
discharged.
�
Replace the battery (
�page 387).
KEY
NOT RECOGNIZED
SmartKey with KEYLESS-GO* is not rec-
ognized while the engine is running be-
cause�
the SmartKey is not in the vehicle
�
there is strong radio-frequency inter-
ference
�
Stop the vehicle as soon as it is safe to do
so.
�
Search for the SmartKey.
Otherwise the vehicle cannot be centrally
locked nor can the engine be started again
after it has been stopped.
Page 368 of 474

366 Practical hintsWhat to do if …?Display
Possible cause
Possible solution
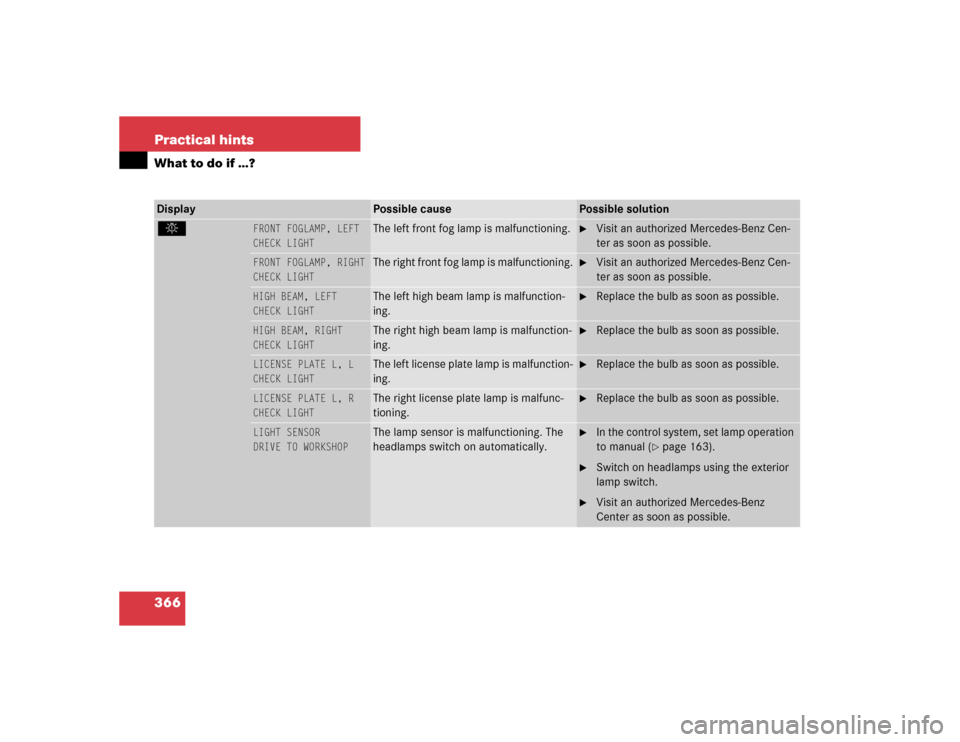
.
FRONT FOGLAMP, LEFT
CHECK LIGHT
The left front fog lamp is malfunctioning.
�
Visit an authorized Mercedes-Benz Cen-
ter as soon as possible.
FRONT FOGLAMP, RIGHT
CHECK LIGHT
The right front fog lamp is malfunctioning.
�
Visit an authorized Mercedes-Benz Cen-
ter as soon as possible.
HIGH BEAM, LEFT
CHECK LIGHT
The left high beam lamp is malfunction-
ing.
�
Replace the bulb as soon as possible.
HIGH BEAM, RIGHT
CHECK LIGHT
The right high beam lamp is malfunction-
ing.
�
Replace the bulb as soon as possible.
LICENSE PLATE L, L
CHECK LIGHT
The left license plate lamp is malfunction-
ing.
�
Replace the bulb as soon as possible.
LICENSE PLATE L, R
CHECK LIGHT
The right license plate lamp is malfunc-
tioning.
�
Replace the bulb as soon as possible.
LIGHT SENSOR
DRIVE TO WORKSHOP
The lamp sensor is malfunctioning. The
headlamps switch on automatically.
�
In the control system, set lamp operation
to manual (
�page 163).
�
Switch on headlamps using the exterior
lamp switch.
�
Visit an authorized Mercedes-Benz
Center as soon as possible.
Page 380 of 474

378 Practical hintsWhat to do if …?Display
Possible cause
Possible solution
TIRE PRES. MONITOR
CURRENTLY
UNAVAILABLE
The tire inflation pressure monitor* is un-
able to monitor the tire inflation pressure
due to:�
the presence of several when sensors in
the vehicle
�
excessive wheel sensor temperatures
�
a nearby radio interference source
�
unrecognized wheel sensors installed
�
Remove any extra wheel sensors from the ve-
hicle.
As soon as the causes of the malfunction have
been removed, the tire inflation pressure moni-
tor automatically becomes active again.
TIRE PRES. MONITOR
NOT OPERATIONAL DRIVE TO WORKSHOP
The tire inflation pressure monitor or a
wheel sensor is malfunctioning.
�
Have the tire inflation pressure monitor
checked by an authorized Mercedes-Benz
Center.
A wheel without proper sensor was in-
stalled.
�
Have the wheels checked.
Warning!
G
Do not drive with a flat tire. A flat tire affects
the ability to steer or brake the vehicle.
You may lose control of the vehicle. Contin-
ued driving with a flat tire will cause exces-
sive heat build-up and possibly a fire.
Page 409 of 474

407 Practical hints
Jump starting
The battery is located on the right side of
the trunk under the battery cover
(�page 403).
�
Make sure the two vehicles do not
touch.
�
Turn off all electrical consumers.
�
Apply parking brake.
�
Shift gear selector lever to positionP.
�
Open the trunk lid.
�
Remove battery cover (
�page 403).
�
Remove red cover from positive
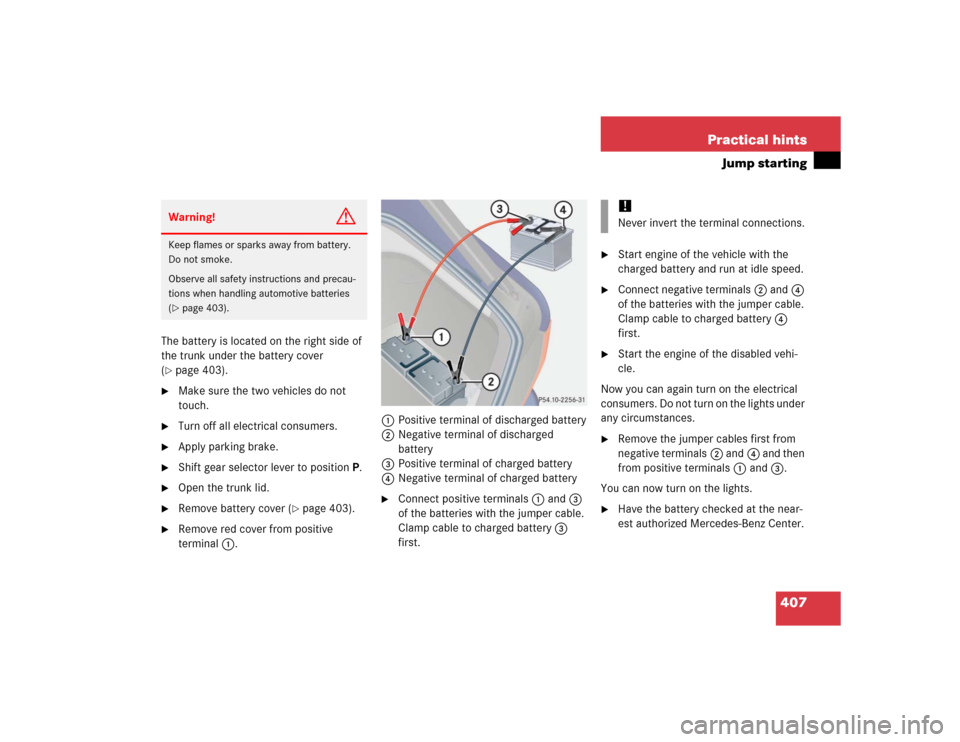
terminal 1. 1Positive terminal of discharged battery
2Negative terminal of discharged
battery
3Positive terminal of charged battery
4Negative terminal of charged battery
�
Connect positive terminals 1 and3
of the batteries with the jumper cable.
Clamp cable to charged battery3
first.
�
Start engine of the vehicle with the
charged battery and run at idle speed.
�
Connect negative terminals2 and4
of the batteries with the jumper cable.
Clamp cable to charged battery4
first.
�
Start the engine of the disabled vehi-
cle.
Now you can again turn on the electrical
consumers. Do not turn on the lights under
any circumstances.
�
Remove the jumper cables first from
negative terminals2 and4 and then
from positive terminals1 and3.
You can now turn on the lights.
�
Have the battery checked at the near-
est authorized Mercedes-Benz Center.
Warning!
G
Keep flames or sparks away from battery.
Do not smoke.
Observe all safety instructions and precau-
tions when handling automotive batteries
(�page 403).
!Never invert the terminal connections.
Page 410 of 474

408 Practical hintsTowing the vehicleMercedes-Benz recommends that the vehi-
cle be transported with all wheels off the
ground using flatbed or appropriate wheel
lift/dolly equipment. This method is pref-
erable to other types of towing.When circumstances do not permit the
recommended towing methods, the vehi-
cle may be towed with all wheels on the
ground or front wheels raised (except vehi-
cles with 4MATIC) only so far as necessary
to have the vehicle moved to a safe loca-
tion where the recommended towing
methods can be employed.
!Use flatbed or wheel lift/dolly equip-
ment with SmartKey in starter switch
turned to position0.
Do not tow with sling-type equipment.
Towing with sling-type equipment over
bumpy roads will damage radiator and
supports.
To prevent damage during transport,
do not tie down vehicle by its chassis or
suspension parts.
Switch off the tow-away alarm
(�page 89) and the automatic central
locking (
�page 112).
Do not tow-start the vehicle.
!Vehicles with 4MATIC:
Do not tow with one axle raised. Doing
so could damage the transfer case,
which is not covered by the
Mercedes-Benz Limited Warranty.
All wheels must be on or off the ground.
Observe instructions for towing the ve-
hicle with all wheels on the ground.
!If the vehicle is towed with the front
axle raised (not permissible for vehicles
with 4MATIC), the engine must be shut
off (SmartKey in starter switch
position0 or 1). Otherwise the ESP will
immediately be engaged and will apply
the rear wheel brakes.
When towing the vehicle with all wheels
on the ground, the selector lever must
be in positionN and the SmartKey
must be in starter switch position2.
When towing the vehicle with all wheels
on the ground or the front axle raised,
the vehicle may be towed only for dis-
tances up to 30 miles (50 km) and at a
speed not to exceed 30 mph
(50 km/h).