Page 95 of 474
93 Controls in detail
Locking and unlocking
Warning!
G
When leaving the vehicle, always remove the
SmartKey from the starter switch, take it
with you, and lock the vehicle. Do not leave
children unattended in the vehicle, or with
access to an unlocked vehicle. It is possible
for children to open a locked door from the
inside, which could result in an accident
and/or serious personal injury.!To prevent possible malfunction, avoid
exposing the SmartKey to high levels of
electromagnetic radiation.
iUSA only:
This device complies with Part 15 of
the FCC Rules. Operation is subject to
the following two conditions:�
This device may not cause harmful
interference, and
�
this device must accept any inter-
ference received, including interfer-
ence that may cause undesired
operation.
Any unauthorized modification to this
device could void the user’s authority
to operate the equipment.
iCanada only:
This device complies with RSS-210 of
Industry Canada. Operation is subject
to the following two conditions:�
This device may not cause interfer-
ence, and
�
this device must accept any inter-
ference received, including interfer-
ence that may cause undesired
operation of the device.
Any unauthorized modification to this
device could void the user’s authority
to operate the equipment.
iYou can also open and close the power
windows (
�page 209) and tilt/sliding
sunroof (
�page 209) using the
SmartKey.
Page 99 of 474
97 Controls in detail
Locking and unlocking
Warning!
G
When leaving the vehicle, always take the
SmartKey with KEYLESS-GO* with you and
lock the vehicle. Do not leave children unat-
tended in the vehicle, or with access to an
unlocked vehicle. Unsupervised use of vehi-
cle equipment may cause an accident
and/or serious personal injury.!To prevent possible malfunction, avoid
exposing the SmartKey with
KEYLESS-GO to high levels of electro-
magnetic radiation.
iUSA only:
This device complies with Part 15 of
the FCC Rules. Operation is subject to
the following two conditions:�
This device may not cause harmful
interference, and
�
this device must accept any inter-
ference received, including interfer-
ence that may cause undesired
operation.
Any unauthorized modification to this
device could void the user’s authority
to operate the equipment.
iCanada only:
This device complies with RSS-210 of
Industry Canada. Operation is subject
to the following two conditions:�
This device may not cause interfer-
ence, and
�
this device must accept any inter-
ference received, including interfer-
ence that may cause undesired
operation of the device.
Any unauthorized modification to this
device could void the user’s authority
to operate the equipment.
iYou can also open and close the power
windows (
�page 209) and tilt/sliding
sunroof (
�page 209) using the
SmartKey with KEYLESS-GO.
Page 121 of 474

119 Controls in detailSeats
The switch is located on the right rear pas-
senger door.
1Front passenger seat adjustment
2Right rear passenger seat adjustment
3Seat height
4Head restraint height
5Backrest tilt
6Seat fore and aft adjustment
�
Switch on ignition (
�page 34).
or
�
Open the right rear passenger door.
�
Press button1 to adjust the front
passenger seat.
�
To adjust right rear passenger seat,
press button2 (
�page 119).Passenger seat fore and aft adjustment
�
Press the switch forward or backward
in direction of arrow6.
Passenger seat backrest tilt
�
Press the switch forward or backward
in direction of arrow5.
Passenger seat height
�
Press the switch up or down in the
direction of arrow3.
Passenger seat head restraint height
�
Press the switch up or down in
direction of arrow4.
iAdjusting the passenger seat position
from the rear is not possible if you de-
activate the operation of the rear door
windows (
�page 78).
!Do not move the front passenger seat
completely forward if objects are
stored in the parcel net in the front pas-
senger-side footwell. Items in the net
may be damaged.
iAdjust the head restraint in such a way
that it is as close to the head as possi-
ble.
��
Page 122 of 474
120 Controls in detailSeats
Rear seat head restraints
Folding head restraints back
The rear seat head restraints and the rear
seat power head restraints* can be folded
backward for increased visibility.
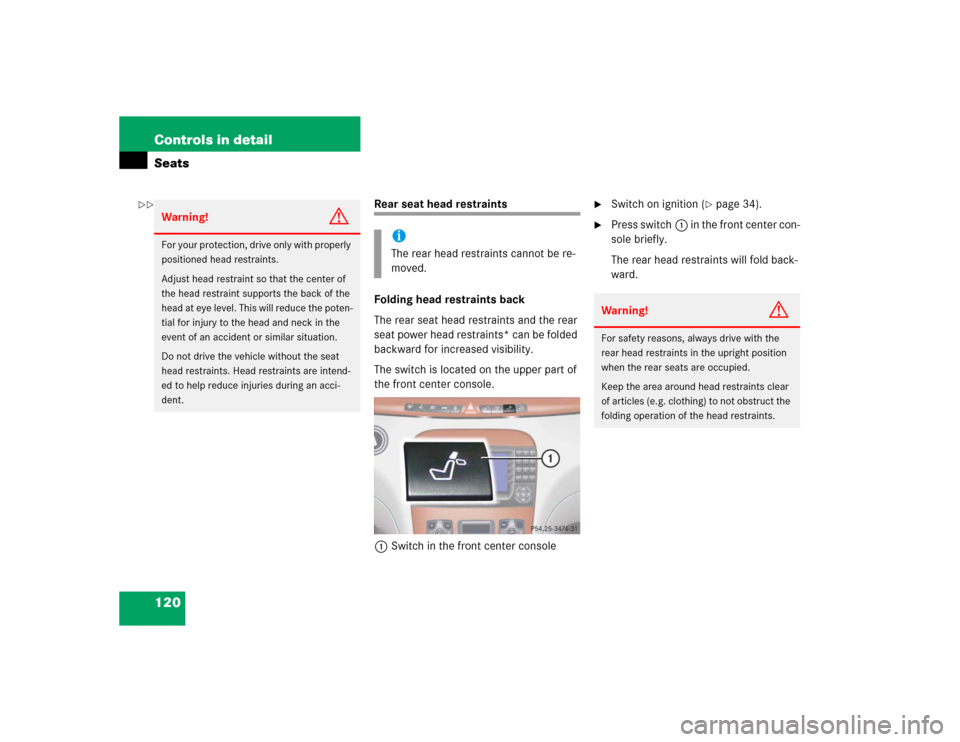
The switch is located on the upper part of
the front center console.
1Switch in the front center console
�
Switch on ignition (
�page 34).
�
Press switch1 in the front center con-
sole briefly.
The rear head restraints will fold back-
ward.
Warning!
G
For your protection, drive only with properly
positioned head restraints.
Adjust head restraint so that the center of
the head restraint supports the back of the
head at eye level. This will reduce the poten-
tial for injury to the head and neck in the
event of an accident or similar situation.
Do not drive the vehicle without the seat
head restraints. Head restraints are intend-
ed to help reduce injuries during an acci-
dent.
iThe rear head restraints cannot be re-
moved.
Warning!
G
For safety reasons, always drive with the
rear head restraints in the upright position
when the rear seats are occupied.
Keep the area around head restraints clear
of articles (e.g. clothing) to not obstruct the
folding operation of the head restraints.
��
Page 124 of 474
122 Controls in detailSeats
The rear power head restraint will fold
upright.
�
Press switch down in direction of
arrow1.
The rear power head restraint will fold
backward.
Head restraint tilt
You can adjust the angle manually by pull-
ing or pushing the head restraints by hand.
Lumbar support
You can adjust the contour of the seat’s
lumbar support to best support your spine.
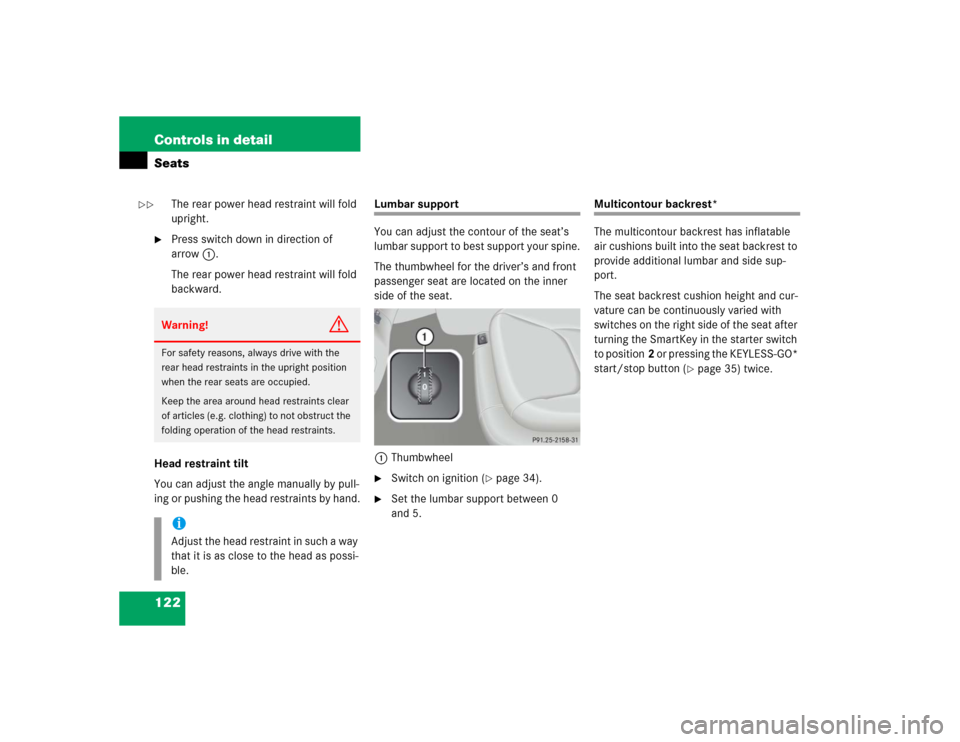
The thumbwheel for the driver’s and front
passenger seat are located on the inner
side of the seat.
1Thumbwheel�
Switch on ignition (
�page 34).
�
Set the lumbar support between 0
and 5.
Multicontour backrest*
The multicontour backrest has inflatable
air cushions built into the seat backrest to
provide additional lumbar and side sup-
port.
The seat backrest cushion height and cur-
vature can be continuously varied with
switches on the right side of the seat after
turning the SmartKey in the starter switch
to position2 or pressing the KEYLESS-GO*
start/stop button (
�page 35) twice.
Warning!
G
For safety reasons, always drive with the
rear head restraints in the upright position
when the rear seats are occupied.
Keep the area around head restraints clear
of articles (e.g. clothing) to not obstruct the
folding operation of the head restraints.iAdjust the head restraint in such a way
that it is as close to the head as possi-
ble.
��
Page 134 of 474

132 Controls in detailLightingManual headlamp mode
The low beam headlamps and parking
lamps can be switched on and off with the
exterior lamp switch. For exterior lamp
switch, see (
�page 131).Automatic headlamp mode
The following lamps switch on and off au-
tomatically depending on the brightness of
the ambient light:
�
Low beam headlamps
�
Tail and parking lamps
�
License plate lamps
�
Side marker lamps.
iWith the SmartKey removed from the
starter switch or the engine turned off
with KEYLESS-GO* and the driver’s
door open, a warning sounds if the
parking lamps or low beam headlamps
are switched on.
The message
TURN OFF LIGHTS
appears in the multifunction display.
Warning!
G
If the exterior lamp switch is set toU,�
the headlamps may switch off unexpect-
edly when the system senses bright am-
bient light, for example light from
oncoming traffic.
�
the headlamps will not be automatically
switched on under foggy conditions.
To minimize risk to you and to others, acti-
vate headlamps by turning exterior lamp
switch to B when driving or when traffic
and/or ambient lighting conditions require
you to do so.
In low ambient lighting conditions, only
switch from position U to B with the
vehicle at a standstill. Switching from U
to B will briefly switch off the head-
lamps. Doing so while driving in low ambient
lighting conditions may result in an acci-
dent.
The automatic headlamp feature is only an
aid to the driver. The driver is responsible for
the operation of the vehicle's lights at all
times.iThe front fog lamps and rear fog lamp
cannot be switched on manually with
exterior lamp switch in positionU.
To activate the fog lamps, turn exterior
lamp switch to positionB and pull
the exterior lamp switch to first or sec-
ond stop (
�page 134).
Page 136 of 474
134 Controls in detailLightingSwitching on fog lamps
Switching on front fog lamps
�
Switch on the low beam headlamps
(�page 50).
�
Pull out exterior lamp switch to first
stop.
The front fog lamps are switched on.
The green indicator lamp‡ in the
lamp switch comes on (
�page 131).
�
Push in the exterior lamp switch.
The front fog lamps are switched off.
The green indicator lamp‡ in the
lamp switch goes out (
�page 131).Switching on rear fog lamp (driver’s side
only)
�
Switch on the front fog lamps
(�page 134).
�
Pull out exterior lamp switch to second
stop.
The rear fog lamps are switched on.
The yellow indicator lamp† in the
lamp switch comes on (
�page 131).
�
Push in the exterior lamp switch to first
stop.
The rear fog lamps are switched off.
The green indicator lamp‡ in the
lamp switch goes out (
�page 131).
The front fog lamps remain lit.
Warning!
G
In low ambient lighting or foggy conditions,
only switch from position U to B with
the vehicle at a standstill. Switching from
U to B will briefly switch off the head-
lamps. Doing so while driving in low ambient
lighting conditions may result in an acci-
dent.iFog lamps will operate with the parking
lamps and/or the low beam headlamps
on. Fog lamps should only be used in
conjunction with low beam headlamps.
Consult your State or Province Motor
Vehicle Regulations regarding permis-
sible lamp operation.
iFog lamps cannot be switched on with
exterior lamp switch in position
U
.
For switching on the fog lamps, turn ex-
terior lamp switch to position B first.
Page 151 of 474
149 Controls in detail
Control system
Select radio station�
Turn on the radio. Refer to separate
COMAND operating instructions.
�
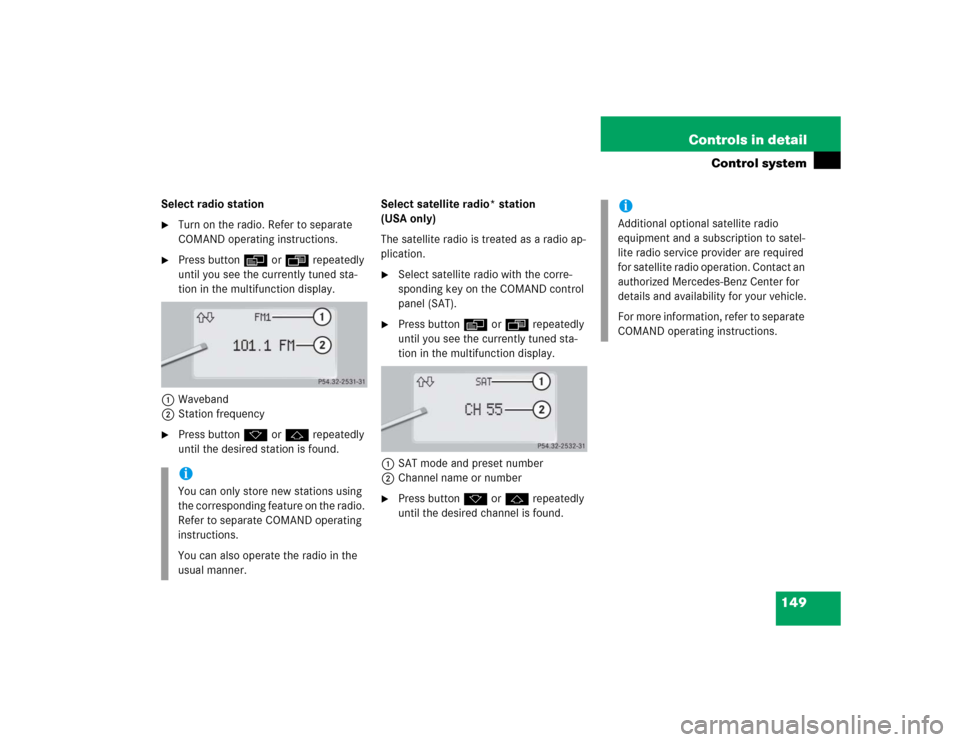
Press buttonè orÿ repeatedly
until you see the currently tuned sta-
tion in the multifunction display.
1Waveband
2Station frequency
�
Press buttonk orj repeatedly
until the desired station is found.Select satellite radio* station
(USA only)
The satellite radio is treated as a radio ap-
plication.
�
Select satellite radio with the corre-
sponding key on the COMAND control
panel (SAT).
�
Press buttonè orÿ repeatedly
until you see the currently tuned sta-
tion in the multifunction display.
1SAT mode and preset number
2Channel name or number
�
Press buttonk orj repeatedly
until the desired channel is found.
iYou can only store new stations using
the corresponding feature on the radio.
Refer to separate COMAND operating
instructions.
You can also operate the radio in the
usual manner.
iAdditional optional satellite radio
equipment and a subscription to satel-
lite radio service provider are required
for satellite radio operation. Contact an
authorized Mercedes-Benz Center for
details and availability for your vehicle.
For more information, refer to separate
COMAND operating instructions.