Page 135 of 474

133 Controls in detail
Lighting
�
Turn the exterior lamp switch to U.
With the SmartKey in starter switch po-
sition 1 or the KEYLESS-GO*
start/stop button pressed once, only
the parking lamps will switch on and off
automatically.
When the engine is running, the low
beam headlamps, the tail and parking
lamps, the license plate lamps, and the
side marker lamps will switch on and
off automatically.
Daytime running lamp mode
�
Turn exterior lamp switch to
positionM orU.
When the engine is running, the low
beam headlamps are switched on. In
low ambient light conditions, the fol-
lowing lamps will switch on additional-
ly: �
tail and parking lamps
�
license plate lamps
�
side marker lampsFor nighttime driving you should turn the
exterior lamp switch to positionB to
permit activation of the high beam head-
lamps.
Canada only
The daytime running lamp mode is manda-
tory and therefore in a constant
mode.When the engine is running, and you
shift from a driving position to positionN
orP, the low beam headlamps will switch
off with a three-minute delay.
When the engine is running, and you
�
turn the exterior lamp switch to
positionC, the parking lamps
switch on additionally.
�
turn the exterior lamp switch to
positionB, the manual headlamp
mode has priority over the daytime run-
ning lamp mode.
The corresponding exterior lamps
switch on (
�page 389).USA only
By default, the daytime running lamp mode
is deactivated. Activate the daytime run-
ning lamp mode using the control system,
see “Setting daytime running lamp mode
(USA only)” (
�page 165).
When the engine is running, and you turn
the exterior lamp switch to position C
orB, the manual headlamp mode has
priority over the daytime running lamp
mode.
The corresponding exterior lamps switch
on (
�page 389).
Locator lighting and night security illu-
mination
Locator lighting and night security illumi-
nation are described in the control system
section under “Setting locator lighting”
(
�page 166) and “Setting night security il-
lumination” (
�page 166).
Page 138 of 474
136 Controls in detailLightingHazard warning flasher
The hazard warning flasher can be
switched on at all times, even with the
SmartKey removed from the starter switch
or with the SmartKey with KEYLESS-GO*
removed from the vehicle.
The hazard warning flasher switches on au-
tomatically when an airbag deploys.
1Hazard warning flasher switchSwitching on the hazard warning
flasher
�
Press hazard warning flasher switch.
All turn signals will flash.Switching off the hazard warning
flasher
�
Press hazard warning flasher switch
again.
iWith the hazard warning flasher acti-
vated and the combination switch set
for either left or right turn, only the re-
spective left or right turn signals will
operate when the SmartKey in the
starter switch is in position1 or2 or
the KEYLESS-GO* start/stop button
(�page 35) is pressed once or twice.
iIf the hazard warning flasher was acti-
vated automatically, press switch1
twice.
Page 139 of 474

137 Controls in detail
Lighting
Interior lighting
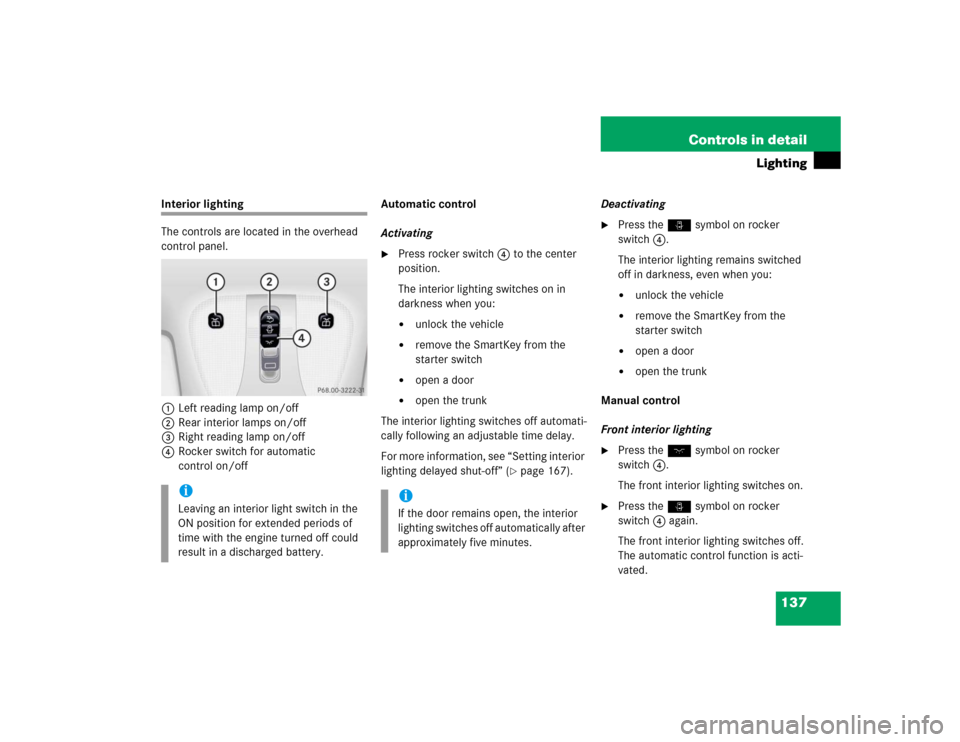
The controls are located in the overhead
control panel.
1Left reading lamp on/off
2Rear interior lamps on/off
3Right reading lamp on/off
4Rocker switch for automatic
control on/offAutomatic control
Activating
�
Press rocker switch 4 to the center
position.
The interior lighting switches on in
darkness when you:�
unlock the vehicle
�
remove the SmartKey from the
starter switch
�
open a door
�
open the trunk
The interior lighting switches off automati-
cally following an adjustable time delay.
For more information, see “Setting interior
lighting delayed shut-off” (
�page 167).Deactivating
�
Press the ñ symbol on rocker
switch 4.
The interior lighting remains switched
off in darkness, even when you:�
unlock the vehicle
�
remove the SmartKey from the
starter switch
�
open a door
�
open the trunk
Manual control
Front interior lighting
�
Press the ð symbol on rocker
switch 4.
The front interior lighting switches on.
�
Press the ñ symbol on rocker
switch 4 again.
The front interior lighting switches off.
The automatic control function is acti-
vated.
iLeaving an interior light switch in the
ON position for extended periods of
time with the engine turned off could
result in a discharged battery.
iIf the door remains open, the interior
lighting switches off automatically after
approximately five minutes.
Page 159 of 474

157 Controls in detail
Control system
Trip computer menu
Use the trip computer menu to call up sta-
tistical data on your vehicle. The following
information is available:Fuel consumption statistics after start
�
Press buttonÿ orè repeatedly
until you see the first function of the
Trip computer menu.
�
Press buttonj ork repeatedly
until you see this message in the left
display:
AFTER START
.
1Distance driven since start
2Time elapsed since start
3Average fuel consumption since start
4Average speed since startIncorporating statistics from the previ-
ous journey in the consumption statis-
tics
When you restart the engine, the
AFTER START
. display flashes for:
�
a distance of approximately 1.25 miles
(two kilometers)
or
�
a duration of two minutes
During this period, the data from the previ-
ous journey can be incorporated as fol-
lows:
�
Press the reset buttonJ in the instru-
ment cluster (
�page 140).
The statistics will be incorporated.
Function
Page
Fuel consumption statistics after
start
157
Fuel consumption statistics
since last reset
158
Resetting fuel consumption sta-
tistics
158
Call up range (distance to empty)
158
iEach time you call up the trip comput-
er, the last function used appears as
the first display.
iIf you do not press the reset buttonJ,
the consumption statistics will be reset
to
0.
Page 160 of 474

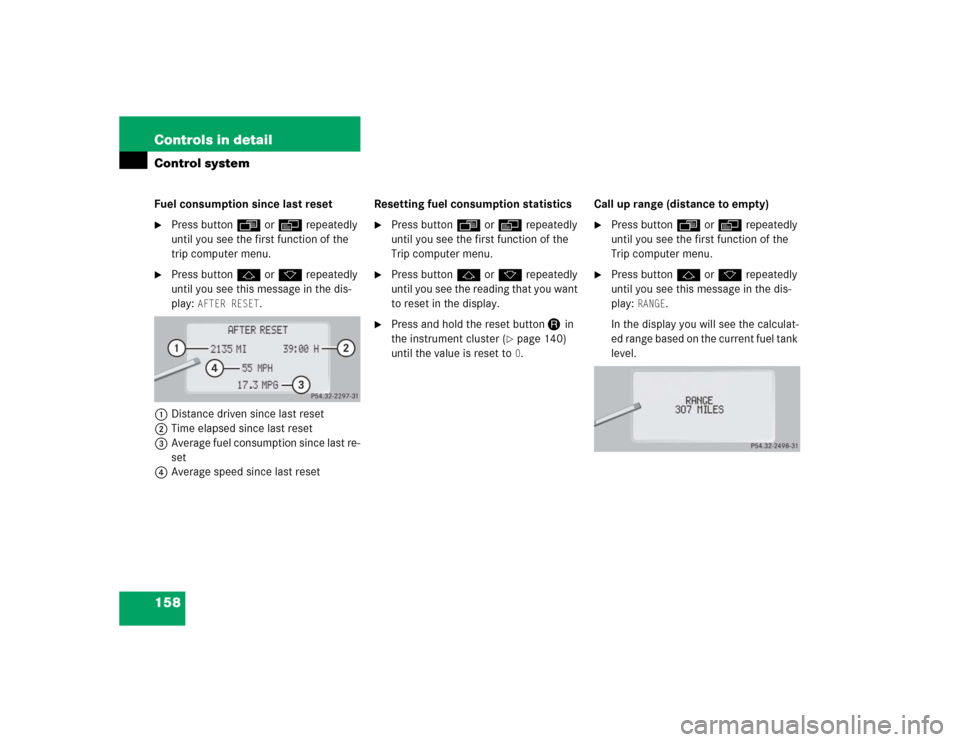
158 Controls in detailControl systemFuel consumption since last reset�
Press buttonÿ orè repeatedly
until you see the first function of the
trip computer menu.
�
Press buttonj ork repeatedly
until you see this message in the dis-
play:
AFTER RESET
.
1Distance driven since last reset
2Time elapsed since last reset
3Average fuel consumption since last re-
set
4Average speed since last resetResetting fuel consumption statistics
�
Press buttonÿ orè repeatedly
until you see the first function of the
Trip computer menu.
�
Press buttonj ork repeatedly
until you see the reading that you want
to reset in the display.
�
Press and hold the reset buttonJ in
the instrument cluster (
�page 140)
until the value is reset to 0.Call up range (distance to empty)
�
Press buttonÿ orè repeatedly
until you see the first function of the
Trip computer menu.
�
Press buttonj ork repeatedly
until you see this message in the dis-
play:
RANGE
.
In the display you will see the calculat-
ed range based on the current fuel tank
level.
Page 162 of 474

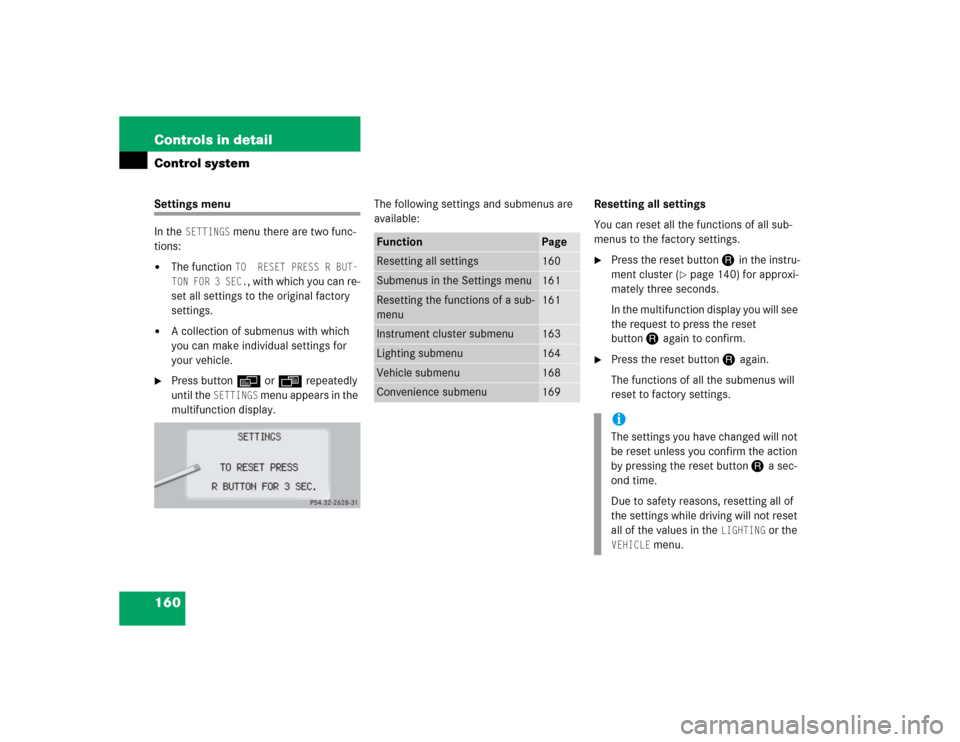
160 Controls in detailControl systemSettings menu
In the
SETTINGS
menu there are two func-
tions:
�
The function
TO RESET PRESS R BUT-
TON FOR 3 SEC.
, with which you can re-
set all settings to the original factory
settings.
�
A collection of submenus with which
you can make individual settings for
your vehicle.
�
Press buttonè orÿ repeatedly
until the
SETTINGS
menu appears in the
multifunction display.The following settings and submenus are
available:Resetting all settings
You can reset all the functions of all sub-
menus to the factory settings.
�
Press the reset buttonJ in the instru-
ment cluster (
�page 140) for approxi-
mately three seconds.
In the multifunction display you will see
the request to press the reset
buttonJ again to confirm.
�
Press the reset buttonJ again.
The functions of all the submenus will
reset to factory settings.
Function
Page
Resetting all settings
160
Submenus in the Settings menu
161
Resetting the functions of a sub-
menu
161
Instrument cluster submenu
163
Lighting submenu
164
Vehicle submenu
168
Convenience submenu
169
iThe settings you have changed will not
be reset unless you confirm the action
by pressing the reset buttonJ a sec-
ond time.
Due to safety reasons, resetting all of
the settings while driving will not reset
all of the values in the
LIGHTING
or the
VEHICLE
menu.
Page 164 of 474
162 Controls in detailControl systemThe table below shows what settings can
be changed within the various menus. De-
tailed instructions on making individual
settings can be found on the following pag-
es.INSTRUMENT CLUSTER
LIGHTING
VEHICLE
CONVENIENCE
Select temperature display
mode
Set daytime running lamp mode
(USA only)
Set automatic locking
Set key-dependency
Select multifunction display
mode
Set locator lighting
Limiting opening height of trunk
lid*
Activate easy-entry/exit feature
Select language
Exterior lamps delayed shut-off
Set parking position for exterior
rear view mirror
Select tire inflation pressure
unit
Interior lighting delayed shut-off
Set fold-in function for exterior
rear view mirrorsAdjusting the drive-dynamic
seat
Page 166 of 474

164 Controls in detailControl systemSelecting language�
Move the selection marker with
theæ orç button to the
INST.
CLUS.
submenu.
�
Press buttonj ork repeatedly
until you see this message in the multi-
function display:
LANGUAGE
.
The selection marker is on the current
setting.
�
Pressæ orç to select the lan-
guage to be used for the multifunction
display messages.Available languages:
�
German
�
English
�
French
�
Italian
�
Spanish
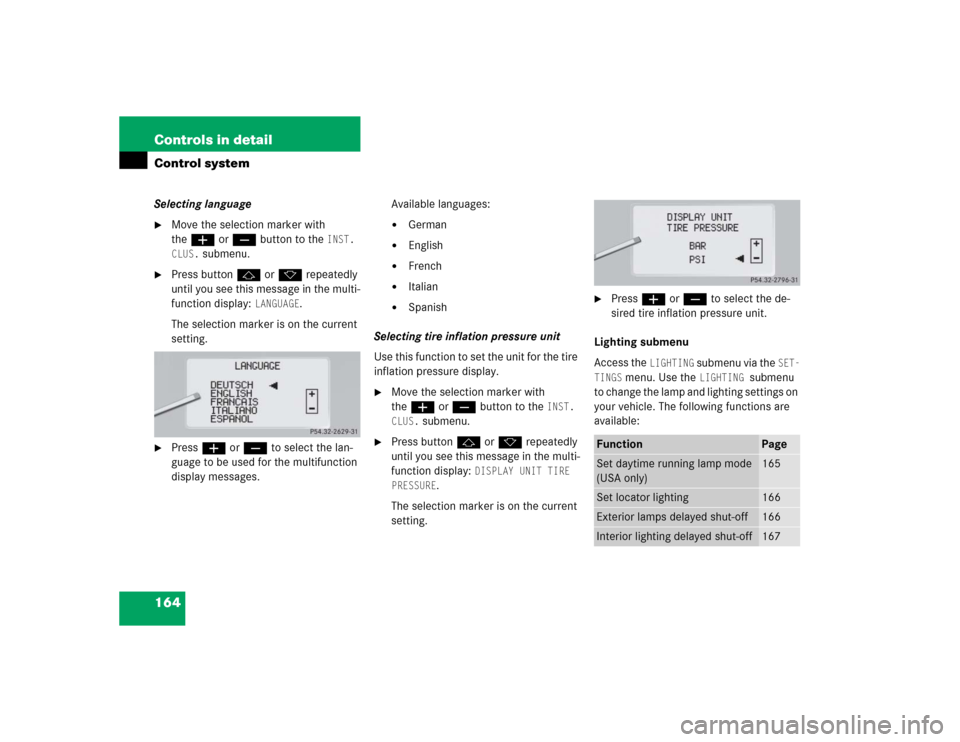
Selecting tire inflation pressure unit
Use this function to set the unit for the tire
inflation pressure display.
�
Move the selection marker with
theæ orç button to the
INST.
CLUS.
submenu.
�
Press buttonj ork repeatedly
until you see this message in the multi-
function display:
DISPLAY UNIT TIRE
PRESSURE
.
The selection marker is on the current
setting.
�
Press æ or ç to select the de-
sired tire inflation pressure unit.
Lighting submenu
Access the
LIGHTING
submenu via the
SET-
TINGS
menu. Use the
LIGHTING
submenu
to change the lamp and lighting settings on
your vehicle. The following functions are
available:
Function
Page
Set daytime running lamp mode
(USA only)
165
Set locator lighting
166
Exterior lamps delayed shut-off
166
Interior lighting delayed shut-off
167