Page 170 of 474

168 Controls in detailControl system�
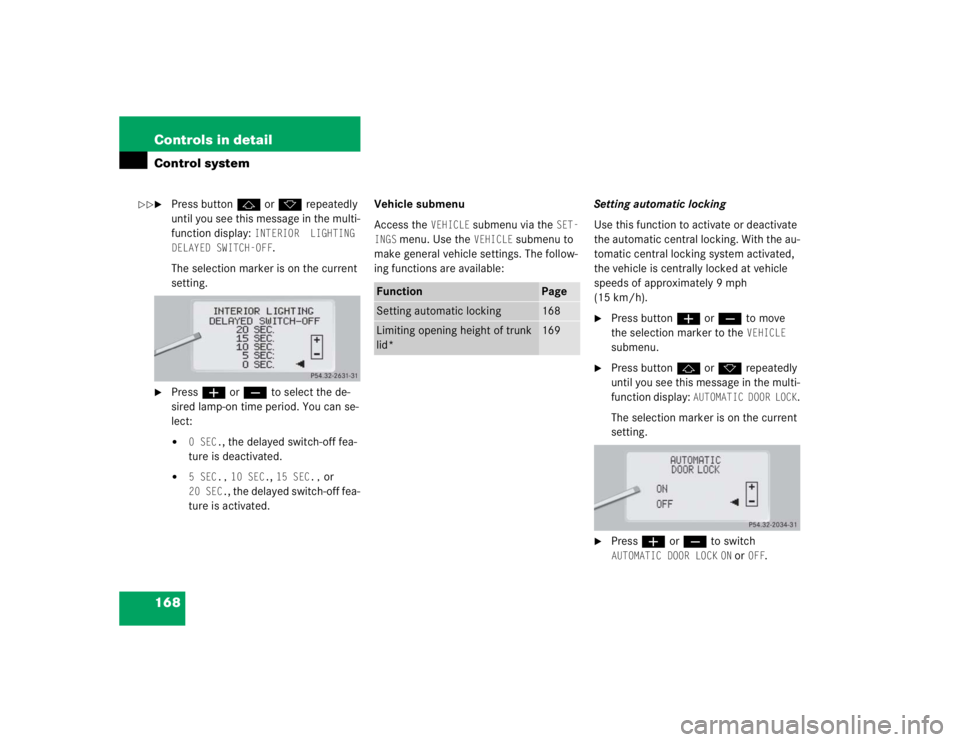
Press buttonj ork repeatedly
until you see this message in the multi-
function display:
INTERIOR LIGHTING
DELAYED SWITCH-OFF
.
The selection marker is on the current
setting.
�
Pressæ orç to select the de-
sired lamp-on time period. You can se-
lect:�
0 SEC.
, the delayed switch-off fea-
ture is deactivated.
�
5 SEC.,
10 SEC.
, 15 SEC.,
or
20 SEC.
, the delayed switch-off fea-
ture is activated.Vehicle submenu
Access the
VEHICLE
submenu via the
SET-
INGS
menu. Use the
VEHICLE
submenu to
make general vehicle settings. The follow-
ing functions are available:Setting automatic locking
Use this function to activate or deactivate
the automatic central locking. With the au-
tomatic central locking system activated,
the vehicle is centrally locked at vehicle
speeds of approximately 9 mph
(15 km/h).
�
Press buttonæ orç to move
the selection marker to the
VEHICLE
submenu.
�
Press buttonj ork repeatedly
until you see this message in the multi-
function display:
AUTOMATIC DOOR LOCK
.
The selection marker is on the current
setting.
�
Pressæ orç to switch AUTOMATIC DOOR LOCK
ON or
OFF
.
Function
Page
Setting automatic locking
168
Limiting opening height of trunk
lid*
169
��
Page 171 of 474

169 Controls in detail
Control system
Limiting opening height of trunk lid*
This function is available in vehicles with
the trunk lid opening/closing system*.
Use this function to activate or deactivate
the limiting opening height of trunk lid.�
Move the selection marker with
theæ orç button to
VEHICLE
submenu.
�
Press buttonj ork repeatedly
until you see this message in the multi-
function display:OPENING LIMITER
TRUNK LIDThe selection marker is on the current
setting.
�
Press buttonæ orç to switch
the opening limiter for trunk lid
ON
or
OFF
.Convenience submenu
Access the
CONVENIENCE
submenu via the
SETTINGS
menu. Use the
CONVENIENCE
sub-
menu to change the settings for a number
of convenience features. The following
functions are available:Setting key-dependency
Use this function to set whether the mem-
ory settings for the seats, the steering
wheel, the mirrors, and the automatic cli-
mate control should be stored separately
for each SmartKey (
�page 128).
�
Move the selection marker with
theæ orç button to
the
CONVENIENCE
submenu.
�
Press buttonj ork repeatedly
until you see this message in the multi-
function display:
SETTINGS KEY-DEPEN-
DENT
.
The selection marker is on the current
setting.
�
Pressæ orç to set key-depen-
dency to
ON or
OFF
.
Function
Page
Setting key-dependency
169
Activating easy-entry/exit fea-
ture
169
Setting parking position for exte-
rior rear view mirror
171
Setting fold-in function for exteri-
or rear view mirrors
171
Adjusting the drive-dynamic seat
172
Page 231 of 474

229 Controls in detail
Driving systems
Airmatic
Airmatic automatically selects the opti-
mum suspension tuning and ride height for
your vehicle. Airmatic consists of two com-
ponents:�
Adaptive Damping System (ADS)
�
Level control system
The ADS automatically selects the opti-
mum damping for the respective driving
conditions. At the same time the suspen-
sion is set to either sporty or regular.Suspension tuning
The suspension tuning is set according to:
�
Your driving style
�
Road surface conditions
�
Your choice of suspension style,
“sport” or “convenience”, which you
select using the damping switch.
The following suspension styles are avail-
able:
�
Convenience
Both indicator lamps1 are off.
�
Sports 1
One indicator lamp1 is on.
�
Sports 2
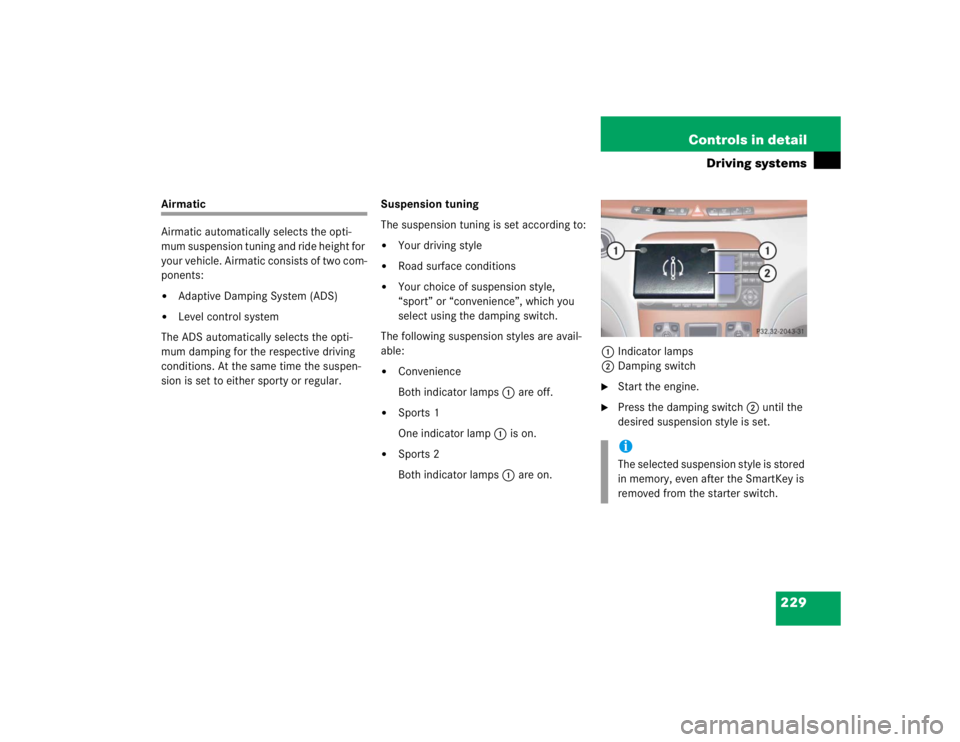
Both indicator lamps1 are on.1Indicator lamps
2Damping switch
�
Start the engine.
�
Press the damping switch2 until the
desired suspension style is set.iThe selected suspension style is stored
in memory, even after the SmartKey is
removed from the starter switch.
Page 232 of 474

230 Controls in detailDriving systemsVehicle level control with Airmatic
Your vehicle automatically adjusts its ride
height to:�
reduce fuel consumption
�
increase vehicle safety
The vehicle chassis ride height is raised or
lowered according to the selected level
setting and to the vehicle speed:
�
With increasing speed, ride height is re-
duced by up to approximately ¾ in
(20 mm).
�
With decreasing speed, the ride height
is again raised to the selected vehicle
level.The following vehicle level settings can be
selected when the vehicle is stationary:
Select the “Raised” level setting only when
required by current driving conditions.
Otherwise:
�
Fuel consumption may increase
�
Handling may be impairedThe switch with the indicator lamps is lo-
cated on the upper part of the front center
console.
1Indicator lamp
2Vehicle level control switch
�
Briefly press switch2 to change from
one level setting to the other.
The message:AIRMATIC
VEHICLE RISING! appears in the multifunction display
when changing from normal level to
raised level.
iThese height adjustments are so small
that you may not notice any change.
LevelNormal
For driving on normal roads.
The indicator lamp is off.
Raised
For driving on rough roads or
with snow chains.The indica-
tor lamp is on.
Warning!
G
To help avoid personal injury, keep hands
and feet away from wheel housing area, and
stay away from under the vehicle when low-
ering the vehicle chassis.
Page 233 of 474

231 Controls in detail
Driving systems
The indicator lamp is then lit. The dis-
play switches off when the vehicle is
raised.
�
Press switch2 again to lower the ve-
hicle. The indicator lamp is off.
The selected vehicle level setting remains
stored in memory even if the engine is
turned off and restarted except when you
�
exceed a speed of 75 mph (120 km/h)
or
�
maintain a speed of between 50 mph
(80 km/h) and 75 mph (120 km/h) for
more than 5 minutes
The vehicle then lowers to regular level.
The message:
AIRMATIC
LEVELING CANCELLEDappears in the multifunction display and
the indicator lamp is off. The display
switches off when the vehicle is raised.
Active Body Control (ABC)*
The ABC system automatically selects the
optimum suspension tuning and ride
height for your vehicle.
Suspension tuning
The suspension tuning is set according to:�
Your driving style
�
Road surface conditions
�
The vehicle loading
�
Your choice of suspension style,
“sporty” or “regular”, which you select
using the ABC button
The selected suspension style is stored
in memory, even after the SmartKey is
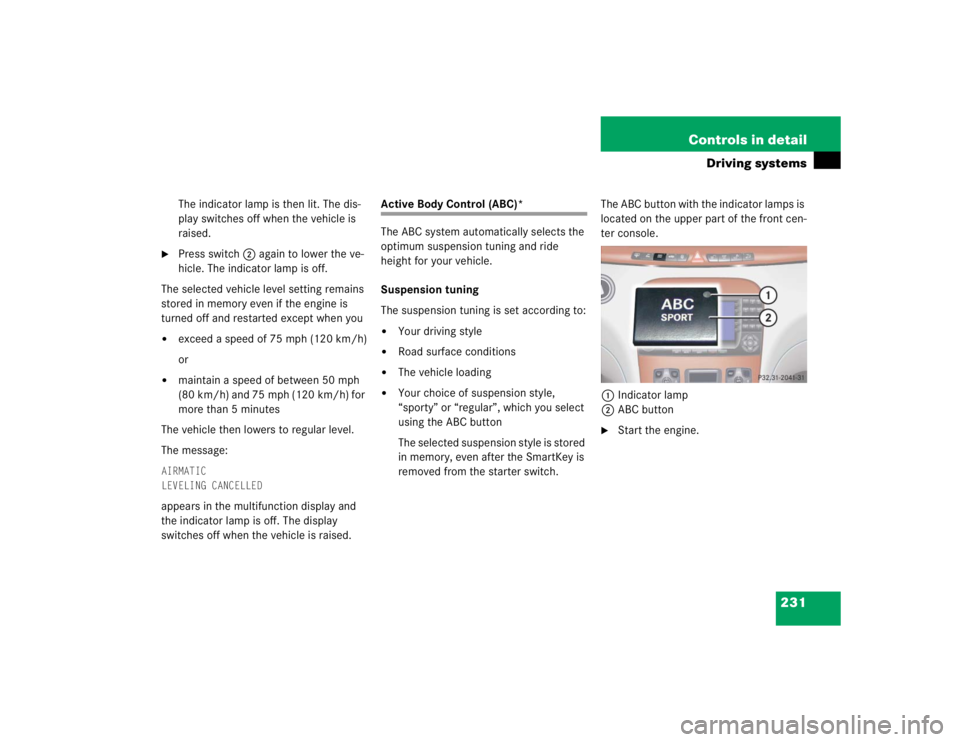
removed from the starter switch.The ABC button with the indicator lamps is
located on the upper part of the front cen-
ter console.
1Indicator lamp
2ABC button
�
Start the engine.
Page 234 of 474

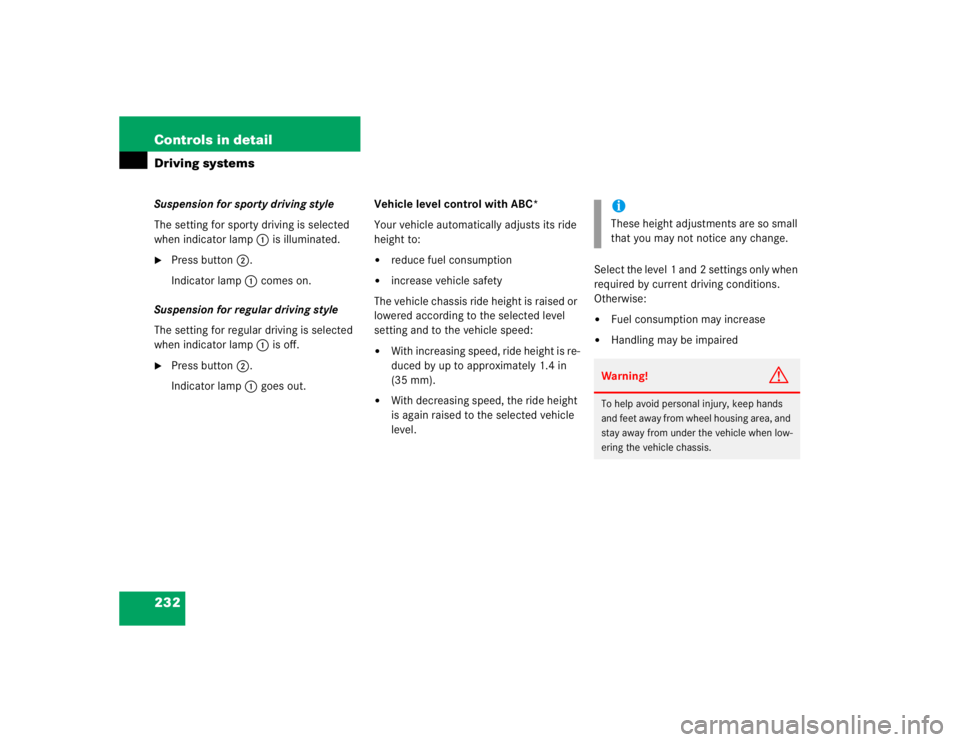
232 Controls in detailDriving systemsSuspension for sporty driving style
The setting for sporty driving is selected
when indicator lamp1 is illuminated.�
Press button2.
Indicator lamp1 comes on.
Suspension for regular driving style
The setting for regular driving is selected
when indicator lamp1 is off.
�
Press button2.
Indicator lamp1 goes out. Vehicle level control with ABC*
Your vehicle automatically adjusts its ride
height to:
�
reduce fuel consumption
�
increase vehicle safety
The vehicle chassis ride height is raised or
lowered according to the selected level
setting and to the vehicle speed:
�
With increasing speed, ride height is re-
duced by up to approximately 1.4 in
(35 mm).
�
With decreasing speed, the ride height
is again raised to the selected vehicle
level.Select the level 1 and 2 settings only when
required by current driving conditions.
Otherwise:
�
Fuel consumption may increase
�
Handling may be impairediThese height adjustments are so small
that you may not notice any change.Warning!
G
To help avoid personal injury, keep hands
and feet away from wheel housing area, and
stay away from under the vehicle when low-
ering the vehicle chassis.
Page 235 of 474

233 Controls in detail
Driving systems
The following vehicle level settings can be
selected when the vehicle is stationary:
The button with the indicator lamps is lo-
cated on the upper part of the front center
console.
1Indicator lamps
2Vehicle level control button
�
Briefly press button2 to change from
one level setting to the next. When ve-
hicle is at level 2, pressing the button
will return the vehicle to normal level.
The message:ACTIVE BODY CONTROL
VEHICLE RISING! appears in the multifunction display.
The display switches off when the vehi-
cle is raised.
Vehicle level
when stationary
Use for
Ride height increase
over normal
Automatic lowering
Indicator lamps
Normal
Normal operation
None
Max. approx. 0.6 in (15 mm)
Both lamps off
Raised level1
Driving with snow chains
(�page 327)
Max. 0.4 in (10 mm)
1
1Dependent on load
Max. approx. 1.0 in (25 mm)
One lamp lit
Raised level 2
Very rough road surface
conditions
Max. 0.8 in (20 mm)
1
Max. approx. 1.4 in (35 mm)
Both lamps lit
Page 238 of 474
236 Controls in detailDriving systemsRange of the sensors
To function properly, the sensors must be
free of dirt, ice, snow and slush. Clean the
sensors regularly, being careful not to
scratch or damage the sensors see “Clean-
ing the Parktronic* system sensors”
(�page 333).
Front sensors
Rear sensors
Center
approx. 40 in (100 cm)
Corners
approx. 24 in (60 cm)
Center
approx. 48 in (120 cm)
Corners
approx. 32 in (80 cm)
!During parking maneuvers, pay special
attention to objects located above or
below the height of the sensors (e.g.
planters or trailer hitches). The Park-
tronic system will not detect such ob-
jects at close range and damage to
your vehicle or the object may result.
Ultrasonic signals from outside sourc-
es (e.g. truck air brakes, car wash, or
jackhammers) may impair the opera-
tion of the Parktronic system.