Page 74 of 356
72 Safety and SecurityOccupant safety�
Securely fasten the hook1 to the an-
chorage ring2.
For safety, make sure the hook has at-
tached to the ring beyond the safety
catch, as illustrated.
Once the top tether anchorage hook is
attached, the child restraint itself can be
secured. Tigthen the top tether strap
according to the child restraint manufac-
turer’s instructions.
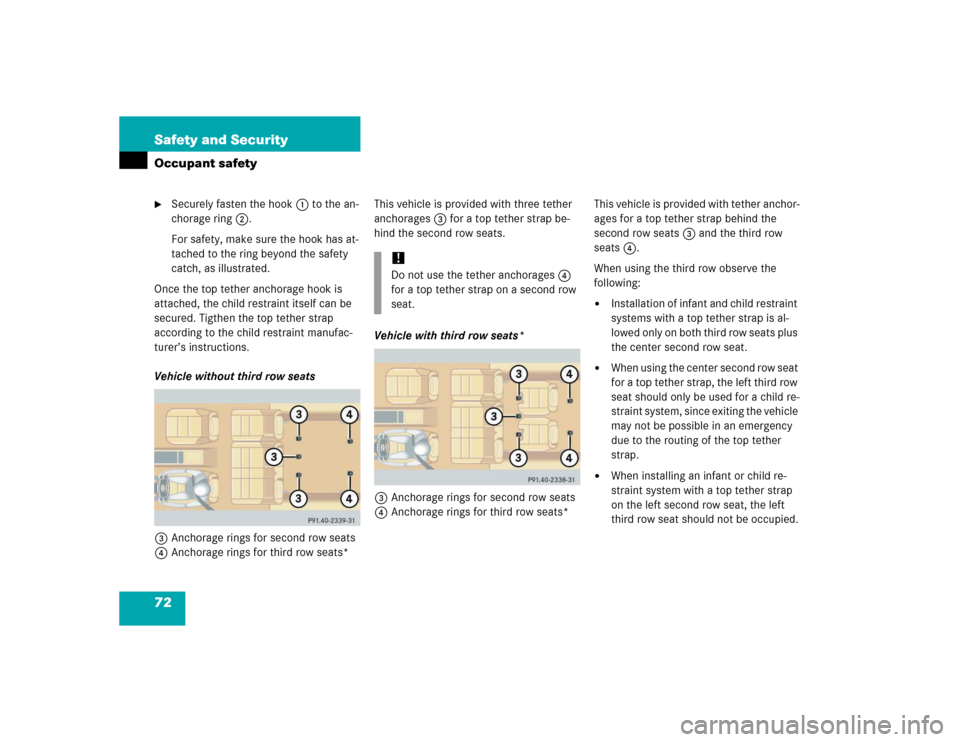
Vehicle without third row seats
3Anchorage rings for second row seats
4Anchorage rings for third row seats*This vehicle is provided with three tether
anchorages3 for a top tether strap be-
hind the second row seats.
Vehicle with third row seats*
3Anchorage rings for second row seats
4Anchorage rings for third row seats*This vehicle is provided with tether anchor-
ages for a top tether strap behind the
second row seats3 and the third row
seats4.
When using the third row observe the
following:
�
Installation of infant and child restraint
systems with a top tether strap is al-
lowed only on both third row seats plus
the center second row seat.
�
When using the center second row seat
for a top tether strap, the left third row
seat should only be used for a child re-
straint system, since exiting the vehicle
may not be possible in an emergency
due to the routing of the top tether
strap.
�
When installing an infant or child re-
straint system with a top tether strap
on the left second row seat, the left
third row seat should not be occupied.
!Do not use the tether anchorages4
for a top tether strap on a second row
seat.
Page 75 of 356
73 Safety and Security
Occupant safety
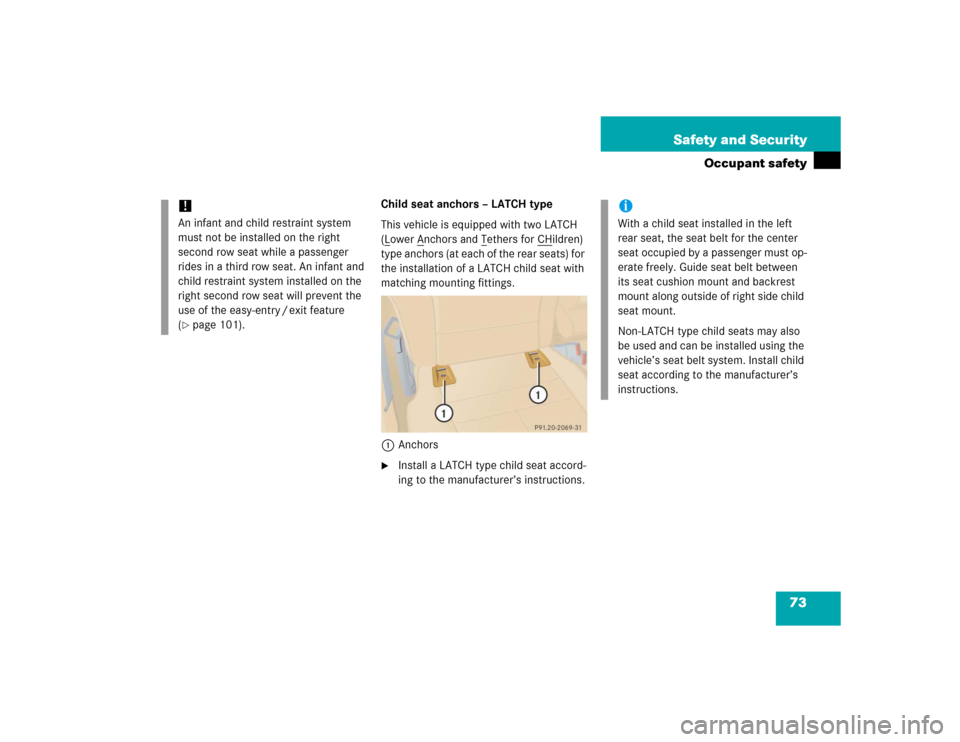
Child seat anchors – LATCH type
This vehicle is equipped with two LATCH
(Lower A
nchors and T
ethers for CH
ildren)
type anchors (at each of the rear seats) for
the installation of a LATCH child seat with
matching mounting fittings.
1Anchors
�
Install a LATCH type child seat accord-
ing to the manufacturer’s instructions.
!An infant and child restraint system
must not be installed on the right
second row seat while a passenger
rides in a third row seat. An infant and
child restraint system installed on the
right second row seat will prevent the
use of the easy-entry / exit feature
(�page 101).
iWith a child seat installed in the left
rear seat, the seat belt for the center
seat occupied by a passenger must op-
erate freely. Guide seat belt between
its seat cushion mount and backrest
mount along outside of right side child
seat mount.
Non-LATCH type child seats may also
be used and can be installed using the
vehicle’s seat belt system. Install child
seat according to the manufacturer’s
instructions.
Page 76 of 356
74 Safety and SecurityOccupant safety
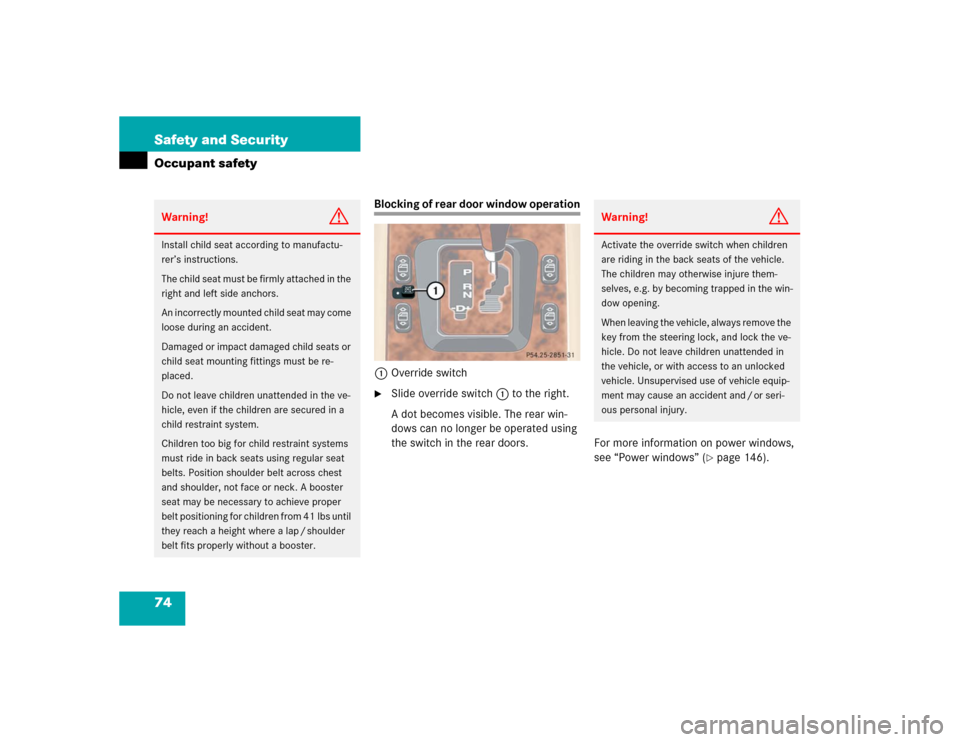
Blocking of rear door window operation
1Override switch�
Slide override switch1 to the right.
A dot becomes visible. The rear win-
dows can no longer be operated using
the switch in the rear doors.For more information on power windows,
see “Power windows” (
�page 146).
Warning!
G
Install child seat according to manufactu-
rer’s instructions.
T h e c h i l d s e a t m u s t b e f i r m l y a t t a c h e d i n t h e
right and left side anchors.
An incorrectly mounted child seat may come
loose during an accident.
Damaged or impact damaged child seats or
child seat mounting fittings must be re-
placed.
Do not leave children unattended in the ve-
hicle, even if the children are secured in a
child restraint system.
Children too big for child restraint systems
must ride in back seats using regular seat
belts. Position shoulder belt across chest
and shoulder, not face or neck. A booster
seat may be necessary to achieve proper
belt positioning for children from 41 lbs until
they reach a height where a lap / shoulder
belt fits properly without a booster.
Warning!
G
Activate the override switch when children
are riding in the back seats of the vehicle.
The children may otherwise injure them-
selves, e.g. by becoming trapped in the win-
dow opening.
When leaving the vehicle, always remove the
key from the steering lock, and lock the ve-
hicle. Do not leave children unattended in
the vehicle, or with access to an unlocked
vehicle. Unsupervised use of vehicle equip-
ment may cause an accident and / or seri-
ous personal injury.
Page 89 of 356
87 Controls in detail
Locking and unlocking
Seats
Memory function*
Lighting
Instrument cluster
Automatic transmission
Transmission control – LOW RANGE mode
Good visibility
Automatic climate control
Power windows
Power tilt / sliding sunroof*
Driving systems
Loading
Useful features
Page 97 of 356
95 Controls in detail
Seats
�Seats
For information on seat adjustment, see
the “Getting started” section (
�page 35).
Removing and installing front seat
head restraints
For more information on head restraint ad-
justment, see the “Getting started” section
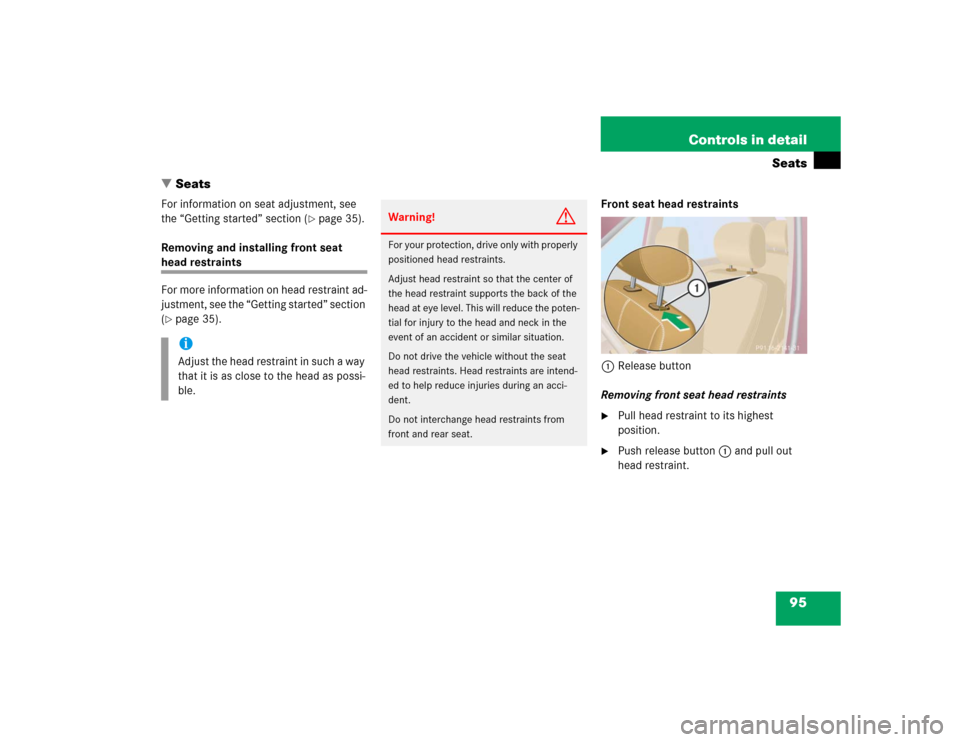
(�page 35).Front seat head restraints
1Release button
Removing front seat head restraints
�
Pull head restraint to its highest
position.
�
Push release button1 and pull out
head restraint.
iAdjust the head restraint in such a way
that it is as close to the head as possi-
ble.
Warning!
G
For your protection, drive only with properly
positioned head restraints.
Adjust head restraint so that the center of
the head restraint supports the back of the
head at eye level. This will reduce the poten-
tial for injury to the head and neck in the
event of an accident or similar situation.
Do not drive the vehicle without the seat
head restraints. Head restraints are intend-
ed to help reduce injuries during an acci-
dent.
Do not interchange head restraints from
front and rear seat.
Page 98 of 356
96 Controls in detailSeatsInstalling front seat head restraint�
Insert head restraint and push it down
to the stop.
�
Push release button1 and adjust
head restraint to the desired position
(�page 37).
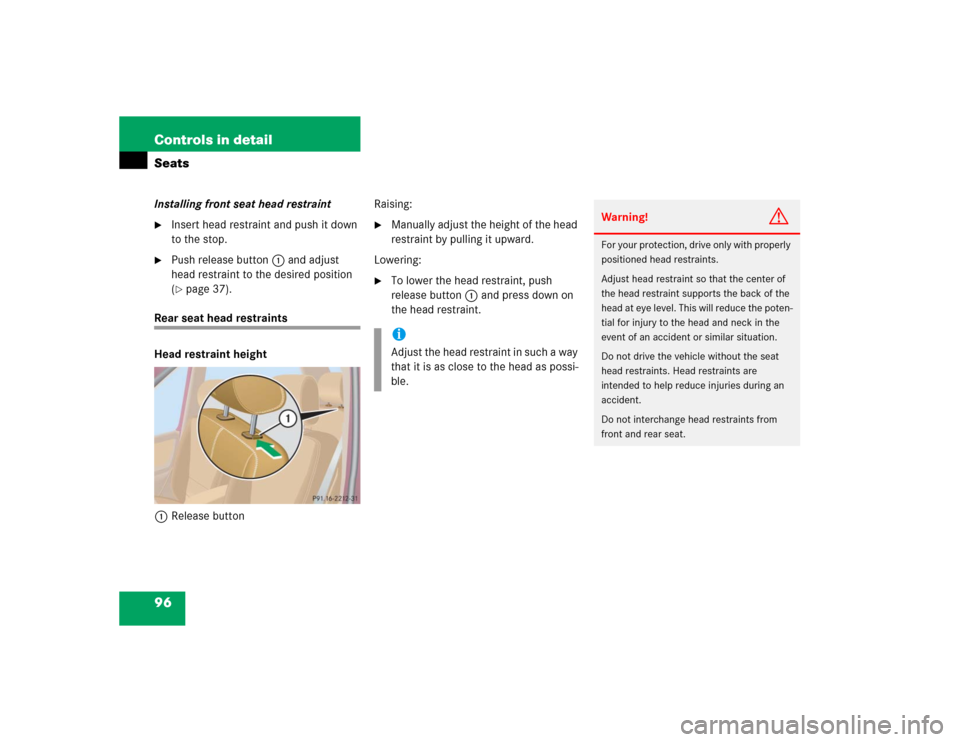
Rear seat head restraints
Head restraint height
1Release buttonRaising:
�
Manually adjust the height of the head
restraint by pulling it upward.
Lowering:
�
To lower the head restraint, push
release button1 and press down on
the head restraint.iAdjust the head restraint in such a way
that it is as close to the head as possi-
ble.
Warning!
G
For your protection, drive only with properly
positioned head restraints.
Adjust head restraint so that the center of
the head restraint supports the back of the
head at eye level. This will reduce the poten-
tial for injury to the head and neck in the
event of an accident or similar situation.
Do not drive the vehicle without the seat
head restraints. Head restraints are
intended to help reduce injuries during an
accident.
Do not interchange head restraints from
front and rear seat.
Page 99 of 356
97 Controls in detail
Seats
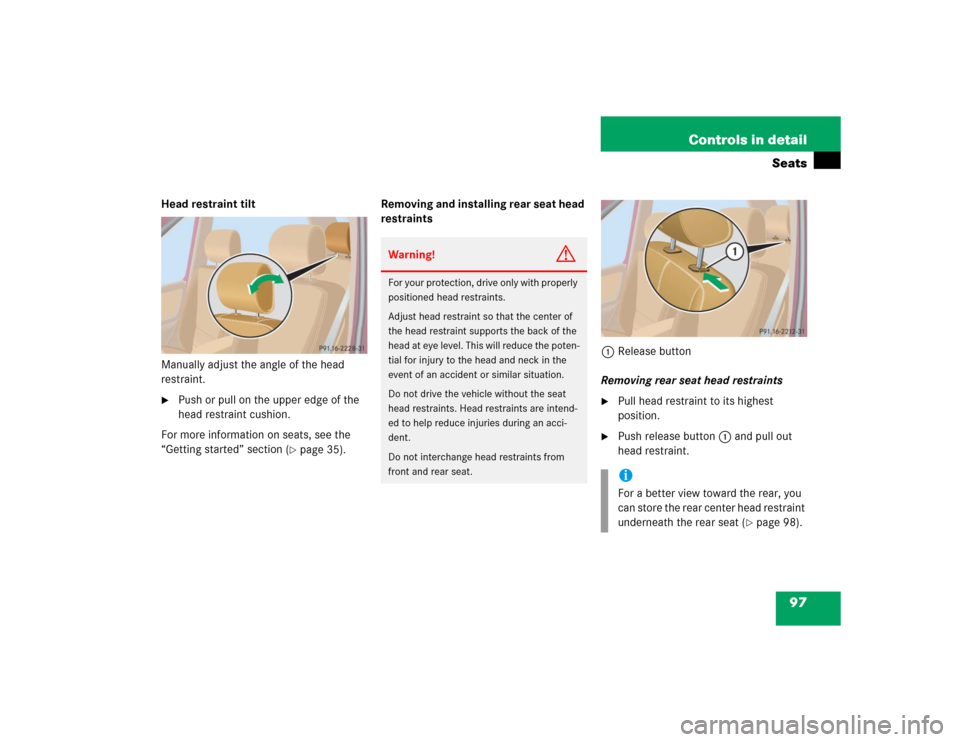
Head restraint tilt
Manually adjust the angle of the head
restraint.�
Push or pull on the upper edge of the
head restraint cushion.
For more information on seats, see the
“Getting started” section (
�page 35).Removing and installing rear seat head
restraints
1Release button
Removing rear seat head restraints
�
Pull head restraint to its highest
position.
�
Push release button1 and pull out
head restraint.
Warning!
G
For your protection, drive only with properly
positioned head restraints.
Adjust head restraint so that the center of
the head restraint supports the back of the
head at eye level. This will reduce the poten-
tial for injury to the head and neck in the
event of an accident or similar situation.
Do not drive the vehicle without the seat
head restraints. Head restraints are intend-
ed to help reduce injuries during an acci-
dent.
Do not interchange head restraints from
front and rear seat.
iFor a better view toward the rear, you
can store the rear center head restraint
underneath the rear seat (
�page 98).
Page 100 of 356

98 Controls in detailSeatsInstalling rear seat head restraints�
Insert head restraint and push it down
to the stop.
�
Push release button1 and adjust
head restraint to the desired position
(�page 37).
Stowing rear center head restraint
1Rear center head restraint
2Bar
3Clip
�
Remove rear center head restraint
(�page 97).
�
If necessary, remove cargo floor plates,
see “Removing cargo floor plates”
(�page 165).
�
Slide rear seats forward, see “Adjusting
rear seat fore and aft” (
�page 100).
�
Fold rear seat backrests down, see
“Folding down the backrest”
(�page 100).
�
From cargo compartment, attach rear
center head restraint1 to underside
of rear center seat.
Make sure front side of head
restraint1 is facing upward.
�
Press bar2 on both sides into
clips3.
Heated seats*
Both switches for the front seats are loca-
ted in the center console.
1Normal heating
2Rapid heating�
Start the engine.
Switching on seat heating
�
Press upper switch position1.
A red indicator lamp on the switch
lights up.