Page 55 of 416
55 Getting started
Driving
�
Switch on the ignition (
�page 35).
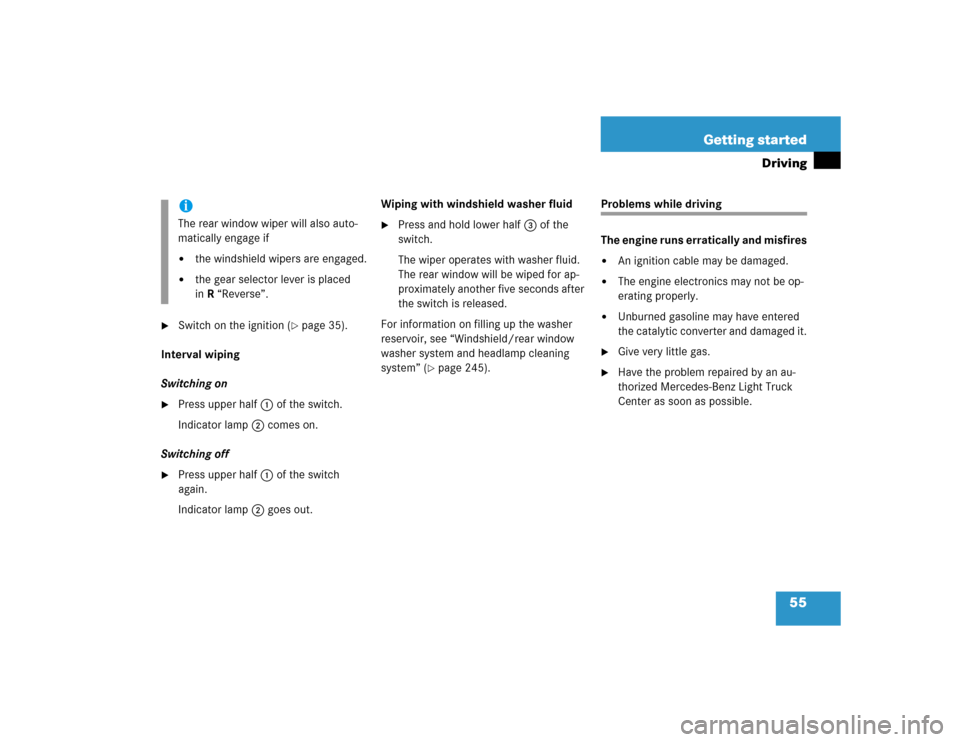
Interval wiping
Switching on
�
Press upper half1 of the switch.
Indicator lamp2 comes on.
Switching off
�
Press upper half1 of the switch
again.
Indicator lamp2 goes out.Wiping with windshield washer fluid
�
Press and hold lower half3 of the
switch.
The wiper operates with washer fluid.
The rear window will be wiped for ap-
proximately another five seconds after
the switch is released.
For information on filling up the washer
reservoir, see “Windshield/rear window
washer system and headlamp cleaning
system” (
�page 245).
Problems while driving
The engine runs erratically and misfires�
An ignition cable may be damaged.
�
The engine electronics may not be op-
erating properly.
�
Unburned gasoline may have entered
the catalytic converter and damaged it.
�
Give very little gas.
�
Have the problem repaired by an au-
thorized Mercedes-Benz Light Truck
Center as soon as possible.
iThe rear window wiper will also auto-
matically engage if�
the windshield wipers are engaged.
�
the gear selector lever is placed
inR “Reverse”.
Page 65 of 416

65 Safety and Security
Occupant safety
�
Always sit nearly upright, properly use
the seat belts and appropriate size in-
fant or child restraint system.
�
Children 12 years old and under must
never ride in the front seat, except in a
Mercedes-Benz authorized
BabySmart
TM1
compatible child seat,
which operates with the BabySmart
TM
system installed in the vehicle to deacti-
vate the passenger front airbag when it
is properly installed. Otherwise they will
be struck by the airbag when it inflates
in a crash. If this happens, serious or fa-
tal injury will result.
Failure to follow these instructions can re-
sult in severe injuries to you or other occu-
pants.
If you sell your vehicle, it is important that
you make the buyer aware of this safety in-
formation. Be sure to give the buyer this
Operator’s Manual.
1BabySmart
TM is a trademark of Siemens
Automotive Corp.
Warning!
G
Accident research shows that the safest
place for children in an automobile is in the
rear seat. Should you choose to place a child
12 years old or under in the front passenger
seat of your vehicle, you must properly use
a BabySmart
TM child restraint which will
turn off the passenger front airbag
(
�page 74).
iAirbags are designed to activate only in
certain frontal (front airbags) impacts
and in side (head protection window
curtain airbags) impacts which exceed
preset thresholds.
Only during these types of impacts, if of
sufficient severity to meet the deploy-
ment thresholds, will they provide their
supplemental protection.
The driver and passenger should al-
ways wear their seat belts. Otherwise it
is not possible for the airbags to pro-
vide their supplemental protection.
In cases of other frontal impacts, an-
gled impacts, roll-overs, other side im-
pacts, rear collisions, or other
accidents, the airbags will not be acti-
vated. The driver and passengers will
then be protected by the fastened seat
belts.
We caution you not to rely on the pres-
ence of the airbags in order to avoid
wearing your seat belt.
Page 78 of 416
78 Safety and SecurityOccupant safetyBlocking rear door window operation
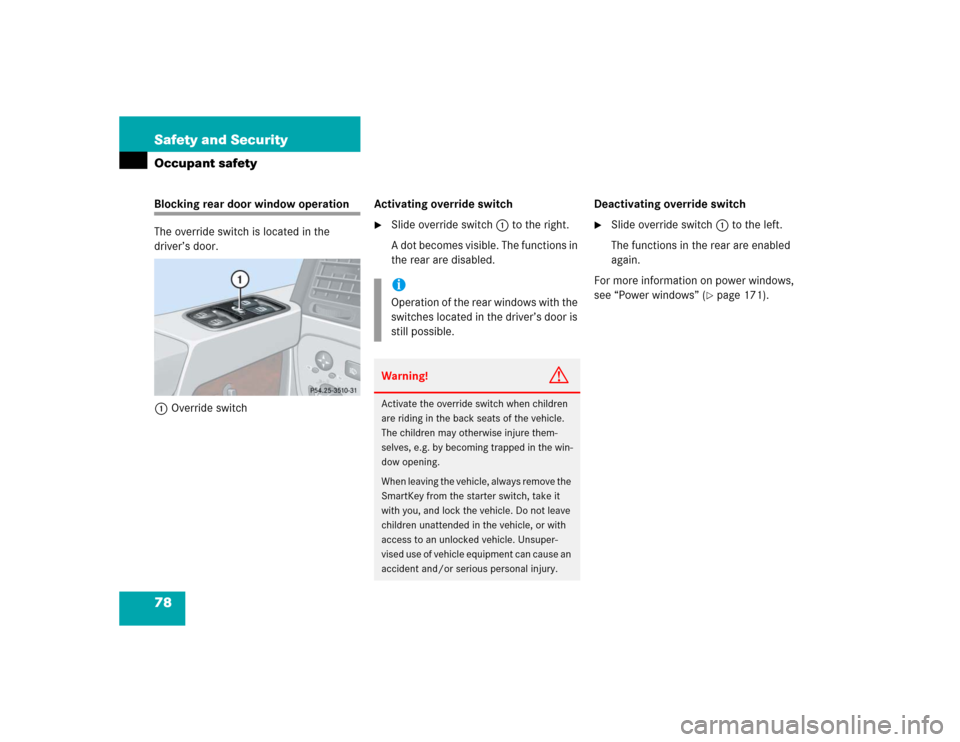
The override switch is located in the
driver’s door.
1Override switchActivating override switch
�
Slide override switch1 to the right.
A dot becomes visible. The functions in
the rear are disabled.Deactivating override switch
�
Slide override switch1 to the left.
The functions in the rear are enabled
again.
For more information on power windows,
see “Power windows” (
�page 171).
iOperation of the rear windows with the
switches located in the driver’s door is
still possible.Warning!
G
Activate the override switch when children
are riding in the back seats of the vehicle.
The children may otherwise injure them-
selves, e.g. by becoming trapped in the win-
dow opening.
When leaving the vehicle, always remove the
SmartKey from the starter switch, take it
with you, and lock the vehicle. Do not leave
children unattended in the vehicle, or with
access to an unlocked vehicle. Unsuper-
vised use of vehicle equipment can cause an
accident and/or serious personal injury.
Page 163 of 416

163 Controls in detail
Good visibility
3Mirror cover
4Mirror lamp�
Make sure the ignition is switched on
and that the sun visor is engaged in
mounting2.
�
Open mirror cover3.
Mirror lamps4 switch on.
Rear window defroster
Switch on the ignition (
�page 35).
Activating
�
Press button F in the control panel
of the climate control.
The indicator lamp in the button comes
on.
Deactivating
�
Press button F in the control panel
of the climate control.
The indicator lamp in the button goes
out.iThe rear window defroster uses a large
amount of power. To keep the battery
drain to a minimum, turn off the de-
froster as soon as the rear window is
clear.
!Heavy accumulation of snow and ice
should be removed before activating
the defroster.
The defroster is automatically turned
off after approximately 6-17 minutes of
operation depending on the outside
temperature and vehicle speed.
If several power consumers are turned
on simultaneously, or the battery is
only partially charged, it is possible that
the defroster will automatically turn it-
self off.
When this happens, the indicator lamp
inside the switch starts blinking.
As soon as the battery has sufficient
voltage, the defroster turns itself back
on.
Page 165 of 416
165 Controls in detail
Climate control
Climate control panel
1
Windshield defroster air vents
2
Center air vent, adjustable
3
Thumbwheel for center air vent
4
Side air vent, adjustable
5
Side defroster air vent, fixed
6
Thumbwheel for side air vent
7
Footwell air vents
8
Climate control paneliFor draft-free ventilation, move the
sliders for the center air vents to the
middle position.
1
Air volume
2
Temperature control, left
(driver side)
3
Temperature control, right
(passenger side)
4
Air distribution control
5
Rear window defroster (
�page 163)
6
AC cooling on / off (AC
OFF
)
Residual engine heat utilization
(REST)
7
Air distribution and air volume
(automatic mode)
8
Air recirculation
9
Defrosting
Page 167 of 416
167 Controls in detail
Climate control
Increasing�
Turn the temperature control a few de-
grees to the right.
The climate control system will corre-
spondingly adjust the interior air tem-
perature.
Decreasing
�
Turn the temperature control a few de-
grees to the left.
The climate control system will corre-
spondingly adjust the interior air tem-
perature.
Adjusting air distribution and volume
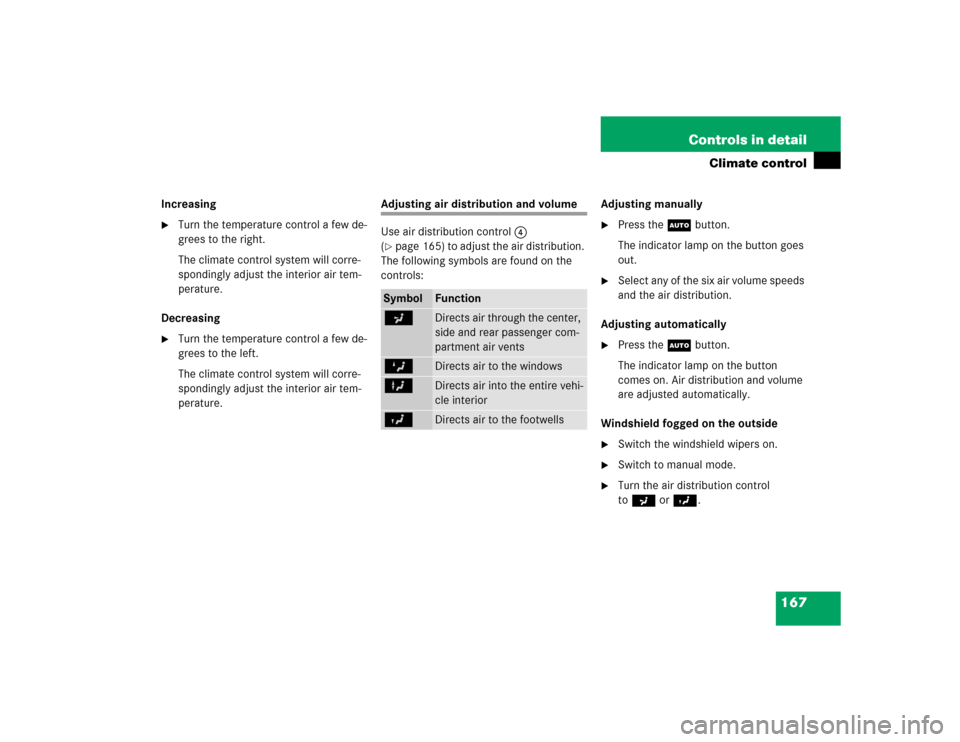
Use air distribution control4
(�page 165) to adjust the air distribution.
The following symbols are found on the
controls:Adjusting manually
�
Press theU button.
The indicator lamp on the button goes
out.
�
Select any of the six air volume speeds
and the air distribution.
Adjusting automatically
�
Press theU button.
The indicator lamp on the button
comes on. Air distribution and volume
are adjusted automatically.
Windshield fogged on the outside
�
Switch the windshield wipers on.
�
Switch to manual mode.
�
Turn the air distribution control
toa orY.
Symbol
Function
a
Directs air through the center,
side and rear passenger com-
partment air vents
Z
Directs air to the windows
X
Directs air into the entire vehi-
cle interior
Y
Directs air to the footwells
Page 168 of 416
168 Controls in detailClimate controlDefrosting
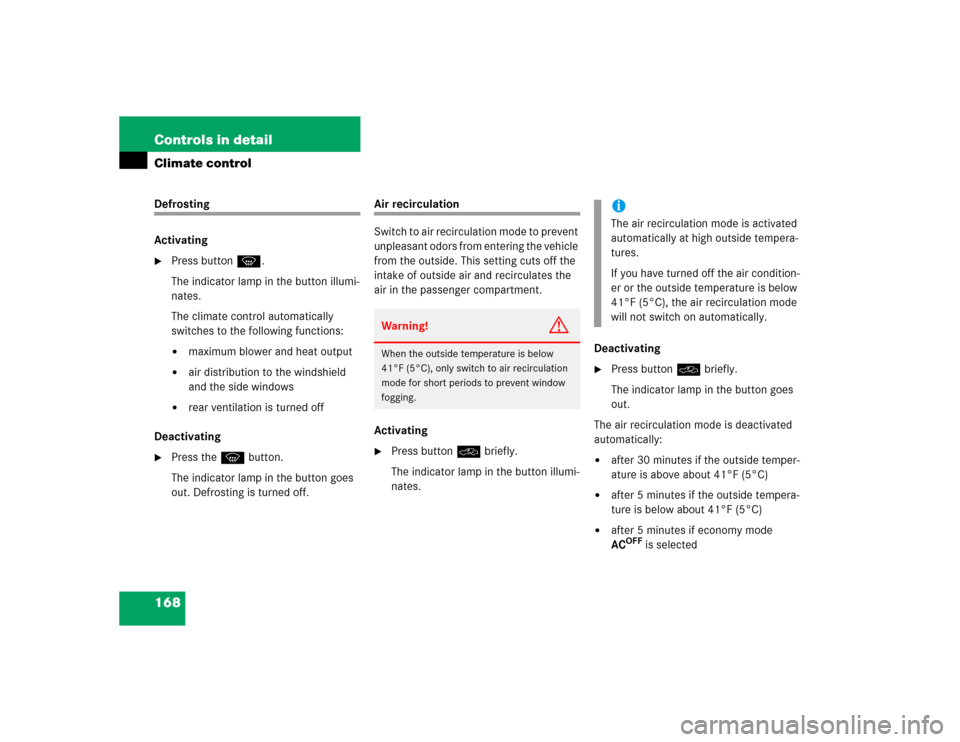
Activating�
Press button P.
The indicator lamp in the button illumi-
nates.
The climate control automatically
switches to the following functions:�
maximum blower and heat output
�
air distribution to the windshield
and the side windows
�
rear ventilation is turned off
Deactivating
�
Press the P button.
The indicator lamp in the button goes
out. Defrosting is turned off.
Air recirculation
Switch to air recirculation mode to prevent
unpleasant odors from entering the vehicle
from the outside. This setting cuts off the
intake of outside air and recirculates the
air in the passenger compartment.
Activating�
Press button O briefly.
The indicator lamp in the button illumi-
nates.Deactivating
�
Press button O briefly.
The indicator lamp in the button goes
out.
The air recirculation mode is deactivated
automatically:
�
after 30 minutes if the outside temper-
ature is above about 41°F (5°C)
�
after 5 minutes if the outside tempera-
ture is below about 41°F (5°C)
�
after 5 minutes if economy mode
AC
OFF
is selected
Warning!
G
When the outside temperature is below
41°F (5°C), only switch to air recirculation
mode for short periods to prevent window
fogging.
iThe air recirculation mode is activated
automatically at high outside tempera-
tures.
If you have turned off the air condition-
er or the outside temperature is below
41°F (5°C), the air recirculation mode
will not switch on automatically.
Page 170 of 416
170 Controls in detailClimate controlAir conditioning
The air conditioning is operational while
the engine is running and cools the interior
air to the temperature set by the operator.
Deactivating
It is possible to deactivate the air condi-
tioning (cooling) function of the climate
control system. The air in the vehicle will
then no longer be cooled or dehumidified.�
Press button°.
The indicator lamp on the button°
comes on.Activating
Moist air can fog up the windows. You can
dehumidify the air with the air conditioner.
�
Press button° again.
The indicator lamp on the button°
goes out.
The air conditioner uses the refrigerant
R134a. This refrigerant is free of CFCs
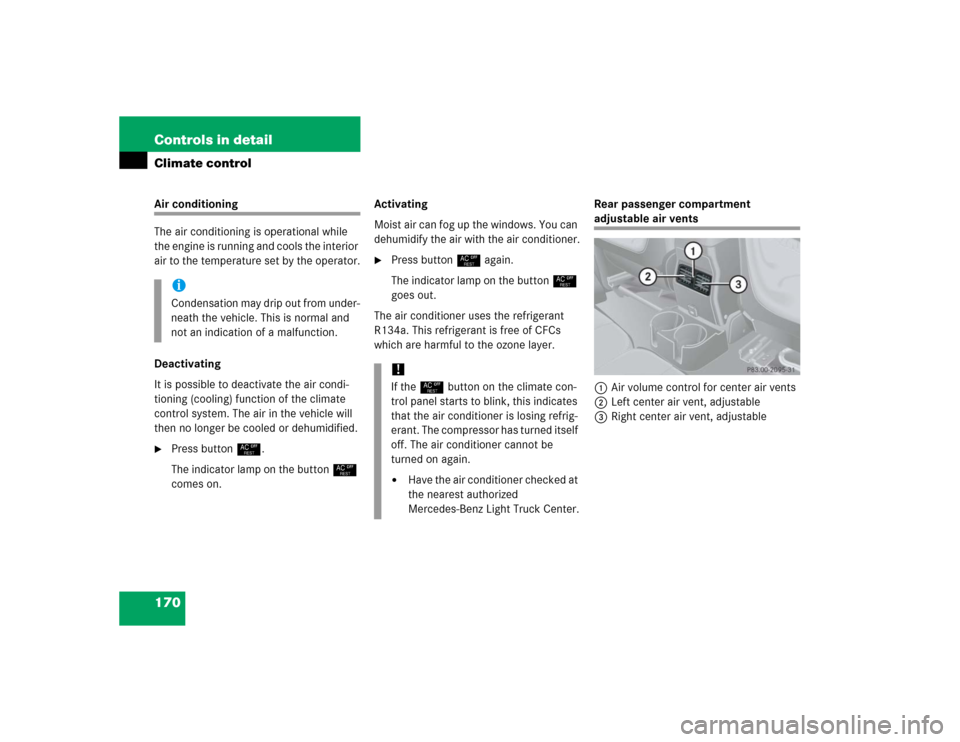
which are harmful to the ozone layer.Rear passenger compartment
adjustable air vents
1Air volume control for center air vents
2Left center air vent, adjustable
3Right center air vent, adjustable
iCondensation may drip out from under-
neath the vehicle. This is normal and
not an indication of a malfunction.
!If the° button on the climate con-
trol panel starts to blink, this indicates
that the air conditioner is losing refrig-
erant. The compressor has turned itself
off. The air conditioner cannot be
turned on again.�
Have the air conditioner checked at
the nearest authorized
Mercedes-Benz Light Truck Center.