Page 155 of 506

153 Controls in detail
Control system
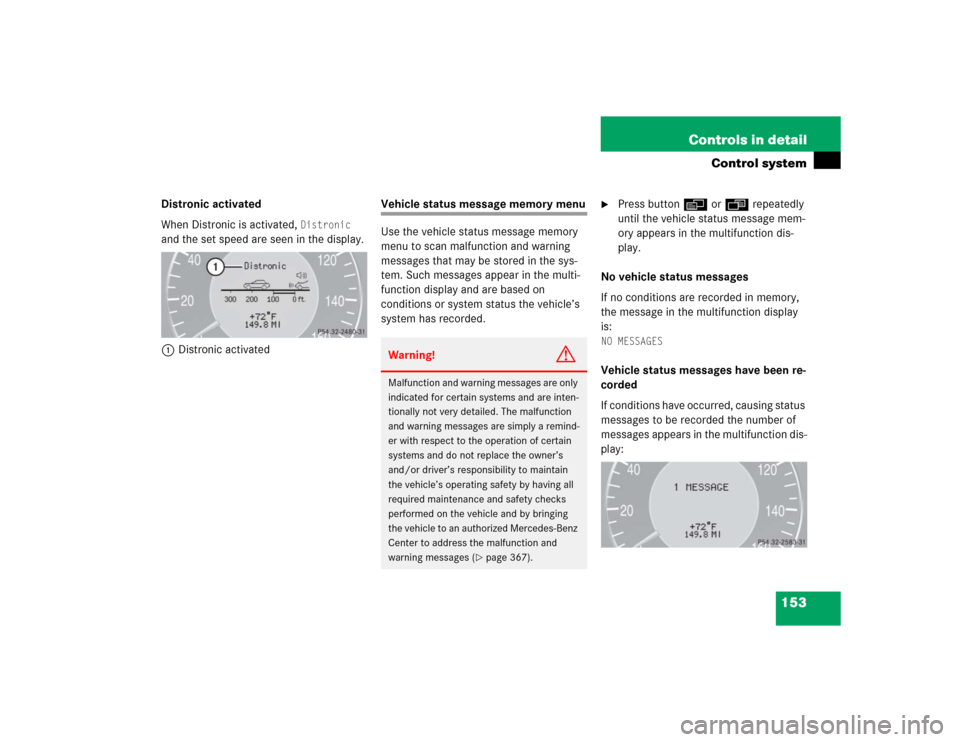
Distronic activated
When Distronic is activated,
Distronic
and the set speed are seen in the display.
1Distronic activated
Vehicle status message memory menu
Use the vehicle status message memory
menu to scan malfunction and warning
messages that may be stored in the sys-
tem. Such messages appear in the multi-
function display and are based on
conditions or system status the vehicle’s
system has recorded.
�
Press buttonè orÿ repeatedly
until the vehicle status message mem-
ory appears in the multifunction dis-
play.
No vehicle status messages
If no conditions are recorded in memory,
the message in the multifunction display
is:
NO MESSAGESVehicle status messages have been re-
corded
If conditions have occurred, causing status
messages to be recorded the number of
messages appears in the multifunction dis-
play:
Warning!
G
Malfunction and warning messages are only
indicated for certain systems and are inten-
tionally not very detailed. The malfunction
and warning messages are simply a remind-
er with respect to the operation of certain
systems and do not replace the owner’s
and/or driver’s responsibility to maintain
the vehicle’s operating safety by having all
required maintenance and safety checks
performed on the vehicle and by bringing
the vehicle to an authorized Mercedes-Benz
Center to address the malfunction and
warning messages (
�page 367).
Page 156 of 506

154 Controls in detailControl system�
Press buttonk orj.
The stored messages will now be dis-
played in the order in which they have
occurred. For malfunction and warning
messages, see “Vehicle status messag-
es in the multifunction display”
(�page 367).
Should the vehicle’s system record any
conditions while driving, the number of
messages will reappear in the multifunc-
tion display when the SmartKey in the
starter switch is turned to position0 or re-
moved from the starter switch.
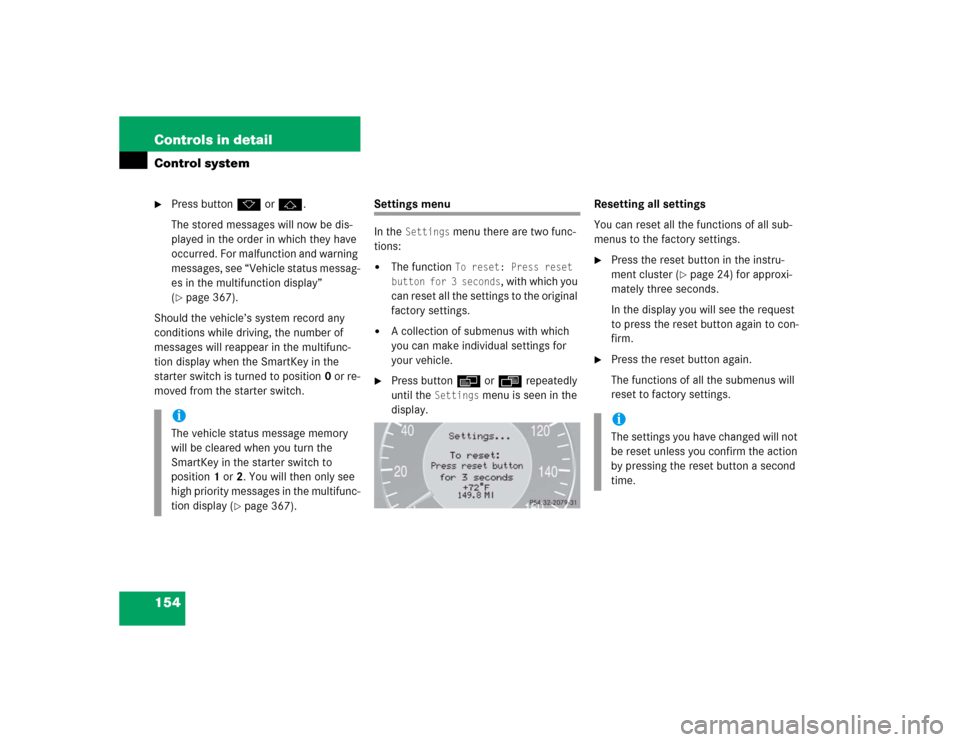
Settings menu
In the
Settings
menu there are two func-
tions:
�
The function
To reset: Press reset
button for 3 seconds
, with which you
can reset all the settings to the original
factory settings.
�
A collection of submenus with which
you can make individual settings for
your vehicle.
�
Press buttonè orÿ repeatedly
until the
Settings
menu is seen in the
display.Resetting all settings
You can reset all the functions of all sub-
menus to the factory settings.
�
Press the reset button in the instru-
ment cluster (
�page 24) for approxi-
mately three seconds.
In the display you will see the request
to press the reset button again to con-
firm.
�
Press the reset button again.
The functions of all the submenus will
reset to factory settings.
iThe vehicle status message memory
will be cleared when you turn the
SmartKey in the starter switch to
position1 or2. You will then only see
high priority messages in the multifunc-
tion display (
�page 367).
iThe settings you have changed will not
be reset unless you confirm the action
by pressing the reset button a second
time.
Page 157 of 506
155 Controls in detail
Control system
Submenus in the Settings menu�
Press buttonk orj.
In the display you see the collection of
the submenus.
�
Press buttonç.
The selection marker moves to the next
submenu.The submenus are arranged by hierarchy.
Scroll down with theç button, scroll up
with theæ button.
Move within the submenus with thek
orj button to the individual functions.
The settings themselves are made with
buttonæ orç.Resetting the functions of a submenu
For each submenu you can reset all the
functions to the factory settings.
�
Move to a function in the submenu.
�
Press the reset button (
�page 24) in
the instrument cluster for approximate-
ly three seconds.
In the display you will see the request
to press the reset button again to con-
firm.
�
Press the reset button again.
All functions of the submenu will reset
to factory settings.
Page 159 of 506

157 Controls in detail
Control system
Instrument cluster submenu
Access the
Instr. cluster
submenu via
the
Settings
menu. Use the
Instr. clus-
ter
submenu to change the instrument
cluster display settings. The following
functions are available:Selecting temperature display mode
�
Move the selection marker with
theæ orç button to the
Instr.
cluster
submenu.
�
Press buttonj ork repeatedly
until you see this message in the dis-
play:
Temp. indicator
.
The selection marker is on the current
setting.
�
Press buttonæ orç to set the
temperature unit to degrees
Celsius (°C) or degrees
Fahrenheit (°F).Selecting speedometer display mode
�
Move the selection marker with
theæ orç button to the
Instr.
cluster
submenu.
�
Press buttonj ork repeatedly
until you see this message in the dis-
play:
Display unit Speed-/odometer
.
The selection marker is on the current
setting.
�
Press button æ or ç to set
speedometer unit to
km or
miles
.
Function
Page
Select temperature display
mode
157
Select speedometer display
mode
157
Select language
158
Select display (speed display or
outside temperature) for status
display
158
Select display (speed display or
outside temperature) for basic
display
159
Tire pressure display*
159
Page 160 of 506
158 Controls in detailControl systemSelecting language�
Move the selection marker with
theæ orç button to the
Instr.
cluster
submenu.
�
Press buttonj ork repeatedly
until you see this message in the dis-
play:
Language
.
The selection marker is on the current
setting.
�
Press buttonæ orç to select
the language to be used for the multi-
function display messages.
Available languages:�
German
�
English
�
French
�
Italian
�
SpanishSelecting display (speed display or out-
side temperature) for status display
�
Move the selection marker with
theæ orç button to the
Instr.
cluster
submenu.
�
Press buttonj ork repeatedly
until you see this message in the dis-
play:
Status line display
.
The selection marker is on the current
setting.
�
Press buttonæ orç to select
the status line to degrees Fahrenheit
(°F) or
miles
.
iYou will see the status indicator when
you have called up a different display
from the standard display.
Page 161 of 506

159 Controls in detail
Control system
Selecting display (speed display or out-
side temperature) for basic display�
Move the selection marker with
theæ orç button to the
Instr.
cluster
submenu.
�
Press buttonj ork repeatedly
until you see this message in the dis-
play:
Basic display
.
The selection marker is on the current
setting.
�
Press buttonæ orç to select
the display permanently shown in the
multifunction display.Tire pressure display*
Use this function to set the unit for the tire
pressure display.
�
Move the selection marker with the
æ or ç button to the
Instr,
cluster
submenu.
�
Press button j or k repeatedly
until you see this message in the dis-
play:
Display unit Tire pressure
.
The selection marker is on the current
setting.
�
Press buttonæ or ç to select
the desired tire pressure unit.Time/Date submenu
Access the
Time/Date
submenu via the
Settings
menu. Use the
Time/Date
sub-
menu to change the time and date display
settings. The following functions are avail-
able:
Function
Page
Synchronizing the time
160
Set time (hours)
160
Set time (minutes)
160
Set date (month)
161
Set date (day)
161
Set date (year)
161
iInformation on setting the time, refer to
separate COMAND instructions.
Page 162 of 506

160 Controls in detailControl systemSynchronizing the time
This function can only be seen on vehicles
with COMAND and navigation module*.�
Move the selection marker with
theæ orç button to the Time/Date
submenu.
�
Press buttonj ork repeatedly
until you see this message in the dis-
play:
Time sync. with head unit
.
The selection marker is on the current
setting.
�
Press buttonæ orç to select
the desired setting.Set time (hours)
This function can only be seen when time
synchronization is switched off.
�
Move the selection marker with
theæ orç button to the Time/Date
submenu.
�
Press buttonj ork repeatedly
until you see this message in the dis-
play:
Clock, hours
.
The selection marker is on the hour set-
ting.
�
Press buttonæ orç to set the
hour.
�
Confirm by pressing reset button.Set time (minutes)
This function can only be seen when time
synchronization is switched off.
�
Move the selection marker with
theæ orç button to the Time/Date
submenu.
�
Press buttonj ork repeatedly
until you see this message in the dis-
play:
Clock, minutes
.
The selection marker is on the minute
setting.
�
Press buttonæ orç to set the
minutes.
�
Confirm by pressing reset button.
Page 163 of 506
161 Controls in detail
Control system
Set date (month)�
Move the selection marker with
theæ orç button to the Time/Date
submenu.
�
Press buttonj ork repeatedly
until you see this message in the dis-
play:
Set date month
.
The selection marker is on the month
setting.
�
Press buttonæ orç to set the
month.Set date (day)
�
Move the selection marker with
theæ orç button to the Time/Date
submenu.
�
Press buttonj ork repeatedly
until you see this message in the dis-
play:
Set date day
.
The selection marker is on the day set-
ting.
�
Press buttonæ orç to set the
day.Set date (year)
�
Move the selection marker with
theæ orç button to the Time/Date
submenu.
�
Press buttonj ork repeatedly
until you see this message in the dis-
play:
Set date year
.
The selection marker is on the year set-
ting.
�
Press buttonæ orç to set the
year.