Page 14 of 328
Trunk ajar:Illuminates when the
trunk is not completely closed. This
light will flash and sound a tone for
one second, then the light remains
on.
Turn signal:Illuminates when the
left or right turn signal or the
hazard lights are turned on. If the
indicators stay on or flash faster, check for a burned out bulb.
High beams:Illuminates when the
high beam headlamps are turned on.
Headlamps on warning chime:Sounds when the headlamps or parking
lamps are on, the ignition is off (the key is not in the ignition) and the
driver’s door is opened.
Key-in-ignition warning chime:Sounds when the key is left in the
ignition in the OFF/LOCK or ACCESSORY position and the driver’s door
is opened.
Turn signal chime (if equipped):Sounds when the turn signal lever
has been activated to signal a turn and not turned off after the vehicle is
driven more than 0.8 km (1/2 mile).
2005 Town Car(tow)
Owners Guide (post-2002-fmt)
USA_English(fus)
Instrument Cluster
14
Page 40 of 328
4.DEST: Press to enter Destination Entry mode. This allows you to
enter a destination and route to it. With an active route, pressing DEST
allows the user to request a Detour, display entire route, select route
preferences, or change or cancel the destination. This will not function
without a map DVD loaded.
5.MENU: Press to access system settings such as display, brightness,
clock mode (if equipped), etc.
6.CD OPEN CLOSE: Press to open/close the display screen and access
the CD player.
Cold temperature advisory
When operating the system below 32° Fahrenheit (0° Celsius), the
display screen requires 20–30 minutes warm-up to achieve maximum
brightness. Ensure that the system display setting is set to DAY mode
until maximum brightness is achieved (refer toMenu modesection).
Once maximum brightness is achieved, revert to AUTO mode display
setting.
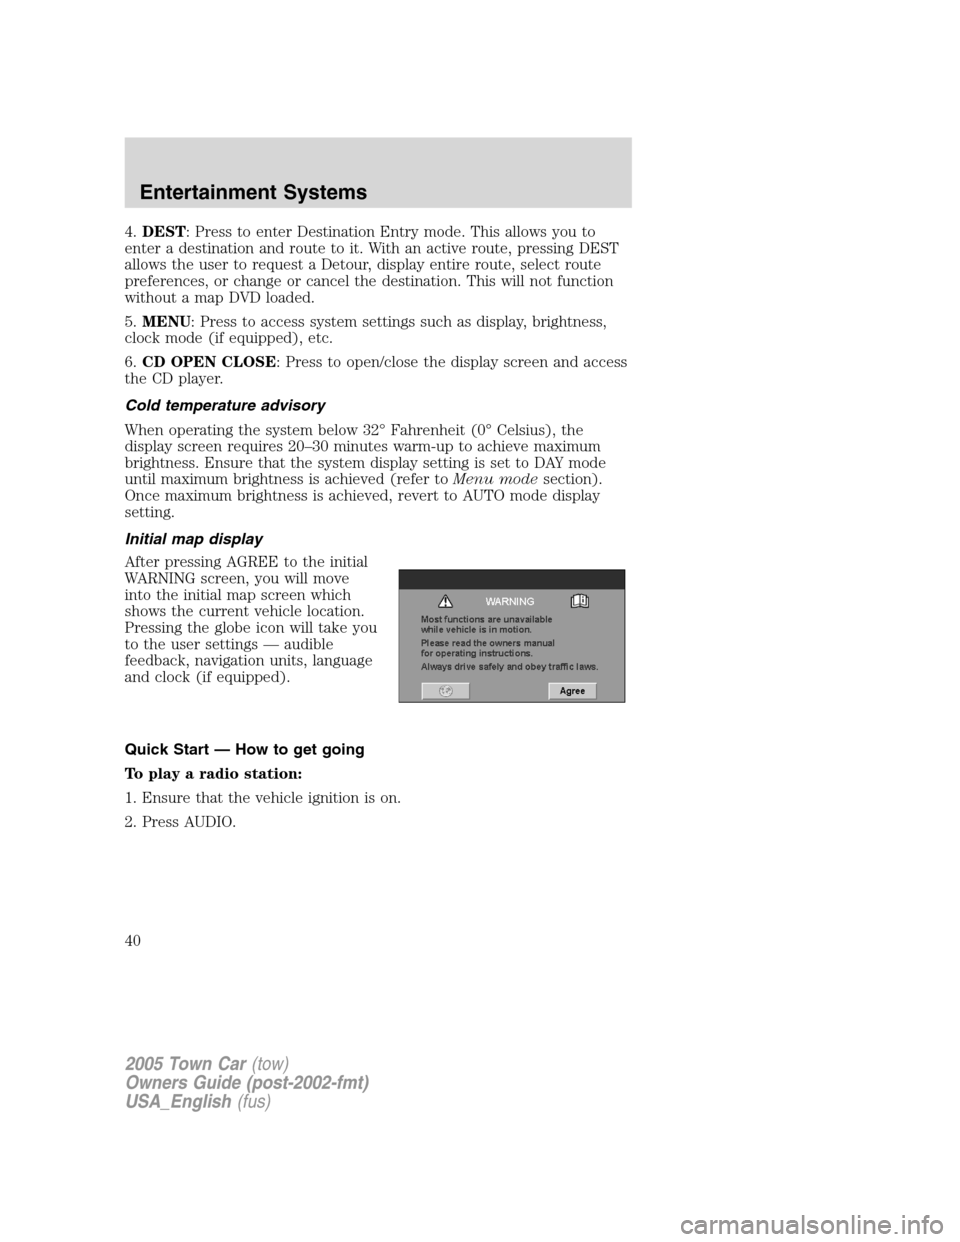
Initial map display
After pressing AGREE to the initial
WARNING screen, you will move
into the initial map screen which
shows the current vehicle location.
Pressing the globe icon will take you
to the user settings — audible
feedback, navigation units, language
and clock (if equipped).
Quick Start — How to get going
To play a radio station:
1. Ensure that the vehicle ignition is on.
2. Press AUDIO.
2005 Town Car(tow)
Owners Guide (post-2002-fmt)
USA_English(fus)
Entertainment Systems
40
Page 43 of 328
2. Press DEST. The warning screen will appear. After reading, press
AGREE. The screen will show a map with your current location. Press
DEST again.
3. Select the desired type of
destination entry. You may select
“Address”, “Point of Interest”,
“Emergency” or “Previous Dest”
from the first screen.
Or, press “
Next Page” to access
selections of “Memory Point”,
“Select from map”, “Freeway
Ent/Exit” and “Special Memory
Points.” After making your selection,
enter any required information.
2005 Town Car(tow)
Owners Guide (post-2002-fmt)
USA_English(fus)
Entertainment Systems
43
Page 77 of 328
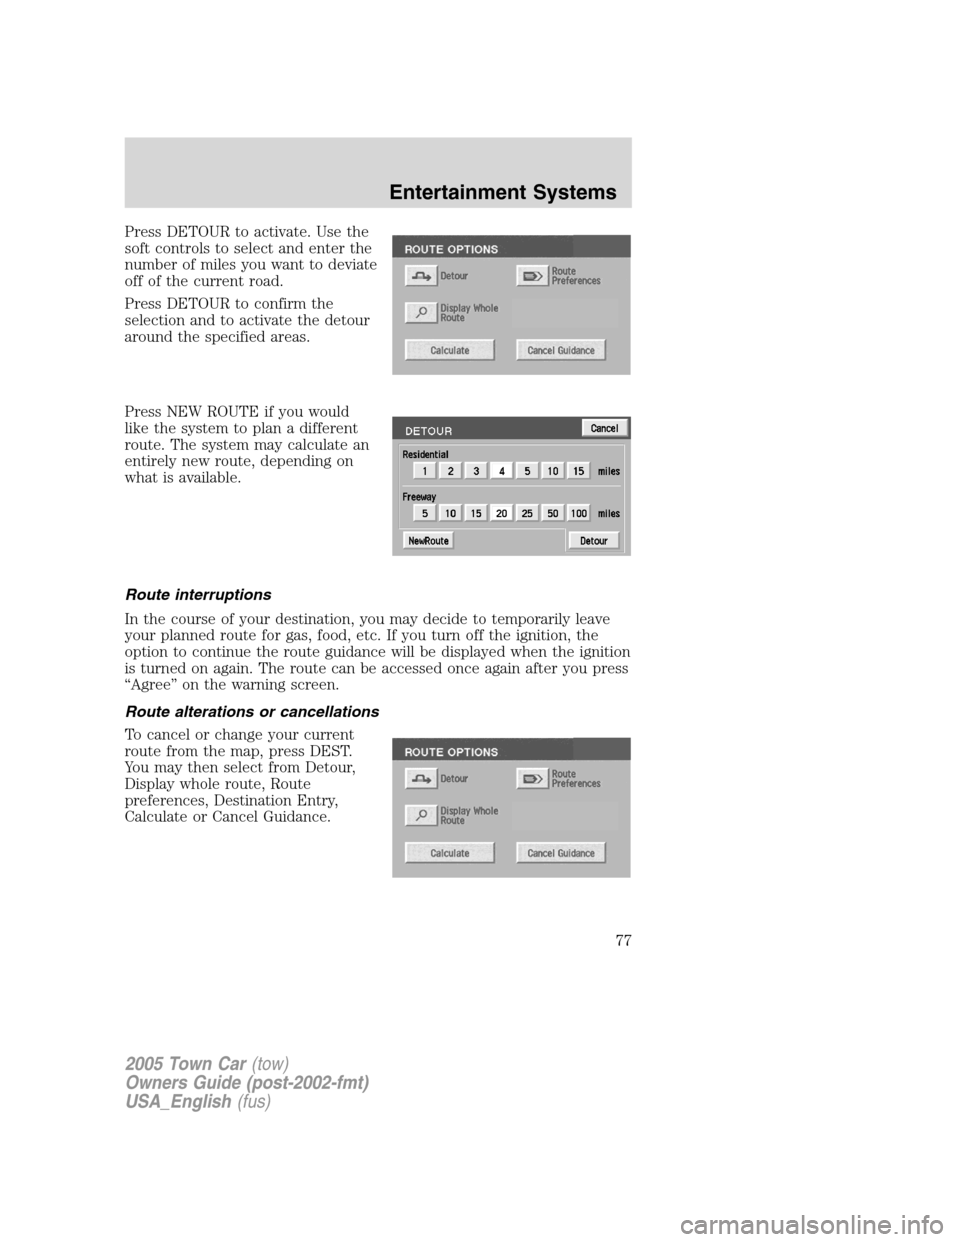
Press DETOUR to activate. Use the
soft controls to select and enter the
number of miles you want to deviate
off of the current road.
Press DETOUR to confirm the
selection and to activate the detour
around the specified areas.
Press NEW ROUTE if you would
like the system to plan a different
route. The system may calculate an
entirely new route, depending on
what is available.
Route interruptions
In the course of your destination, you may decide to temporarily leave
your planned route for gas, food, etc. If you turn off the ignition, the
option to continue the route guidance will be displayed when the ignition
is turned on again. The route can be accessed once again after you press
“Agree” on the warning screen.
Route alterations or cancellations
To cancel or change your current
route from the map, press DEST.
You may then select from Detour,
Display whole route, Route
preferences, Destination Entry,
Calculate or Cancel Guidance.
2005 Town Car(tow)
Owners Guide (post-2002-fmt)
USA_English(fus)
Entertainment Systems
77
Page 80 of 328
Initial map display
After pressing AGREE to the initial
WARNING screen, you will move
into the initial map screen which
shows the current vehicle location.
Pressing the globe icon will take you
to the user settings — audible
feedback, navigation units, language
and clock (if equipped).
Note:There may be a slight time
delay between the soft key and the
hard key functions.
Destination entry
Search area
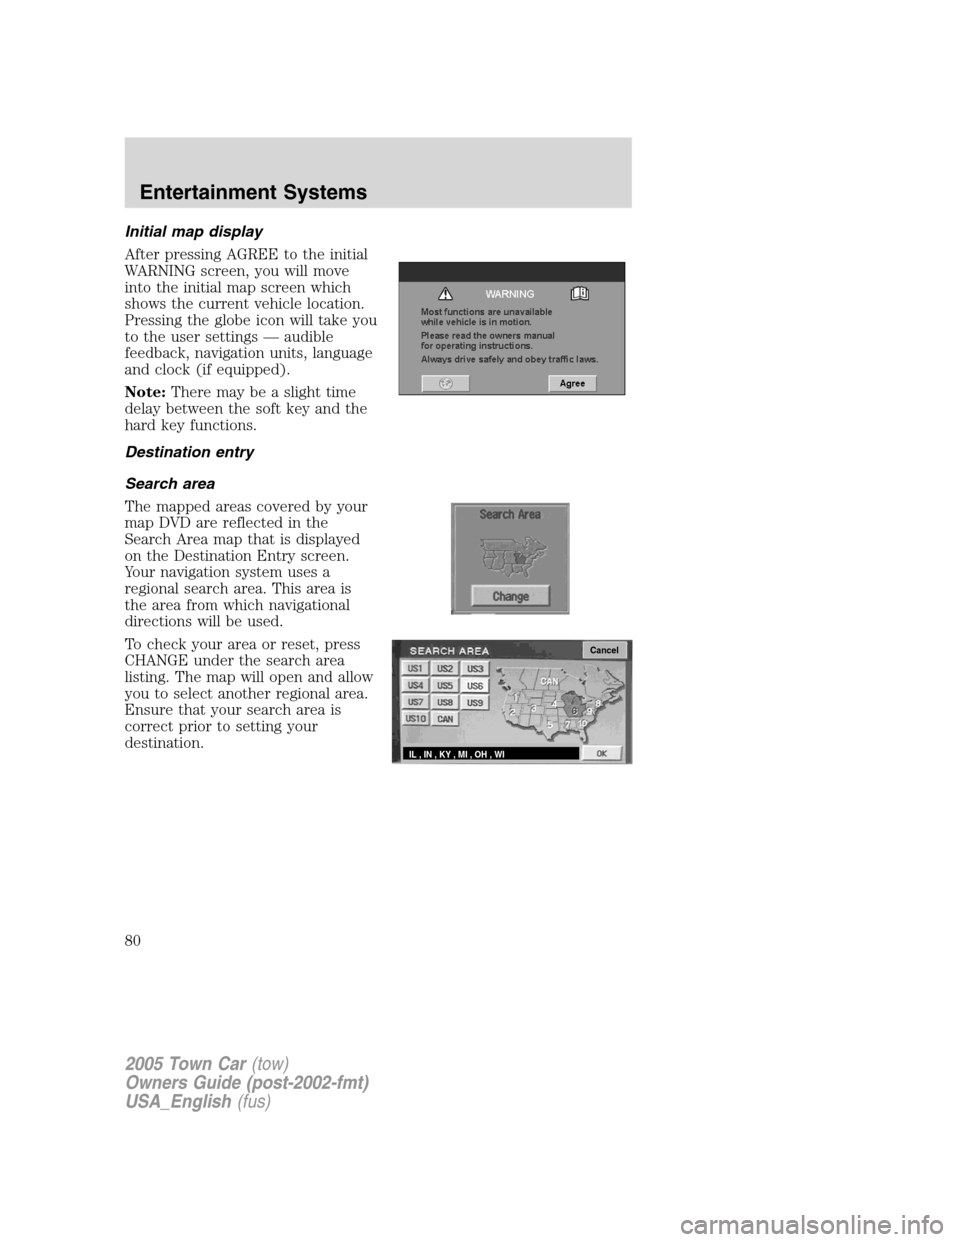
The mapped areas covered by your
map DVD are reflected in the
Search Area map that is displayed
on the Destination Entry screen.
Your navigation system uses a
regional search area. This area is
the area from which navigational
directions will be used.
To check your area or reset, press
CHANGE under the search area
listing. The map will open and allow
you to select another regional area.
Ensure that your search area is
correct prior to setting your
destination.
Cancel
IL , IN , KY , MI , OH , WI
2005 Town Car(tow)
Owners Guide (post-2002-fmt)
USA_English(fus)
Entertainment Systems
80
Page 117 of 328
Slide on rod feature (if
equipped)
Rotate the visor towards the side
window and extend it rearward for
additional sunlight coverage.
Note:To stow the visor back into
the headliner, visor must be
retracted before moving it back
towards the windshield.
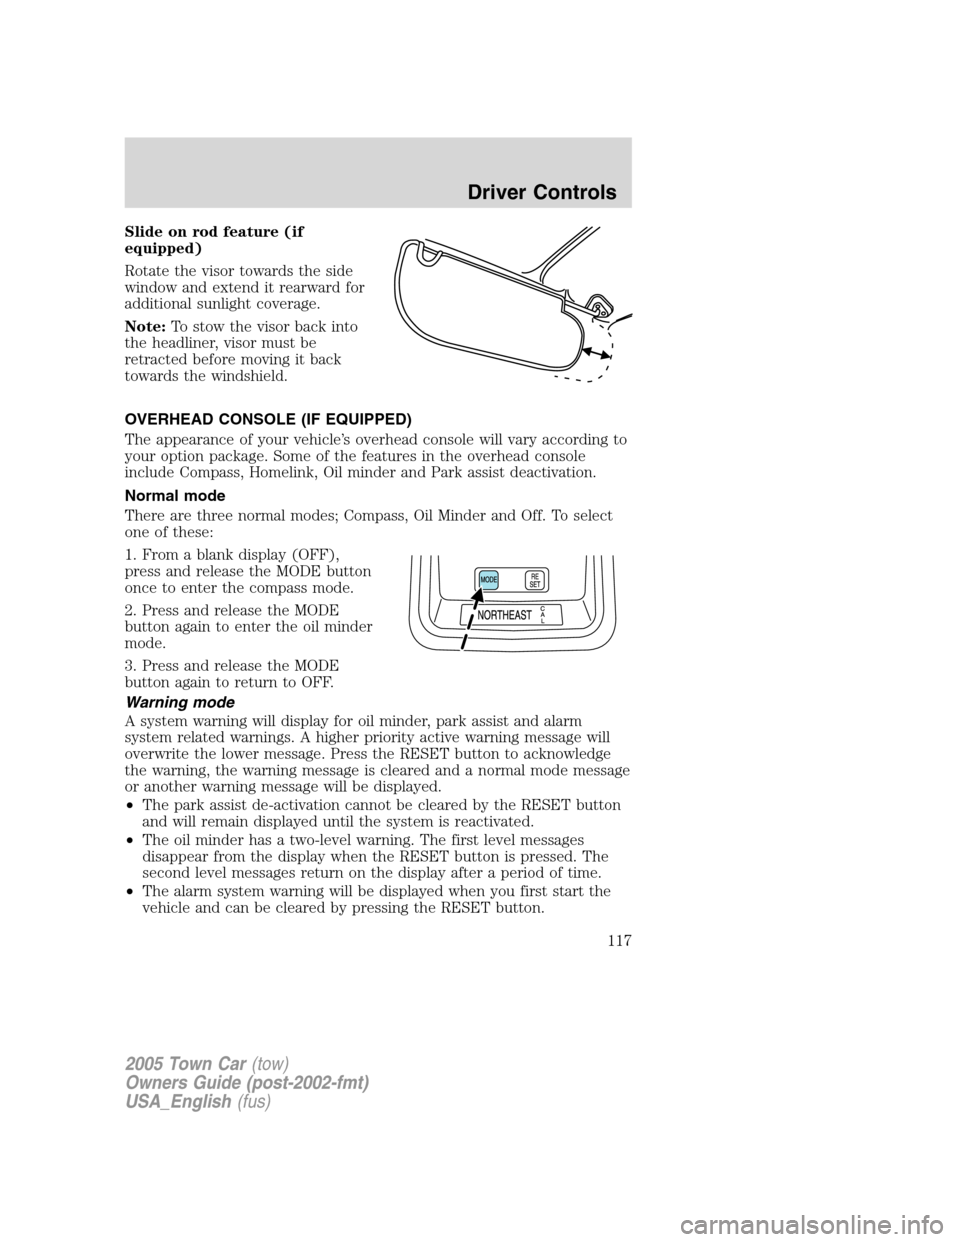
OVERHEAD CONSOLE (IF EQUIPPED)
The appearance of your vehicle’s overhead console will vary according to
your option package. Some of the features in the overhead console
include Compass, Homelink, Oil minder and Park assist deactivation.
Normal mode
There are three normal modes; Compass, Oil Minder and Off. To select
one of these:
1. From a blank display (OFF),
press and release the MODE button
once to enter the compass mode.
2. Press and release the MODE
button again to enter the oil minder
mode.
3. Press and release the MODE
button again to return to OFF.
Warning mode
A system warning will display for oil minder, park assist and alarm
system related warnings. A higher priority active warning message will
overwrite the lower message. Press the RESET button to acknowledge
the warning, the warning message is cleared and a normal mode message
or another warning message will be displayed.
•The park assist de-activation cannot be cleared by the RESET button
and will remain displayed until the system is reactivated.
•The oil minder has a two-level warning. The first level messages
disappear from the display when the RESET button is pressed. The
second level messages return on the display after a period of time.
•The alarm system warning will be displayed when you first start the
vehicle and can be cleared by pressing the RESET button.
2005 Town Car(tow)
Owners Guide (post-2002-fmt)
USA_English(fus)
Driver Controls
117
Page 126 of 328
Oil minder mode
Normal mode
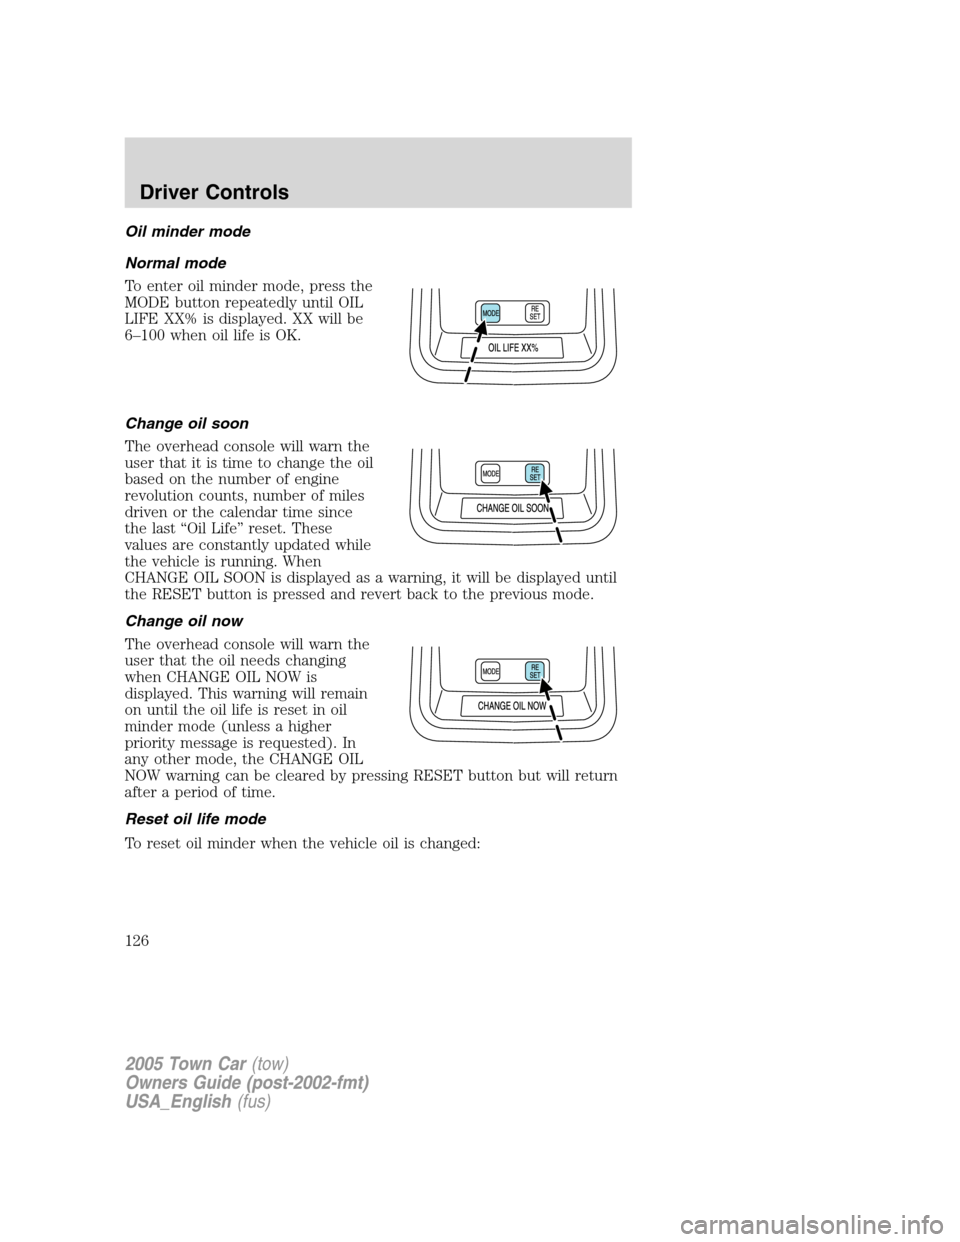
To enter oil minder mode, press the
MODE button repeatedly until OIL
LIFE XX% is displayed. XX will be
6–100 when oil life is OK.
Change oil soon
The overhead console will warn the
user that it is time to change the oil
based on the number of engine
revolution counts, number of miles
driven or the calendar time since
the last “Oil Life” reset. These
values are constantly updated while
the vehicle is running. When
CHANGE OIL SOON is displayed as a warning, it will be displayed until
the RESET button is pressed and revert back to the previous mode.
Change oil now
The overhead console will warn the
user that the oil needs changing
when CHANGE OIL NOW is
displayed. This warning will remain
on until the oil life is reset in oil
minder mode (unless a higher
priority message is requested). In
any other mode, the CHANGE OIL
NOW warning can be cleared by pressing RESET button but will return
after a period of time.
Reset oil life mode
To reset oil minder when the vehicle oil is changed:
2005 Town Car(tow)
Owners Guide (post-2002-fmt)
USA_English(fus)
Driver Controls
126
Page 167 of 328
•To program position two, repeat the previous procedure using control
2.
•To program position three, repeat the previous procedure but press
controls 1 and 2 simultaneously.
A position can only be recalled when the transmission gearshift is in
Park. A memory seat position may be programmed at any time.
The memory seat positions are also recalled when you press your remote
entry transmitter UNLOCK control.
To program the memory seat to remote entry transmitter, refer to
Remote entry systemin theLocks and security chapter.
SAFETY RESTRAINTS
Personal Safety System
The Personal Safety System provides an improved overall level of frontal
crash protection to front seat occupants and is designed to help further
reduce the risk of airbag-related injuries. The system is able to analyze
different occupant conditions and crash severity before activating the
appropriate safety devices to help better protect a range of occupants in
a variety of frontal crash situations.
Your vehicle’s Personal Safety System consists of the following items:
•Driver and passenger dual-stage airbag supplemental restraints
•Driver and front passenger side airbags
•Front safety belts with pretensioners, energy management retractors,
and safety belt usage sensors
•Driver’s seat position sensor
•Front passenger sensing system
•Front crash severity sensor
•Restraints Control Module (RCM) with impact and safing sensors
•Restraint system warning light and back-up tone
•The electrical wiring for the airbags, crash sensor(s), safety belt
pretensioners, front safety belt usage sensors, driver seat position
sensor, and indicator lights
2005 Town Car(tow)
Owners Guide (post-2002-fmt)
USA_English(fus)
Seating and Safety Restraints
167