Page 51 of 328
Tune adjust
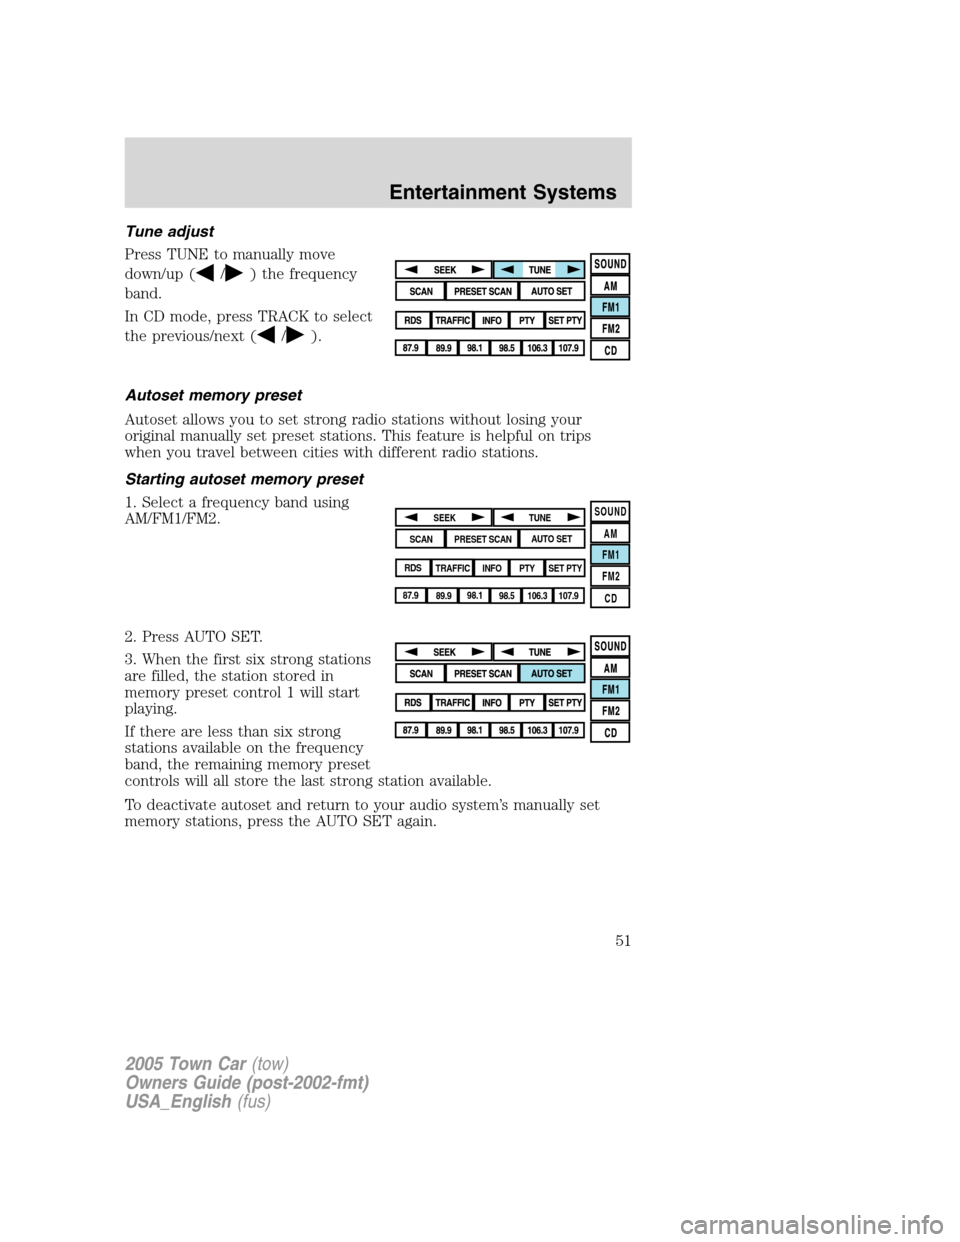
Press TUNE to manually move
down/up (
/) the frequency
band.
In CD mode, press TRACK to select
the previous/next (
/).
Autoset memory preset
Autoset allows you to set strong radio stations without losing your
original manually set preset stations. This feature is helpful on trips
when you travel between cities with different radio stations.
Starting autoset memory preset
1. Select a frequency band using
AM/FM1/FM2.
2. Press AUTO SET.
3. When the first six strong stations
are filled, the station stored in
memory preset control 1 will start
playing.
If there are less than six strong
stations available on the frequency
band, the remaining memory preset
controls will all store the last strong station available.
To deactivate autoset and return to your audio system’s manually set
memory stations, press the AUTO SET again.
SOUND
AM
FM1
FM2
CDSEEK
TUNE
PRESET SCANAUTO SET
SCAN
RDS
TRAFFIC
INFO PTYSET PTY
87.9
89.9 98.1
98.5 106.3 107.9
2005 Town Car(tow)
Owners Guide (post-2002-fmt)
USA_English(fus)
Entertainment Systems
51
Page 55 of 328
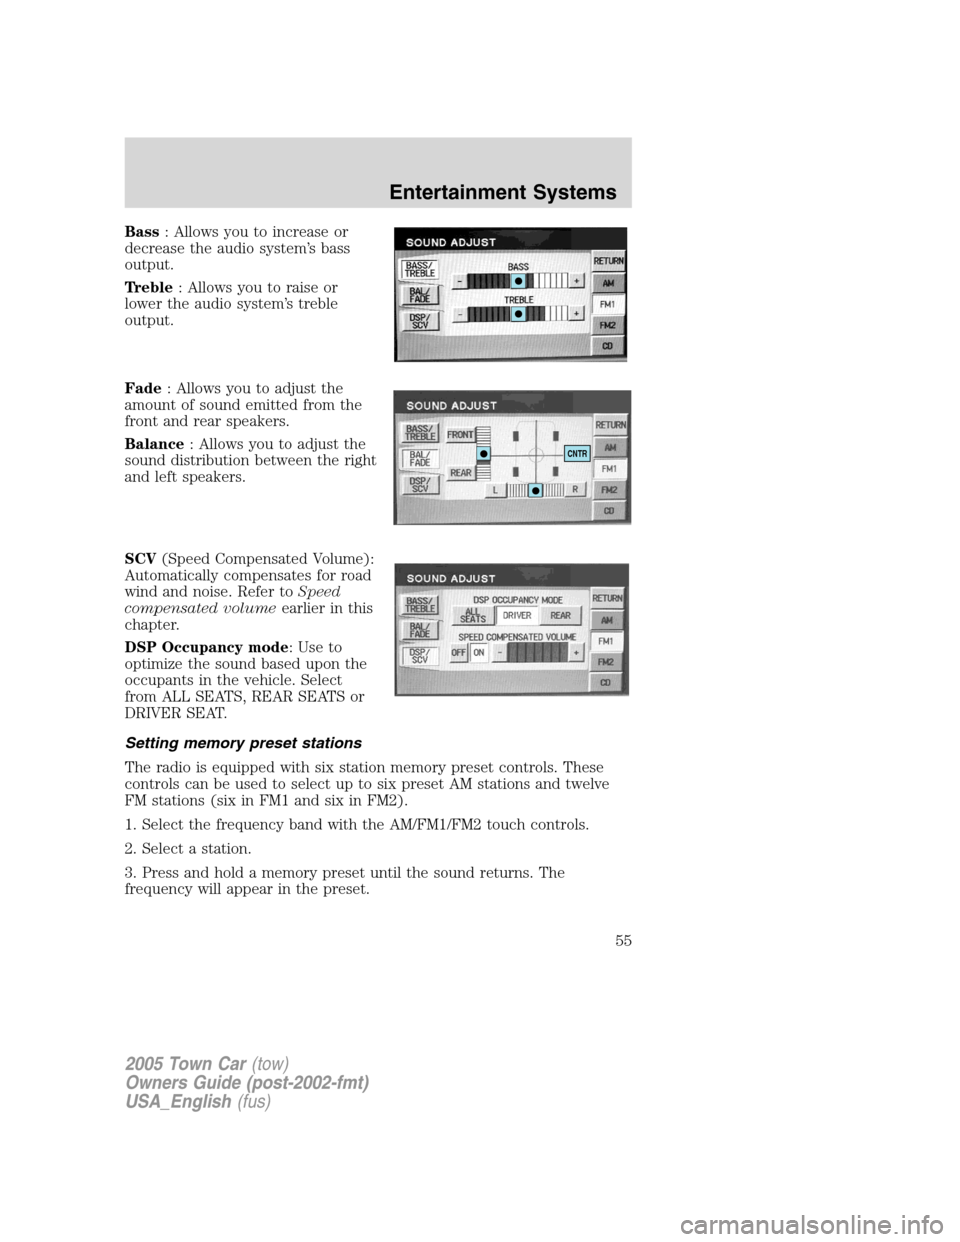
Bass: Allows you to increase or
decrease the audio system’s bass
output.
Treble: Allows you to raise or
lower the audio system’s treble
output.
Fade: Allows you to adjust the
amount of sound emitted from the
front and rear speakers.
Balance: Allows you to adjust the
sound distribution between the right
and left speakers.
SCV(Speed Compensated Volume):
Automatically compensates for road
wind and noise. Refer toSpeed
compensated volumeearlier in this
chapter.
DSP Occupancy mode: Use to
optimize the sound based upon the
occupants in the vehicle. Select
from ALL SEATS, REAR SEATS or
DRIVER SEAT.
Setting memory preset stations
The radio is equipped with six station memory preset controls. These
controls can be used to select up to six preset AM stations and twelve
FM stations (six in FM1 and six in FM2).
1. Select the frequency band with the AM/FM1/FM2 touch controls.
2. Select a station.
3. Press and hold a memory preset until the sound returns. The
frequency will appear in the preset.
CNTR
2005 Town Car(tow)
Owners Guide (post-2002-fmt)
USA_English(fus)
Entertainment Systems
55
Page 120 of 328
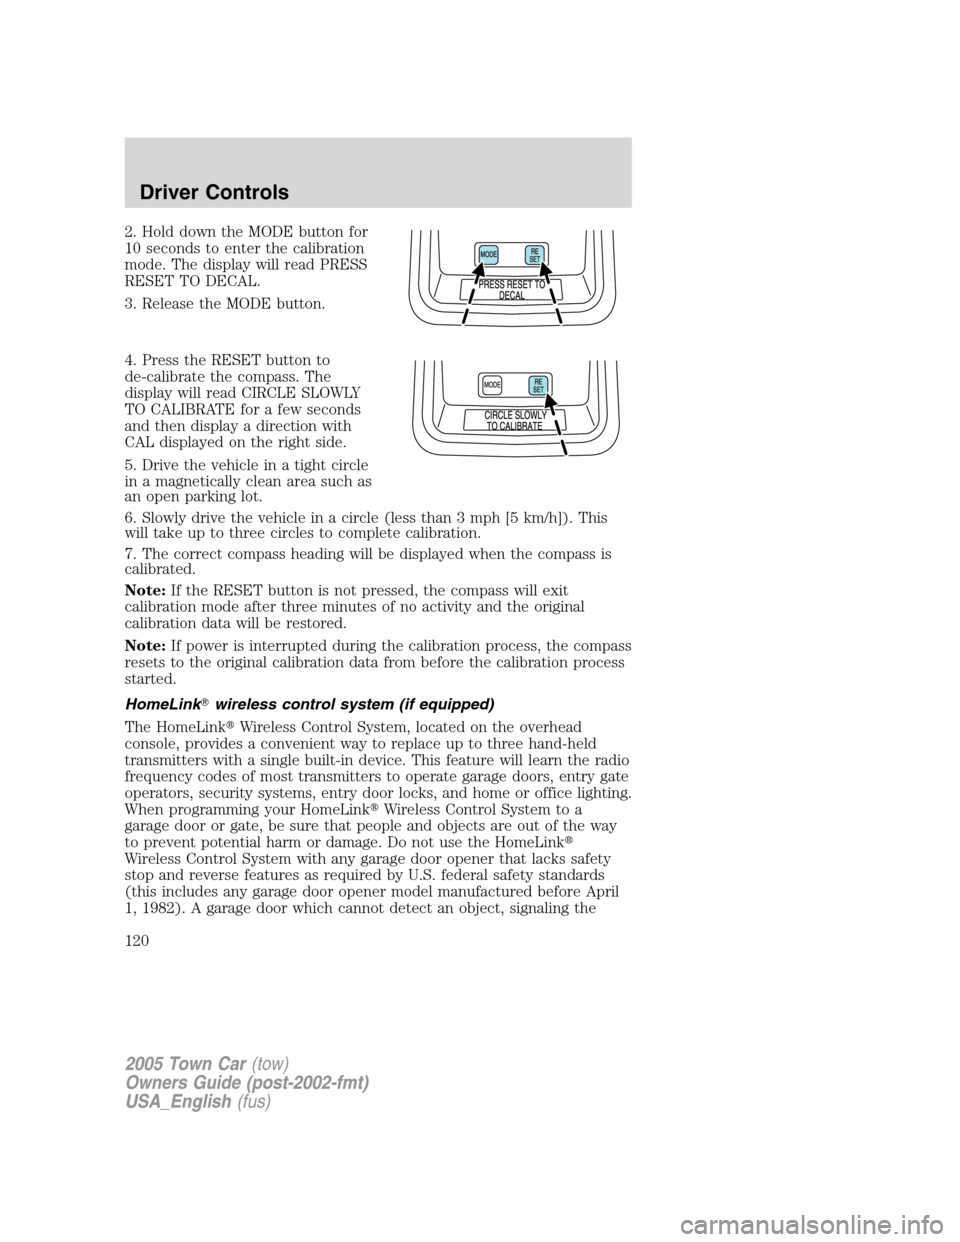
2. Hold down the MODE button for
10 seconds to enter the calibration
mode. The display will read PRESS
RESET TO DECAL.
3. Release the MODE button.
4. Press the RESET button to
de-calibrate the compass. The
display will read CIRCLE SLOWLY
TO CALIBRATE for a few seconds
and then display a direction with
CAL displayed on the right side.
5. Drive the vehicle in a tight circle
in a magnetically clean area such as
an open parking lot.
6. Slowly drive the vehicle in a circle (less than 3 mph [5 km/h]). This
will take up to three circles to complete calibration.
7. The correct compass heading will be displayed when the compass is
calibrated.
Note:If the RESET button is not pressed, the compass will exit
calibration mode after three minutes of no activity and the original
calibration data will be restored.
Note:If power is interrupted during the calibration process, the compass
resets to the original calibration data from before the calibration process
started.
HomeLink�wireless control system (if equipped)
The HomeLink�Wireless Control System, located on the overhead
console, provides a convenient way to replace up to three hand-held
transmitters with a single built-in device. This feature will learn the radio
frequency codes of most transmitters to operate garage doors, entry gate
operators, security systems, entry door locks, and home or office lighting.
When programming your HomeLink�Wireless Control System to a
garage door or gate, be sure that people and objects are out of the way
to prevent potential harm or damage. Do not use the HomeLink�
Wireless Control System with any garage door opener that lacks safety
stop and reverse features as required by U.S. federal safety standards
(this includes any garage door opener model manufactured before April
1, 1982). A garage door which cannot detect an object, signaling the
2005 Town Car(tow)
Owners Guide (post-2002-fmt)
USA_English(fus)
Driver Controls
120
Page 121 of 328
door to stop and reverse, does not meet current U.S. federal safety
standards. For more information, contact HomeLink�at:
www.homelink.comor1–800–355–3515.Retain the original
transmitter for use in other vehicles as well as for future programming
procedures (i.e. new HomeLink�equipped vehicle purchase). It is also
suggested that upon the sale of the vehicle, the programmed HomeLink�
buttons be erased for security purposes, refer toProgrammingin this
section.
Programming
Do not program the HomeLink�with the vehicle parked in the
garage.
Note:Some vehicles may require the ignition switch to be turned to the
second (or “ACC”) position for programming and/or operation of the
HomeLink�. It is also recommended that a new battery be placed in the
hand-held transmitter of the device being programmed to HomeLink�for
quicker training and accurate transmission of the radio-frequency signal.
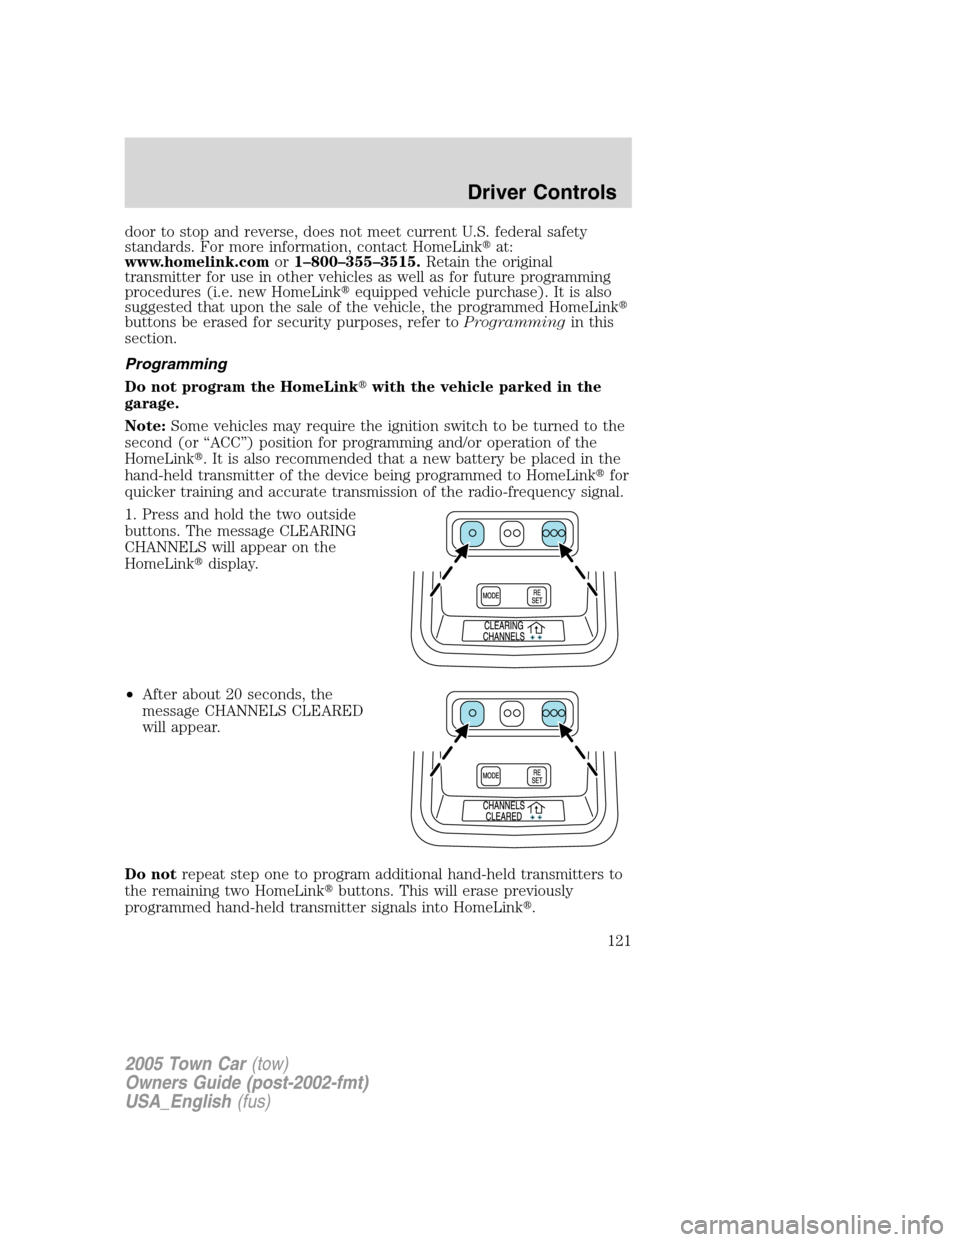
1. Press and hold the two outside
buttons. The message CLEARING
CHANNELS will appear on the
HomeLink�display.
•After about 20 seconds, the
message CHANNELS CLEARED
will appear.
Do notrepeat step one to program additional hand-held transmitters to
the remaining two HomeLink�buttons. This will erase previously
programmed hand-held transmitter signals into HomeLink�.
2005 Town Car(tow)
Owners Guide (post-2002-fmt)
USA_English(fus)
Driver Controls
121
Page 130 of 328
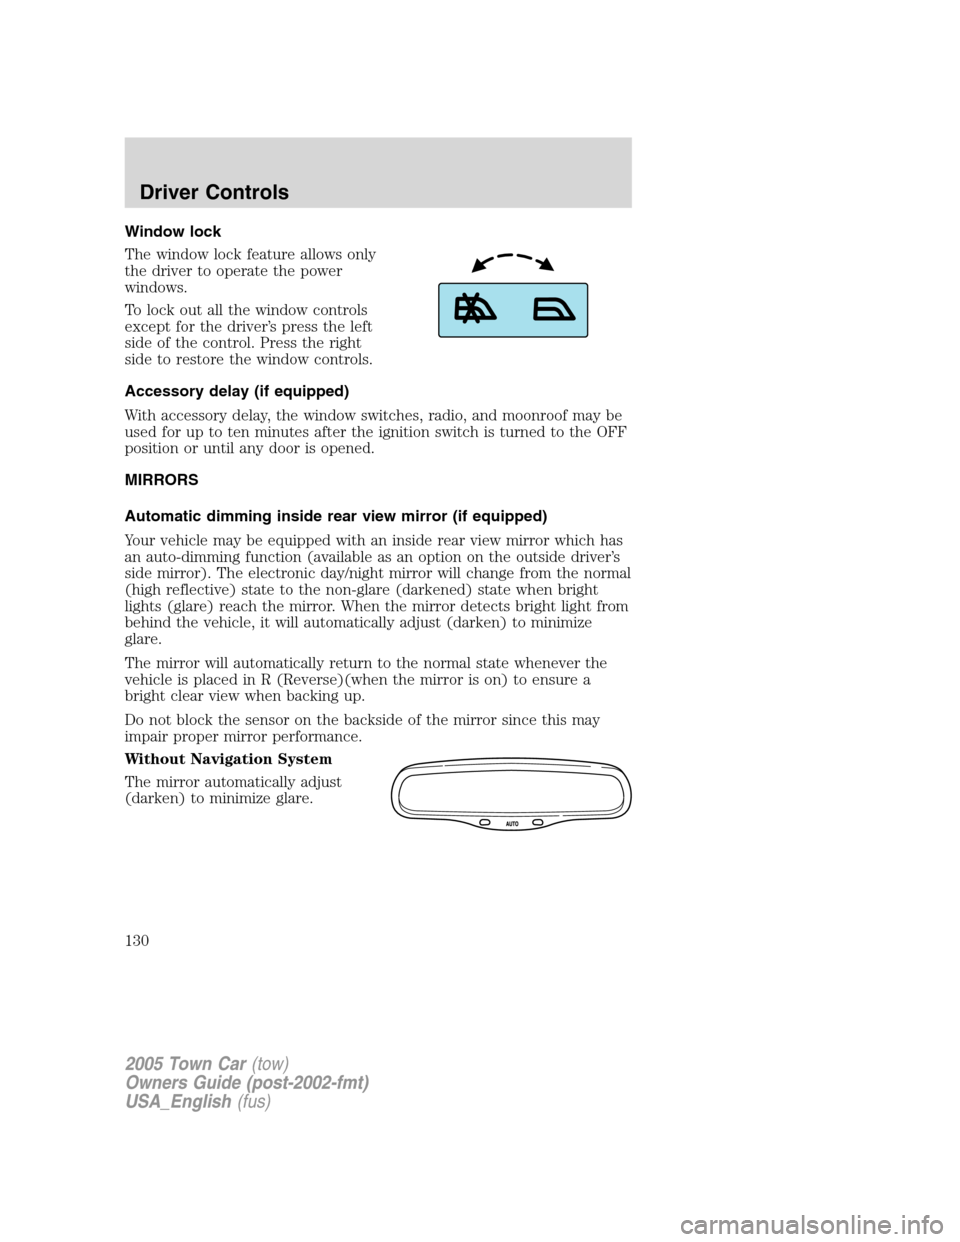
Window lock
The window lock feature allows only
the driver to operate the power
windows.
To lock out all the window controls
except for the driver’s press the left
side of the control. Press the right
side to restore the window controls.
Accessory delay (if equipped)
With accessory delay, the window switches, radio, and moonroof may be
used for up to ten minutes after the ignition switch is turned to the OFF
position or until any door is opened.
MIRRORS
Automatic dimming inside rear view mirror (if equipped)
Your vehicle may be equipped with an inside rear view mirror which has
an auto-dimming function (available as an option on the outside driver’s
side mirror). The electronic day/night mirror will change from the normal
(high reflective) state to the non-glare (darkened) state when bright
lights (glare) reach the mirror. When the mirror detects bright light from
behind the vehicle, it will automatically adjust (darken) to minimize
glare.
The mirror will automatically return to the normal state whenever the
vehicle is placed in R (Reverse)(when the mirror is on) to ensure a
bright clear view when backing up.
Do not block the sensor on the backside of the mirror since this may
impair proper mirror performance.
Without Navigation System
The mirror automatically adjust
(darken) to minimize glare.
2005 Town Car(tow)
Owners Guide (post-2002-fmt)
USA_English(fus)
Driver Controls
130
Page 135 of 328
•Depress the brake pedal until the
desired vehicle speed is reached,
press the SET + control.
Turning off speed control
There are two ways to turn off the speed control:
•Depress the brake pedal. This will
not erase your vehicle’s
previously set speed.
•Press the speed control OFF
control.
Note:When you turn the speed
control or the ignition off, your
speed control set speed memory is
erased.
STEERING WHEEL CONTROLS (IF EQUIPPED)
These controls allow you to operate some radio and climate control
features.
Audio control features
In Radio mode:
•Press NEXT to select the next
preset station within the current
radio band.
In Tape mode:
•Press NEXT to listen to the next
selection on the tape.
In CD mode:
•Press NEXT to listen to the next
track on the disc.
2005 Town Car(tow)
Owners Guide (post-2002-fmt)
USA_English(fus)
Driver Controls
135
Page 136 of 328
In any mode:
•Press VOL + or - to adjust the
volume.
Climate control features (if equipped)
•Press TEMP + or - to adjust
temperature.
Navigation control features (if
equipped)
Press and hold VOICE briefly until
the voice
icon appears on the
Navigation display to use the
Navigation voice command.
Press the top portion of the control
to hear previous command repeated
from the navigation system.
Rear console radio/climate controls (if equipped)
Refer toEntertainment Systems and Climate Controlschapters for
operation instructions.
2005 Town Car(tow)
Owners Guide (post-2002-fmt)
USA_English(fus)
Driver Controls
136
Page 137 of 328
Rear radio/climate controls lockout
The rear radio/climate control feature can be locked out by pressing the
3 and the 5 buttons on the radio simultaneously while the radio is on. To
enable the rear radio/climate controls, press the 3 and the 5 buttons
again.
MOON ROOF (IF EQUIPPED)
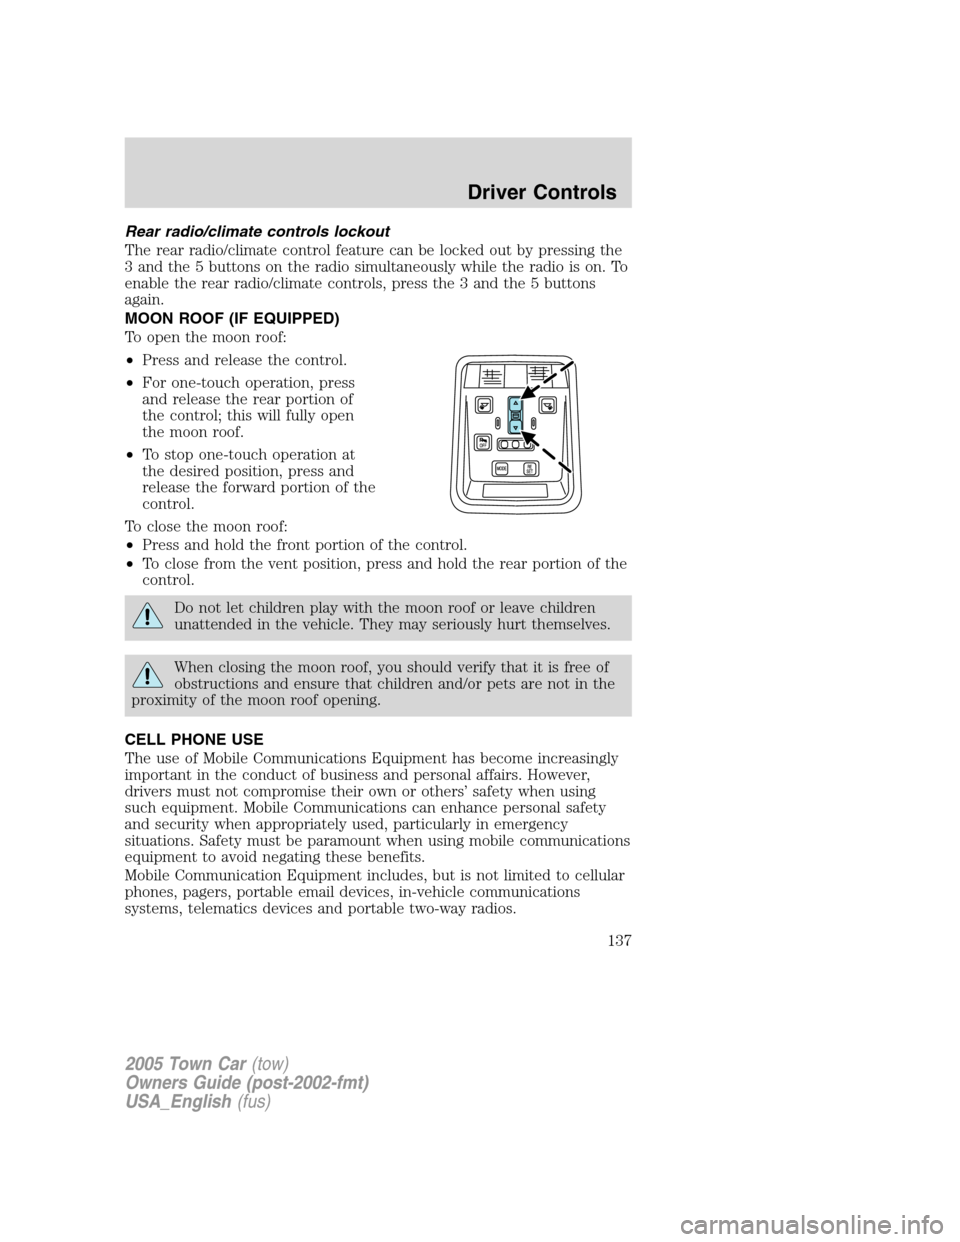
To open the moon roof:
•Press and release the control.
•For one-touch operation, press
and release the rear portion of
the control; this will fully open
the moon roof.
•To stop one-touch operation at
the desired position, press and
release the forward portion of the
control.
To close the moon roof:
•Press and hold the front portion of the control.
•To close from the vent position, press and hold the rear portion of the
control.
Do not let children play with the moon roof or leave children
unattended in the vehicle. They may seriously hurt themselves.
When closing the moon roof, you should verify that it is free of
obstructions and ensure that children and/or pets are not in the
proximity of the moon roof opening.
CELL PHONE USE
The use of Mobile Communications Equipment has become increasingly
important in the conduct of business and personal affairs. However,
drivers must not compromise their own or others’ safety when using
such equipment. Mobile Communications can enhance personal safety
and security when appropriately used, particularly in emergency
situations. Safety must be paramount when using mobile communications
equipment to avoid negating these benefits.
Mobile Communication Equipment includes, but is not limited to cellular
phones, pagers, portable email devices, in-vehicle communications
systems, telematics devices and portable two-way radios.
2005 Town Car(tow)
Owners Guide (post-2002-fmt)
USA_English(fus)
Driver Controls
137