Page 154 of 668
OCCUPANT RESTRAINT SYSTEMS
133
Tumbling second seat (for third seat entry)
Vehicles with third seat: For easy access to the third seat,
tumble the second seat in accordance with the following
procedure.
Before tumbling the second seat, stow the second seat
buckles as shown above.
This prevents the buckles from falling out when you fold up the
second seat.
Vehicles with rear seat audio system or rear seat
entertainment system: Before tumbling the second seat,
close the headphone input jack lid.
Page 155 of 668
OCCUPANT RESTRAINT SYSTEMS
134
NOTICE
�The seat belt buckles must be stowed before youtumble the second seat.
�The headphone input jack lid of the rear seat audiosystem or the rear seat entertainment system mustbe closed before you tumble the second seat.
1. Lower the head restraints to the lowest position.2. Fold down the seatbacks while pulling the lock release
levers and swing the whole seats up and forward until they
are locked.
Page 284 of 668
SECTION 2 ± 2
263
AIR CONDITIONING AND AUDIO
Audio
Audio system264
. . . . . . . . . . . . . . . . . . . . . . . . . . . . . . . . . . . . .\
. . . . . . . . . . . . . . . . . . . . . . . . . . . . . . . . .
Audio system operating hints 287
. . . . . . . . . . . . . . . . . . . . . . . . . . . . . . . . . . . . .\
. . . . . . . . . . . . . . . . . . .
Rear seat audio system 294
. . . . . . . . . . . . . . . . . . . . . . . . . . . . . . . . . . . . .\
. . . . . . . . . . . . . . . . . . . . . . . .
Rear seat entertainment system 311
. . . . . . . . . . . . . . . . . . . . . . . . . . . . . . . . . . . . .\
. . . . . . . . . . . . . . . . .
Audio/video system operating hints 383
. . . . . . . . . . . . . . . . . . . . . . . . . . . . . . . . . . . . .\
. . . . . . . . . . . . . .
For vehicles equipped with Navigation System,
please refer to the separate ªNavigation SystemOwner's Manualº.
Page 288 of 668
AUDIO
267
(a) Turning the system on and off
Push this knob to turn the audio system on and off. Turn
this knob to adjust the volume.
The system turns on in the last mode used.
Push
the ªAMº, ªFMº, ªTAPEº or ªDISCº button to turn on
that mode. The selected mode turns on directly.
Push these buttons if you want to switch from one mode to
another.
If the tape or CD is not set, the cassette player or CD player
does not turn on.
You can turn off each player by ejecting the cassette tape or
CD. If the audio system was previously off, then the entire
audio system will be turned off when you eject the cassette
tape or CD. If the other function was previously playing, it will
come on again.
Vehicles with rear seat entertainment system Ð
The ªDISCº button may also be used to operate a DVD player.
Pressing the ªDISCº button changes between the CD player
and DVD player. When the DVD player is in operation, ªAUXº
appears on the display.
Page 304 of 668

AUDIO
283
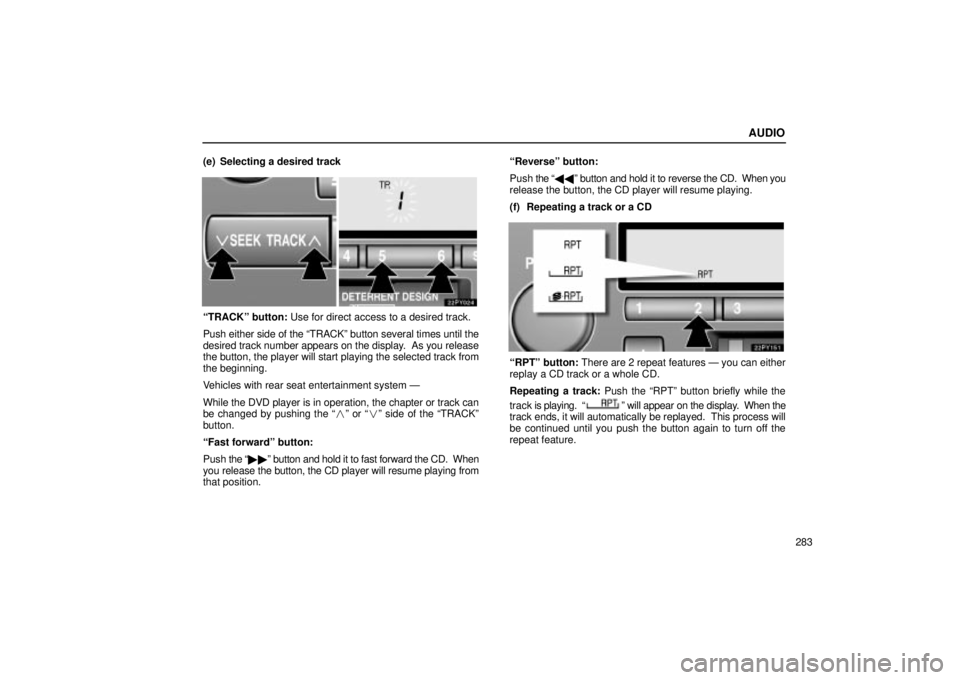
(e) Selecting a desired track
ªTRACKº button: Use for direct access to a desired track.
Push either side of the ªTRACKº button several times until the
desired track number appears on the display. As you release
the button, the player will start playing the selected track from
the beginning.
Vehicles with rear seat entertainment system Ð
While the DVD player is in operation, the chapter or track can
be changed by pushing the ª
�º or ª� º side of the ªTRACKº
button.
ªFast forwardº button:
Push the ª�� º button and hold it to fast forward the CD. When
you release the button, the CD player will resume playing from
that position. ªReverseº button:
Push
the ª�� º button and hold it to reverse the CD. When you
release the button, the CD player will resume playing.
(f) Repeating a track or a CD
ªRPTº button: There are 2 repeat features Ð you can either
replay a CD track or a whole CD.
Repeating a track: Push the ªRPTº button briefly while the
track is playing. ª
º will appear on the display. When the
track ends, it will automatically be replayed. This process will
be continued until you push the button again to turn off the
repeat feature.
Page 307 of 668

AUDIO
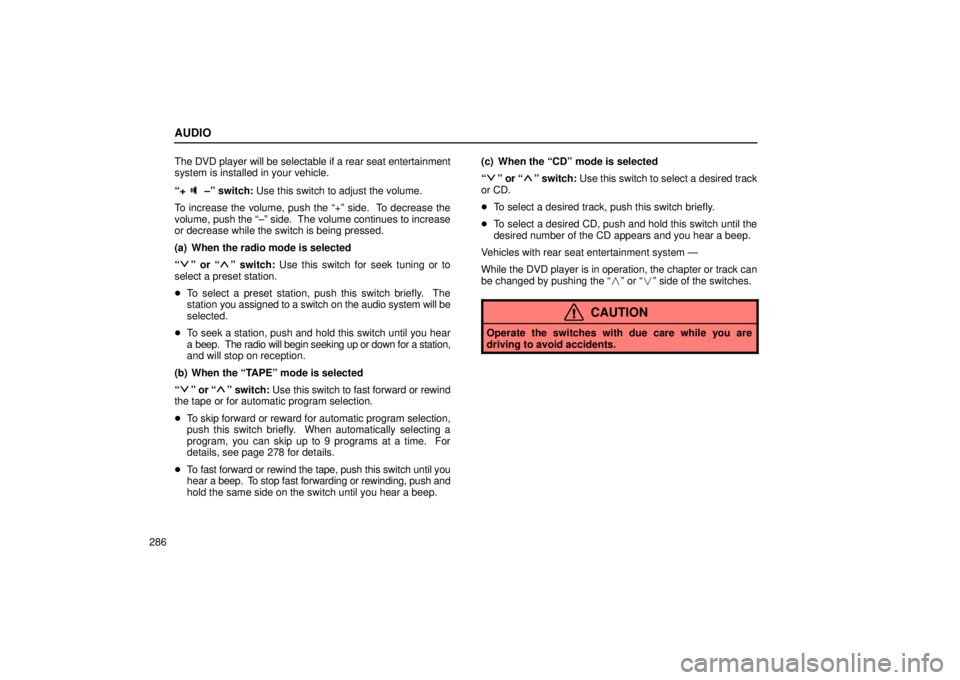
286The DVD player will be selectable if a rear seat entertainment
system is installed in your vehicle.
ª+
±º switch: Use this switch to adjust the volume.
To increase the volume, push the ª+º side. To decrease the
volume, push the ª±º side. The volume continues to increase
or decrease while the switch is being pressed.
(a) When the radio mode is selected
ª
º or ªº switch: Use this switch for seek tuning or to
select a preset station.
� To select a preset station, push this switch briefly. The
station you assigned to a switch on the audio system will be
selected.
� To seek a station, push and hold this switch until you hear
a beep. The radio will begin seeking up or down for a station,
and will stop on reception.
(b) When the ªTAPEº mode is selected
ª
º or ªº switch: Use this switch to fast forward or rewind
the tape or for automatic program selection.
� To skip forward or reward for automatic program selection,
push this switch briefly. When automatically selecting a
program, you can skip up to 9 programs at a time. For
details, see page 278 for details.
� To fast forward or rewind the tape, push this switch until you
hear a beep. To stop fast forwarding or rewinding, push and
hold the same side on the switch until you hear a beep. (c) When the ªCDº mode is selected
ª
º or ªº switch: Use this switch to select a desired track
or CD.
� To select a desired track, push this switch briefly.
� To select a desired CD, push and hold this switch until the
desired number of the CD appears and you hear a beep.
Vehicles with rear seat entertainment system Ð
While the DVD player is in operation, the chapter or track can
be changed by pushing the ª� º or ª�º side of the switches.
CAUTION
Operate the switches with due care while you are
driving to avoid accidents.
Page 319 of 668

AUDIO
298
Quick reference for your remote control
22PY112
�1ªDISC/CH/PROGº buttons
2ªTUNE/TRACKº buttons
3ªON/SOURCEº button
4ªOFFº button
Using your rear seat audio system: some
basics
The following instructions are for the rear passengers.
Please let the rear passengers read and follow the
instructions when the rear passengers use the rear audio
system.
This section describes some of the basic features of the Lexus
audio system. Some information may not pertain to your
system.
Your audio system adjusts to the optimum volume and tone
quality automatically. While the system is adjusting the audio
sound, the audio sound fades out and then fades in.
Your audio system works when the ignition switch is in the
ªACCº or ªONº position.
You can enjoy the rear seat entertainment system with
commercial headphone. See ªHeadphone input jacksº on
page 308 for details.
You can also enjoy the rear seat entertainment system with a
wireless headphone. The wireless headphone can be used
within rear seat. If the signal becomes weak, the headphone
will mute. For details, refer to the manufacturer's instructions.
With some wireless headphone generally available in the
market, it may be difficult to catch sound properly. Lexus
recommends the use of Lexus genuine wireless headphone.
You can purchase a wireless headphone at a Lexus dealer.
Page 332 of 668
AUDIO
311
REAR SEAT ENTERTAINMENTSYSTEM
22PY140
�1Front audio system
2Rear seat entertainment system display
3Rear seat entertainment system remote control
4DVD player
5Power outlet
6Input terminal adapter
7Headphone volume control dials
8Headphone input jacks
9Remote control holder
10Power outlet main switch