Page 114 of 318

Driving your vehicle
2
4
1 23456789
Illuminated ignition switch (if equipped)
Whenever a door is opened, the igni-
tion switch will be illuminated for your
convenience, provided the ignition
switch is not in the ON position. The
light will go off approximately 10 sec-onds after closing the door or when
the ignition switch is turned on. Ignition switch and anti-theft
steering column lock
Ignition switch position
LOCK
The steering wheel locks to protect
against theft. The ignition key can be
removed only in the LOCK position.
When turning the ignition switch to
the LOCK position, push the key
inward at the ACC position and turn
the key toward the LOCK position. ACC (Accessory)
The steering wheel is unlocked and
electrical accessories are operative.ON
The warning lights can be checked
before the engine is started. This is
the normal running position after the
engine is started.
Do not leave the ignition switch ON if
the engine is not running to preventbattery discharge.
START
Turn the ignition key to the START
position to start the engine. The
engine will crank until you release
the key; then it returns to the ON
position. The brake warning lamp
can be checked in this position.
If difficulty is experienced in turning the ignition key to the START posi-tion, turn the steering wheel rightand left to release the tension and then turn the key.
IGNITION SWITCH
RLDN30121GHA3201A
Page 124 of 318
Driving your vehicle
12
4
1 23456789
3 (Third Gear, if equipped)
Move the shift lever to this position
for towing a trailer during hill climb-ing.
This position also provides engine
braking when going down hills.
2 (Second Gear)
Use 2 (Second Gear) for more power
when climbing hills and for increased
braking when going down hills. Thisposition also helps reduce wheel
spin on slippery surfaces. When the
shift lever is placed in 2 (Second
Gear), the transaxle will automatical-
ly shift from first to second gear.
L (Low)
Move the shift lever to this position in
hard pulling situations and for climb-
ing steep grades.
CAUTION
Do not exceed the recommend-
ed maximum speeds in 2(Second Gear) or L (Low).Operating the vehicle at speeds above the maximum recom-mended, for 2 (Second Gear) orL (Low) may cause excessive heat to develop which couldresult in damage to or failure ofthe automatic transaxle.
Page 130 of 318

Driving your vehicle
18
4
1 23456789
Check the brake warning light by
turning the ignition switch ON (do not
start the engine). This light will be
illuminated when the parking brake is
applied with the ignition switch in the
START or ON position.
Before driving, be sure the parking
brake is fully released and the brake
warning light is off. If the brake warning light remains on
after the parking brake is released,
there may be a malfunction in the
brake system. Immediate attention is
necessary.
If at all possible, cease driving the
vehicle immediately. If that is not pos-
sible, use extreme caution while
operating the vehicle and only con-
tinue to drive the vehicle until you
can reach a safe location or repair
shop.
Parking on curbed streets
When parking your vehicle on an
uphill grade, park as close to the
curb as possible and turn the front
wheels away from the curb so thatthe front wheels will contact the
curb if the vehicle moves back-
ward.
When parking your vehicle on a downhill grade, park as close to the
curb as possible and turn the front
wheels toward the curb so that thefront wheels will contact the curb if
the vehicle moves forward.
W-75
Page 147 of 318
435
1 23456789
Driving your vehicle
Engine temperature gauge
This gauge shows the temperature of the engine coolant when the igni-
tion switch is ON.
Do not continue driving with an over-
heated engine. If your vehicle over-
heats, refer to “Overheating” in the
Index.
✽✽
NOTICE
If the gauge pointer moves beyond
the normal range area toward the“H” position, it indicates overheat-ing that may damage the engine.
Fuel gauge
The fuel gauge indicates the approx- imate amount of fuel remaining in thefuel tank.
Fuel tank capacity - 55 litres.
The fuel gauge is supplemented by a
low fuel warning light, which will illu-
minate when the fuel level has
dropped to about 8.5 litres.
Trip computer (if equipped)
Trip computer is a microcomputer-
controlled driver information gauge
that displays information related to
driving, such as estimated distance
to empty, average speed and driving
time on the LCD.
RLDA2095
Page 153 of 318

441
1 23456789
Driving your vehicle
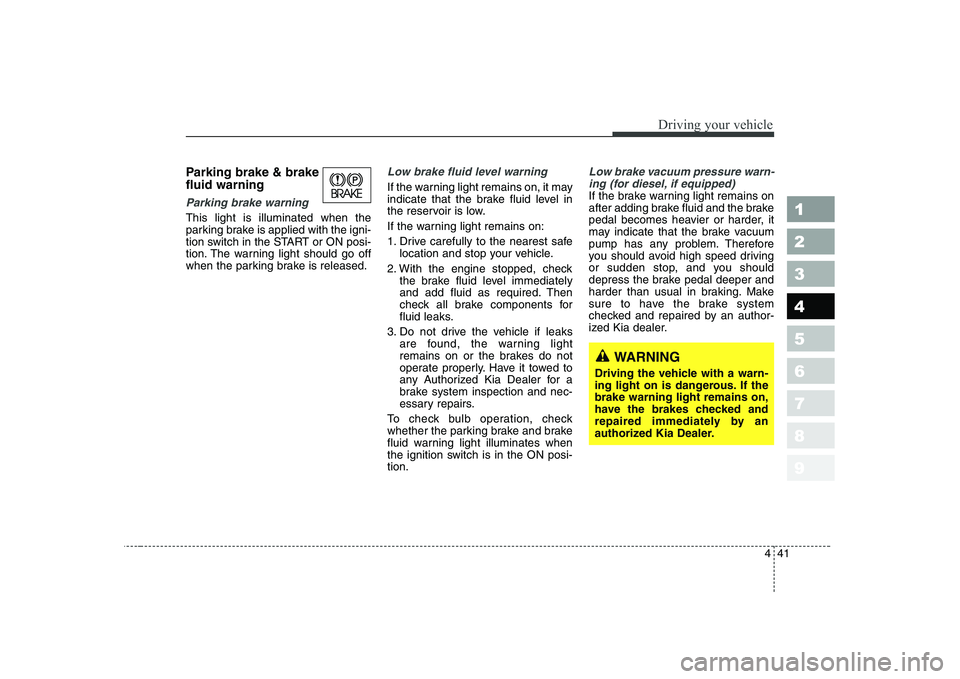
Parking brake & brake fluid warning
Parking brake warning
This light is illuminated when the
parking brake is applied with the igni-
tion switch in the START or ON posi-
tion. The warning light should go off
when the parking brake is released.
Low brake fluid level warning
If the warning light remains on, it may
indicate that the brake fluid level in
the reservoir is low.
If the warning light remains on:
1. Drive carefully to the nearest safelocation and stop your vehicle.
2. With the engine stopped, check the brake fluid level immediately
and add fluid as required. Then
check all brake components for
fluid leaks.
3. Do not drive the vehicle if leaks are found, the warning light
remains on or the brakes do not
operate properly. Have it towed to
any Authorized Kia Dealer for a
brake system inspection and nec-
essary repairs.
To check bulb operation, check
whether the parking brake and brake
fluid warning light illuminates when
the ignition switch is in the ON posi-tion.
Low brake vacuum pressure warn- ing (for diesel, if equipped)
If the brake warning light remains on
after adding brake fluid and the brake
pedal becomes heavier or harder, it
may indicate that the brake vacuum
pump has any problem. Therefore
you should avoid high speed driving
or sudden stop, and you should
depress the brake pedal deeper and
harder than usual in braking. Make
sure to have the brake system
checked and repaired by an author-
ized Kia dealer.
WARNING
Driving the vehicle with a warn-
ing light on is dangerous. If thebrake warning light remains on,
have the brakes checked and
repaired immediately by an
authorized Kia Dealer.
Page 154 of 318

Driving your vehicle
42
4
1 23456789
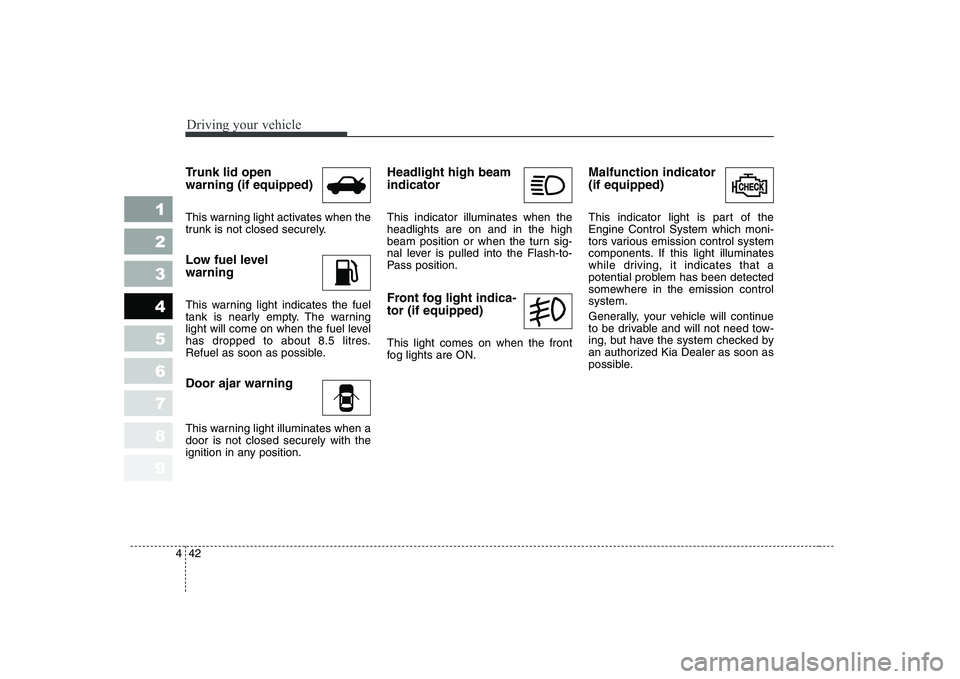
Trunk lid open warning (if equipped)
This warning light activates when the
trunk is not closed securely.
Low fuel level warning
This warning light indicates the fuel
tank is nearly empty. The warning
light will come on when the fuel level
has dropped to about 8.5 litres.
Refuel as soon as possible. Door ajar warning
This warning light illuminates when a door is not closed securely with the
ignition in any position. Headlight high beam indicator This indicator illuminates when the headlights are on and in the high
beam position or when the turn sig-
nal lever is pulled into the Flash-to-
Pass position.
Front fog light indica- tor (if equipped) This light comes on when the front
fog lights are ON.
Malfunction indicator (if equipped)
This indicator light is part of the Engine Control System which moni-
tors various emission control system
components. If this light illuminates
while driving, it indicates that a
potential problem has been detected
somewhere in the emission controlsystem.
Generally, your vehicle will continue
to be drivable and will not need tow-
ing, but have the system checked by
an authorized Kia Dealer as soon as
possible.
Page 160 of 318
Driving your vehicle
48
4
1 23456789
High - beam operation
To turn on the high beam headlights,
push the lever away from you. Pull it
back for low beams. The high-beam indicator will light when the headlight high beams are
switched on.
To prevent the battery from being
discharged, do not leave the lights
on for a prolonged time while the
engine is not running.Flashing headlights
To flash the headlights, pull the lever
towards you. It will return to the nor-
mal (low-beam) position when
released. The headlight switch doesnot need to be on to use this flashing
feature.
Turn signals ( )
The ignition switch must be on for the
turn signals to function. To turn on
the turn signals, move the lever up or
down. Green arrow indicators on the
instrument panel indicate which turn
signal is operating. They will self-
cancel after a turn is completed. If
the indicator continues to flash after
a turn, manually return the lever tothe OFF position.
RLDA2105RLDA2107RLDA2106
A
Page 166 of 318

Driving your vehicle
54
4
1 23456789
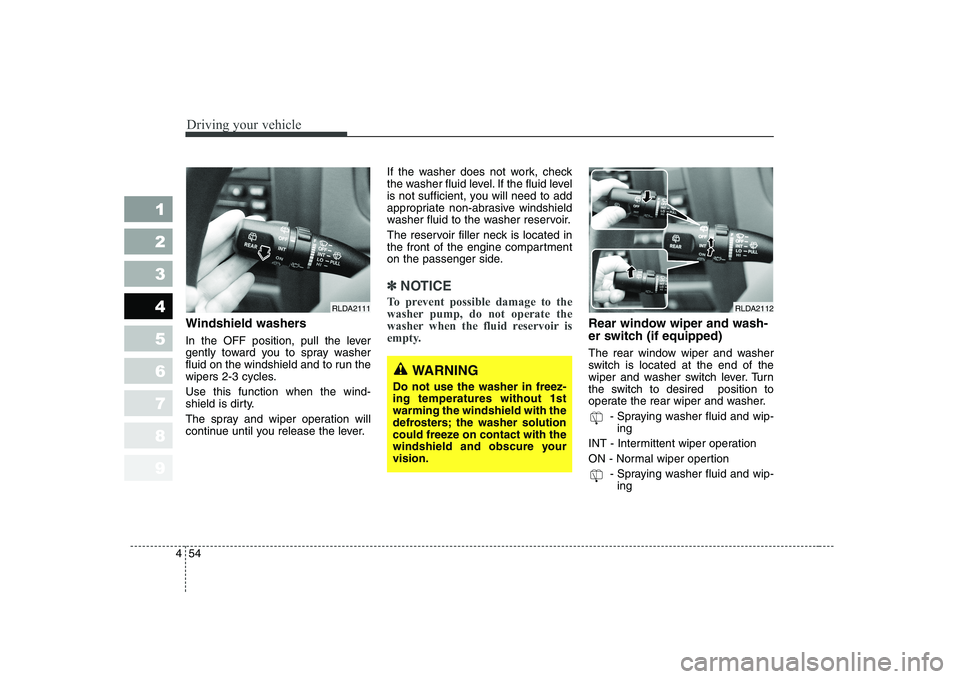
Windshield washers
In the OFF position, pull the lever
gently toward you to spray washer
fluid on the windshield and to run the
wipers 2-3 cycles. Use this function when the wind-
shield is dirty.
The spray and wiper operation will
continue until you release the lever. If the washer does not work, check
the washer fluid level. If the fluid level
is not sufficient, you will need to add
appropriate non-abrasive windshield
washer fluid to the washer reservoir.
The reservoir filler neck is located in
the front of the engine compartment
on the passenger side.
✽✽
NOTICE
To prevent possible damage to the
washer pump, do not operate the
washer when the fluid reservoir is
empty.
Rear window wiper and wash-
er switch (if equipped)
The rear window wiper and washer
switch is located at the end of the
wiper and washer switch lever. Turn
the switch to desired position to
operate the rear wiper and washer. - Spraying washer fluid and wip-ing
INT - Intermittent wiper operation
ON - Normal wiper opertion - Spraying washer fluid and wip-ing
RLDA2112RLDA2111
WARNING
Do not use the washer in freez- ing temperatures without 1stwarming the windshield with the
defrosters; the washer solution
could freeze on contact with the
windshield and obscure yourvision.