Page 285 of 424
CAUTION!
If the trailer weighs more than 1,000 lbs (454 kg)
loaded, it should have its own brakes and they
should be of adequate capacity. Failure to do this
could lead to accelerated brake lining wear, higher
brake pedal effort, and longer stopping distances.
WARNING!
Connecting trailer brakes to your vehicle’s hydraulic
brake lines can overload your brake system and
cause it to fail. You might not have brakes when you
need them and could have an accident.
•Whenever you pull a trailer, regardless of the trailer
size, stop lights and turn signals on the trailer are
mandatory for motoring safety.
•Follow the maintenance intervals in schedule “B” for
changing the automatic transmission fluid and filter, if
you REGULARLY tow a trailer for more than 45
minutes of continuous operation.
STARTING AND OPERATING 285
5
Page 289 of 424
5. Start engine.
6. Shift automatic transmission into D (Drive) or manual
transmission into any forward gear.
WARNING!
You or others could be injured if you leave the
vehicle unattended with the transfer case in the N
(Neutral) position without first fully engaging the
parking brake. The transfer case N (Neutral) position
disengages both the front and rear driveshafts from
the powertrain and will allow the vehicle to move
regardless of the transmission position. The parking
brake should always be applied when the driver is
not in the vehicle.
CAUTION!
Do not use a bumper mounted clamp-on tow bar on
your vehicle. The bumper face bar will be damaged.
SNOW PLOW
Snow plows, winches, and other aftermarket equipment
shouldnotbe added to the front end of your vehicle. The
airbag crash sensors may be affected by the change in the
front end structure. The airbags could deploy unexpect-
edly or could fail to deploy during a collision.
STARTING AND OPERATING 289
5
Page 290 of 424
WARNING!
Do not add a snow plow, winches, or any other
aftermarket equipment to the front of your vehicle.
This could adversely affect the functioning of the
airbag system and you could be injured.
290 STARTING AND OPERATING
Page 291 of 424
WHAT TO DO IN EMERGENCIES
CONTENTS
�Hazard Warning Flashers.................292
�If Your Engine Overheats.................293
�Jacking And Tire Changing................294
▫Jack Location........................295
▫Spare Tire Stowage....................295
▫Preparations For Jacking................296▫Jacking Instructions....................296
�Jump Starting Procedure..................299
�Emergency Tow Hooks — If Equipped........301
�Towing A Disabled Vehicle................302
▫2WD Models Only....................302
▫4WD Models Only....................302
6
Page 292 of 424
HAZARD WARNING FLASHERS
Your vehicle’s hazard warning flasher is an emergency
warning system. When you activate it, all front and rear
directional signals will flash intermittently. Use it when
your vehicle is disabled on or near the road. It warns
other drivers to steer clear of you and your vehicle. This
is an emergency warning system, not to be used when the
vehicle is in motion.
To activate the warning flashers, press the button on the
instrument panel (between center air outlets). To turn the
warning flashers off, press the button again.
NOTE:With extended use, the flashers may run down
your battery.
Hazard Warning Switch
292 WHAT TO DO IN EMERGENCIES
Page 294 of 424

If the coolant temperature of a vehicle equipped with a
diesel engineapproaches the “H” (hot mark) a warning
chime will sound to alert the driver. The air conditioning
system will turn off automatically and power loss will
occur until the engine temperature returns to the normal
range.
If the overheating condition persists a continuous chime
will sound to alert the driver. Reduce the vehicle speed
and or stop the vehicle while allowing the engine to idle
and cool the engine.JACKING AND TIRE CHANGING
WARNING!
•Getting under a jacked-up vehicle is dangerous.
The vehicle could slip off the jack and fall on you.
You could be crushed. Never get any part of your
body under a vehicle that is on a jack. If you need
to get under a raised vehicle, take it to a service
center where it can be raised on a lift.
•The jack is designed to use as a tool for changing
tires only. The jack should not be used to lift the
vehicle for service purposes. The vehicle should
be jacked on a firm level surface only. Avoid ice or
slippery areas.
294 WHAT TO DO IN EMERGENCIES
Page 296 of 424

NOTE:If you have added aftermarket accessories to the
spare tire mounted carrier, it cannot exceed a gross
weight of 50 lbs (23 kg) including the weight of the spare
tire.
Preparations For Jacking
Park the vehicle on a firm level surface, avoid ice or
slippery areas,set the parking brakeand place auto-
matic transmission in P (Park), or manual transmission in
R (Reverse). Turn OFF the ignition.
WARNING!
Do not attempt to change a tire on the side of the
vehicle close to moving traffic. Pull far enough off
the road to avoid being hit when operating the jack
or changing the wheel.
•Turn on the Hazard Warning Flasher.
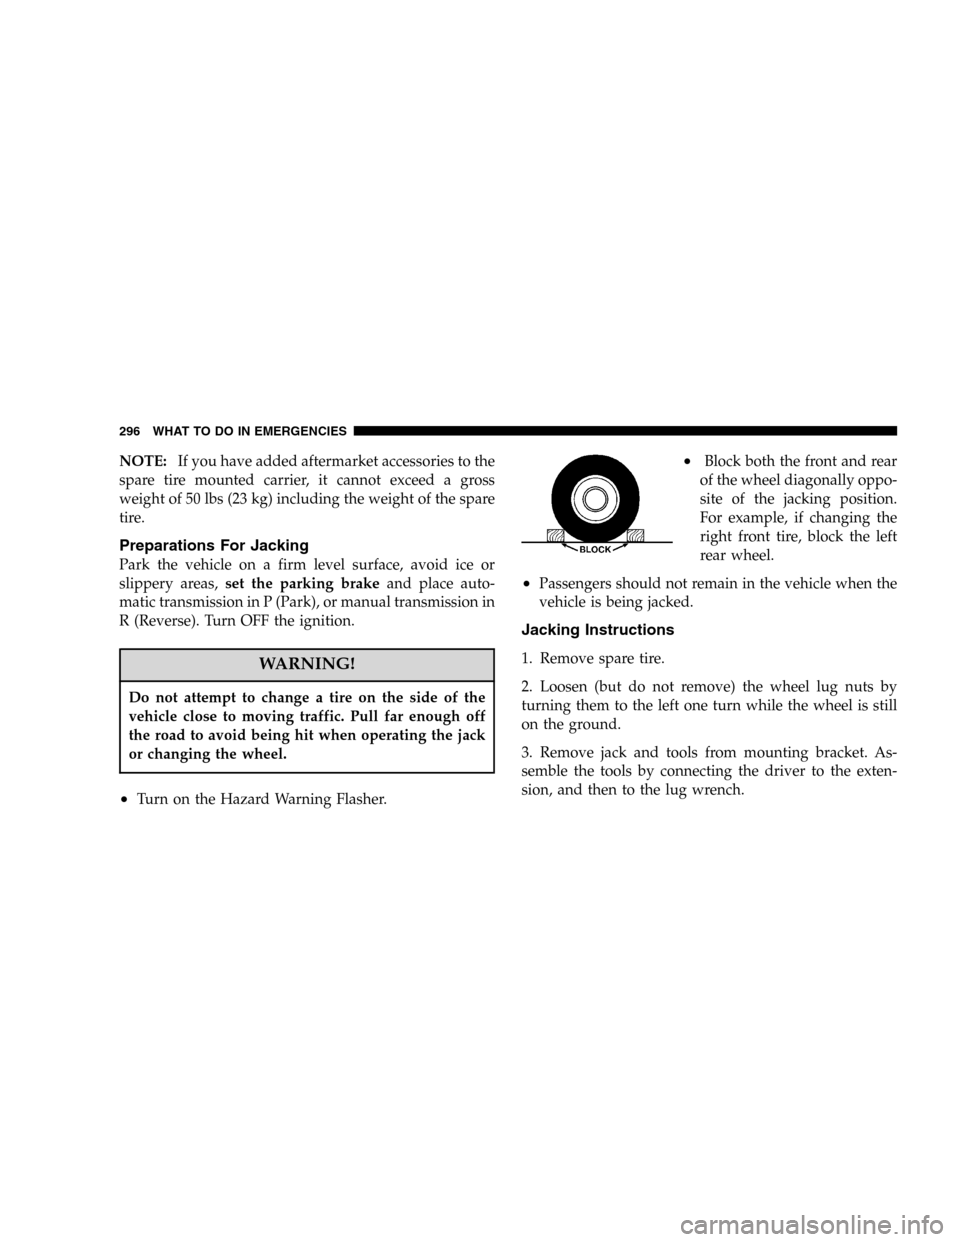
•Block both the front and rear
of the wheel diagonally oppo-
site of the jacking position.
For example, if changing the
right front tire, block the left
rear wheel.
•Passengers should not remain in the vehicle when the
vehicle is being jacked.
Jacking Instructions
1. Remove spare tire.
2. Loosen (but do not remove) the wheel lug nuts by
turning them to the left one turn while the wheel is still
on the ground.
3. Remove jack and tools from mounting bracket. As-
semble the tools by connecting the driver to the exten-
sion, and then to the lug wrench.
296 WHAT TO DO IN EMERGENCIES
Page 298 of 424

WARNING!
Raising the vehicle higher than necessary can make
the vehicle less stable and cause an accident. It could
slip off the jack and hurt someone near it. Raise the
vehicle only enough to remove the tire.
6. Remove the lug nuts and wheel.
7. Position the spare wheel/tire on the vehicle and install
lug nuts with cone-shaped end toward wheel. Lightly
tighten the nuts. To avoid the risk of forcing the vehicle
off the jack, do not tighten the nuts fully until the vehicle
has been lowered.
8. Lower the vehicle by turning the jack screw to the left,
and remove the jack and wheel blocks.
9. Finish tightening the lug nuts. Push down on the
wrench while tightening for increased leverage. Alternatenuts until each nut has been tightened twice. Correct
wheel nut tightness is 130 N·m (95 ft. lbs). If in doubt
about the correct tightness, have them checked with a
torque wrench by your authorized dealer or at a service
station.
10. Lower the jack to it’s fully closed position.WARNING!
A loose tire or jack, thrown forward in a collision or
hard stop could endanger the occupants of the ve-
hicle. Always stow the jack parts and the spare tire in
the places provided.
11. Secure the tire, jack, and tools in their proper loca-
tions.
298 WHAT TO DO IN EMERGENCIES