Page 305 of 424
�Bulb Replacement......................351
▫Head Light..........................351
▫Front Turn Signal.....................352
▫Front Fog Light (Front Fascia Mounted).....353
▫Light Bar...........................354
▫Rear Tail, Stop, Turn Signal, And Back-Up
Lights.............................355▫Center High Mounted Stop Light (CHMSL) . . . 355
�Fluid Capacities........................356
�Recommended Fluids, Lubricants And
Genuine Parts.........................357
▫Engine.............................357
▫Chassis............................358
MAINTAINING YOUR VEHICLE 305
7
Page 309 of 424

ONBOARD DIAGNOSTIC SYSTEM — OBD II
Your vehicle is equipped with a sophisticated onboard
diagnostic system called OBD II. This system monitors
the performance of the emissions, engine, and automatic
transmission control systems. When these systems are
operating properly, your vehicle will provide excellent
performance and fuel economy, as well as engine emis-
sions well within current government regulations.
If any of these systems require service, the OBD II system
will turn on the “Malfunction Indicator Light.” It will
also store diagnostic codes and other information to
assist your service technician in making repairs. Al-
though your vehicle will usually be drivable and not
need towing, see your dealer for service as soon as
possible.CAUTION!
•Prolonged driving with the “Malfunction Indicator
Light” on could cause further damage to the emis-
sion control system. It could also affect fuel economy
and driveability. The vehicle must be serviced before
any emissions tests can be performed.
•If the “Malfunction Indicator Light” is flashing
while the engine is running, severe catalytic con-
verter damage and power loss will soon occur.
Immediate service is required.
Loose Fuel Filler Cap Message
After fuel is added, the vehicle diagnostic system can
determine if the fuel filler cap is loose, improperly
installed, or damaged. A loose fuel filler cap message will
be displayed in the instrument cluster. Tighten the gas
cap until a�clicking�sound is heard. This is an indication
MAINTAINING YOUR VEHICLE 309
7
Page 310 of 424

that the gas cap is properly tightened. Press the odometer
reset button to turn the message off. If the problem
persists, the message will appear the next time the
vehicle is started. This might indicate a damaged cap. If
the problem is detected twice in a row, the system will
turn on the Malfunction Indicator Light (MIL). Resolving
the problem will turn the MIL light off.
EMISSIONS INSPECTION AND MAINTENANCE
PROGRAMS
In some localities, it may be a legal requirement to pass
an inspection of your vehicle’s emissions control system.
Failure to pass could prevent vehicle registration.
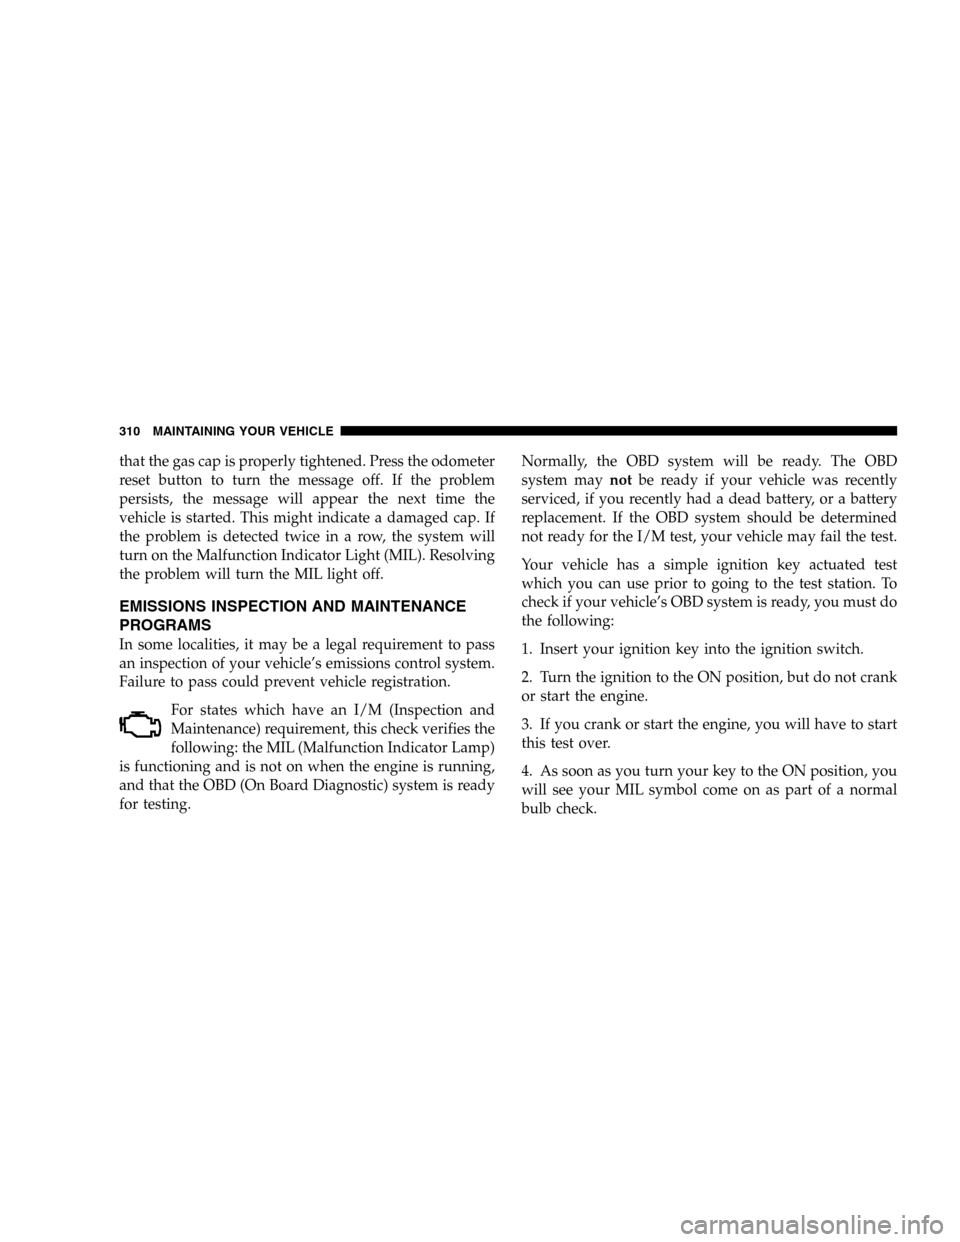
For states which have an I/M (Inspection and
Maintenance) requirement, this check verifies the
following: the MIL (Malfunction Indicator Lamp)
is functioning and is not on when the engine is running,
and that the OBD (On Board Diagnostic) system is ready
for testing.Normally, the OBD system will be ready. The OBD
system maynotbe ready if your vehicle was recently
serviced, if you recently had a dead battery, or a battery
replacement. If the OBD system should be determined
not ready for the I/M test, your vehicle may fail the test.
Your vehicle has a simple ignition key actuated test
which you can use prior to going to the test station. To
check if your vehicle’s OBD system is ready, you must do
the following:
1. Insert your ignition key into the ignition switch.
2. Turn the ignition to the ON position, but do not crank
or start the engine.
3. If you crank or start the engine, you will have to start
this test over.
4. As soon as you turn your key to the ON position, you
will see your MIL symbol come on as part of a normal
bulb check.
310 MAINTAINING YOUR VEHICLE
Page 332 of 424
WARNING!
Worn brake hoses can burst and cause brake failure.
You could have an accident. If you see any signs of
cracking, scuffing, or worn spots, have the brake
hoses replaced immediately.
Brake Master Cylinder
The fluid level in the master cylinder should be checked
when performing under hood services, or immediately if
the “Brake Warning Light” shows system failure.
Be sure to clean the top of the master cylinder area before
removing the cap. If necessary, add fluid to bring the
fluid level up to the requirements described on the brake
fluid reservoir. With disc brakes, fluid level can be
expected to fall as the brake pads wear. However, low
fluid level may be caused by a leak and a checkup may be
needed.
332 MAINTAINING YOUR VEHICLE
Page 343 of 424
Cavity Fuse Description
1 15 Amp Blue Horn Relay, Power Sunroof
Relay, Power Window Relay
2 10 Amp Red Rear Fog Lights (Export
Only)
3 20 Amp Yel-
lowCigar Lighter
4 10 Amp Red Headlight Low Beam Right
5 10 Amp Red Headlight Low Beam Left
6 20 Amp Yel-
lowBody Control Module/Power
Door Locks
7 10 Amp Red Left Park Light/Left Tail
Lamp/License Plate Lamp
8 Spare
9 10 Amp Red Right Park Light/RightTail
Lamp/License Plate Lamp/
Cluster
10 SpareCavity Fuse Description
11 15 Amp Blue Flasher
12 15 Amp Blue Stop Lights
13 10 Amp Red Body Control Module/
CMTC/Cluster/Pass. Airbag
On,Off Indicator, Auto Day-
light Mirror/Light Bar
Switch (Renegade Only)
14 10 Amp Red PDC Fuel Pump/AC Clutch,
Starter Relay/Engine
Controller/Transmission
Controller (Diesel Only)
15 Spare
16 20 Amp Yel-
lowPower Outlet (Rear)
17 15 Amp Blue Rear Wiper
18 20 Amp Yel-
lowRadio Choke & Relay
MAINTAINING YOUR VEHICLE 343
7
Page 344 of 424
Cavity Fuse Description
19 20 Amp Yel-
lowFrt Fog Lights/Trailer Tow
Stop and Turn Lights
20 Spare
21 10 Amp Red Radio
22 20 Amp Yel-
lowPower Sunroof Relay/
Antenna Module (Export
Only)
23 Spare
24 10 Amp Red PDC Blower Motor
25 10 Amp Red Heated Seat Switches/HVAC
Control Head/Trailer Tow
Battery Charge
26 10 Amp Red Headlight High Beam Right
27 10 Amp Red Headlight High Beam Left
28 Spare
29 10 Amp Red Heated Mirrors/Rear Win-
dow Defroster IndicatorCavity Fuse Description
30 15 Amp Blue Heated Seat Module
31 Spare
32 10 Amp Red Wiper Switch/Front and
Rear Wipers
33 10 Amp Red SKIM Module/Data Link
Connector
34 15 Amp Blue Body Control Module/
Cluster/Interior Lights,
Hands Free Module/Radio/
CMTC/ITM Module & Siren
(Export Only)
35 Spare
36 10 Amp Red Airbag Control Module/
Occupation Classification
Module (Right Front Seat)
37 10 Amp Red Airbag Control Module
344 MAINTAINING YOUR VEHICLE
Page 346 of 424
Cavity Fuse Description
F3 50 Amp Red JB Power
F4 40 Amp
GreenABS Pump
F5 20 Amp Yel-
lowNGC Trans
F6 30 Amp Pink ASD
F7 50 Amp Red JB Power
F8 40 Amp
GreenIgn/Start
F9 50 Amp Red JB Power
F10 30 Amp Pink Trailer Tow
F11 Open
F12 30 Amp Pink Light Bar
F13 40 Amp
GreenWindows
F14 40 Amp
GreenIgnition SwitchCavity Fuse Description
F15 50 Amp Red JB Power
F16 Open
F17 Open
F18 Open
F19 30 Amp Pink Rear Window Defogger
(HBL)
F20 Open
F21 20 Amp Yel-
lowA/C Clutch
F22 Open
F23 Open
F24 20 Amp Yel-
lowFuel Pump
F25 20 Amp Yel-
lowABS Valves
F26 25 Amp
NaturalInjectors
346 MAINTAINING YOUR VEHICLE
Page 348 of 424
Cavity Fuse Description
F5 Open
F6 30 Amp Pink ASD
F7 50 Amp Red JB Power
F8 40 Amp
GreenIgn/Start
F9 50 Amp Red JB Power
F10 30 Amp Pink Trailer Tow
F11 20 Amp Yel-
lowFuel Heater
F12 30 Amp Pink Light Bar
F13 40 Amp
GreenWindows
F14 40 Amp
GreenIgnition Switch
F15 50 Amp Red JB Power
F16 15 Amp Blue ASD Feed
F17 OpenCavity Fuse Description
F18 Open
F19 30 Amp Pink Rear Window Defogger
(HBL)
F20 Open
F21 20 Amp Yel-
lowA/C Clutch
F22 Open
F23 Open
F24 Open
F25 20 Amp Yel-
lowABS Valves
F26 25 Amp
NaturalInjectors
F27 Open
F28 15 Amp Blue Starter
R29 Half ISO Re-
layFuel Heater
348 MAINTAINING YOUR VEHICLE